|
When I was a kid, my mother had an electric skillet that we used a lot! I mean, we made eggs and bacon in it, we cooked pancakes in it, and on Sunday, my mom would cook a roast with potatoes and carrots. Early in my marriage, I also had an electric skillet that I would use quite often. But as time evolved, somehow I got away from using it. The skillet that I had broke and just a few years ago my husband bought me an inexpensive one, like this, to use for a class that I was teaching. Since that class, I haven't used it much. Until, that is, last Sunday. On Sunday, before leaving for church, I often put a roast in the crock pot to cook for dinner. Last Sunday, I had the roast in the refrigerator, but I forgot to put it in the crock pot. I came home from church and realized my folly and that there was no time for a crock pot roast. I wondered to myself, "Self, what would your mom have done?" That is when I thought of the electric skillet! I pulled it out, dusted it off and here is what I did.
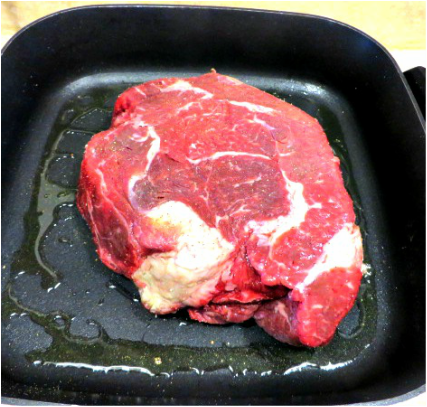
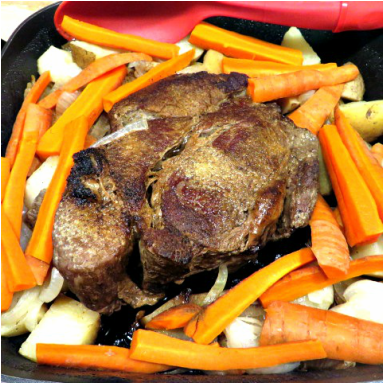
First, I seasoned my roast with seasoned salt, pepper, garlic, onion powder, and whatever sounds good. Then I seared it, at about 400 degrees on both sides in olive oil. Give it a good browning. Next, I added chopped onion, sliced potatoes and sliced carrots to the skillet and about 2 T. of Worcestershire Sauce over the meat and 3/4 c. of water all around over the veggies. I also salt and peppered the veggies. It had been a long time since I had done a roast this way, so I was kind of faking it. Now I was ready to turn the pan down to 300 degrees and put the lid on. I just left it alone for about 1 hour I think. I checked to make sure there was a little liquid during the process so things wouldn't burn and stick to the pan.
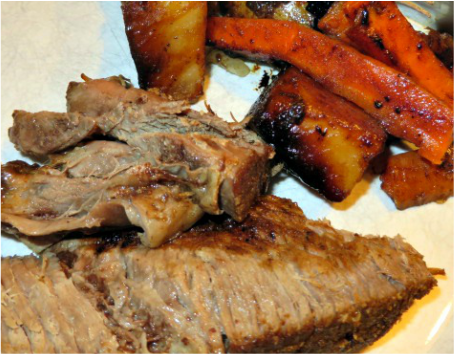
Here it is, roasted with the tender veggies all around it.
One thing about cooking a roast this way, the meat doesn't fall apart like it does from the crock pot. You have to slice it and use the pan juices on it, or make a sauce or gravy. One thing I did forget though is how delicious the carmalization on the vegetables is when you pull them out of the pan. There is just a depth of flavor in them that I had forgotten about after all of these year.

You don't get that in the crock pot. So tasty!
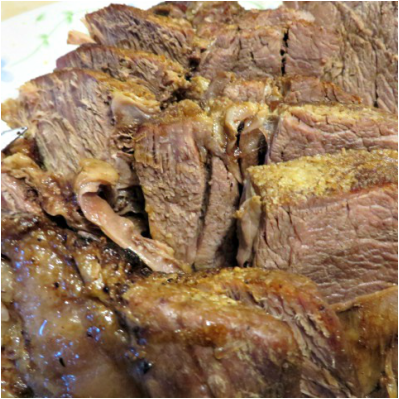
My husband doesn't like any red in his meat. I do, but it still came out juicy and tender. Use a meat thermometer to get the temperature and the amount of doneness that you want.
Just add a salad and some bread and everything will be rounded out!
I can't believe I didn't think about using the electric skillet during the summer. It made a great meal without heating up the house at all. On Sunday it was nice to be able to give my family a nice meal even though I forgot to do the prep in the morning. A few days later, I made chicken and rice in the skillet as well. It was nice to cook the chicken with a sauce and rice all in the same pan. The clean up is easy, too!. I may be going back to using the electric skillet more often.
Do you have any recipes that you love to do in your electric skillet? Let me know, I may try them out. Here is a larger skillet for those of you with larger families. We are getting closer to being empty nesters and would only need this big size occasionally. (If you purchase from my affiliates, I may be compensated, but you will not have to spend any more than the normal price. All opinions of the products are my own.)
10 Comments
Before I swore off turning on the oven this past summer, I shared with you the recipe for Cream Puffs (or eclairs) on this post. I promised then to share with you the filling that I usually make from scratch. I have been giving it some thought, then this happened:
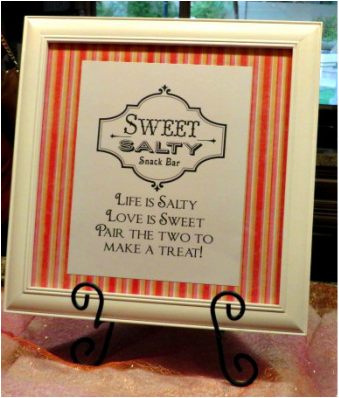
My dear friend Tracy's son is getting married this weekend and she threw a Bridal Shower for her soon to be Daughter-in-law. There were so many great ideas there that I took bunches of pictures to include in the eBook I am working on about doing weddings on a budget. (Voice of Experience here!) As you can see by the cute sign above, she had a sweet and salty theme. When I heard that, BINGO, the idea for Salted Caramel Eclairs came to me.
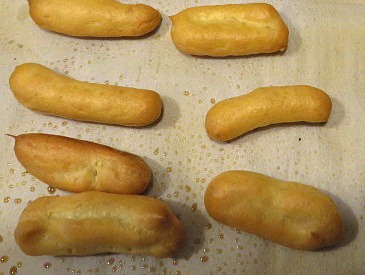
I used the same recipe that I gave you before. Here it is in a shorter written form. You can follow the visuals on the other post. Éclairs Set oven to 400° Put ½ c. water and ¼ c. butter in a sauce pan. While it comes to a boil, sift 1.2 c. flour and 1/8 tsp. salt. When the water boils, add the flour & salt all at once. Cook and stir vigorously over low heat, until mixture leaves the sides of the pan and forms a ball of dough. Remove from heat. Add two eggs, one at a time and beat after each one until blended and glossy. Put on a greased cookie sheet in the size and shape desired. Bake for 30 min., then reduce the heat to 350° for 10 more min. Test by removing one from the oven. If it falls, cook 5 min. longer. Let the puffs cool on the cookie sheet and fill as desired.
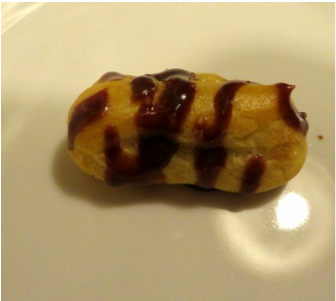
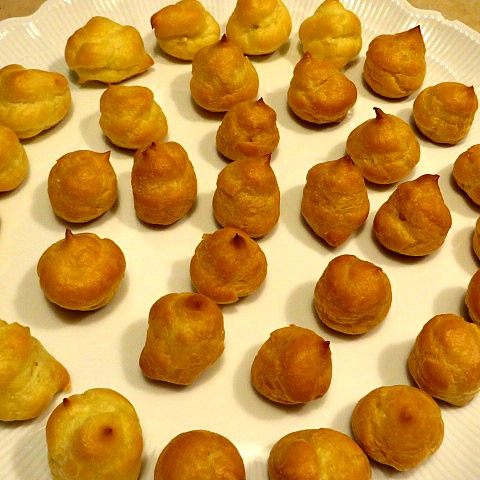
The last time I made these, they came out huge! This time I piped them onto the parchment paper and made mini eclairs and cream puffs.
Next, I had to come up with a caramel pudding to fill them with. I found a recipe at Baking a Moment that I tweaked slightly to fit our taste buds.
Salted Caramel Pudding
2/3 c. dark brown sugar 2/3 c. water Place the brown sugar and water in a small pot and cook over medium heat until a candy thermometer registers 215 degrees F. Remove from heat and set aside to cool. 2 T. cornstarch 1 1/2 c. milk, divided 3 egg yolks 2 T. butter (I used regular salted since it was supposed to be salted caramel) 1 tsp. vanilla extract 1/4 tsp. salt Place the cornstarch in a medium pot and whisk in about 1/2 c. milk. When there are no lumps, pour in the remaining milk. Bring to a bare simmer over medium heat. Watch and stir! Place the egg yolks in a medium bowl and whisk some of the hot milk in, just a little at a time so you don't cook the eggs. Then add the mixture to the rest of the milk mixture and whisk all together and begin to heat again. Pour in the brown sugar caramel and stir in until thickened. (this takes about 5 min.) Immediately remove from the heat and stir in the butter, the vanilla and salt. Let cool slightly before filling the eclairs. You can put through a strainer if there are any lumps.
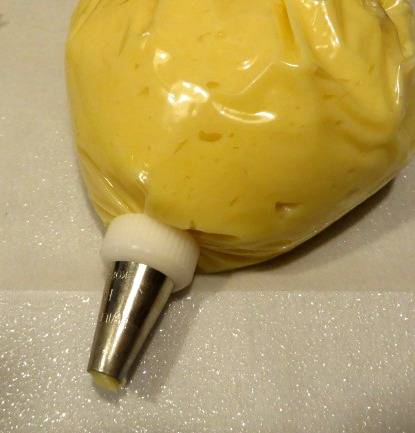
Now you are ready to fill the shells. I cut a small slit in each one so that I could put a decorating tip in it to push the pudding through. Then, I put the cooled pudding into a bag with a tip and started filling.
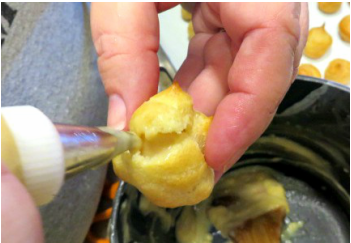
Really easy!
Once they are all filled, you make the ganache.
Milk Chocolate Ganach
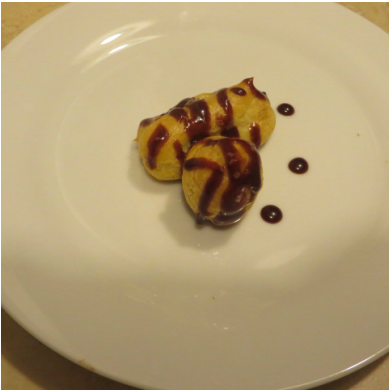
6 oz. milk chocolate chips 3/4 c. chocolate milk Warm the milk in a sauce pan and add the chips to it. Stir until thick and creamy, but thin enough to drip from a spoon. Drizzle over the eclairs. Finally, sprinkle with a little sea salt! Voila! 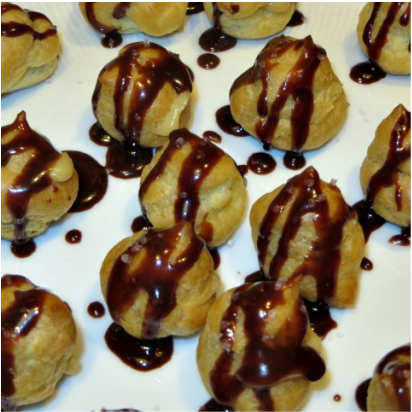
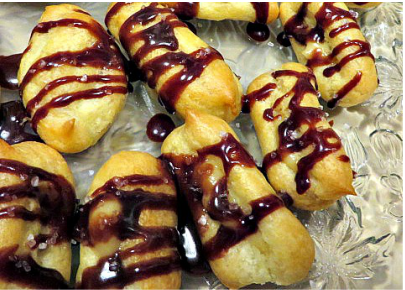
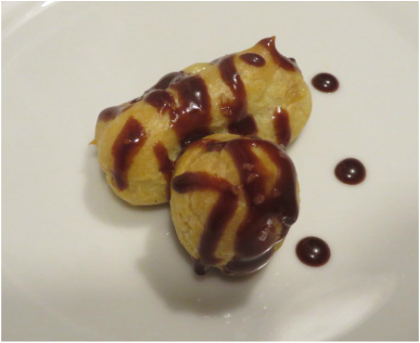
The soon to be groom showed up at the end of the shower and tasted these. He said, "Wow! The sweet caramel at the beginning and then you get the salt at the end!" Perfect! 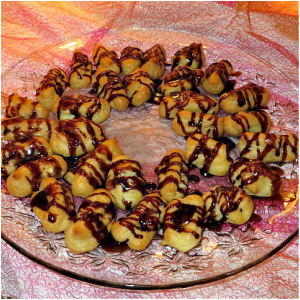
These delectable bites do take a few steps to complete, but they will be the hit of any party! Hope you give them a try!
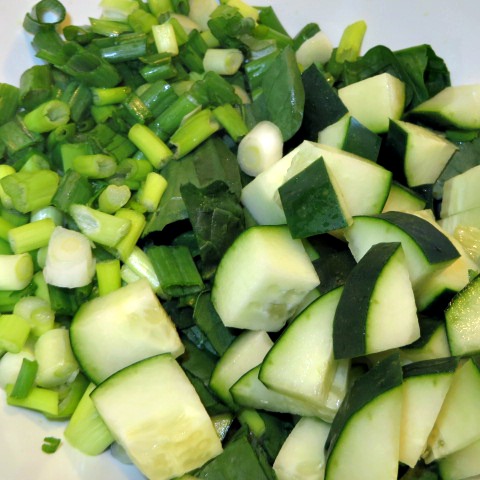
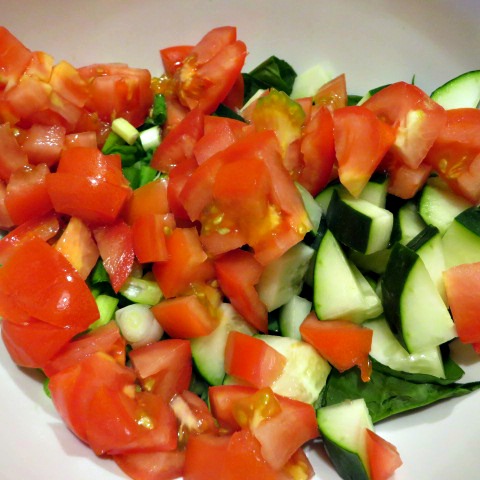
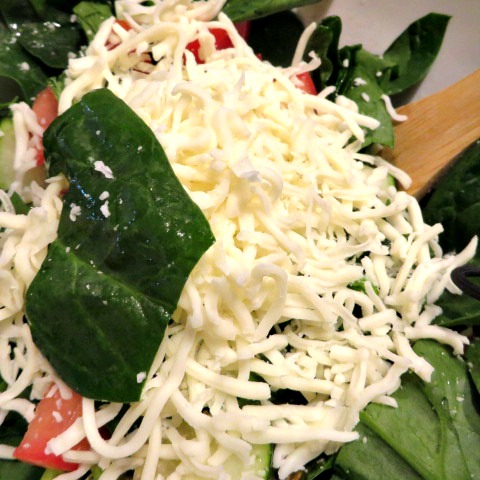
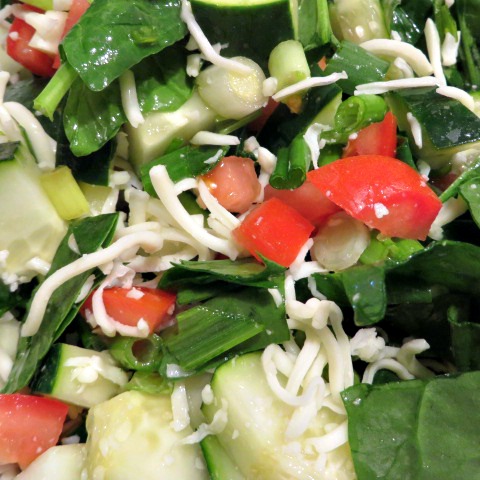
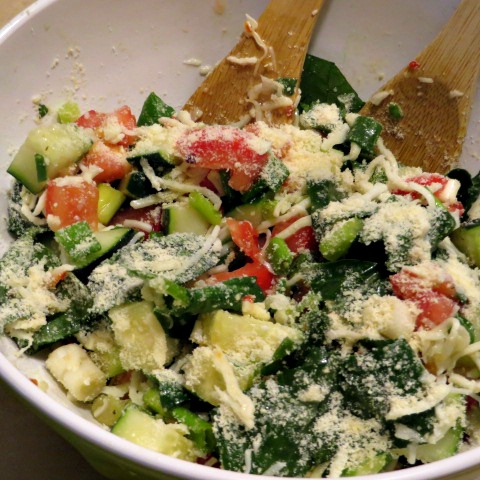
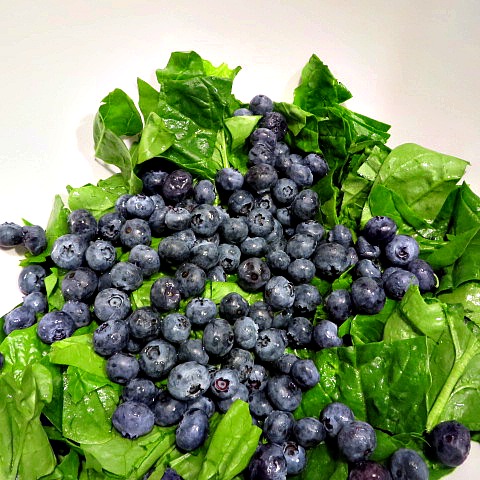
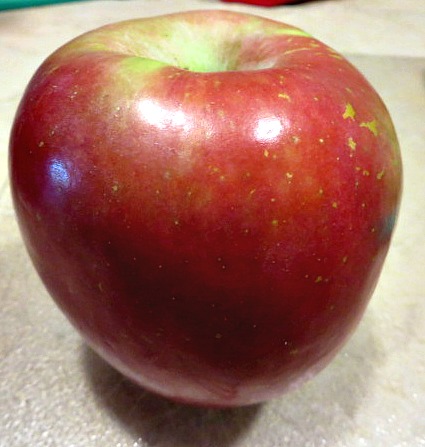
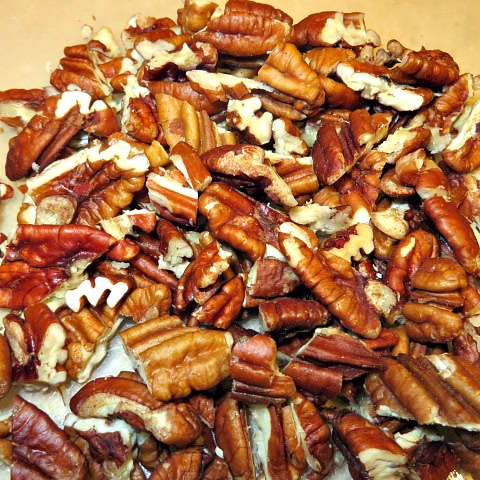
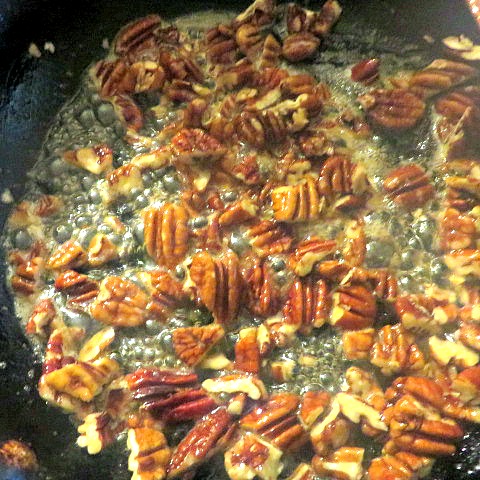
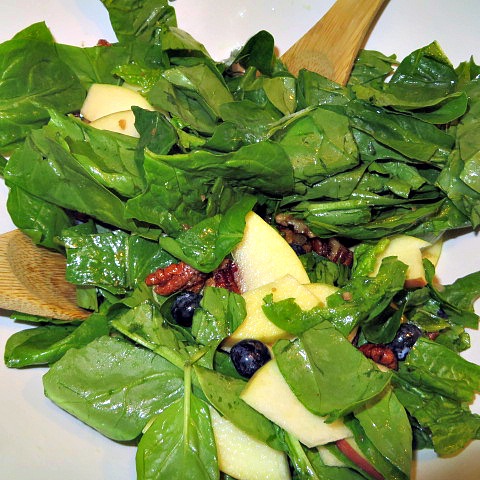
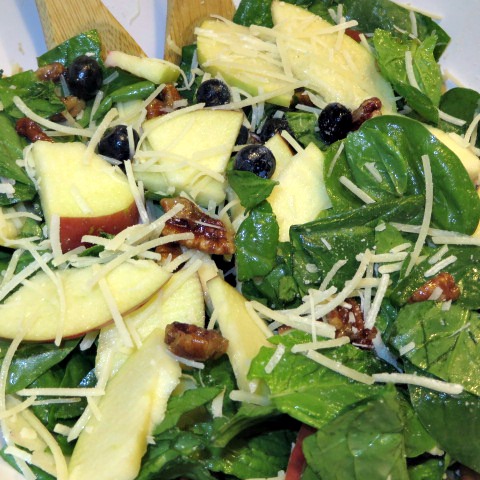
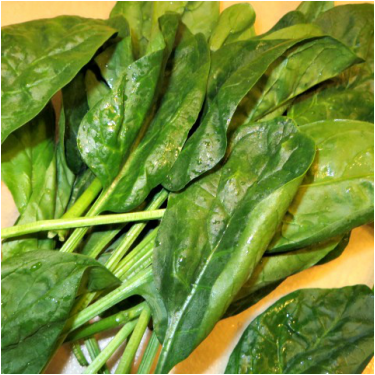 , That beautiful green spinach makes me feel healthy just looking at it. A few posts ago I told you about the recipe I found on Spoonful of Flavor. It is a wonderful Watermelon Berry Salad with a Strawberry Mint dressing. It was so delicious, I decided to experiment with a few other flavor combinations that went with spinach. (I had purchased plenty!) First of all, I also had some cucumbers and delicious vine ripened tomatoes. I thought about a Greek Salad, but I decided to go with a little Italian twist. Here is what I did, be sure to click on the pictures for the directions. I am not giving you specific measurements for this salad because depending on the size of salad you need, you can add more or less of everything. Cucumber Spinach Salad I eyeballed how much spinach I thought I would need, added 1 big cucumber, 1 bunch of green onions, 2 tomatoes, and probably 2 cups of mozzarella cheese. Then, dressing and Parmesan according to your taste. Super easy and super good! 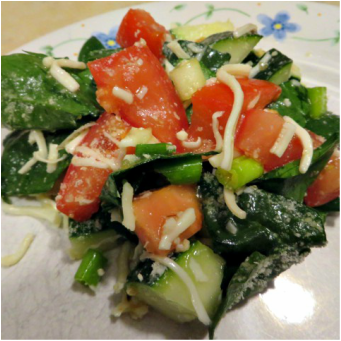 A perfect side dish for any meal. A nice healthy accompaniment! After enjoying the Watermelon Berry Salad so much with the delicious Strawberry Mint Dressing, I was intrigued by the idea of the fruity dressing. My son called and invited us over for smoked pulled pork at his house and I asked what I could bring. He suggested a fruit salad or something. That got my creative juices flowing and I came up with a new type of fruity salad mixed with spinach and I am so in love with it! Here it is: To dress the salad I really wanted to pull in some of the flavors I had already used, and being inspired by the Strawberry Mint shared by Spoonful of Flavor, I came up with a Blueberry Maple blend that is perfect for this salad. I can't decide what is more special in this salad, the glazed pecans or the dressing. This time there is a little more of a recipe: Apple Blueberry Spinach Salad 1 good sized bunch of spinach, washed well. (I always pick the stems off. Is that normal? I just don't like stems.) 1 container blueberries, about 1/2 pint, washed 1 or two apples, depending on their size, thinly sliced about 1/2 c. reconstituted lemon juice. (Maybe less, whatever will coat the apples to keep them from turning brown.) 1 c. pecans, roughly chopped 1 T. butter 3 T. real maple syrup 2 T. brown sugar 1/2 c. shredded Parmesan cheese Put the spinach, blueberries and apple slices, lemon juice and all in a salad bowl together. Next, prepare the pecans. Melt the butter in a skillet over medium heat and add the maple syrup. Add the pecans to the skillet and stir to coat with the syrup and butter mixture. Sprinkle the brown sugar on top and mix to coat. This doesn't take very long, don't burn the pecans or the sugar. Take off the heat when the pecans are coated and let cool briefly before adding to the salad. (I could eat these all up by themselves, and I don't even like nuts that much. There are really good! You could really package them up and give them away as gifts.) After you add the nuts to the salad, toss in the cheese. Now it is ready to serve with the dressing. Blueberry Maple Dressing 1 container of blueberries Juice of one lemon 2 T. real Maple Syrup Blend all together until smooth. Add more or less maple syrup to taste. "I can't decide what is more special in this salad, the glazed pecans or the dressing."  The result is a really pretty salad that went great with the pulled pork and rice. I hope you will give these a try! Let me know how you like them. If you know of some other great combos with spinach, let me know! Don't forget to check out our new printables page! There is a great new Hot Cocoa Bomb Idea Book that you can download for free! Don't forget you can order the molds here.
We've been on pins and needles waiting to see who would win the Hot Cocoa Bomb Kit! I guess I don't need to shout, but it is pretty fun. Thank you to everyone who entered and shared! I wish I had kits for all of you, I really wanted everyone to win so that you could try making Cocoa Bombs on your own. But, never fear! You can still order the molds for the Hot Cocoa Bombs here, on Amazon! (This is an affiliate link)
To make the selection fair, we used a randomizer to make the choice. All of your names were entered and then we clicked the button and the randomizer pop out the winner's name. So, without further ado, our winner is Sheryl White! So, Congratulation Sheryl! We will converse on email! Here is a reminder about what Sheryl won: 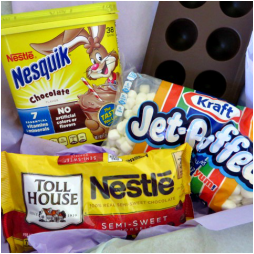
Announcement #2: If you ordered the mold you can always go to our tutorial here. But, for even more ideas, you can go to our new page! It is on the left hand side of this page, and click onprintables and you will find our beautiful Hot Cocoa Bomb idea book with directions, flavor and party ideas and lots of pictures to inspire you! Alicia did this for us using her remarkable publishing skills and it is beautiful! All you have to do is click the button for Hot Cocoa Bombs to get this Freebie!We also have theBridal Shower Favor printable there if you missed that one. (also Free!) Please also consider going to our contact form and leaving your email address so that we can let you know when we will have more give-aways and freebies published!
And now...Cookie Trial #1
Many of you will have readthis post where I mentioned my newest quest to find the best oatmeal raisin cookie for my dear husband. This is the beginning of my quest.
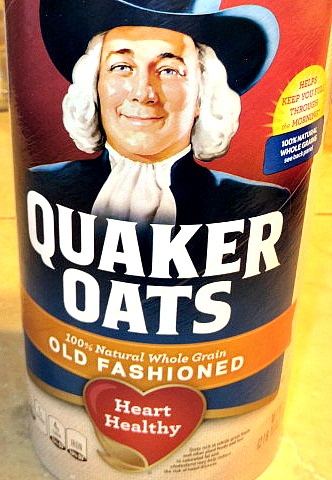
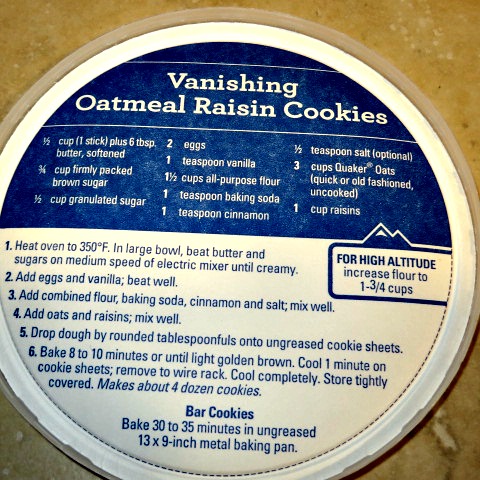
I decided to begin at the beginning and to use the recipe from the Old Fashioned Quaker Oats box. I figured lots of cooks from back in my husband's grandma's day would have used that recipe, then they would have perhaps added their own tweaks.
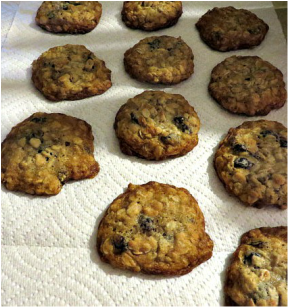
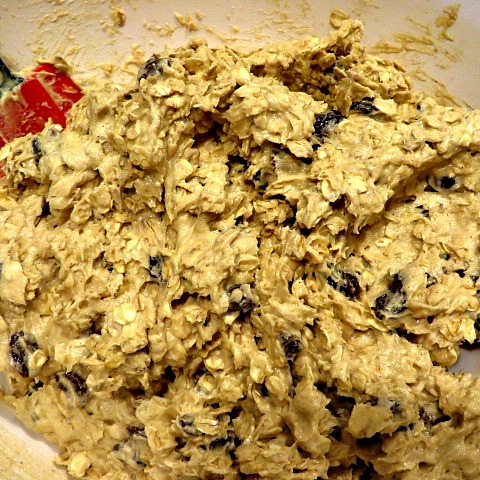
Overall, this recipe has been successful. I stayed pretty true to the recipe except that I doubled it because I took some to the Primary children at church. They devoured them and my husband assured me that the cookies were delicious. But I am not convinced that they are the best yet. I think I have quite a few recipes to go before I decide. Here are a few photos of Cookie subjects #1. 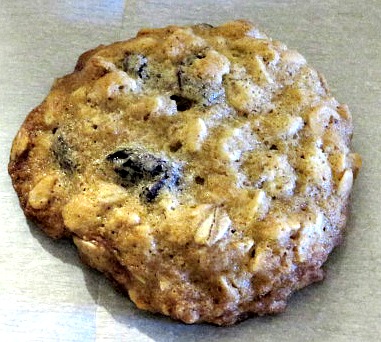
Now I am hungry! Maybe a Cocoa Bomb and an Oatmeal Cookie would taste good! Remember to share your recipes with me to try. You can email them to me with our contact form, or just leave a comment. Thanks!
|
Creators of Hot Cocoa Bombs! (copyrighted)

Author
Helen Reynolds: Mother of six children , grandmother to eleven! I love to cook, craft and create things and I especially love doing that with my family, So, when my lawyer daughter, Lindsey, my artist daughter, Madalynn, and I came up with the idea of Hot Cocoa Bombs, this blog was born. Then, one more daughter, with her technical and science skills, plus creativity has joined in to round us out! Read more about us here! 
Click this link and visit 3WinksDesignShop on Etsy. Find our Hot Cocoa Bomb Idea Book, our For the Love of PIe e-book and more of our creations!

Amazon Gift Cards are the Perfect Gift!
    Archives
April 2024
|


 RSS Feed