|
**This post contains affiliate links and I will be compensated if you make a purchase after clicking on my links.

Okay, I know that it is not Halloween yet, but let's face it, if you have kids and you enjoy creating homemade gifts with them, it is time to start thinking about it. You don't want to have to rush and get things done at the last minute. How nice would it be to have everything done early and to be able to just enjoy the season without stress?
Some of my favorite gifts that I have received from my children have been homemade. Kids love to make gifts and they get so excited about giving them. The excited looks on their faces as you open their gifts is so heartwarming and memorable. Letting children make and give gifts is a great way to teach them to take the focus off of themselves and to think about others.
My own children are grown now, but sometimes they still make homemade gifts! When they were young, I would help them think of inexpensive gifts to make for friends and teachers, as well as for their siblings. Now, I think in terms of my grandchildren. I have enjoyed, in recent years, helping them think of things to give to their parents or siblings. That is what was on my mind as I took a trip to the Dollar Tree recently and came up with a couple of fun crafts that would be great for kids to make.
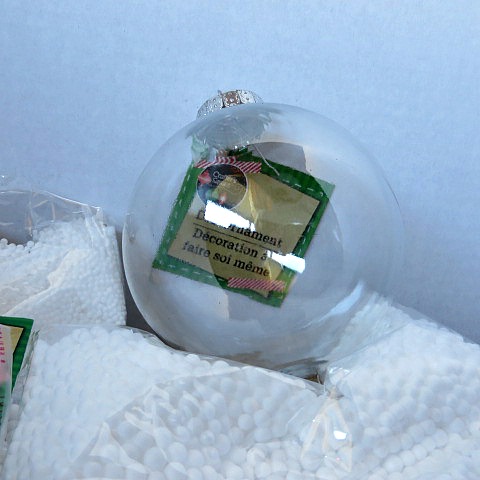
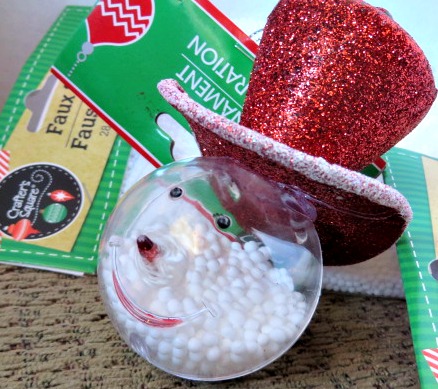
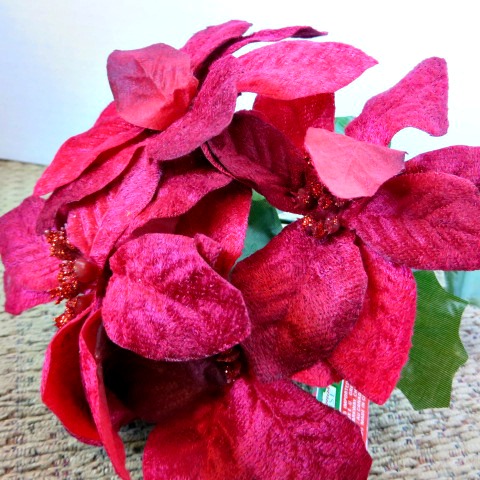
Dollar Tree is beginning to put out their Christmas decorations. I have learned to get there early to get the good items quickly! Here is a gallery of some of the things I saw, (and perhaps even purchased!).
One thing that I have seen done, and have always wanted to do myself, is to decorate wooden spoons or wooden salad tongs. This would be such an easy craft kids to do. Dollar has a great selection of wooden salad tongs, so I brought some home. These could be decorated for the holidays, or to match a kitchen. As a mom, I would have loved receiving a set of these. Here is how I decorated mine:
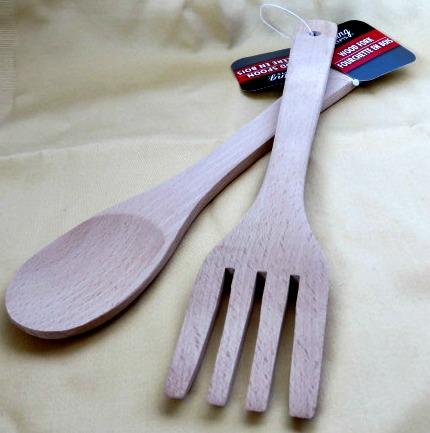
Here are the tongs as they came from the store.
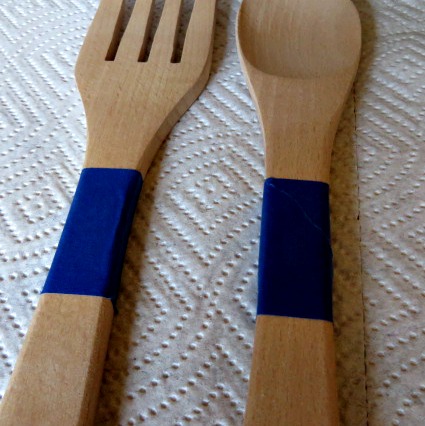
I taped them with painter's tape to the place I wanted the paint to stop. This gives a clean line.
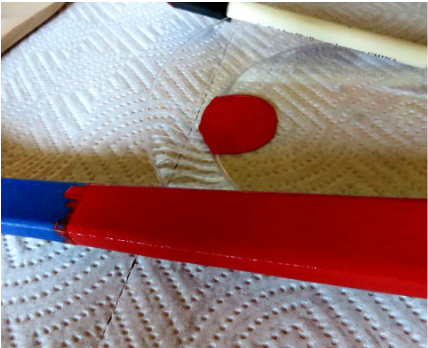
I decided to make my handles red. Take the tape off while the paint is still wet.
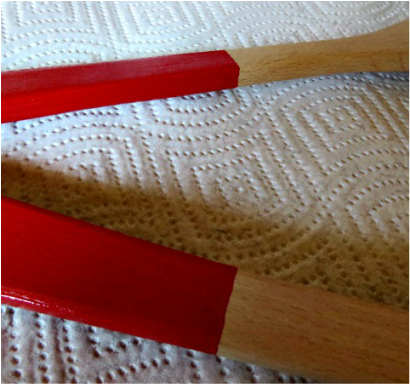
Nice clean lines. Let them dry before applying polka dots.
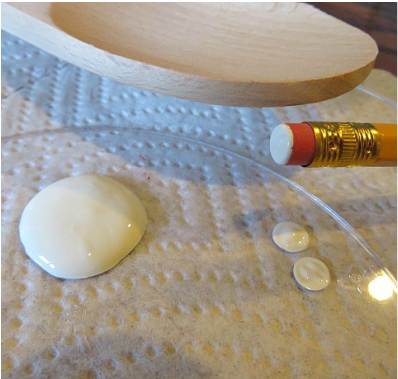
I used a new pencil eraser to make the dot. I practiced first on my palette. I found that I could do 2 dots before reloading with paint.
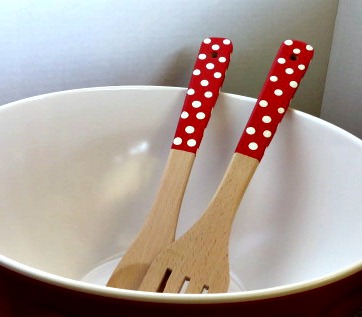
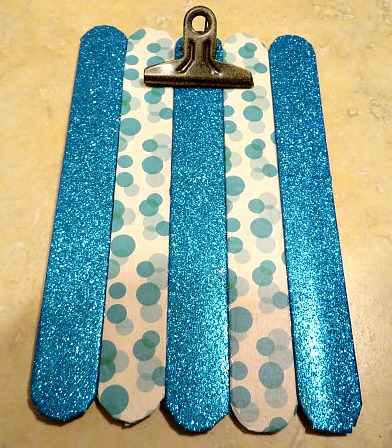
When they were finished drying, I sprayed just the painted handles with crystal clear acrylic spray to protect the paint. Don't they look cute with my red bowl? Any kid could do this.
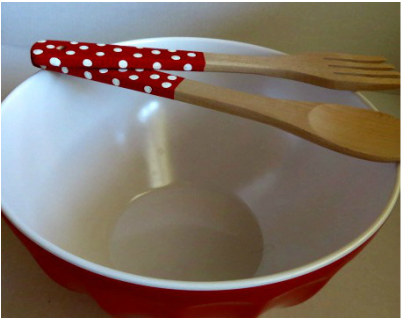
Add a bowl and you have got a super great gift even from an adult or for a wedding or shower gift!
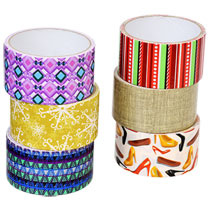
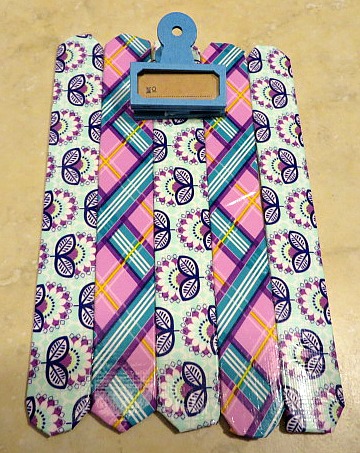
Another product that I am especially partial to is the wide variety of duct tape that they sell at the Dollar Tree! I did a post about it here. Look at some of these cute styles:
A really cute idea to do with this duct tape is to make simple picture frames, similar tothese that I taught before. Only this time we just covered tongue depressors with alternating colors of duct tape, glue them together with E6000 glue, put a cross piece across the back to stabilize, add a clip at the top and VOILA!
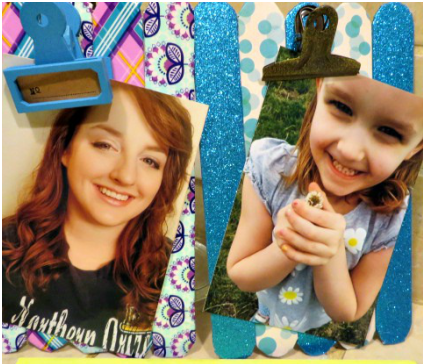
Remember those clips that I used on the other frames? Those are pictures of one of my beautiful daughters and one of my beautiful granddaughters.
Whelp! There you go! Two great crafts that would be fun and super easy for kids to make and give as gifts this year and at very little cost! Check out Dollar Tree and let your mind imagine what you could do with the myriad of things they carry! If you come up with some great ideas, let me know!


39 Comments
One perk about being married to someone who works at a federal job, like my husband, is that they still get Columbus Day off! So, we took a day trip up to the Show Low, AZ area and looked at some properties that we are interested in. We had such a fun day together. Here is a slideshow of some of the sites we saw. Arizona isn't all desert!
We loved the meadows surrounded by the tall pines. Some of the land is still recovering from forest fire damage in 2002.
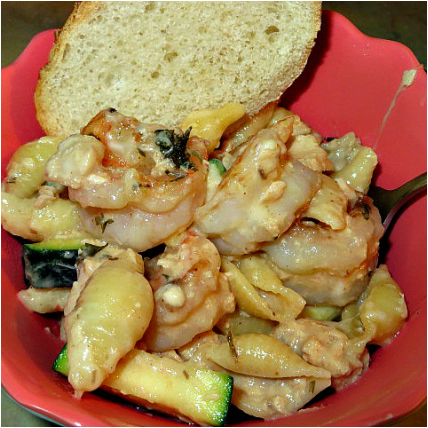
Next on the agenda? I am going to share with you a simple recipe for all of you shrimp lovers out there. Over general conference weekend, I made this Shrimp/Salmon Vegetable Alfredo and it was so delicious! And, it was a quick and easy lunch.
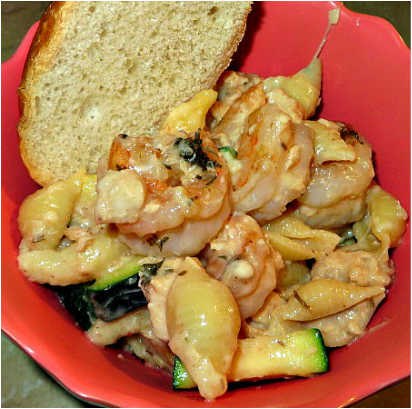
Shrimp & Salmon Vegetable Alfredo
Peel 1 lb of shrimp Chop 4 cloves Garlic 2 T. chopped parsley Brown in 3 T. of butter(about 2 min. per side) in an oven proof skillet. Remove the shrimp to a bowl and reserve. To the buttery juices, add: 2 T. butter 2 T. flour (mix in gradually, blending to avoid lumps) 1 c. milk 1/2 c. chicken broth, or water will work. Stir in to melt, 3/4 c. shredded mozzarella cheese and 1/4 c. grated Parmesan. Now add to this: 1 sliced and halved zucchini, 1 c. flaked, cooked salmon. (Fresh is best, but you can use canned as I did this time.) 2 medium chopped tomatoes Salt and pepper to taste Simmer all together for just a couple of minutes while you turn the oven on to 350 to warm up. Return the shrimp back to the skillet and add 10 oz. of cooked pasta shells. Mix all together. Top with another 1/4 c. mozzarella and 1/4 c. Parmesan. Put the pan into the oven for about 10 minutes, until it is all melted and bubbly! Serve with sliced french bread. So addictive and delicious. 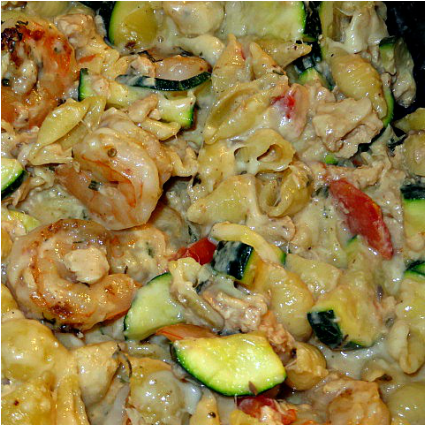
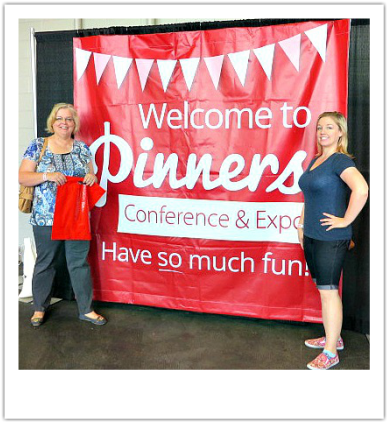
Lindsey and I at the entrance!
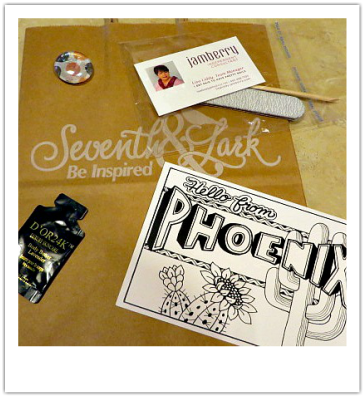
Just a few freebies!
This past Saturday was so much fun! My daughter Lindsey and I, with some of my friends went to the Pinner's Conference and Expo at Westworld in Scottsdale, AZ. We had so much fun, met so many talented people, and saw thousands of wonderful things. Next year, I am going to take a couple of classes. This year we just went and took it all in. Here is a small sampling of some of the things we saw.
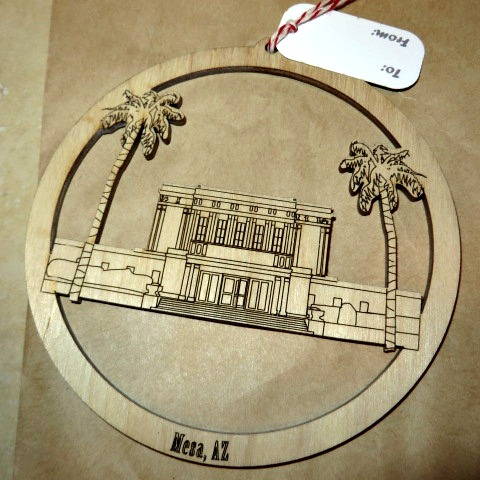
One of my favorite booths was BWA, BurntWood & Acrylic. They had some remarkable laser cut and engraved products. I purchased this little ornament of the Mesa, AZ LDS temple. They will have the Phoenix temple ready soon! I can't wait, and it was only $5. 00! They have an etsy shop here. I don't see any of their ornaments on there right now, but keep a look-out!
I love, love, loved Simple Expressions! Here is their Facebook page. They made the cutest signs for your homes using elevated wire, which is so unique to anything else I had seen all day. For some reason I didn't get a picture, but here is an example from theirEtsy shop:
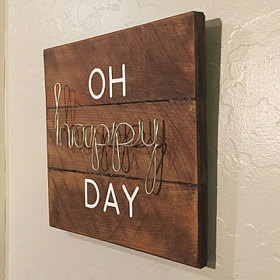
And their prices are very reasonable for the amount of work these must be.
Also, I don't know if I have told you of my love for jamberry nail wraps. I met a consultant namedLisa Liddy who was very good with the nails and also, she is a book designer! (I may have two reasons to speak with her again!)
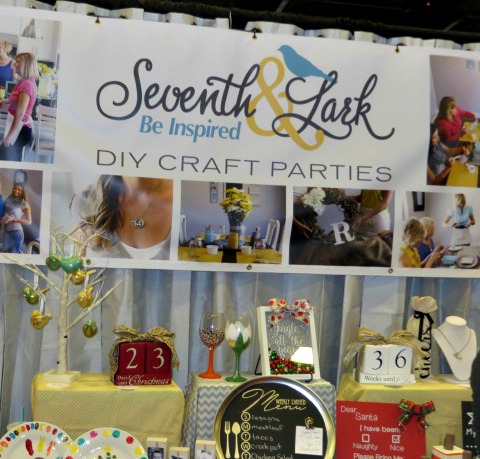
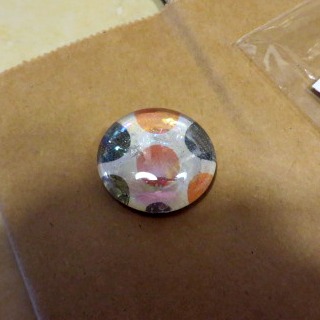
Seventh & Lark is a cool concept for crafters! They put on craft parties in people's homes! They had many adorable crafts to choose from. Their booth was a lot of fun because they offered the free magnet craft shown above, as well as a canning jar craft that people could paint to look like a candy corn. Here is their Facebook page.
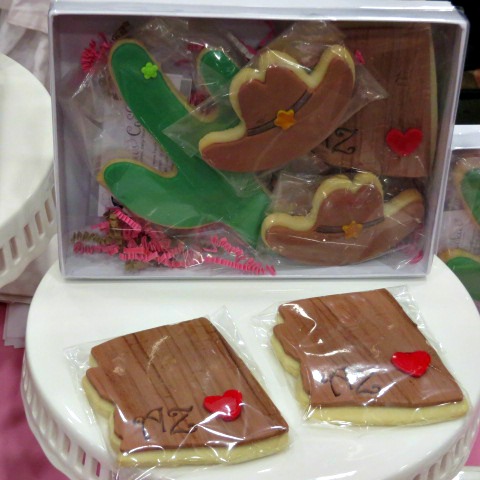
I don't know if my friend Melissa got to see this awesome cookie baker/decorator before she had to leave. I loved the cute AZ inspired set of cookies. You can find her here.
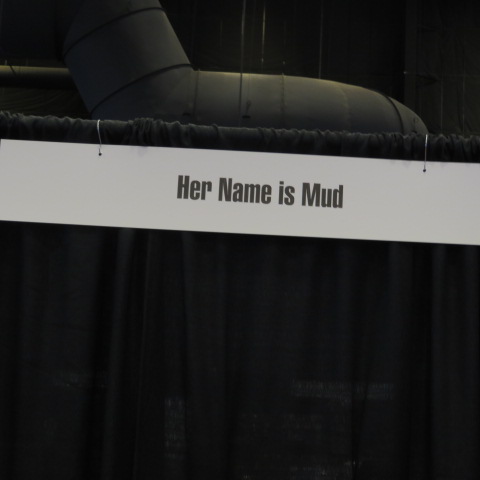
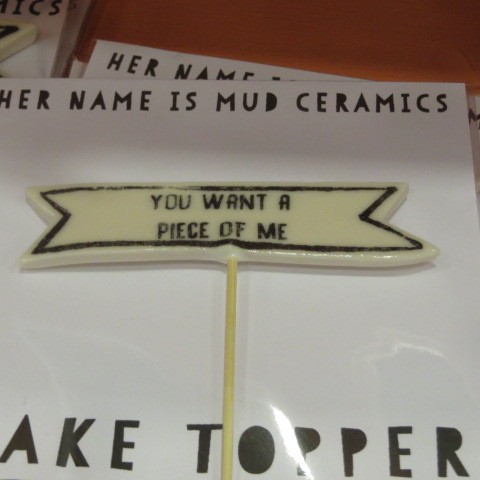
Her Name is Mud made some great ceramic pieces for cake toppers and other fun decor! I love the cake topper above! She has an etsy shop here, but she is doing shows right now, so you may have to wait for things to be in the shop.
Well, I could be here forever showing you pictures of everything. If you get a chance to go to a Pinner's Conference, you've got to go. It was such a fun day! Here is a list of some of the other pinners I had fun meeting:
Prickley Peach Designs Cute and Sparkly Roseholm & Co Fun lettering! Stapley Dolls My daughter bought Max, from Where the Wild Things Are. The Ginger Cotton Shop So many cute things! Moon Dust Farms Love the barn style sliding doors on their furniture. Little Kit Beautiful artwork!
You may be wondering about Cookie Quest Monday. Well, I am still waiting to get the actual Grandma Bonnell recipe from my sister-in-law, and to tell the truth, I was getting a little tired of Oatmeal Raisin Cookies! So, this weekend I made the kind of cookie that I love! Chocolate Chip!
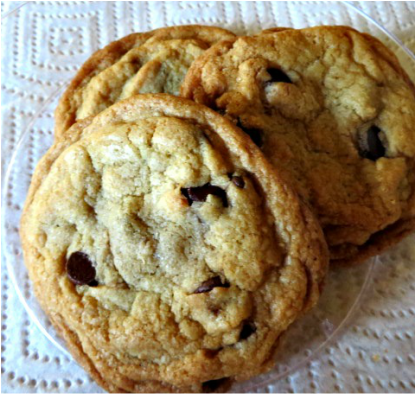
And, I made a double batch!
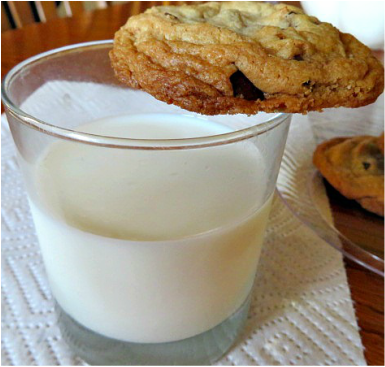
They also passed the milk test!
I hope you will check out some of the fun pinners that I have listed for you! I am not receiving compensation from any of them, just trying to spread the love to some talent right in my home state! You may see something that inspires you, or makes you wonder, "How did they do that?"
Talk to you later! 
I am calling this Finish-up Friday because there are so many little odds and ends of things that I need to tell you about. I do projects and recipes and tell you that I will let you know how things went, and then I don't get back to it. I feel guilty about this! So I am going to try to bring some of these little issues to a close.
First of all, Remember this post, the Count Your Blessings Frame? I really wanted little wooden leaves to drop into the frame, but couldn't find what I wanted. Then, I went to Target's One Spot and I found these little wooden stickers! 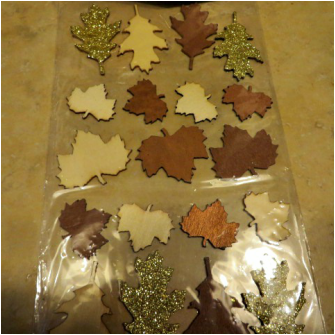
They were marked down to half price! So, I bough 2 packages for only $3.00! So, if you want some, you had better hurry!
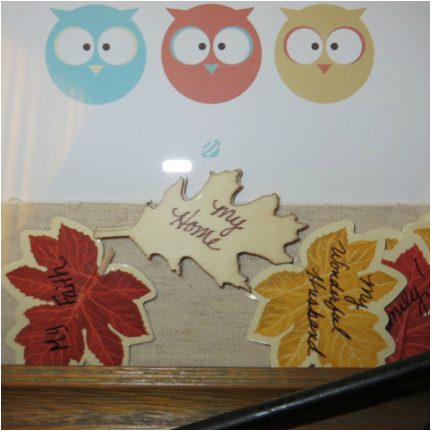
I think the wooden leaves will blend in really well with the colored ones that are in there all ready, so I just mixed the wooden leaves with the paper ones in my bowl.
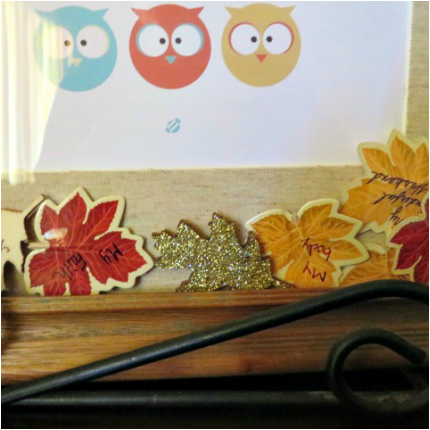
Some of the leaves are shiny, so I am simply dropping them in periodically as an accent leaf.
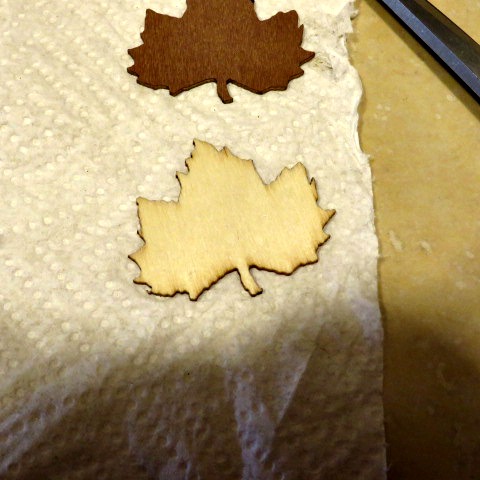
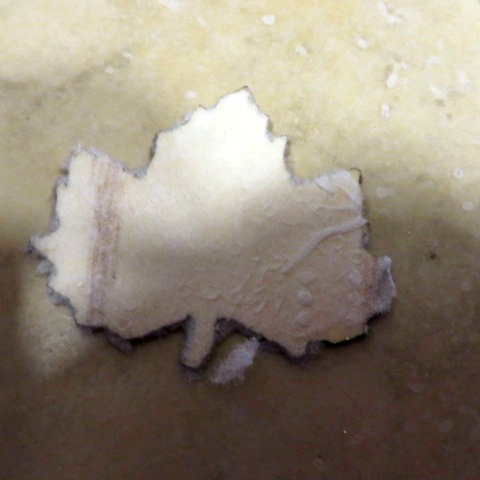
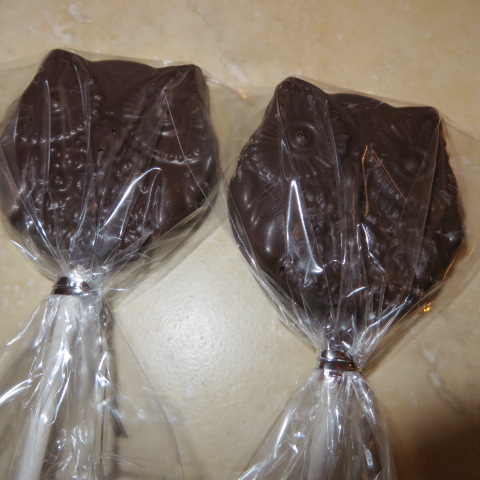
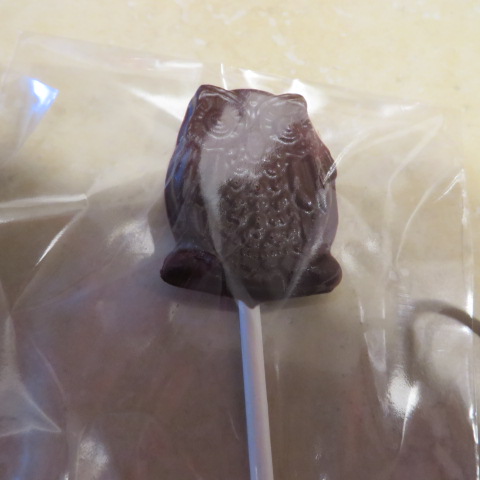
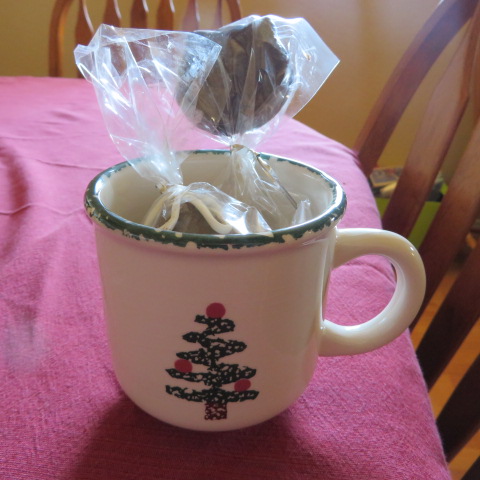
Next on my list is the owl mold for chocolates that my sister sent me. I wrote about it in my Ode to Owls post but never showed you what I did with it. In December I will be selling Cocoa Bombs at theUgly Sweater Express Craft Boutique. So, we thought it would be fun to have owl shaped stirring sticks made of chocolate. I am making large and small ones, regular chocolate and sugar free. Or, they can just be eaten like a lollipop! We are also going to put together some gift kits that will be great for teacher gifts or neighbor gifts, etc. with a mug, bomb, and stirring stick! Also, look at these little owl cupcake molds I found on Amazon! I may need these. Definitely getting these! Only $1 . 60 and free shipping!
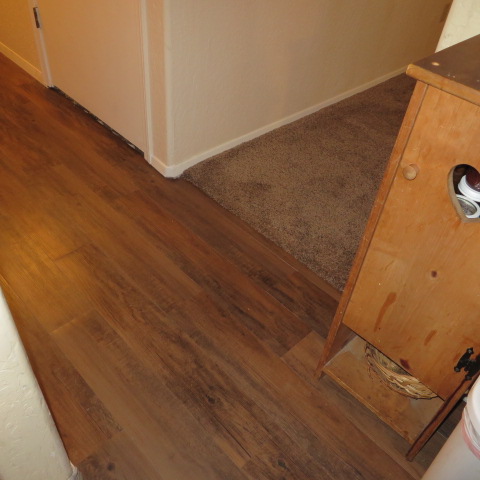
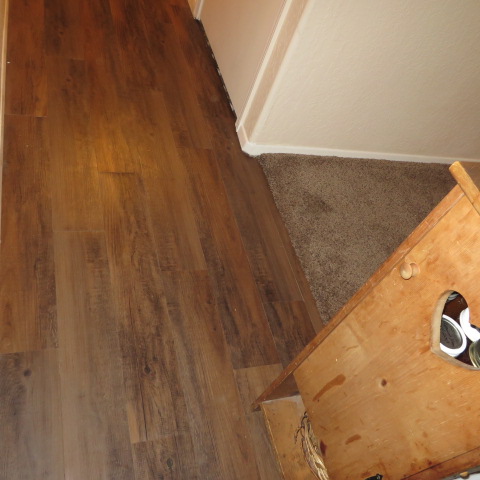
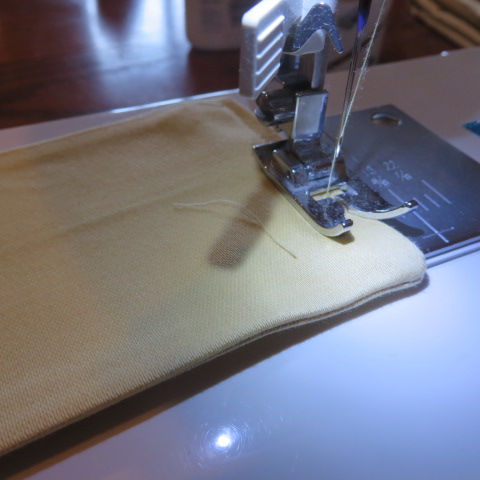
Third/Fourth we are still working on the house. We have started tearing out the kitchen floor and extending the flooring that we put into the hallway into the kitchen. Also, I have sewn the curtain tiebacks, and when I purchase the tieback holders and get them installed, I will show you the final results. (So both of these are still not finished-up, but works in progress.)
Finally Fifth! After learning about browning butter when making cookies from Lori, I decided to try that technique in a different recipe. I made a Banana Crumb Cake and browned the butter. It was so good, especially when warm. I ate 2 pieces right in a row. I began with a recipe from Neighborhood Food Blog, but changed it to accommodate the browned butter technique.
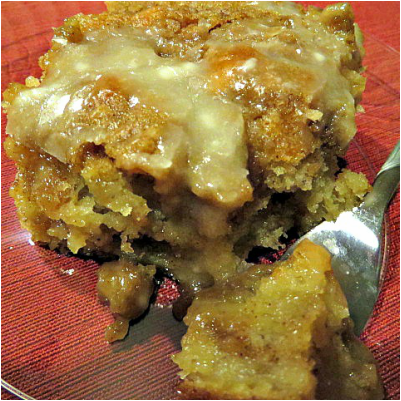
I even browned the glaze butter a little bit.
Browned Butter Banana Crumb Cake
Mash 3 ripe bananas Brown 1/2 c. butter in a small sauce pan. Blend 1/2 c. brown sugar and 1 1/2 c. granulated sugar into the bananas. Pour the hot browned butter over this mixture and blend together well. Next, beat in 2 eggs and 1 tsp. of vanilla In a different bowl, blend the dry ingredients: 2 c. flour 1 T. baking powder 1 tsp. salt. You also need 1 c. milk. Beginning with the milk, alternately add the milk and the dry ingredients. End with the milk. Set the batter aside as you make the crumbs. Mix 1 c. brown sugar, 1 c. flour, 2 tsp. cinnamon and 1/2 tsp. of nutmeg in a bowl. Cut in one cube, (1/2 c.) cold butter until there are peas sized crumbs. Pour 1/2 of the batter into a well greased 9 x 13 pan. Sprinkle half of the crumbs on top of the batter. Pour the remaining batter of that and top with the remaining crumbs. Bake at 350 degrees for 45-50 min. When the cake comes out of the oven, let it cool about 10 min. while you make the glaze. Put 2 T. of butter into the small sauce pan again and brown it. Add about 1 c. powdered sugar and stir into the browned butter quickly. Add 1 c. milk and 1 tsp. vanilla and mix until smooth. Pour this over the cake. Slice and serve! 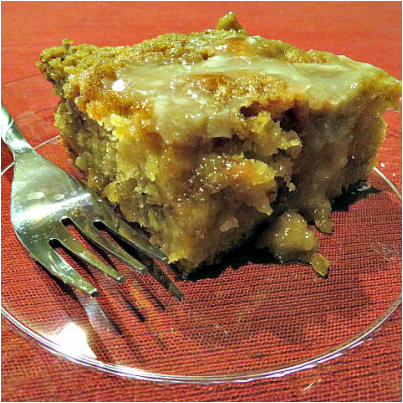
There, that puts my mind at ease about a few things! Now I'm off to work on a few more! Thanks for being patient with my somewhat crazy life!
|
Creators of Hot Cocoa Bombs! (copyrighted)

Author
Helen Reynolds: Mother of six children , grandmother to eleven! I love to cook, craft and create things and I especially love doing that with my family, So, when my lawyer daughter, Lindsey, my artist daughter, Madalynn, and I came up with the idea of Hot Cocoa Bombs, this blog was born. Then, one more daughter, with her technical and science skills, plus creativity has joined in to round us out! Read more about us here! 
Click this link and visit 3WinksDesignShop on Etsy. Find our Hot Cocoa Bomb Idea Book, our For the Love of PIe e-book and more of our creations!

Amazon Gift Cards are the Perfect Gift!
    Archives
April 2024
|


 RSS Feed