|
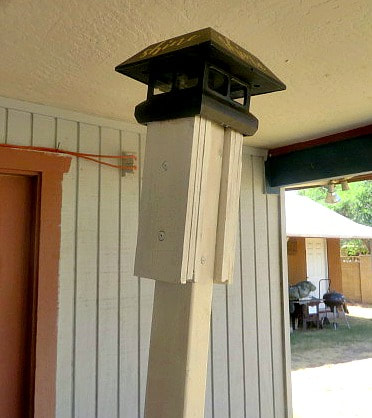
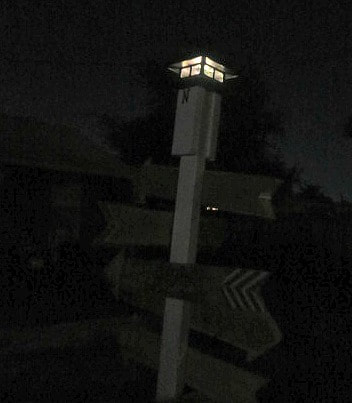
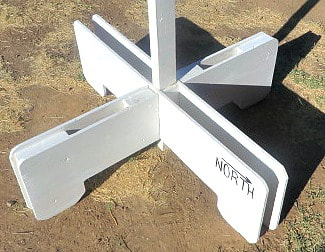
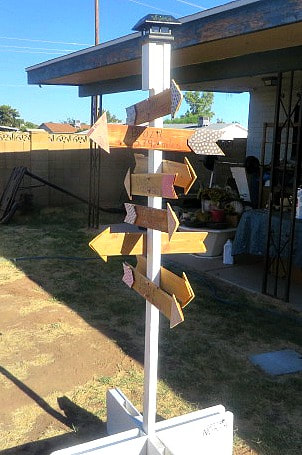
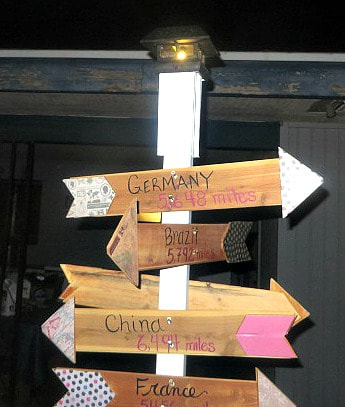
This post contains affiliate links. We will be compensated for purchases made through those links at no additional cost to you. All views expressed are our own. Thank you for your support.  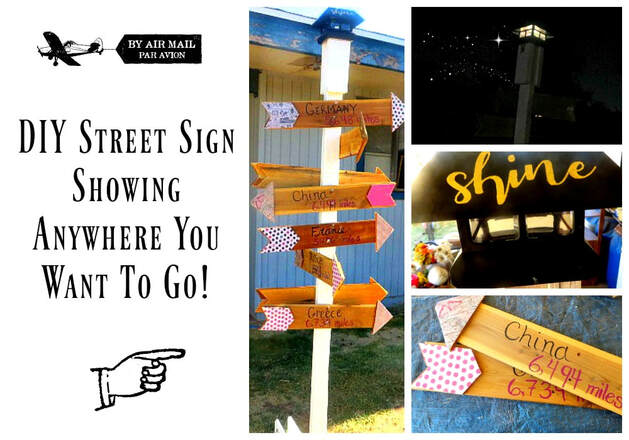 Once again, this summer I am going to our church Girl's Camp! I actually will be gone by the time this post goes up. This year I am one of the adult overall leaders, but in reality, the girls get to choose their theme and the things that they want to do at camp. As adults, we just help guide them and get things to happen. So, that means that the girls chose the theme and they chose a really good one. It is "Shine in the World and Not Of the World." I love that theme because the girls are thinking about ways that they can be themselves and shine, doing good things and not succumbing to the temptations of the world around them. They are trying to make the world a better place, recognizing that their strengths and talents come from God and that they can use those blessings to do good. The girls decided that each cabin of girls would be a different country of the world, so, of course, we turned to Pinterest for ideas. One of the things we found were a variety of different types of sign posts or street signs like the one I am going to show you today. There were ones that pointed to imaginary places from books, like Hogwarts or Narnia. There were ones that pointed to fun places like Disneyland or Magic Mountain. Then there were the ones that pointed to real places. Many of the posts were links to shops that sold the posts for a pretty penny! I decided that my dear, nice and talented husband and I could make our own! (I hope you can tell by my description of him that my husband did most of the work!) When camp is over, I am going to put this sign post in our backyard and change some of the countries or add countries to represent places that have meaning to our family! How to Make Your Own Street Sign or Sign Post The Arrows 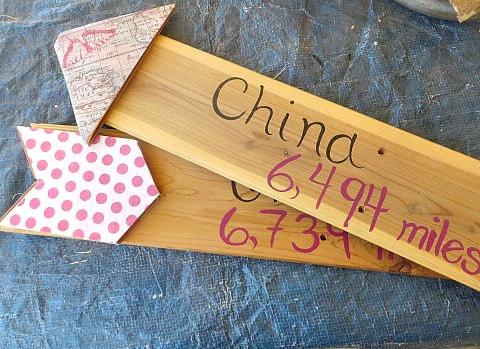 We had some scrap 1/4 " thick wood hanging around our house that my husband cut these cute wooden arrows out of. If you don't have many wood scraps, you can always check out the marked down wood cart at Home Depot for some really good prices. We got really creative with what we had to make this sign post project come to pass! Using the 1/4" would, you can see how DH made the point and the feather parts and then we glued them onto the top of the main shaft. They don't have to be perfect, that adds to the rustic charm of the sign. I googled the distance from our city of Phoenix to the capitol city of the country. Then I hand painted the country name and distance. On the arrowhead and on the feather part I used various scrapbook papers and decoupaged them with Modpodge. The Post and Stand 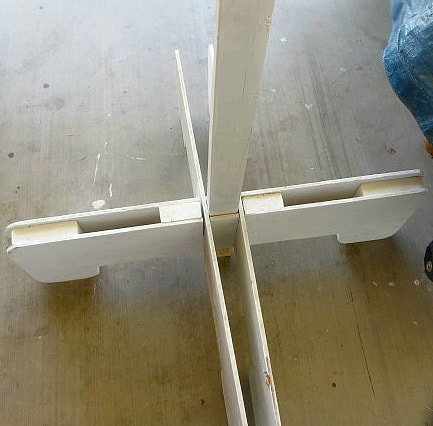 We can't dig the post into the ground at camp, so DH made this slotted stand to hold up the 2"x 3" post that will hold the arrows. He had to make a sturdy stand because with the arrows on it, the stand will be fairly heavy and off balance. He used plywood and sandwiched blocks of wood between the E and W part to make it very stable. Then he cut slots, measuring to make sure the post would fit in the center space securely, with corresponding slots on the N and S legs. He painted the entire sign post and stand white so the wooden arrows would pop. The Lighted Post Top Most of the supplies that we used for this project was stuff that we already had on hand. But, for the top of the post, we spent a little over $5 to add a lighted post topper! We found it at Lowe's. Then, my DIL Jessica used her silhouette to cut out the word "Shine" for me to stick on each side of the top. The light is a solar LED light that shines nicely in the dark! To make the topper fit on the top of the post, my husband layered some plywood at the top to the correct dimensions to fit the topper onto the sign post and then screwed it in place. The Finishing Touches
I love the wooden base because I will be able to place this wherever I want up at camp or in my yard later! This turned out to be such a fun project with so many possibilities. I may just add Disneyland on there when I bring it home! Let me know what you think in the comments below! I've worked on a bunch of other things for camp this year that I will post about when I get back! (I didn't want to give anything away to the girls!) There are a lot of printables and fun ideas, I can't wait to share them. Here are some past camp ideas:
3 Comments
This post contains affiliate links and I will be compensated if you make a purchase after clicking on my links. Thanks for your support!
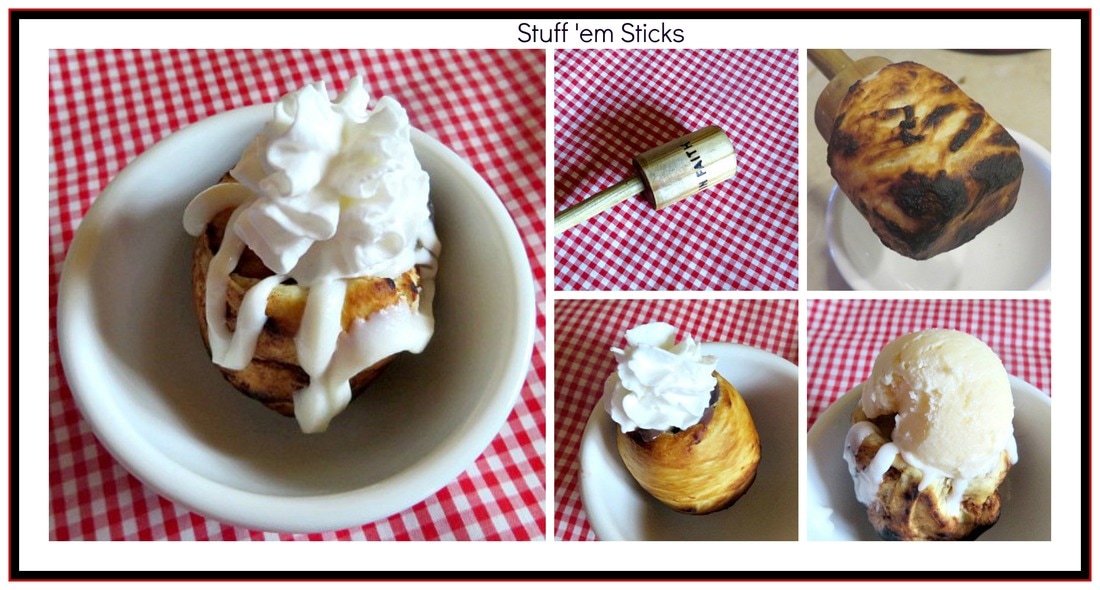
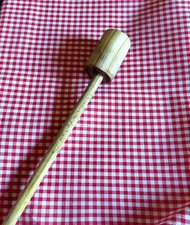
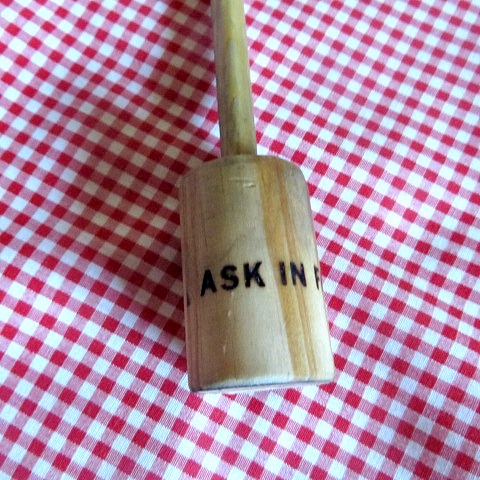
Yesterday I wrote about my experience at Girls Camp. One thing I left out of that post is what I am going to write about today, because believe me, this thing deserves its own post! One night, the leaders of the camp came around to each tent site and gave each person a thing called a Stuff 'em Stick! Along with the stick, they gave us biscuit dough, pie fillings and whipped topping and explained to us how to roast the biscuits over the coals of the campfire and make ourselves mini cobblers. It was so much fun and amazing! Our camp leaders made us these sticks and engraved the theme of the camp on each one.

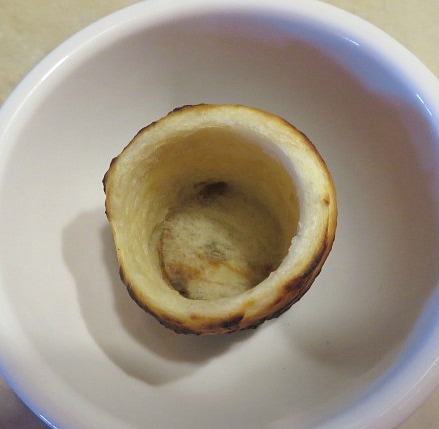
You use them by taking a can of biscuit dough and cutting each biscuit in half. At least, at camp we used biscuit dough, but I heard a rumor that crescent dough is better and so I tried it, and guess what! I liked it even better! But, either one will work and in a minute I will show you some other variations!
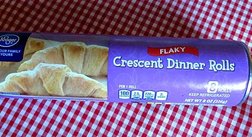
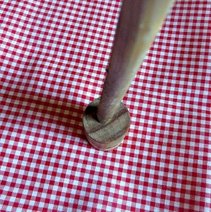
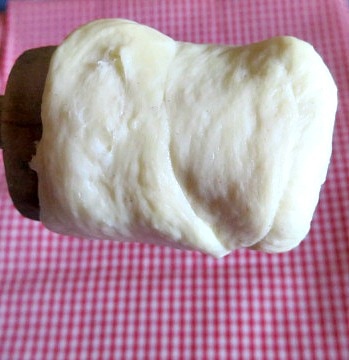
So, when I used the crescent roll dough, I took one big triangle of the dough and I cut it in half and then wrapped it and squeezed it around the large knob of the Stuff 'em Stick. The sticks had been soaked in oil, so there is no need to spray it, but you can if you want. Maybe as it gets older and starts to dry out I will have to soak it again or spray it. So far, there has been no sticking.
I got to thinking, as great as these are in the crescent rolls, there are probably some other delicious options.
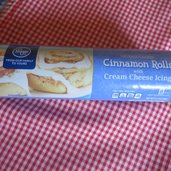
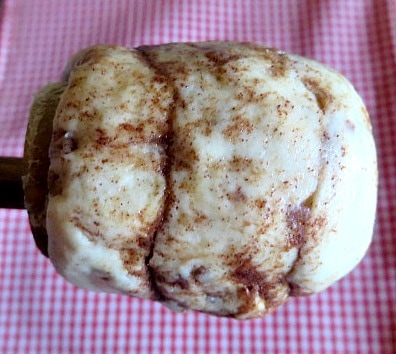
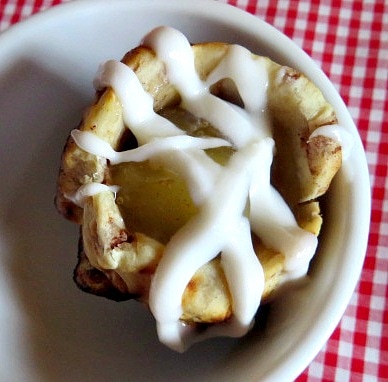
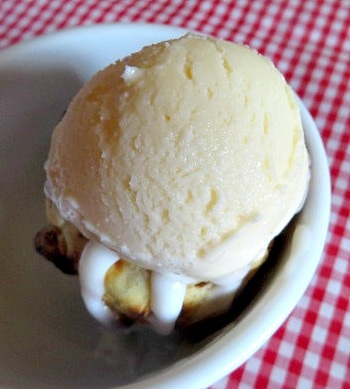
I decided that apple pie filling would be delicious is a cinnamon roll crust!
I simply opened a can of refrigerated cinnamon rolls and smashed a roll flat in my hand. Then, I wrapped it around the Stuff 'em stick. Make sure to stick the layers of the spiral roll together!
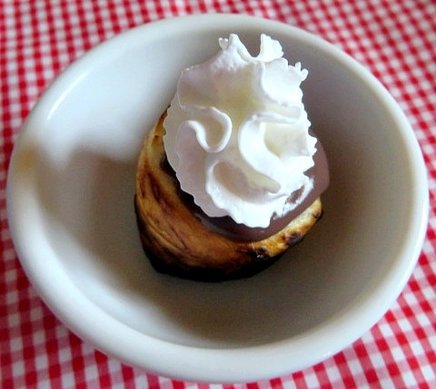
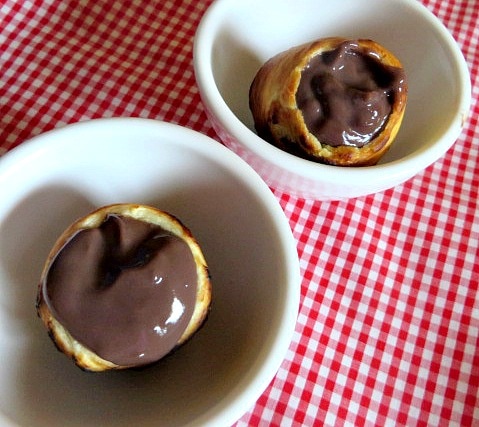
I think that another beauty of these sticks is that you don't have to worry about kids stabbing each other in the eye like you do when you are using marshmallow roasting sticks! Plus, there are so many other variations! Wouldn't it be great to use cookie dough to make the shell for the chocolate pudding? Add marshmallows and you have a s'more like final result! Since you use only half a crescent roll, one can of dough will make 16 Stuff 'ems. Here are a few more photos:
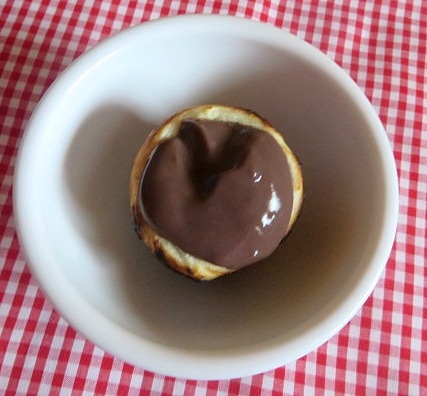
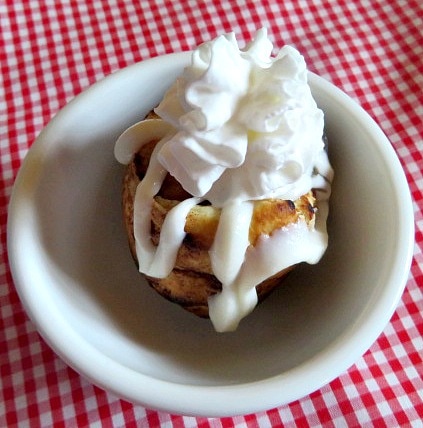
Chocolate pudding is good.
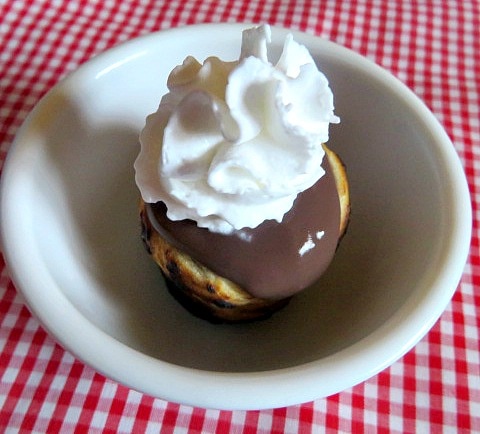
Chocolate topped with whipped cream is better!
You can make these sticks, like our leaders did, for yourself! That is what I want to do as gifts to my family. Or, you can order them from a couple of places.
What a fun party around the campfire, either in your own backyard or up camping! I fell in love with this Stuff 'em Stick idea! You could even do little pot pies or brownie cups! The possibilities are endless! Let me know what your ideas are!
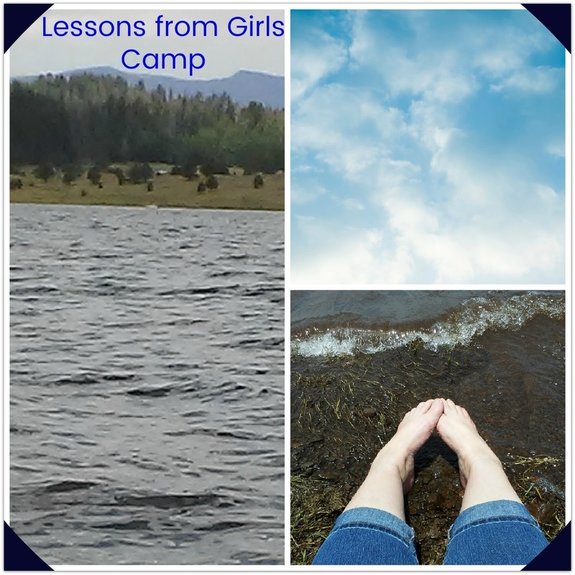 I am home from our church's girls camp! It was a lot of fun, yet a lot of work! We were in a beautiful area of Arizona, with lakes, streams, tall pines, billions of stars and bumpy roads. As you can see from the photos above, I loved being by the water. There weren't too many days when I could just sit and dip my toes in the water, but I did it when I could. We thought that there was going to be mostly cool temperatures up there, but a high pressure ridge over AZ made it very warm. We were thankful not to be in the 120 degree weather of Phoenix, though. And, the rain that came a couple of times helped to cool things off. When you are working with a bunch of teenage girls and their leaders, there are bound to be some tears and frustrations to deal with. The first day we were there, as my partner leader and I tried to get the girls busy doing their tasks, I found myself getting frustrated less with the girls and more with some of the other adult chaperones. I knew that it was because I was tired from the long day of getting up there and the long weeks of preparation. I hated feeling irritated like I did. It was silly and I knew that I didn't want to ruin my entire week and possibly the week of everyone else by being a grouch. I needed a positive attitude and fast! "If any of you lack wisdom, let him ask of God, that giveth to all men liberally, and upbraideth not; and it shall be given him. That was the theme of camp this year. I knew that I lacked wisdom. I needed to know the best way to lead my girls. I needed to know the best way to connect with the other leaders and how to be positive and humble and to have a good attitude. So, that evening I poured my heart out in fervent prayer. I knew that the only way to change how I felt was to change myself. So, I prayed and then I got some sleep! The next morning, my perspective had changed and the fun of camp really started. I tried harder to talk to people one on one to understand them and share good times. I especially tried to connect with people who I was feeling self conscious around and I learned that they are just real people, too and I didn't need to feel bad about myself at all. I had nice conversations with the girls and listened to their ideas and feelings. They often helped me to feel less worried or confused about our schedule and the way we needed to be organized. One of my girls had given us a daily devotional idea that went as follows: "Compliment, don't compare. Look for Christ in others." I tried to implement that in my perspective. I tried to find the good attributes in everyone. My partner, Jazmin, also helped me in that area. She noticed good qualities about people and pointed them out to me, too. The answer to my prayers came quickly and life was so much better. 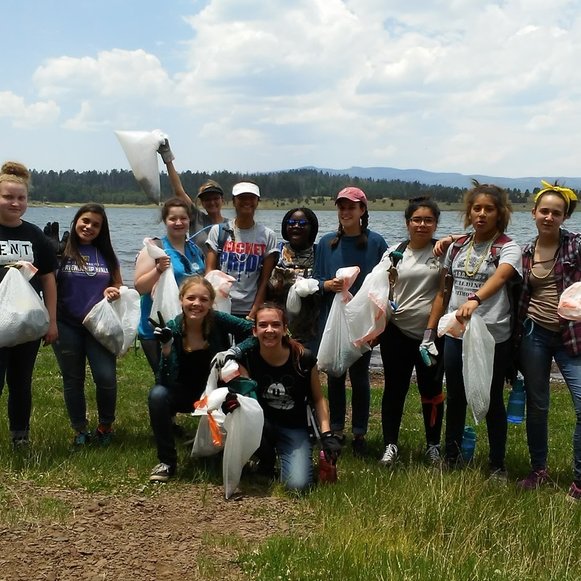 Here are some of the beautiful girls I was with. They were back from doing the service of picking up trash from around the lake! How could I have anything but fun with this group? Here are some other great things about camp:
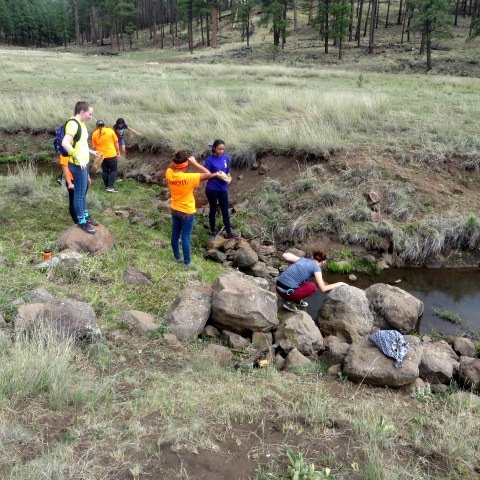 Down by the creek! Camp was such a great experience and although I started to feel my age as I walked over all of the bumpy ground and dealt with high altitudes, I am so glad I went and learned the things I learned. Even old ladies like me have a lot to learn! What a blessing these girls have been to my life this summer!
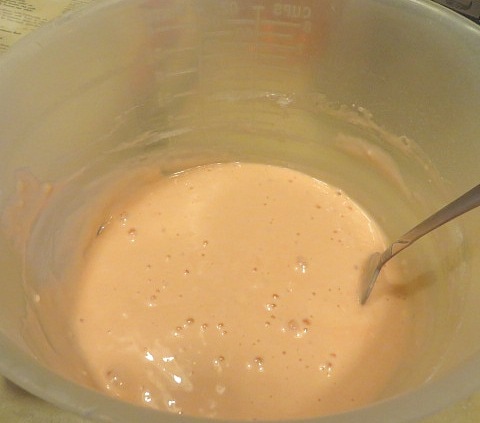
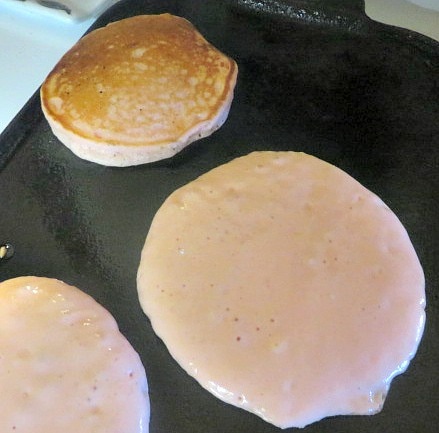
Even if you don't have the opportunity to go to a church camp like I have, there are a lot of lessons to learn by being in the great outdoors and by turning our thoughts to our Heavenly Father who blessed us with the beauties of this earth. I hope you can take the time to get out in it, turn off the electronics and just commune with the Spirit and with your loved ones and remember what is really important in life! P.S. The camp bags I made were a hit! This post contains affiliate links and I will be compensated if you make a purchase after clicking on my links. Thanks for your support! 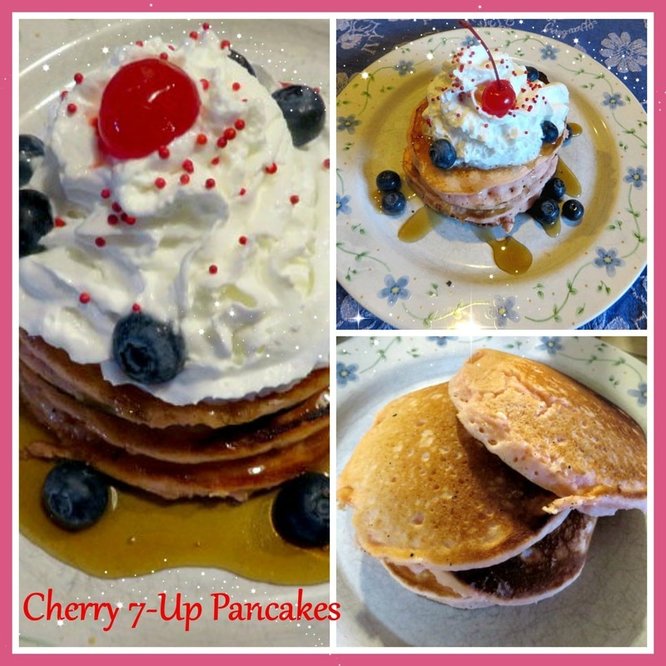 Last year on this post, I told you all about our family favorite Root Beer Pancakes! Well, pull out those griddles, because I have another amazing pancake recipe that your kids will love! On another blog, (I think it was livelovesugar.com but now I can't find it), I saw a recipe for Cherry Coke Cupcakes. That got me thinking about root beer, because I love it and I wondered if I could make root beer cupcakes. (That will be for another day!) Then, I thought about Root Beer Pancakes and I wondered about Cherry 7-Up Pancakes because they would look so nice and pink. The cupcakes had added maraschino cherry juice in them and I thought the cherry juice added to the pancake batter would make the pancakes even pinker! Well, of course I had to give it a try. (Now you see how my mind works!) 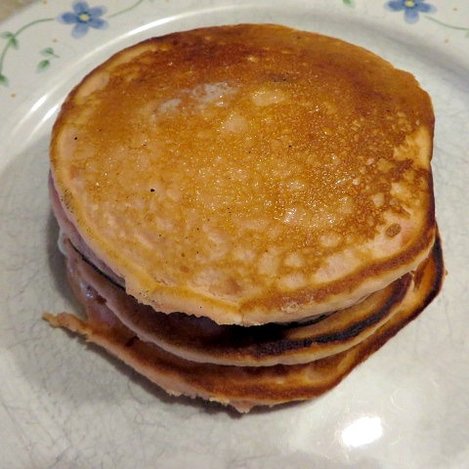 Here is a nice stack ready to be embellished! These pancakes have a subtly sweet flavor and delicate texture. I didn't have any cherry syrup to top them with so we just used our regular maple. It was really good, but I think a cherry syrup would be extra good! For the 4th of July, you could give these pancakes a patriotic twist! We added blueberries and whipped cream to make them red, white and blue!  You've got to have the cherry on top, and a few sprinkles makes everything more festive! 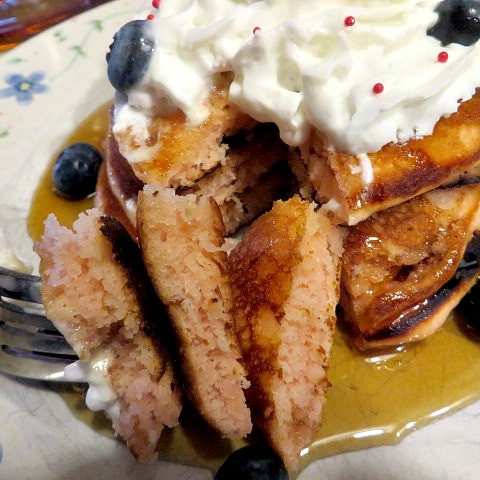 Here is the pink, fluffy goodness on the inside. 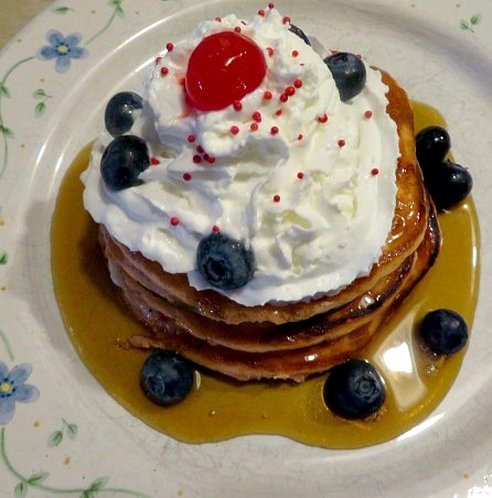 Whipped cream just tops it off perfectly. The blueberries gave us the final patriotic touch. This is a quick and easy breakfast to make for you family this summer! I hope you give it a try. Just click the button above to print off your recipe! You will love it!
|
Creators of Hot Cocoa Bombs! (copyrighted)

Author
Helen Reynolds: Mother of six children , grandmother to eleven! I love to cook, craft and create things and I especially love doing that with my family, So, when my lawyer daughter, Lindsey, my artist daughter, Madalynn, and I came up with the idea of Hot Cocoa Bombs, this blog was born. Then, one more daughter, with her technical and science skills, plus creativity has joined in to round us out! Read more about us here! 
Click this link and visit 3WinksDesignShop on Etsy. Find our Hot Cocoa Bomb Idea Book, our For the Love of PIe e-book and more of our creations!

Amazon Gift Cards are the Perfect Gift!
    Archives
April 2024
|


 RSS Feed