|
This post contains affiliate links. I will be compensated for purchases made through those links at no additional cost to you. All views expressed are my own. Thank you for your support!
Our Summertime hot weather has finally arrived here in Phoenix. We really enjoyed the longer Spring this year, but now it is time to find ways to keep cool!
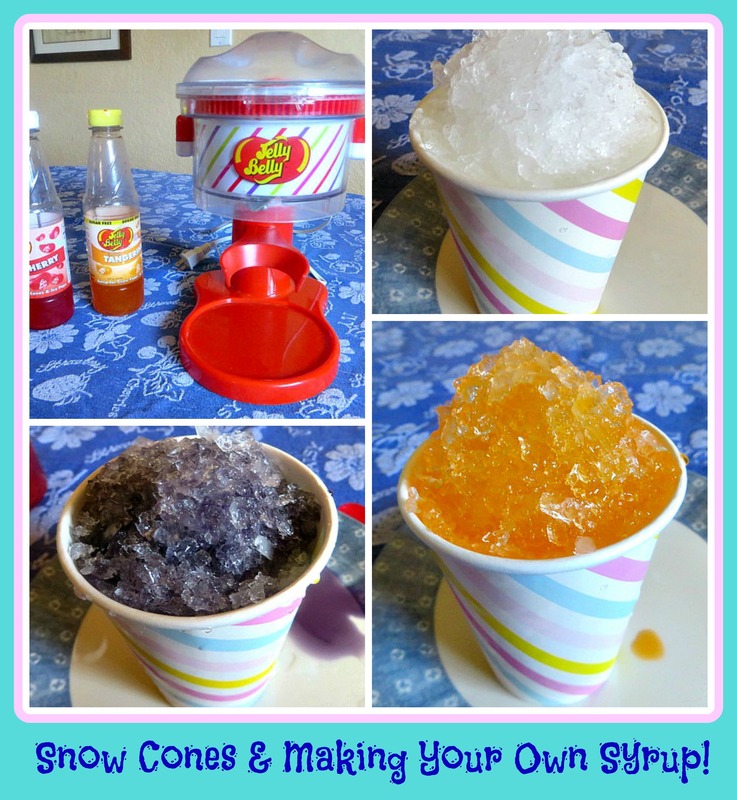
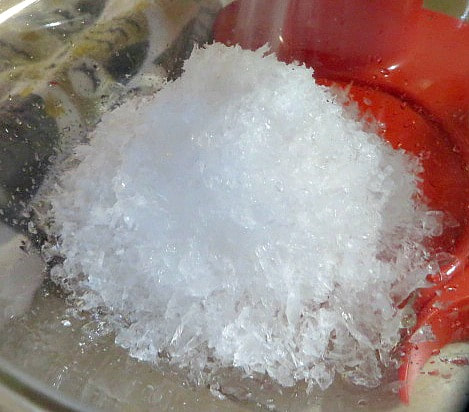
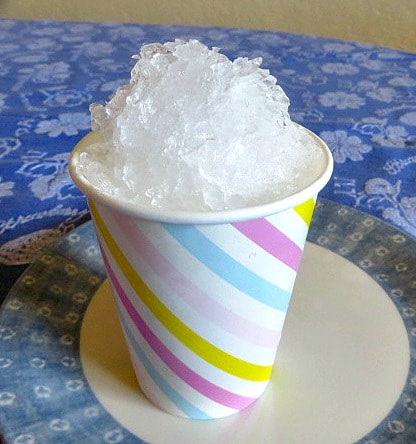
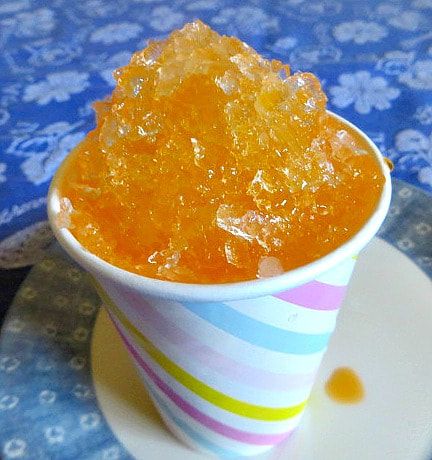
When my son and his family were living with us, I was reminiscing about the snow cones we used to get at the snack bar of all of the Little League games my kids played in. And then, I found a Snow Cone Machine on clearance at our local grocery store for about $7.00! I decided it would be perfect to keep my grandchildren cooled off and happy and a great treat for when they were playing out in the backyard wading pool. I was even able to find the syrups on sale as well! I later found out that the company (Jelly Belly) had discontinued the model I purchased and came out with another one. But, you can still purchase the one similar to the one I have on Amazon. It is surprising how well this little machine shaves the ice for snow cones! I just use regular ice cubes from my freezer and this little thing goes to town, shaving the ice fairly quickly. No one has to wait their turn very long. When I bought the machine, it came with little pointy snow cone cups, but we used those up quickly and now I use paper cups instead. They are easier to find and just a little sturdier for little hands I think.
There are quite a few different models of snow cone or shaved ice machines out there. But, the hands down most popular and best value for your money is this one. I think it is so cool looking and would be awesome to have for a pool party with any age of kids.

Now, let's talk snow cone syrups. I think that you can still find the Jelly Belly syrups in the store, and they are pretty good, depending on the flavor. We had a root beer flavor that lasted about 2 days. The cherry is pretty good as well. I am not to sold on the tangerine. If you are having a big party, you can get this set on Amazon for a great price and it has really great reviews on the taste. The nice thing is that it comes with the flavor bottles that come with the tips to pour the syrup right out of the bottles, as well as 50 spoon straws and 50 cups!

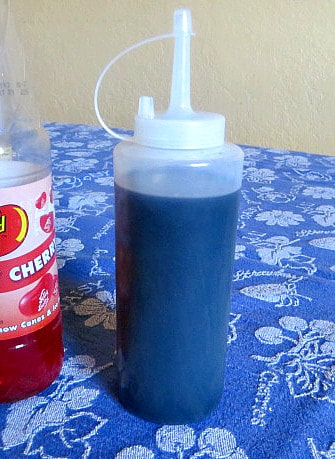
Another, more cost saving alternative is to make your own syrup! It is super easy and only takes 3 ingredients and you can make it any flavor you want. Here is how you do it:
Snow Cone Syrup
In a small saucepan, mix together 1 cup of water and 1 cup of granulated sugar.
Cook and stir until the sugar is dissolved. Allow to simmer at least 3 minutes, or longer to make it thicker. Remove from the heat and stir in 1 package of unsweetened Kool Aid or other powdered drink mix. Alternatively, you may add an extract, such as root beer extract or lemon, to taste. Allow the syrup to cool then pour it into a squirt bottle to use on your snow cones.
I made a grape flavored syrup! Maddy was my taste tester and she said that it tastes great!
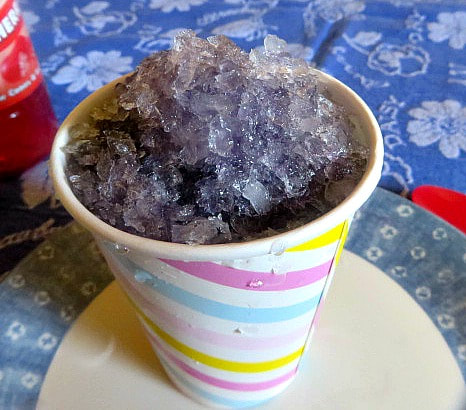
You will be the favorite parent on the block when you start handing out snow cones to all of your child's friends! They are the perfect, inexpensive treat at a water party. Be sure to have lots of flavors because when I helped at the snack stand at the Little League games, rainbow flavors were always the first choice!
Have a fun weekend!
9 Comments
This post contains affiliate links. I will be compensated for purchases made through those links at no additional cost to you. All views expressed are my own. Thank you for your support!

Summer is here and coping with kids and heat sometimes requires some creative thinking and helpful gadgets! Every so often, in our day to day lives we come across gadgets that we realize we are relying on almost everyday and really don't want to do without. I was thinking about what those gadgets are for me right now and I asked the girls what their favorite gadgets are as well. Here is a list of things you may come to find will make your life easier!
Back when we were doing Friday Faves, we did a similar post. It is funny to look back and see how the list has changed. Of course, we aren't limiting ourselves to just kitchen gadgets this time.
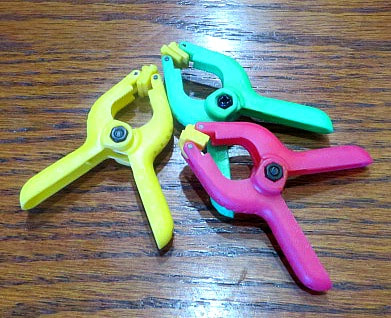
PIttsburgh 7/8" Spring Clamp Set: My husband and I were in Harbor Freight and I saw these little clamps. I knew they would be perfect for all of the summer snack bags, etc, that I need to close up. If you have a Harbor Freight near you, they were only $1.99 there, for a set of 6. They close tightly and are so cute!

Oster Bread Maker: Alicia loves this bread maker. She says that it mixes up the perfect pizza dough for her every time!

Kitchen Aid Food Processor: Along with her bread machine, Alicia loves her food processor. She says she makes tomato sauce in her food processor with canned whole tomatoes, garlic, onions and spices. Then she keeps it in a container in her fridge and uses it throughout the week! Perfect for the pizza sauce! (I love my food processor too, which is this one.)

OXO Salad Spinner: Salads are a big part of the menu in the summer months. This gadget, the salad spinner, comes in handy when you want your oil based dressings to stick to the salad. Lindsey loves it. (They are pretty fun to spin! Get your kids involved!)
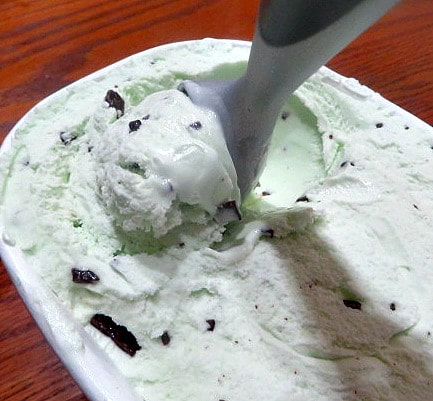
Pampered Chef Ice Cream Scoop: Another thing that gets used a lot in the summer is the ice cream scoop. I just purchased the Pampered Chef scoop this year. I don't know how I lived with any other scoop. It cuts through had ice cream really easily and makes nice scoops. It is easy to grip and has a great look as the cherry on top. It may seem pricey for an ice cream scoop, but I am not regretting it!

Air Fryer: Lindsey loves her air fryer! Especially since her husband likes to cook in it, too! It is a great way to have fried food without the oil and extra fat in your diet. You can even bake a cake in it, so no heating up the oven and your kitchen!

Himalayan Rock Salt Night Light: Like I said, we aren't just sticking to kitchen gadgets! Maddy loves her salt night light so much that she got one for me! These night lights glow beautifully and they are natural air purifiers! Even though it gets dark later in the summer, Maddy works late much of the time and this beautiful light is welcoming when she gets home.
What gadgets are you loving right now? Let us know in the comments! Some of these could even make nice Father's Day gifts! ( A little set of clamps, or the air fryer? How about the ice cream scoop along with his favorite flavor of ice cream?) We would love to see your ideas.
This post contains affiliate links. I will be compensated for purchases made through those links at no additional cost to you. All views expressed are my own. Thank you for your support!  My husband with his perfect bao. My husband with his perfect bao.
Hey, Alicia here with another international recipe. Last year my family picked a country from our heritage every month and made one recipe a week from that country. It was really fun, educational, and delicious. This year we're not doing that same thing, but we still love experimenting with food from other cultures.
That's where bao, steamed Chinese dumplings, come in. My husband works at Pixar, and you may remember that short that played before Incredibles 2 called Bao. Bao (without giving anything away) is about a woman who makes bao and one of them comes to life and she basically treats this cute little dumpling as her son. The director of the short, Domee Shi, shared her mother's recipe for bao with her Pixar colleagues and an illustrated version with Time Magazine. My husband really wanted to make them because he loves Chinese food. So we did. It's a pretty simple recipe, though it can take a little time preparing the filling. The first time my husband minced everything by hand. The second time he decided to use the food processor and it was perfect. We also don't have ground pork so we used pork sausage. The dough is a very simple 3 ingredient yeast dough. The results were so wonderful. A favorite part was the fresh ginger used in the filling. Don't skip it as it really adds to the flavor. It's so good. The hardest part of the recipe is folding the dough around the filling. I was not very good at it, so mine had a lot of extra dough at the top. If my bao had come to life, it would have been a completely different short, probably in the horror genre. But they still tasted delicious! My husband got the knack for it though and made some really cute bao. Another thing is you will need a way to steam the bao, as that's how they cook. we used the basket that came with our rice cooker. 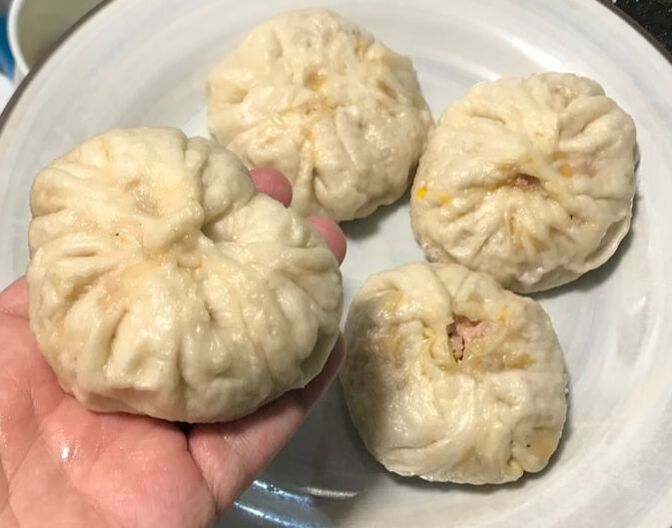
Cute little bao after being cooked.
I'm not sharing the recipe directly on our page because it is Domee Shi's but you can find the illustrated version on this page and a video of YouTuber, Emmy Made in Japan, following the recipe and making the dumplings. We found the video especially helpful.
So go forth and enjoy bao. Let us know how you like it! 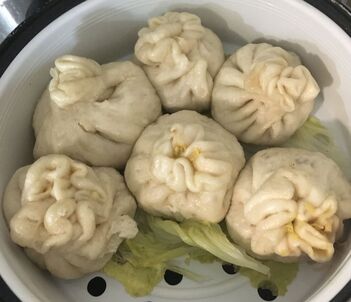
Here are my ugly bao. Ugly, but delicious.
This post contains affiliate links. I will be compensated for purchases made through those links at no additional cost to you. All views expressed are my own. Thank you for your support!

Hello friends! It has been awhile since I've posted, and I've missed you! How was your memorial day? Ours was memorable, and sad, as PH's father passed away that weekend due to complications from Alzheimers.
He was a wonderful kind man, and he lived a wonderful, kind life. He is missed here, but we're glad to no longer watch him deteriorate. Alzheimers is one painful disease for everyone involved. Thankfully, we got to be there to say good-bye. Families are a blessing, and eternal families are the greatest blessing! It is what brings us peace and comfort! Since coming home we have been moving forward, as that is what life does. Friday rolled around and Fridays are my day off. I get to spend the day with my daughter, and the two of us got A LOT accomplished this last Friday, including making this tasty Green Chili Burros Salad for dinner! 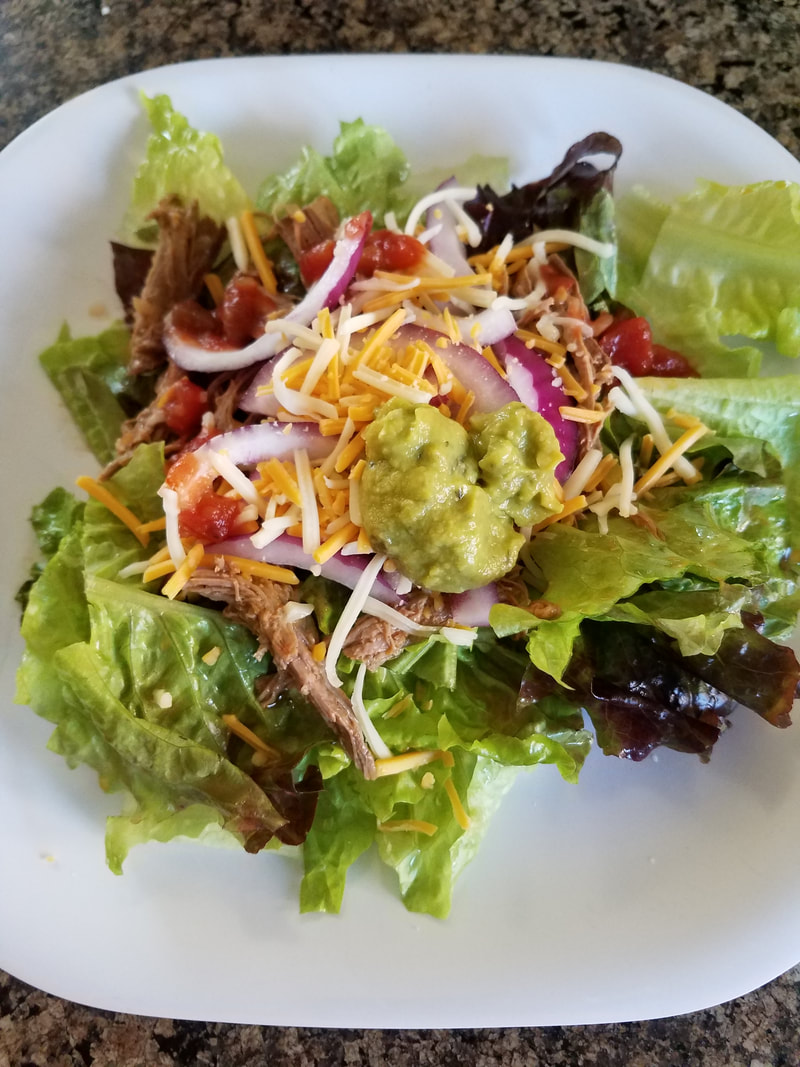
I don't know why I was suddenly in the mood for green chili burros for dinner on Friday, but I was. Green Chili Burros in and of themselves are an easy dinner option. Growing up my mom would often make them for Sunday dinner. She could throw the meat in the crock pot before church, and when we came home three hours later the house smelled amazing. Maybe I wanted that comforting smell in our home. Maybe I just wanted that delicious food in my belly.
Either way, I decided that was going to be dinner. However, just the night before PH told me that he had made a decision to stop with the sugar and carbs in his life. I want to fully support him in this endeavor, so a knew an actual green chili burro was out of the question. I feel like the great thing about meals like Green Chili Burros is that you can make it a salad so easily! So that is what I did! Now caveat, this isn't exactly my mom's green chili burros recipe. By the time she had responded to me with what she does to make it it was too late, my green chili burro meat was in the crockpot. I have to say though, upon eating my green chili burros salad, I feel like I hit the mark. It was delicious, and a lot healthier without tortillas or sour cream! So if you're looking for an easy, tasty salad for dinner look no further! This Green Chili Burros Salad is for you!
To make this recipe, you will need:
|
Creators of Hot Cocoa Bombs! (copyrighted)

Author
Helen Reynolds: Mother of six children , grandmother to eleven! I love to cook, craft and create things and I especially love doing that with my family, So, when my lawyer daughter, Lindsey, my artist daughter, Madalynn, and I came up with the idea of Hot Cocoa Bombs, this blog was born. Then, one more daughter, with her technical and science skills, plus creativity has joined in to round us out! Read more about us here! 
Click this link and visit 3WinksDesignShop on Etsy. Find our Hot Cocoa Bomb Idea Book, our For the Love of PIe e-book and more of our creations!

Amazon Gift Cards are the Perfect Gift!
    Archives
April 2024
|


 RSS Feed