|
This post contains affiliates and I may be compensated if you buy from our links. Thank you for your support.

Remember this post? I told you my favorite campfire food is peach cobbler. Growing up, whenever we went camping it was a given that my mom would make cobbler one night, and it was a given that it would be peach cobbler.
The wonder of peach cobbler is that it is so easy. Canned peaches, butter, cake mix, and sugar. Rip, dump, bake. Then you can top that heavenly concoction with ice cream and there is basically nothing on this earth that is better than that. Well I guess after that post, PH and I both had cobbler on the brain. I told him last night that I still needed to make something for the blog this week, and he said I should make peach cobbler. Well, first he looked at the grocery store ad and saw that peaches were on sale. THEN he said I should make peach cobbler. I had my doubt about making cobbler with peaches purchased that very night, but I agreed and off to the grocery store we went. 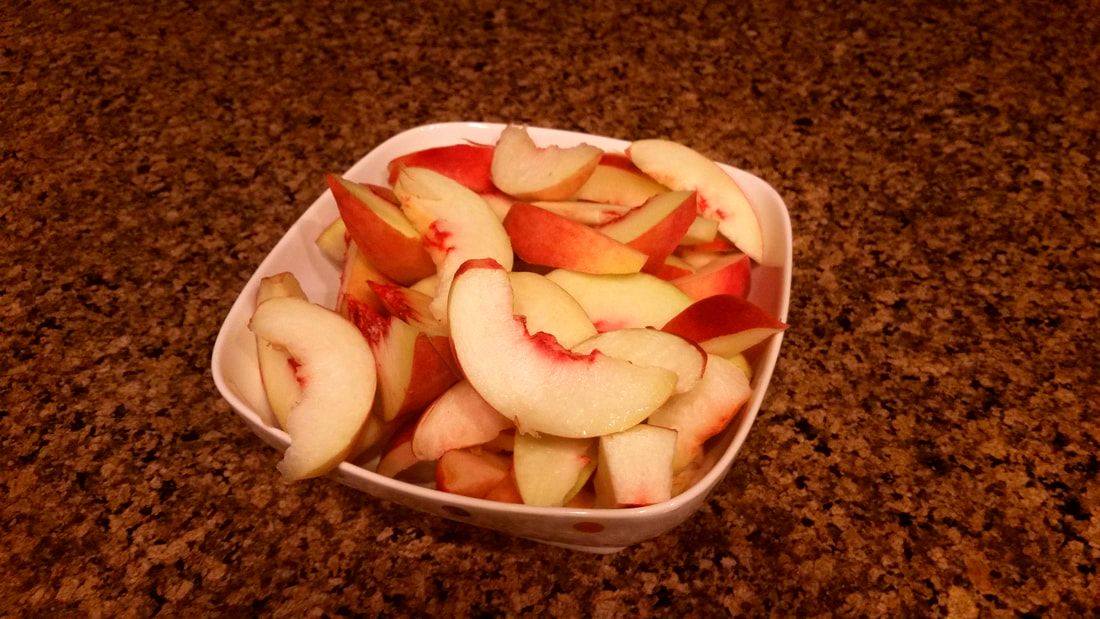
White peaches WERE on sale and we bought five of them. I came home and sliced them up. They do look really beautiful, but I have to be honest, these peaches didn't taste very good to me. They weren't ripe enough. So I made my husband cobbler, and I stand by this recipe, but I urge to either, use canned peaches, or, wait until your peaches are ripe. Don't be like me. Don't wait until the last minute to decide what recipe you're going to blog about and then be stuck with not ripe peaches.
I will say though that PH had two servings of the cobbler and he told me he thought it was really good. I even assured him he didn't have to lie to me because I knew the peaches weren't ripe. He was adamant that it tasted better than I thought. So, there you go, to each his own. Maybe it's just my wacky pregnancy tastebuds, or the fact that normally I prefer yellow peaches in cobbler but the white ones were the ones on sale. Either way, I want to be honest with you. 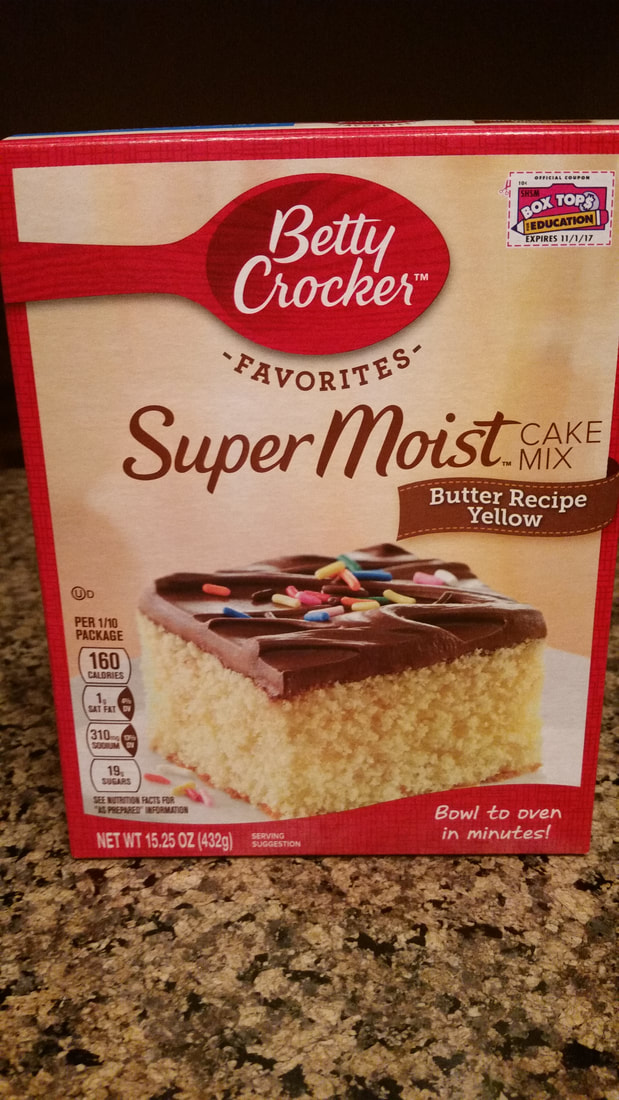
I do still stand by this recipe. You cannot go wrong with butter and cake mix. You really just can't. I used yellow cake mix, and I think that's the best. I have seen other recipes where you make your own topping but that feels wrong to me. Cobbler is supposed to have that cake mix topping taste, in my opinion. It meshes perfectly with the peach taste.
However, I started speculating about trying different peach cobbler recipes after making this. I think my lack of enthusiasm over my unripe peaches got the wheels turning in my head. So, that may be a new quest I embark on. To try out different cobbler recipes. Maybe after all this time I find I like it better without cake mix (but I doubt it.) So, do you feel like cobbler tonight? You should! Especially if you have ripe peaches, or canned peaches. 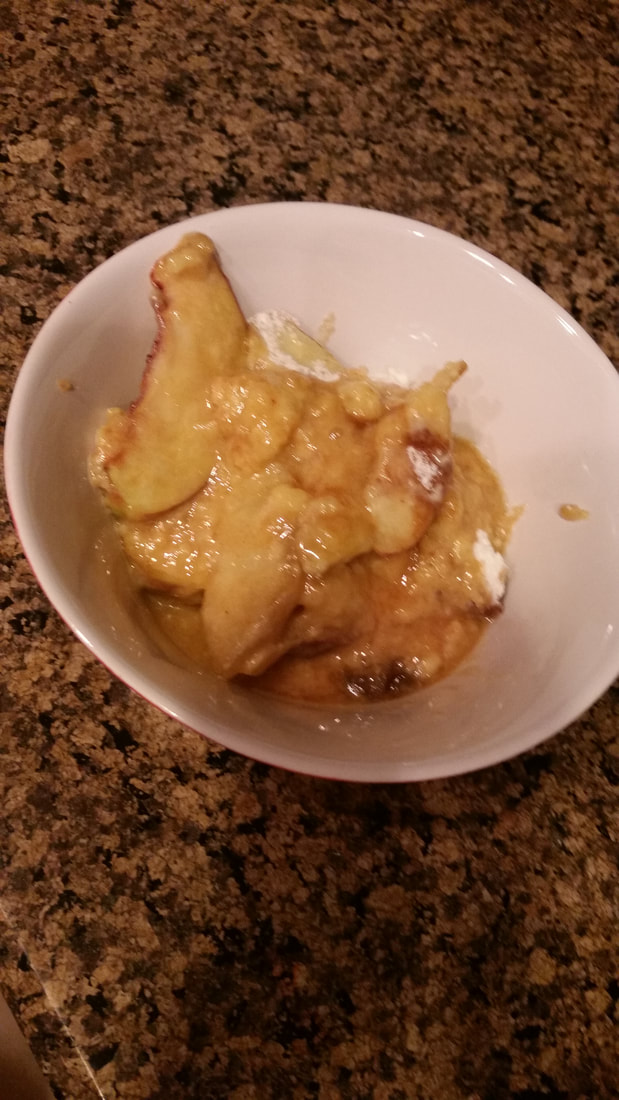
Everything is made better with butter.
0 Comments
This post contains affiliates. I may be compensated if you purchase anything through our links. Thanks for your help!
I have a very dear friend named Kelly. We have been close friends since we were first married and our husbands served in the military together. We went through our first pregnancies together and we have lived overseas at the same time. Now she lives across the country from me and we see each other infrequently, but she will always be one of my most valued friends.
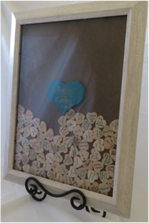
I think it was while we were pregnant, each with our first child, and we each had boys, that we were having a conversation about what kind of mothers we wanted to be and what kind of home we wanted to have for our children. We talked about wanting our children to want to be at home. For our homes to be a place of comfort and refuge for them. We wanted our children to want to bring their friends home where everyone would feel loved, wanted and safe. It wasn't too long after that conversation that Kelly sent me a gift. It was this plaque with a quote from Mary Dawson Hughes. 
It has hung in my kitchen over my sink for many years now. You can see it is getting a little worse for wear. But I have read it almost every day of my life since receiving it. It reminds me of how I want my home to be. And, it reminds me of my dear friend, who is the best example of what a friend should be and of what loving motherhood looks like.
If you can't read the words, here is what they say:
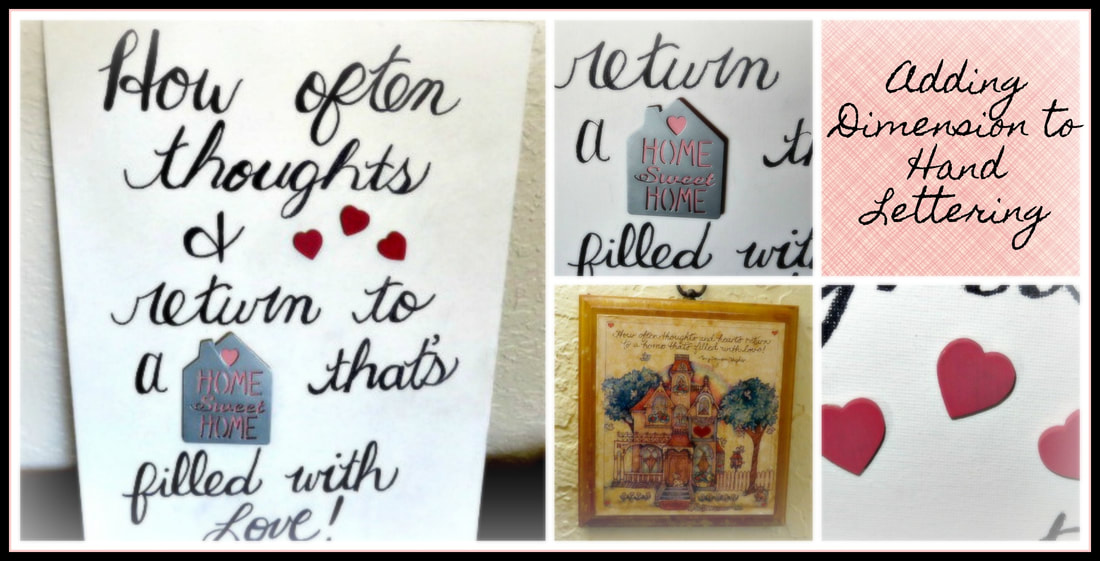
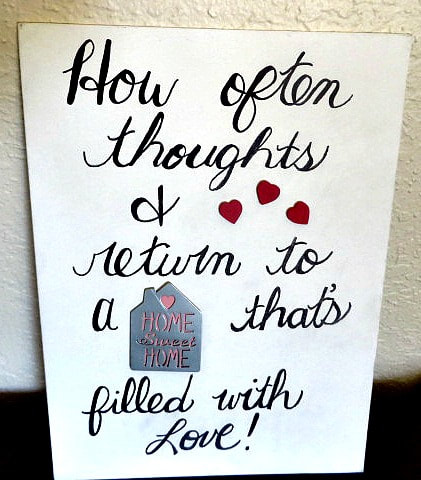
"How often thoughts and hearts return to a home that's filled with love!"
I decided that I would love to have this written up larger for everyone to read besides myself! I am still practicing my hand lettering, so don't judge! But, if you have beautiful writing, you can try it for yourself. I am not giving you a printable, but I will tell you how I did it.
I found this really great set of Sharpies in many colors on Amazon that makes me drool! This is a great price and it would be a great gift for any of your artsy/craftsy friends or family!
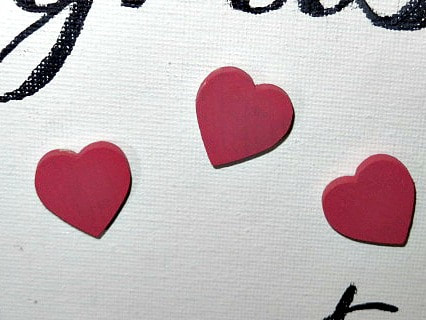
As I was working out in my head how I would do this project, I thought that I would like to add some dimension to it. Replacing the word "hearts" with actual hearts was a no brainer! I just painted some little wooden hearts that I had and fit them into the sentence. I placed them at angles to add interest.
My first thought for the word home was to purchase a wooden house shape and paint it much like the one on the original plaque (only simpler). But then, I found the little metal house on clearance at Michael's! I decided it was perfect! It has those cut-outs in it, so I just backed it with a colored paper to make it more legible. Then, I used a glue gun to attach it, giving it some height from the canvas.
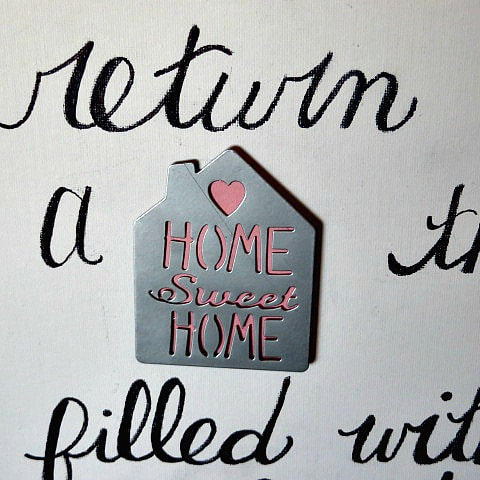
I thought it was kind of cool to have it say "Home Sweet Home" instead of just "Home".
So, you could do a wooden house or another metal house, or just paint a house right on the canvas, but I like the added dimension.
Of course, this technique will work with any saying you love. Just thing about if there is some sort of tangible symbol that you could use to replace some of the words. I think it makes the piece more interesting to look at.
Even though I am still a little embarrassed by my uneven lettering, I still love the sentiment and hope you do, too!
Oops! Almost forgot to give credit where credit is due!

I put her name on the bottom!
Thanks Kelly for this reminder to fill my home with love over the years! I feel like we are seeing the fruits of those labors.
PS- You can see that I love to add dimension to things! Here are a couple of other posts you might like!
This post contains affiliates. I may be compensated if you purchase anything through our links. Thanks for your help!
The nice thing about this time of year in Phoenix is that it is Monsoon Season and we get rain! When it clouds over and rains, the temperatures come down a bit and it gives me a chance to bake a something if I feel like it. Yesterday morning, we woke up to cloudy skies and wet grass because it had really stormed the night before. Since there was a special meeting that made church start a little later than usual, I decided to make a nice, big breakfast for my family. Sundays around here are usually fend-for-yourself cereal!
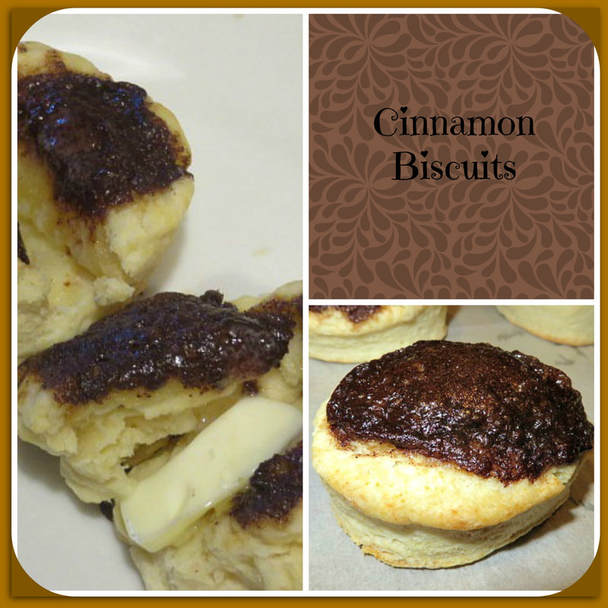
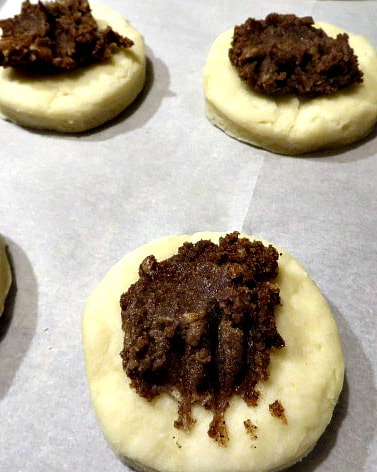
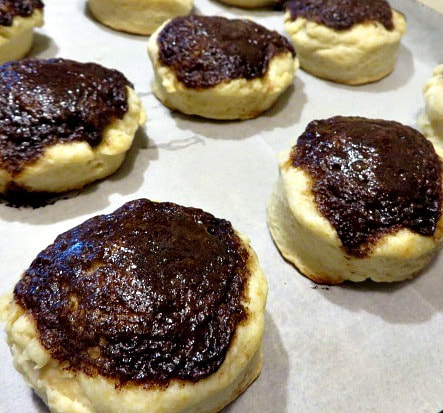
My husband loves biscuits and gravy, so I made bacon, eggs, biscuits and gravy. But, now that there are only 4 of us at home, I got to thinking that we would have a few left over biscuits. I also thought about how nice it would be to have cinnamon rolls, but of course there wasn't time for those to rise and bake. So, I wondered, how about cinnamon biscuits? So, I turned a few of the biscuits into my new concoction and they were really good! I made a whole batch of them today so that I could show you how I did it! 
First of all, I used my favorite biscuit recipe from my Better Homes and Gardens CookBook. This is a link to the 75th Anniversary Edition which you can get on Amazon right now for a really low price! There are many editions available on Amazon. My husband and I received ours as a wedding gift and it is still my favorite cookbook. It does make a perfect wedding gift! Now, click on the photos and see how I turned these biscuits into super delicious cinnamon biscuits!
I recommend using parchment paper on your baking sheet for easy cleanup. The cinnamon sugar mixture may drip off the top a bit and stick to your pan otherwise. I really like the pre-cut sheets like these.
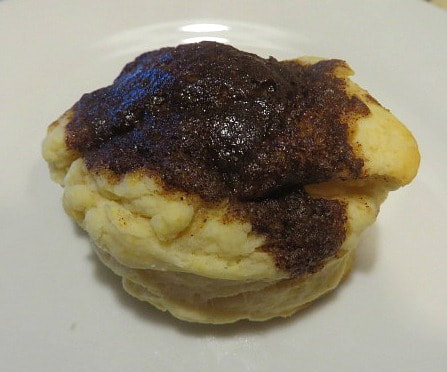
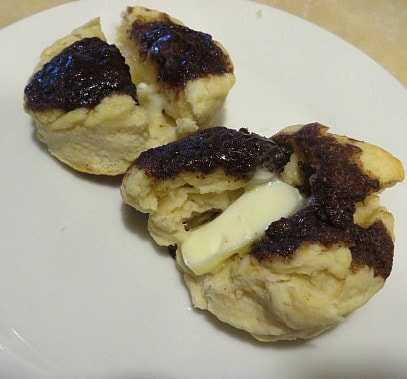
They are super good with butter.
If it were a little cooler out, I would enjoy one of these with a Hot Cocoa Bomb!
So, if you get a hankering for a cinnamon roll, but don't have the time to bake any, give Cinnamon Biscuits a try! They are super fast, easy and delicious! `
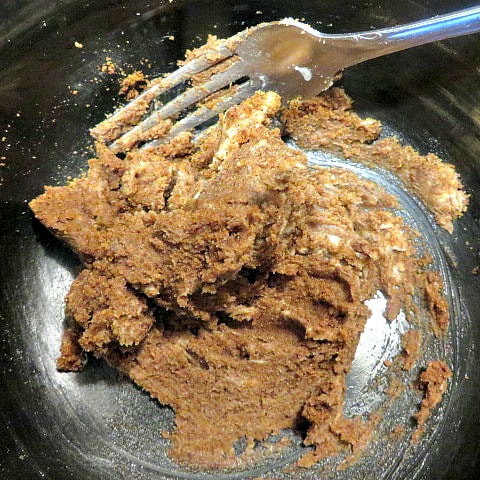
Cinnamon Biscuit Topping
3 T Butter, slightly softened
2 T Brown Sugar 2 tsp. Cinnamon Mix all together with a fork until a paste is formed. Top each uncooked biscuit with about 1/2 tsp. of the mixture. (No need to spread, just put it in the middle.) This recipe will top 12 biscuits. Bake the biscuits at 450 degrees F. Watch out! They will be hot! (And delicious!)
Did you know that there is a special Amazon Prime for your college students? What a great deal! Check it out!
I am sorry I am so late with this post today, as well as skipping yesterday. It's been a rough one for me. If you've never been pregnant before never let anyone tell you how pregnancy is going to go. Nobody else has been you pregnant before, so, they really just don't know what they're talking about. Anyway, did you know that yesterday was National S'mores day? It's the day when we can all celebrate and enjoy that delicious camp fire treat of a roasted marshmallow, a chocolate bar, and some graham crackers. It's a tasty treat that has experienced a renaissance in the way it's built and presented. Here on our blog we have shared a s'mores variation known as Chocolate Dipped S'Mores Bars. You may also remember this post where we talked about our favorite Campfire Dishes and showed you a picture of the S'mores bar Alicia had at her wedding reception. We love getting together and roasting our marshmallows to perfection over the fire pit in my parent's backyard. I also have fond memories of camping as a child and making s'mores to enjoy over the fire. 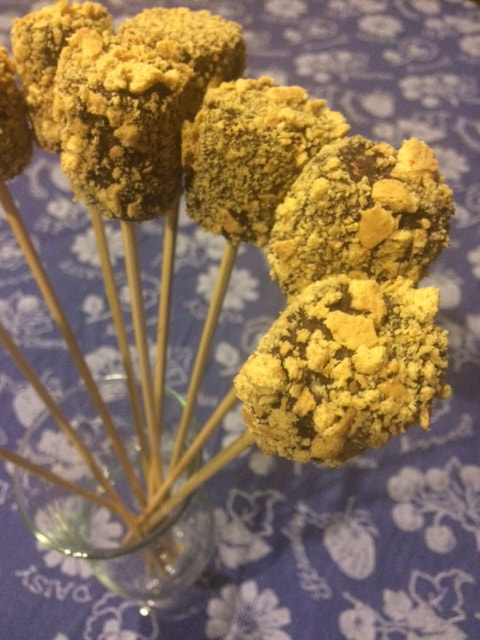 Madalynn made this other fun variation on s'mores a while back and she is letting me share the how to with you. She used vegan marshmallows since she is trying very hard to eat vegan, but regular marshmallows will still work. She also used 86% dark chocolate and graham crackers without honey. In order to make it you first put the marshmallows on the stick, then coat in melted chocolate, and roll in the graham crackers. Then you freeze them. She also warns to refrigerate them before you serve them or they are really hard. 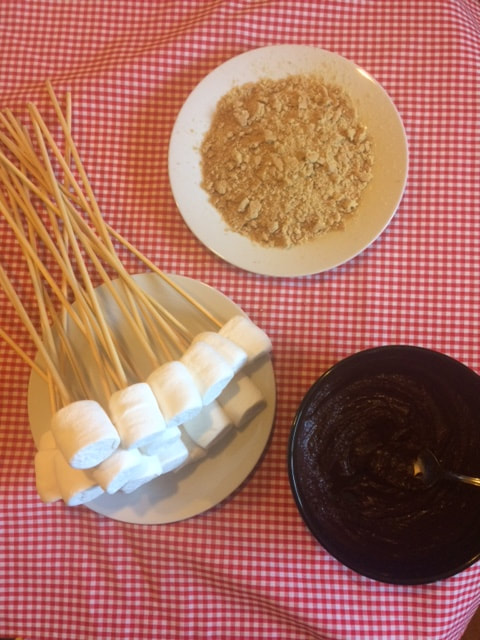 Here is a photo of everything she assembled to make it. She used very dark chocolate, but I'm sure you could use less dark if dark chocolate isn't your thing. (It's my thing, but it is not my mom's thing.) This is a fun variation to use if you don't have a fire pit in the backyard and can't take the time to go camping, but you still need a S'mores fix. Even though yesterday was National S'mores Day, it's not too late. You can make this fun and tasty treat this weekend and enjoy a delicious s'more!
|
Creators of Hot Cocoa Bombs! (copyrighted)

Author
Helen Reynolds: Mother of six children , grandmother to eleven! I love to cook, craft and create things and I especially love doing that with my family, So, when my lawyer daughter, Lindsey, my artist daughter, Madalynn, and I came up with the idea of Hot Cocoa Bombs, this blog was born. Then, one more daughter, with her technical and science skills, plus creativity has joined in to round us out! Read more about us here! 
Click this link and visit 3WinksDesignShop on Etsy. Find our Hot Cocoa Bomb Idea Book, our For the Love of PIe e-book and more of our creations!

Amazon Gift Cards are the Perfect Gift!
    Archives
April 2024
|


 RSS Feed