|
**This post contains affiliate links and I will be compensated if you make a purchase after clicking on my links. But, all opinions expressed are my own.
Lindsey here, in the pie series my mom asked me to do, what else? A pumpkin pie!
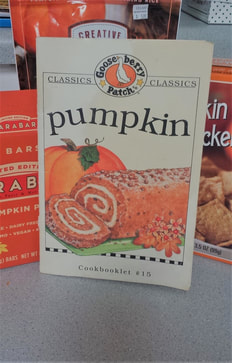
Although I am going to share with you the pumpkin pie recipe I use, this is really more a how to make your own pumpkin filling for all of your pumpkin needs. My pumpkin obsession began and became "out of control" many moons ago. This recipe book was a birthday gift to me from my dear friend, and then roommate, Chelsea. I received this as a gift for my twenty first birthday, and second pumpkin party. Full disclosure, that was ten years ago. I have used many of the recipes out of it over and over again over the last ten years. It is starting to fall apart, but that means the book and the recipes inside are well loved!
I like using my own pumpkins, and it is really so easy!
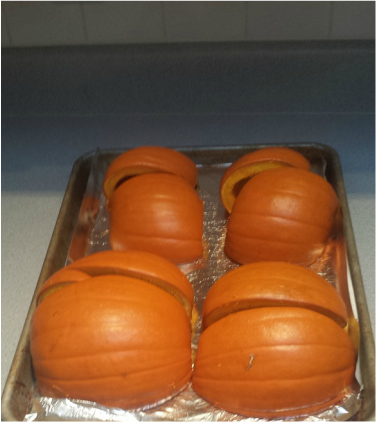
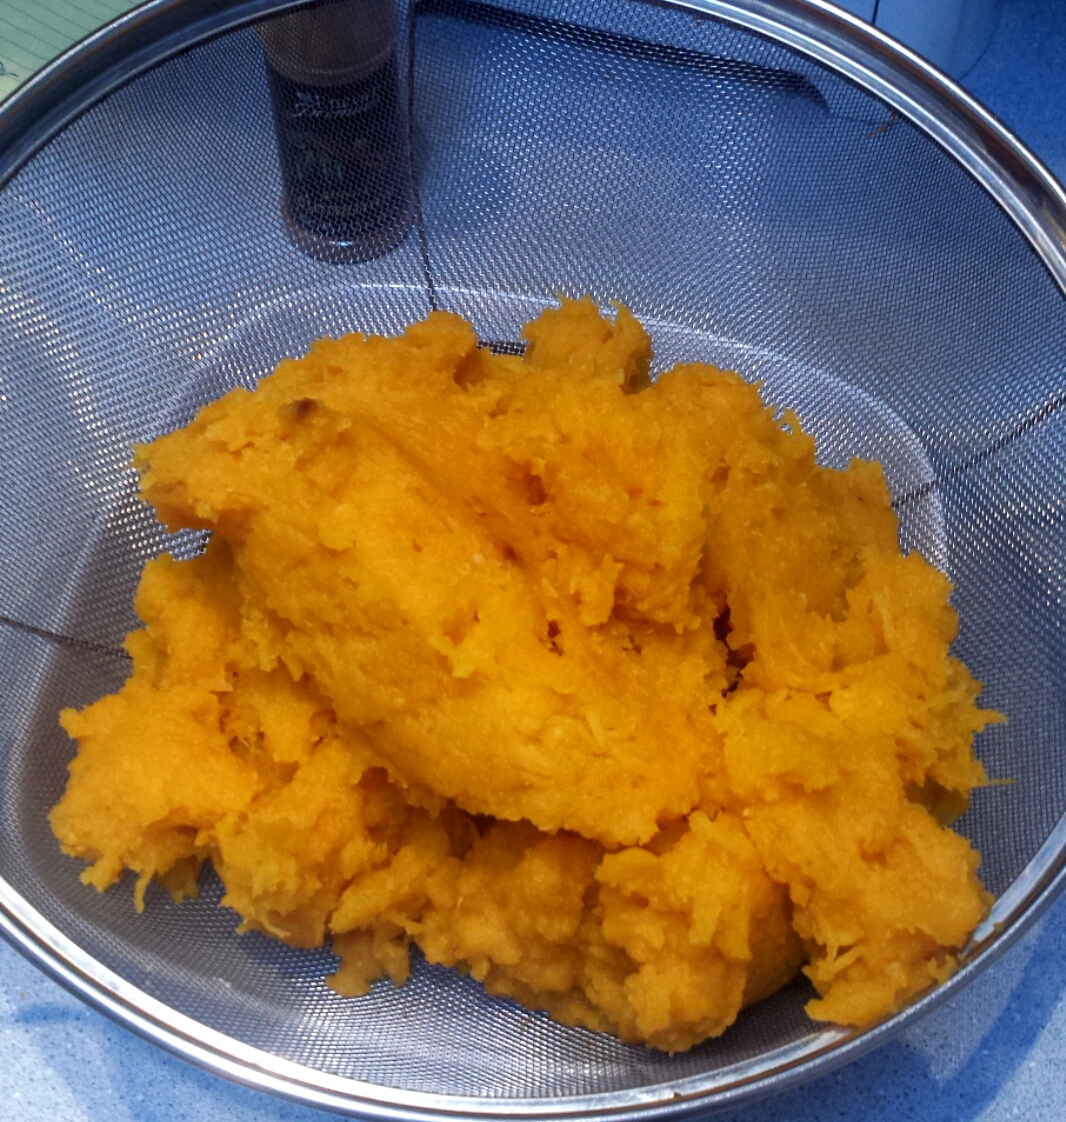
First, buy yourself some small pumpkins at the grocery store. Cut them out and clean out the insides of all seeds and stringy bits.. Cut the stems off and cut them into halves. I also cut mine into quarters. Then, place them rind side up on a pan that you've covered in foil. Bake them in the oven for an hour. If you worry about the pumpkins drying out make the oven a proofing oven first by placing a small oven save dish with a few inches of water in it on the bottom rack while you preheat the oven. You can leave it in there while the pumpkins bake if you want, but it isn't necessary. After the pumpkins bake for an hour, take them out and let them cool completely. Then you can easily scoop out the innards (I like to use an ice cream scoop.) Scoop it into a large bowl. Then take a hand mixer (I prefer an immersion blender) whip the pumpkin filling until smooth. If the pumpkin seems a little to moist after you've blended it, scoop it into a strainer placed over a large bowl and let the liquid drain.
This filling will keep in the refrigerator in a container for about a week. Starting in the new year I am going to get more into canning, and then I'll show you how to can it so it'll last longer! (Just as a heads up, when you can pumpkin, you have to do it in chunks because the puree is too dense to can safely.)
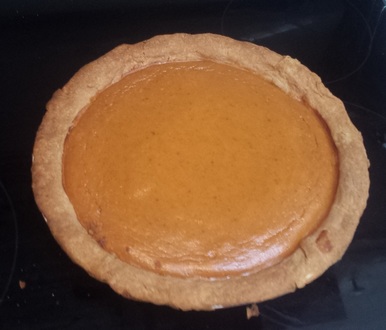
Homemade pumpkin filling will give your pumpkin dishes a different taste, because most store bought can fillings do not contain pumpkin! Instead it is a squash variant that is similar to pumpkin, but not quite the same thing! Now that you have your own pumpkin filling, you're ready to make pumpkin pie. The link below contains the recipe I use from my little recipe book in the first picture. It just says to use a 9 inch pie crust. I use the pie crust my mom taught me how to make. You can read about that here. Now your Thanksgiving will be complete with the most delicious pumpkin pie!
5 Comments
**This post contains affiliate links and I will be compensated if you make a purchase after clicking on my links. But, all opinions expressed are my own.
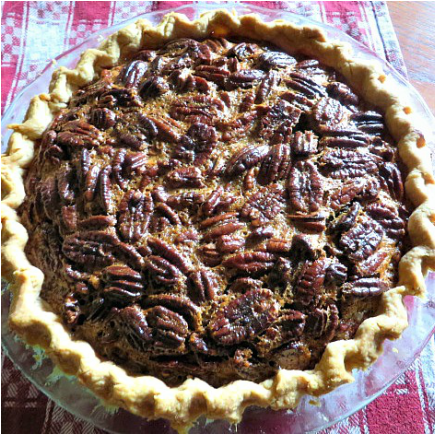
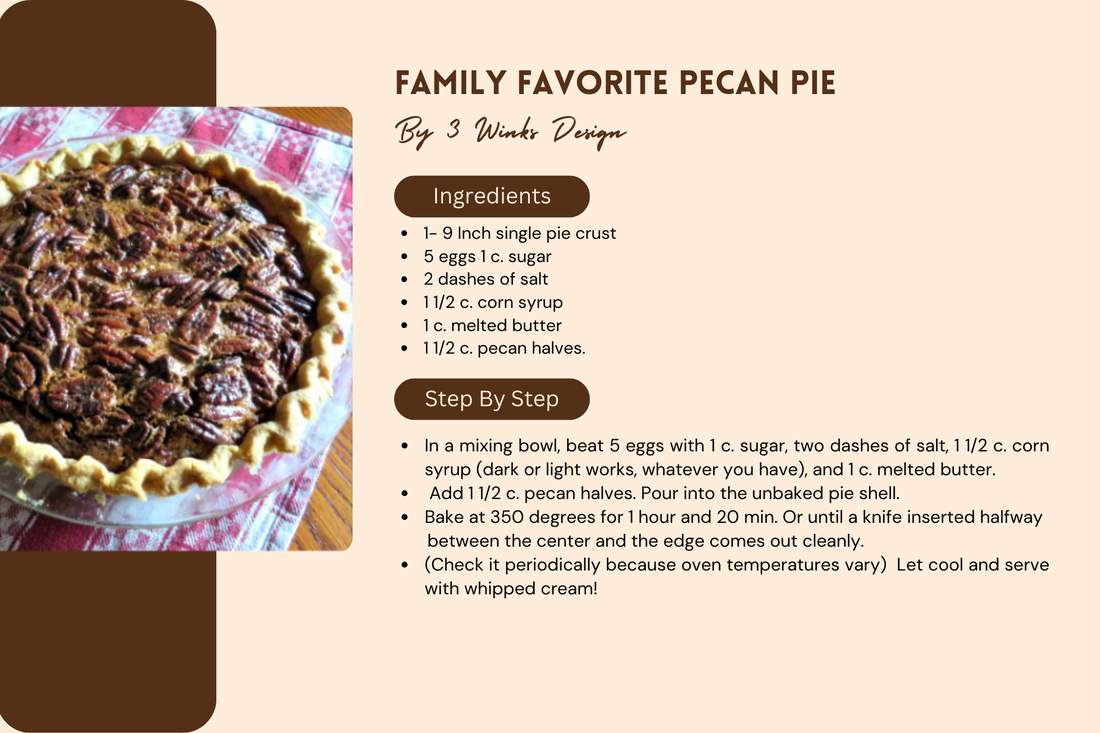
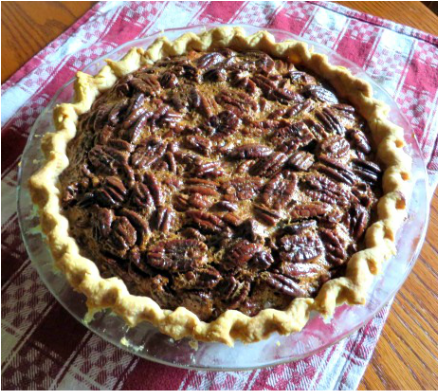
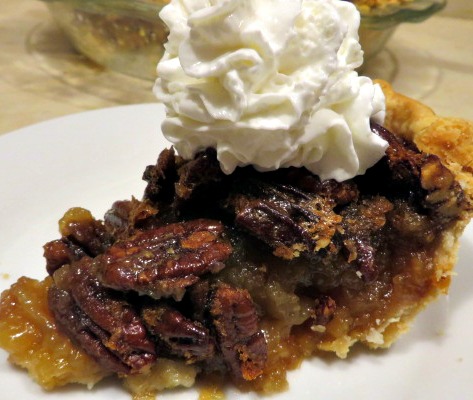
I debated whether I should count yesterday's printable as #4 in the pie series. I decided that I should, so this is #5. My husband loves Pecan Pie. I had never made it until he requested it one year, many moons ago. I was worried that it would be difficult, but it is actually one of the easier pies to make. Really! After the crust is ready, you can whip this thing up and have it in the oven in about 5 minutes.
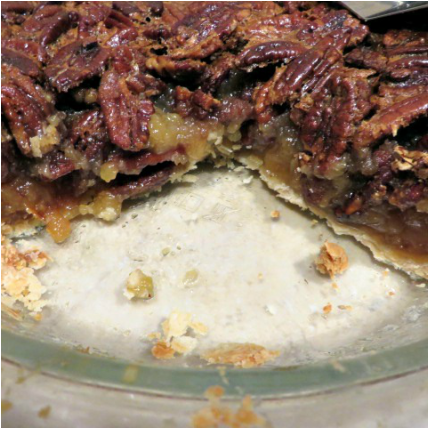
I am not a big lover of nuts. If I have to have them, pecans are one of the ones I do like a bit. In pie, after it is baked, the pecans are tender rather than super crunchy. What I love about this pie is the custard filling that holds all of those pecans in place. I call it custard for want of a better word. It has eggs in it, like a custard, but no milk. It sets as it bakes, so it reminds me of custard. If it is called something else, please let me know in the comments. Over the years I have developed this recipe that really fills the pie. Some recipes that I have tried only seem to fill it half way. I like a big layer of that "custard". Since it is so full of the filling, it takes a little longer to bake and set, but it is worth the wait. Besides, the prep time is so short that once it is in the oven, you are free to do other things while it bakes. So, here is the recipe!
Just one warning, pecan is one of the most, if not the most fattening pies you can eat. Perfect for Thanksgiving!
Probably one of the best gifts to give is an Amazon gift card. Do you know anyone who wouldn't love one? I am a grandma and I love them! They are especially great when you consider that Cyber Monday is coming! (Nov. 28th) They are super easy to send as an eGift. Click on the link below!
These photo ornament cards from Minted are adorable gifts and cards at the same time! They have many designs to choose from.
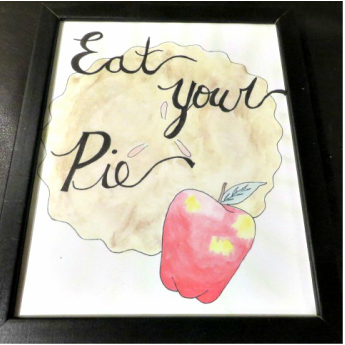
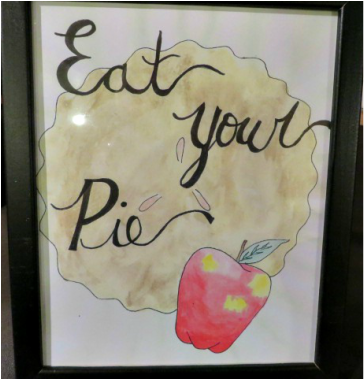
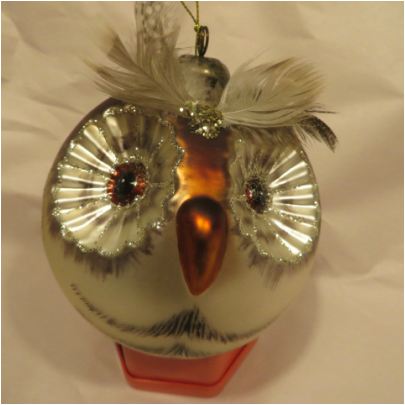
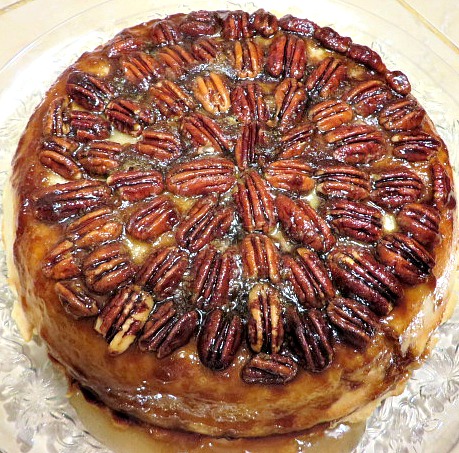
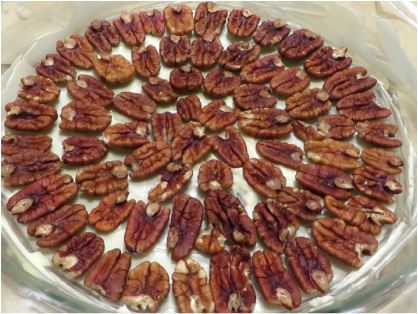
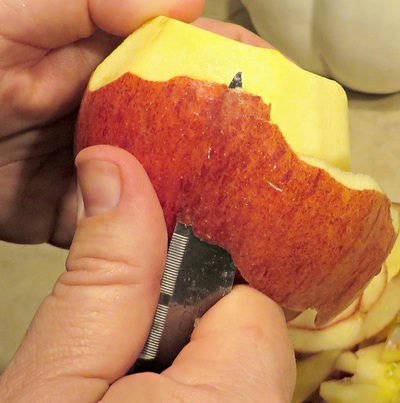
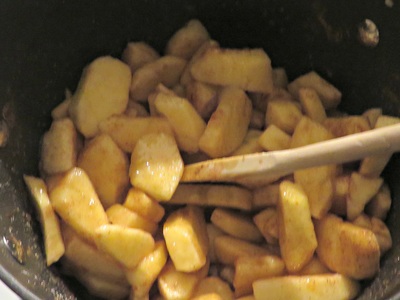
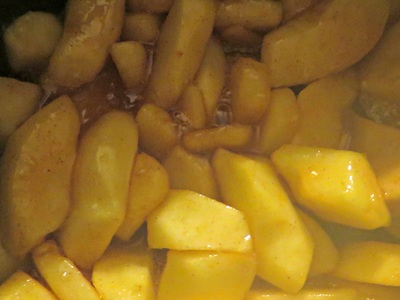
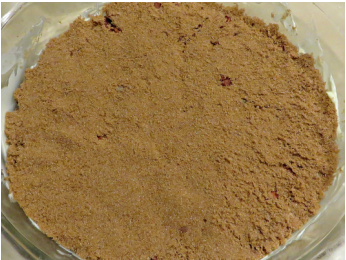
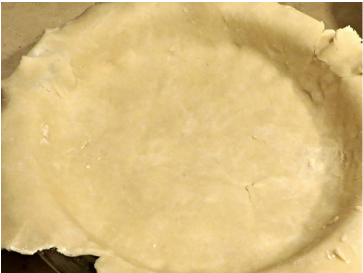
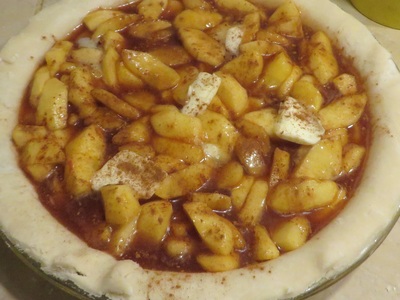
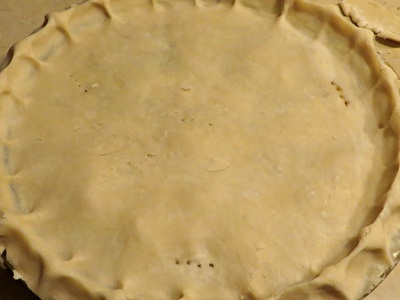
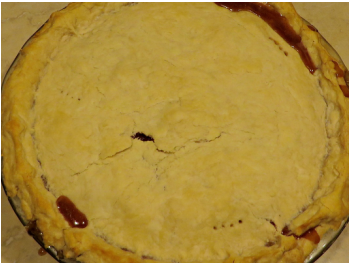
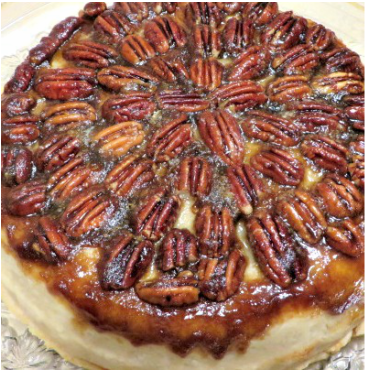
We have been eating so much pie at our house lately because of my pie series that today I thought we should take a little break from eating pie and add a little whimsy. So here it is: Madalynn did the watercolor painting and I added the words. Trying to get through the pie feels like I have to encourage people to eat it like I would their veggies! I hope we don't have pie burn out before Thanksgiving even gets here. (My husband says that is impossible!) I thought this saying would be fun for this time of year. Madalynn's artwork alone is adorable. I need to work on my decorative writing skills to keep up with her. But, I have been practicing after reading this blog about writing with fake calligraphy. As you know from this post, and this one, I have been enjoying trying my hand at printables. This piece is one that you might want to put up on Thanksgiving as you enjoy the fruits of your pie baking labors. You can grab a little fun right here by clicking the button. And here is one more thing, just for fun! Maddy and I went to Hobby Lobby yesterday. All of their Christmas stuff was 50% off! I found this beautiful owl ornament that I couldn't resist! There were actually a number of owl ornaments to choose from, but this one was the most beautiful! Here is a similar one on Amazon. There! Now didn't that feel nice to take a little break? Come back tomorrow for a new pie recipe! You won't regret it. It is going to be one of my most requested pies, PECAN. I know that I already did the Upside-Down Pecan Apple version, but this one will be the real deal. See you then, and EAT YOUR PIE! Before we get to today's pie, I promised to show you the blackberry pie from yesterday. It was so delicious. I am going to be a blimp by the time this pie series is over. What was I thinking? I need to sign up for Bulu Box! I keep shoving pie off on my son's friends. I am going to have to start giving them away. This blackberry pie was really a good idea because it tastes so good. I used some of the leftover blackberry juices to spoon over the ice cream on top. Here is a delectable slide show. Today's pie is a special one. I have been looking forward to sharing it with you. It is a recipe I have had for many years. When my husband and I were first married, I took second place in a pie baking contest with this pie. So of course, wouldn't you know that it is the pie that would give me trouble. It is called Upside-Down Pecan Apple Pie. It is the upside down part that gave me trouble. It tasted wonderful though, with caramelized pecans, ultra flaky crust and the apples were perfectly cooked. The only problem is it fell apart when I flipped it and I couldn't show you what a pretty presentation it has when it is served. I had to make another one today and I figured out a trick to get it to flip perfectly every time and I was able to get my pictures. While the second pie was good, it just didn't quite measure up to the first one. I think I pulled it out of the oven a little too soon which caused the apples to be not quite tender enough and the crust not quite flaky enough. I was nervous after the first pie and I blew it. But, the second pie did look beautiful, so between the two pies, I think I can give you good directions for making this wonderful pie. Don't let my struggles discourage you. Over all the years that I have baked this pie, this is the one time it has given me any trouble, and I am going to give you tips to solve the problems that I had. First of all, here is a picture of the finished product. Being organized in the kitchen will help you to be successful when you make this pie. You need a 9" pie plate to start. Spray the bottom of it with cooking spray, then line it with a circle of parchment paper cut to fit the bottom. Then, you spread 1/4 c. of butter over the bottom of the plate, on top of the parchment paper. Next, place the pecan halves into the butter in a design radiating from the center, rounded side against the plate. It will look like this. Now place the dish in the refrigerator until you need it again. The butter needs to stiffen up. Next, prepare your apple pie filling. I will give you the details for that in the printable recipe, but here is a gallery of how it works. While the filling cools for a bit in the pot, make a batch of the pie dough. The recipe is found here. Now it is time to pull the pie dish with the pecans out of the refrigerator. Spread 2/3 of a cup of brown sugar over the pecans and press down lightly. Now you lay the bottom crust over the brown sugar. Next, pour in the pie filling, dot the filling with butter and sprinkle on more cinnamon. Then put on the top crust. Remember to crimp around the edges. Also, the top crust is going to become the bottom crust, so you don't want to put big slits in it or all of the juices will run out when you flip the pie over. I put a few fork pricks in it to let steam escape. Your oven is going to be set at 450 degrees to bake this pie for the first 10 min. Then you turn it down to 350 for another 30 min. The crust was so good and the apples were so perfectly cooked and the pecans were tender and caramelized. I just couldn't get the presentation that I wanted and that is major impact of this pie. That is when I decided that parchment paper on the bottom was the way to go. Years ago when I started making this pie, I knew nothing about parchment paper! What a genius invention. It worked like a charm. Now I will give this pie its own slide show! So, what are you waiting for? Give this pie a try! Click the button to find the recipe. |
Creators of Hot Cocoa Bombs! (copyrighted)
Author
Helen Reynolds: Mother of six children , grandmother to eleven! I love to cook, craft and create things and I especially love doing that with my family, So, when my lawyer daughter, Lindsey, my artist daughter, Madalynn, and I came up with the idea of Hot Cocoa Bombs, this blog was born. Then, one more daughter, with her technical and science skills, plus creativity has joined in to round us out! Read more about us here! Archives
April 2024
|





 RSS Feed