|
Click on the picture below to get more ideas for family history activities.  This image and activity is part of the Family Search website. You can find this and other family history activities at familysearch.org We all love doing this blog because it is really a family affair. My mom has talked about that a lot. It means a lot to me too. Alicia lives the furthest away from all of us, but no matter where any of us lives, we can contribute to this blog, and we're thankful to everyone who comes to read what we write, and take part in our activities and recipes. With the holidays upon us, everyone really starts focusing on families and it is great! I love families! I believe that families are forever. That is a pretty big concept in our church. We are big on doing our family history, because family is important. My Sister in Law Jessica is a family history guru/wizard/genius and she is always working on some great family history project, including a book she put together for my dad for Christmas last year. She even started a blog where she shares tips on how to do your own family history. She inspires me to want to be better at doing my own family history. Just yesterday I got my DNA results back from Ancestry.com and I am excited to see what connections I can make from that. Well, as you know, I do a weekly recipe post and I think family recipes are so important. What you remember your mother/father/grandmother/great-grandmother making in the kitchen, whichever cookbook has been passed down through the years, usually tells a story about where you come from and how you got here. So I love this activity that I found on the family search website! You can do it with your own family and gather all of your family recipes in one place! You'll learn a lot about your own family that way! My cousin Laura shared on Facebook the other day that she was trying to tell someone about our family recipe for Surprise Pudding, and lo and behold, the one that came up WAS her family recipe! It was ours from this blog! We have shared so many family recipes with you here and I am going to list a few of my favorites and then ask, what are your favorite family recipes? The Pie Series: We love pie in my family, so I obviously can't forget to remind you about these great pie recipes we've shared with you. 1. The Best Pie Crust: you have to start with a good foundation, otherwise there is no point. I use this pie crust for all of my pies, and I use it when I make quiche! It is the best and so easy! 2. Blackberry Pie: Fruit pies are a traditional American classic and we have some great recipes for them in our family! 3. Pecan Pie: My dad LOVES pecan pie, so this is a mandatory recipe at every family gather! I can't remember a Thanksgiving or Christmas without it! 4. Pumpkin Pie: Obviously! Did you think this one wouldn't be a family favorite? I LOVE Pumpkin Pie!!! 5. Apple Pie: I would contend that my mom makes the best apple pie in the world. I'm sorry, but it's true. Lucky for you, she shared her recipe here, and she also shared how to can your own apple pie filling here! Now your pie can be just as good as hers! Peach Cobbler: Growing up, whenever we went camping I knew that one night of the trip we were going to have peach cobbler made in the dutch oven. I looked forward to it so much! I still contend that my mother never made it otherwise. She disagrees, but I think if she made it at home she ate it all and never saved me some. So I still equate this recipe with family camping trips! Hot Cocoa Bombs: Of course I had to share this one, the one that started this blog. It's a pretty new family recipe, but it is special to us since we came up with it together. Don't forget to check out our Etsy shop where you can buy the booklet and learn to make your own Hot Cocoa Bombs! From our family to yours! 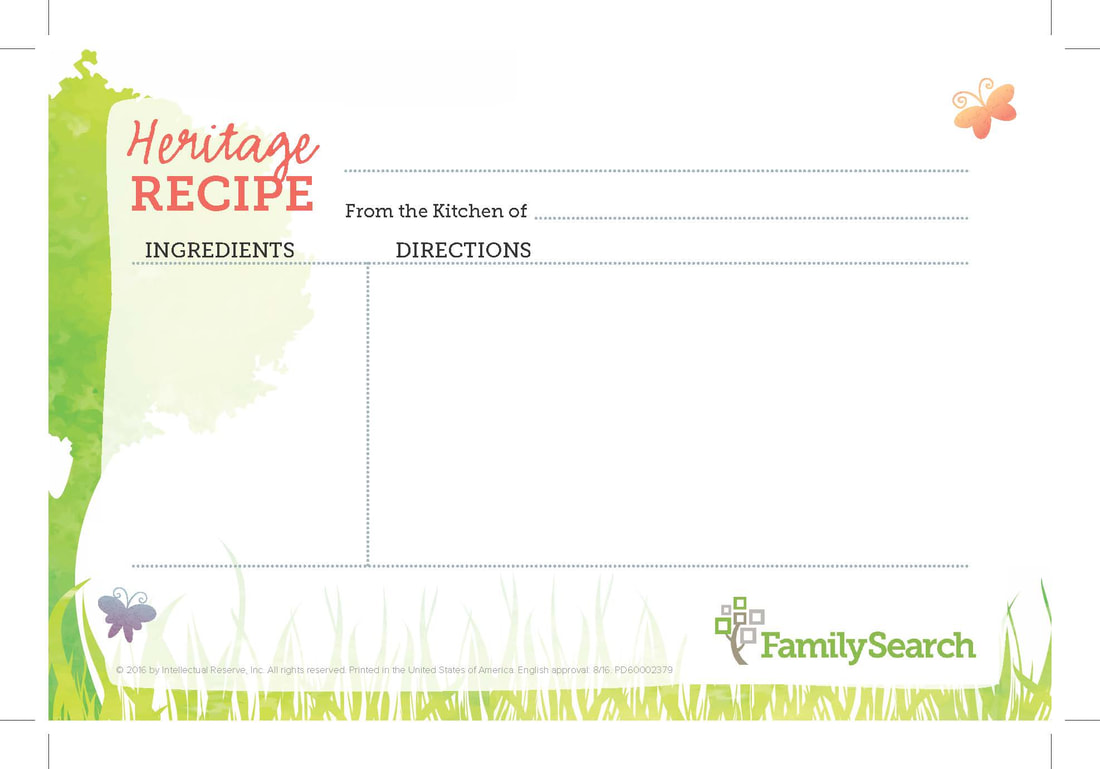 This heritage recipe card and other Family history activities can be found at familysearch.org I hope you'll take part in this activity and let me know your favorite family recipes. With the holidays upon us, it is the perfect time to learn more about your family through what you eat! Happy cooking!
1 Comment
This post contains affiliate links. I will be compensated for any purchases made through those links at no additional cost to you. Thank you for your support!
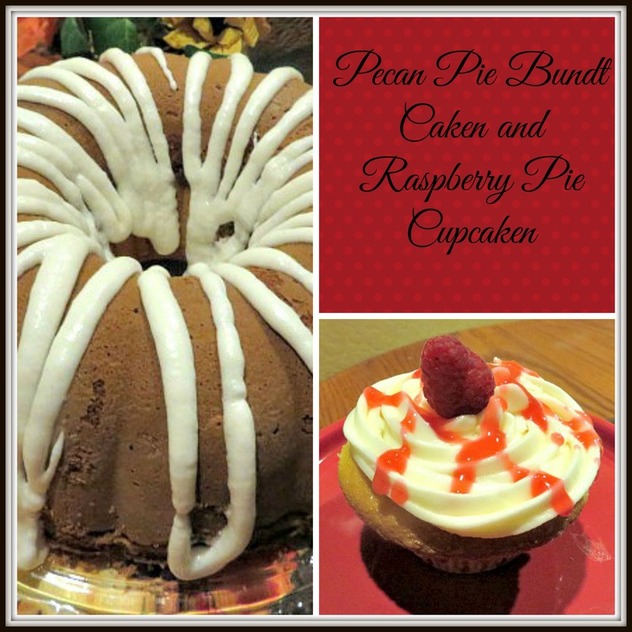
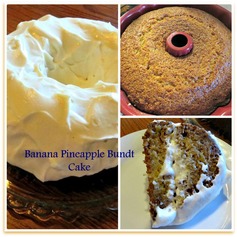
Sometimes it is fun to do something a little different for the holidays just to mix things up a bit while still serving the old favorites. Last December, I introduced you to the Piecupcaken on this post, it is the cupcake version of the Piecaken. Since today is National Bundt Cake Day, I thought that a bundt cake version of the piecaken would be delicious! Since I wanted the flavors to be perfect for Thanksgiving, what could be better than a spice cake with pecan pie? The perfect thing is that in honor of National Bundt Cake Day, Amazon is having a sale on many bundt cake pans! This is the perfect time to order one! Here are a couple of my favorites, you can click the photos to go see them on Amazon.
As I contemplated this Pecan Pie Bundtcaken, I was at the grocery store and raspberries were on sale. I thought, wouldn't a Raspberry Pie Cupcaken be pretty for Christmas? So, guess what, today I am going to show you how I did both! Let's start with the Pecan Bundtcaken.
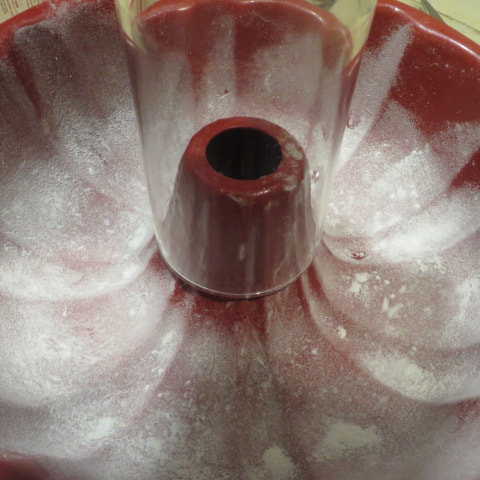
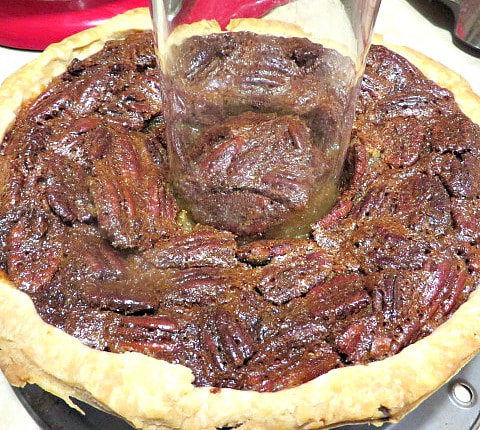
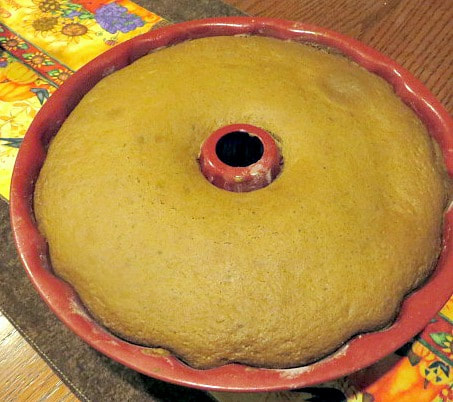
I started by making an 9" pecan pie. I would suggest measuring the dimensions of your pie dish compared to the dimensions of your bundt pan to make sure that the pie will fit inside the cake. And, when you crimp the crust, do it small and towards the inside of the pie rim. A heavy rim of crust is not what you want in your pie bundt caken. Here is my recipe for pecan pie that I used. Click on the photos below to see how I put the Pecan Pie Bundt Caken together!
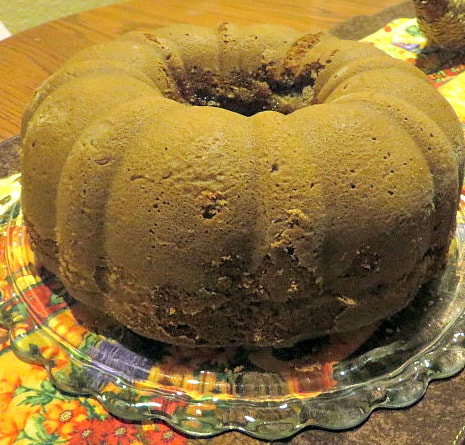
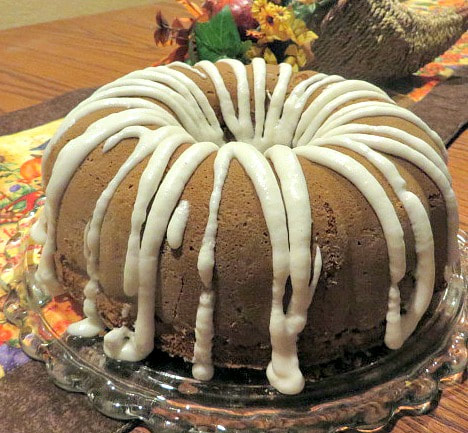
It flipped out of the pan so nicely! You can't even tell that there is a pecan pie in there!
Since there is already so much going on in this dessert, I decided to only give it a drizzle of frosting. I made a regular buttercream frosting and added a tsp of pumpkin pie spice to it. It is so good! I made it a little thinner so that I could drizzle it over the cake.
When you go to serve the cake, look at the surprise inside! 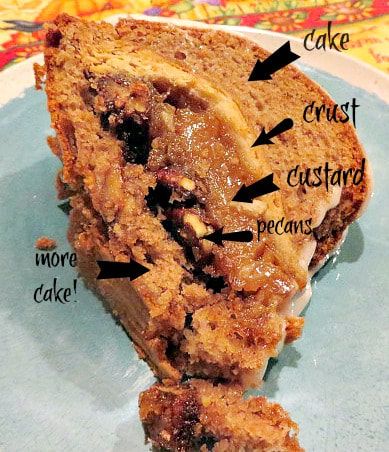
What a delicious surprise on your Thanksgiving dessert table!
Now, let's move on to the Raspberry Piecupcaken. First, you have to make the raspberry tarts. I still had pie crust left after making the pecan pie, so I just used that to make about 14 tart shells. I formed them in small muffin tins so that they would fit inside of a cupcake.

To make the piecupcakens, I used a lemon cake mix this time. Then, just like I did for the bundt cake, I ladled a little batter in the bottom of a regular sized cupcake tin (lined with a paper cup) and then placed the tart on that. Finally I covered the tart with the more batter. These were pretty full and came out pretty large! I baked them for the longest amount of time specified on the cupcake mix. Bake them until they are golden brown and spring bake when touched.
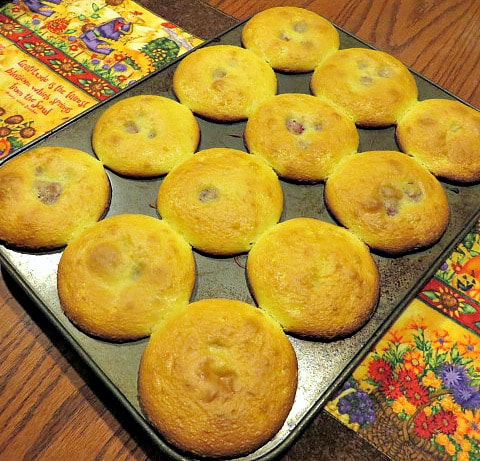
I let them cool in the pan and used a knife to slip them out of the pans when they were cool. They came out pretty easily.
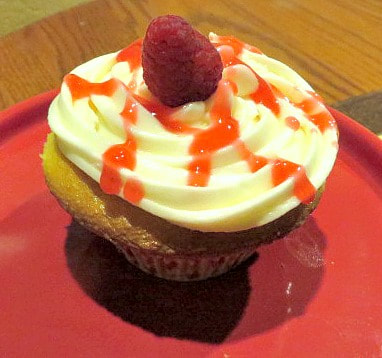
I frosted them with a plain vanilla buttercream and drizzled them with left over raspberry jelly and topped with another fresh raspberry.
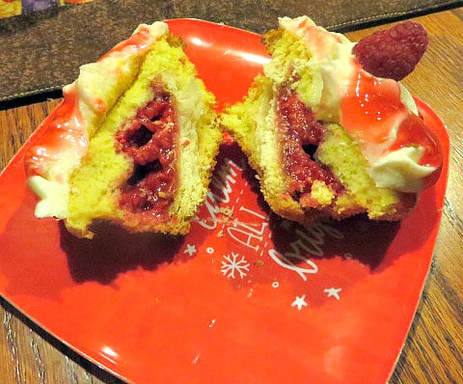
These would be good not only for Christmas, but how about Valentine's Day or even Halloween!
These recipes are a little more time consuming than just an ordinary cake or pie, but this time of year is when it is fun to do something a little bit extra! Don't forget the bundt pan sale on Amazon! One of the extra fancy ones would make a nice gift for the foodies on your list! If you would just like to make a bundt cake to celebrate National Bundt Cake Day, here are a couple of other recipes:
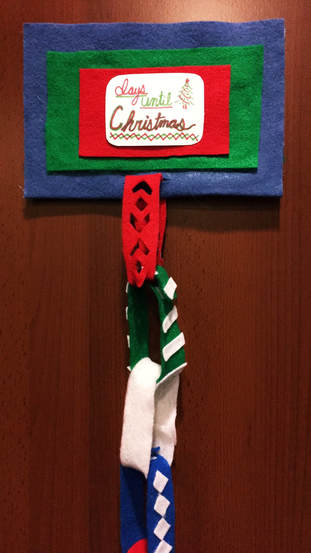
This post contains affiliate links. I will be compensated for any purchases made through those links at no additional cost to you. Thank you for your support! 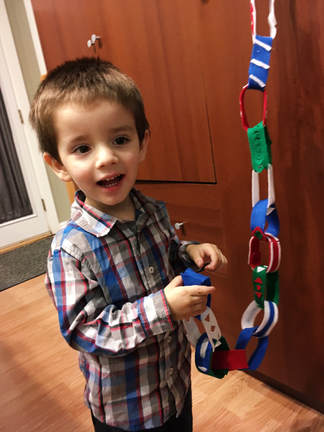 Hey Alicia here! Ever since last Christmas I’ve been looking forward to this Christmas. This will be my little family’s first Christmas without traveling to visit our extended family. Not that I haven’t loved spending Christmas with them, I’m just looking forward to starting our own traditions. So with December approaching quickly I knew it was time to seriously start thinking of how we would be celebrating this holiday season!
Directions:
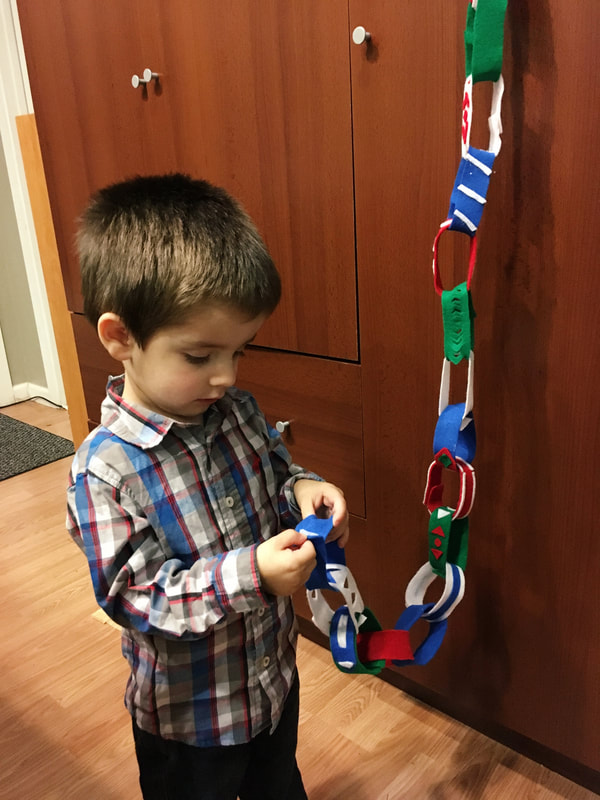
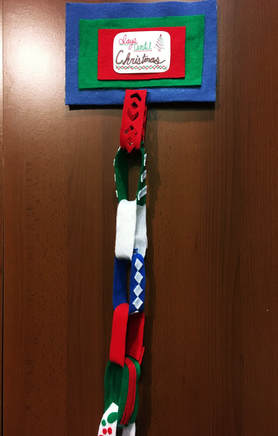
I think this would be something so fun for your kids especially if they got to help decorate the strips. Here’s some examples of how I decorated mine:
This post contains affiliate links and I will be compensated if you purchase through those links at no added cost to you.
You know, getting an idea to do something you've never done before can be very exciting, but it can also be a lot of hard work. Lucky for you, I am putting in the work so you can learn from me and make your life a lot easier. As my mom told you in this post, I bought a bushel of apples from somebody in my church that was selling them. We decided to split them and I thought it would be fun to try making my own fruit leather. I've never made my own before, so I did some internet research on best practices, and I am going to share with you what did and did not work.
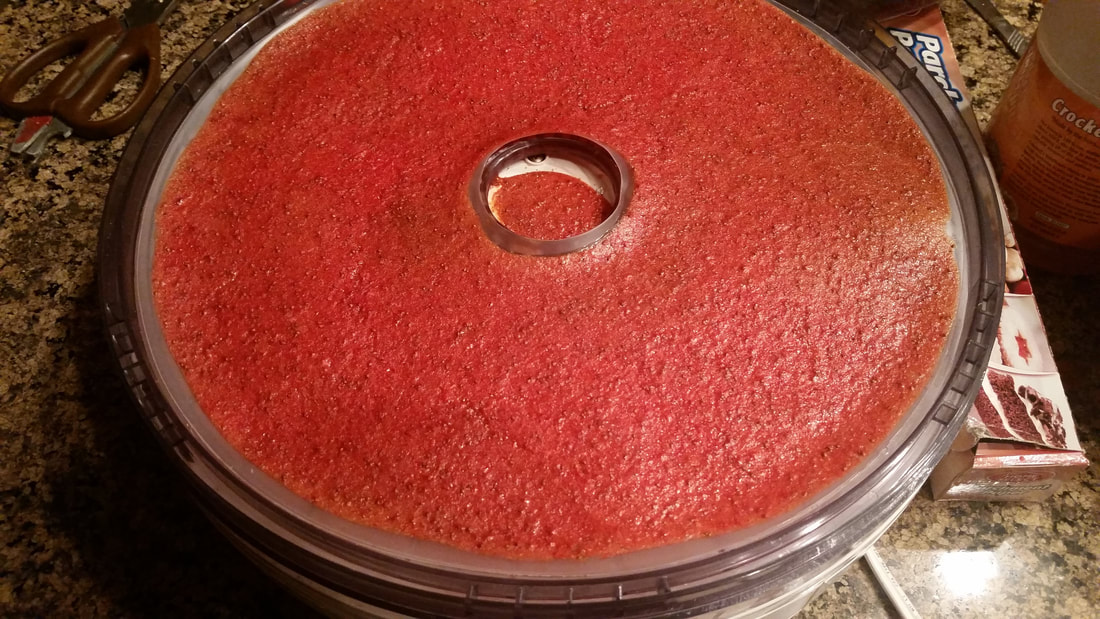
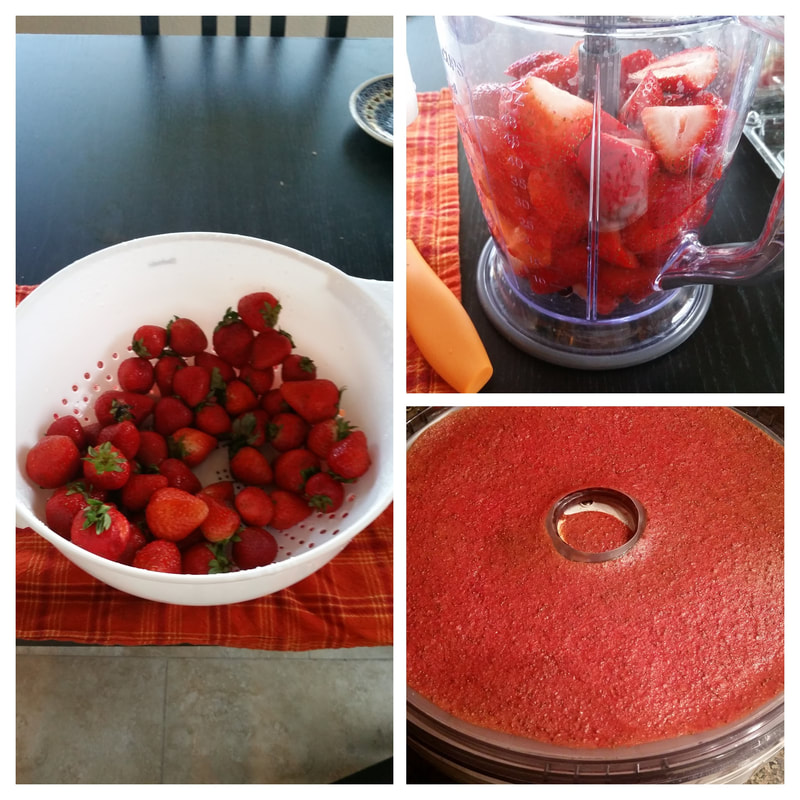
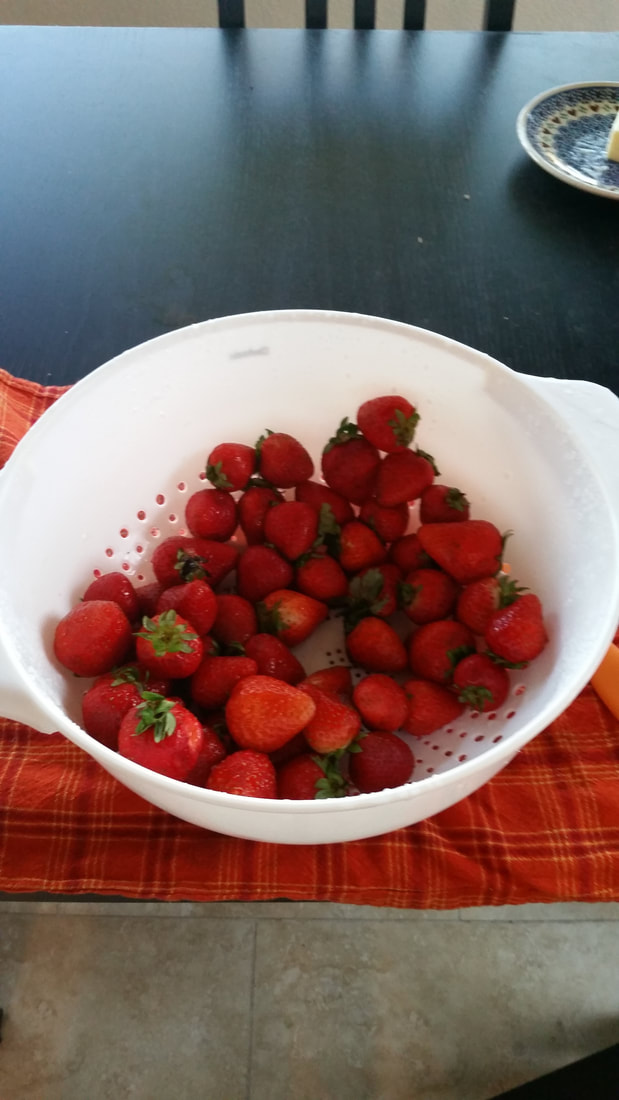
In the midst of all this, strawberries were on sale at the grocery store again. So I bought four cartons and thought, "hey, I know! I'll make two kinds of fruit leather, in two ways!!!" I am so foolishly ambitious. I ran out of steam and only ended up making the strawberry fruit leather, because, pregnancy +visitors coming to town to stay with us this week = I do not get to doing the kitchen things I planned on doing. Lucky for you however, there are still apples left, and I am going to make some apple butter with them. So hold on to your hats for that!
Making the puree was simple enough, and you can see the recipe below. I borrowed my parent's dehydrator (I really need to get me one of those). Here are a few tips.
1. In my internet research many people said you could use parchment paper to dehydrate your leather. That is a lie. Don't believe those people, they are not your friend. 2. My parents' dehydrator came with one fruit leather tray. The tray is really the best thing to use. I also tried to use nonstick lining paper. While it worked better than the parchment paper, it still didn't work as well as the tray that came with the dehydrator. If you want to do your own food storage and make your own healthy snacks I highly recommend buying your own fruit leather trays. I've provided a link below for your convenience. 3. Some dehydrators apparently have a temperature gauge as many places where I researched said to set your dehydrator for 140 degrees Fahrenheit. My parent's dehydrator does not have a temperature control. You just turn it on and let it to it's thing. So I would suggest checking your trays periodically and rotating them if necessary. My bottom tray was done right away and I feel like it got a little too dry in certain spots, while the upper trays still had wet spots. 4. Going along with evenness, try to spread out your puree as evenly as possible to avoid over drying certain spots. I smoothed mine out as evenly as I could, and your edges are still going to dry first, but you don't want to ruin half your leather while you wait for the other half to dry. If you use these tips going forward, making fruit leather really isn't too hard. Making the puree itself was quick and easy. I used my ninja to blend everything together and then poured it on one tray at a time. The wait comes from letting the dehydrator do it's work, but in the end you get a tasty snack that you know doesn't have weird added preservatives in it! Happy fruit leather making! |
Creators of Hot Cocoa Bombs! (copyrighted)

Author
Helen Reynolds: Mother of six children , grandmother to eleven! I love to cook, craft and create things and I especially love doing that with my family, So, when my lawyer daughter, Lindsey, my artist daughter, Madalynn, and I came up with the idea of Hot Cocoa Bombs, this blog was born. Then, one more daughter, with her technical and science skills, plus creativity has joined in to round us out! Read more about us here! 
Click this link and visit 3WinksDesignShop on Etsy. Find our Hot Cocoa Bomb Idea Book, our For the Love of PIe e-book and more of our creations!

Amazon Gift Cards are the Perfect Gift!
    Archives
April 2024
|


 RSS Feed