|
This post contains affiliate links. If you make a purchase after clicking them, we will be compensated, but there is no additional cost to you. All opinions expressed are our own. Thank you for your support.
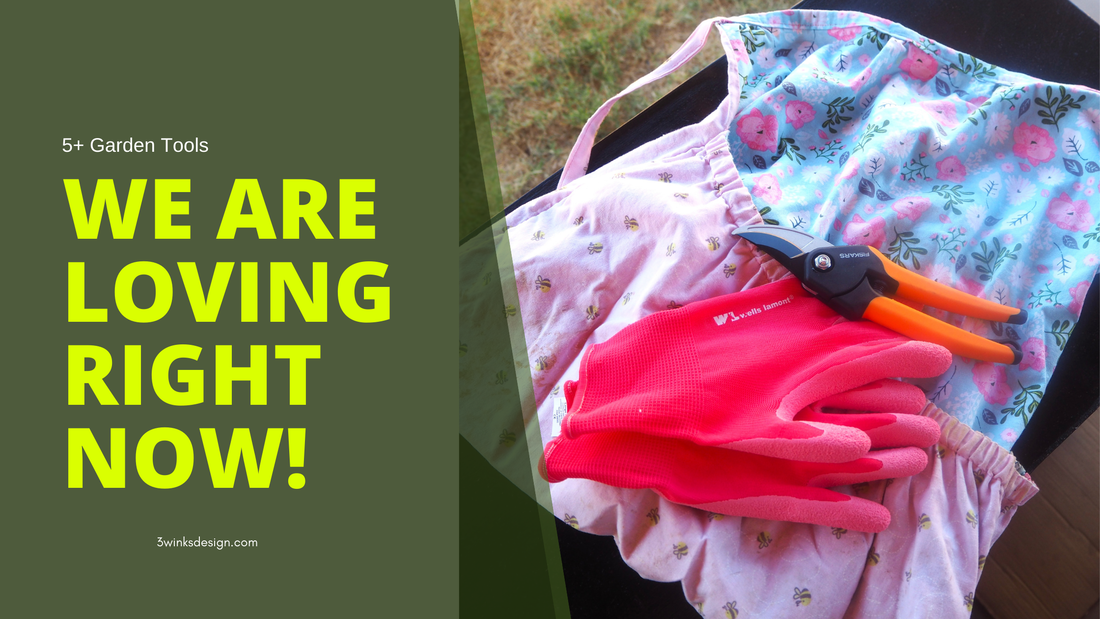
I've made no secret about the fact that I am loving my little urban garden this year. It has produced well and I have been having so much fun with it and dreaming and planning how I will make it even better next year.
Anything that anyone pursues is always much more enjoyable if you have the right tools for the job. One thing that I have already shared this year is my harvest apron that I sewed up to wear to keep my hands free as I harvest the food from my garden. You can see how I did it on this post. Today, I am going to share with you a few more tools that will make gardening more enjoyable and just a bit easier on your hands. 
My husband picked me up these Fiskars Garden Shears at Lowe's the other day! You can also order them on Amazon. (the link is to Amazon) They are so nice to have when I'm reaching deep into a plant to harvest a zucchini or to prune some damaged leaves. Clipping is much better for the plant than just ripping something off of it. Just be sure to watch what you are cutting. (I accidentally snipped off some green strawberries the first time I used them! Oops!) I've been needing and wanting these for awhile. I'm so glad to have them!

My Wells Lamont Garden Gloves are just the thing to protect my hand from the prickly leaves and stems of some plants. Squash plants especially tend to poke my hands and there is no getting around lifting those big leaves to find the zucchini and yellow squash. These gloves were easy to work in and not clumsy feeling at all. I was able to used my shears while wearing them with no problem.

I just ordered myself these terra cotta watering spikes to use in my garden while we go on vacation for a week. Alicia tells me that they work great and so do the reviews on line. A week in Phoenix heat will give them a true test!
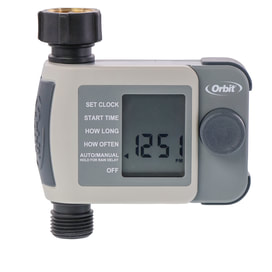
I picked up this watering timer at Walmart for my front flower/vegetable bed early this year. It has been a life saver. I should get one for my back garden, but I haven't yet. That is why I ordered the watering spikes. You can find similar ones on Amazon.
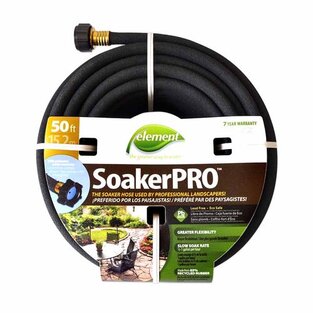
Going along with my timer, is my soaker hose. The great thing about the soaker hose is that I can move it around as I take out and put in new plants. It is very easy to do and I can place it right at the base of the plants where the water is needed. This one is from Walmart. Walmart has the best price on these that I have found.
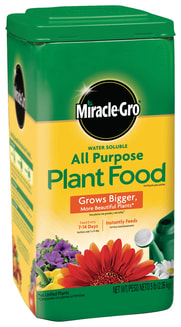
Finally, don't forget to feed your plants once a month! Lindsey and I have found that Miracle Gro does such a great job! My plants have never been healthier than they are this year and I have been using Miracle Gro religiously!
Two more favs that are less about products and more about DIYs that work against pests:
There you have it! Our current garden favs! If you have anything to add, please let us know and we will add it to our list of things to try! Happy Gardening!
Other Gardening Posts:
1 Comment
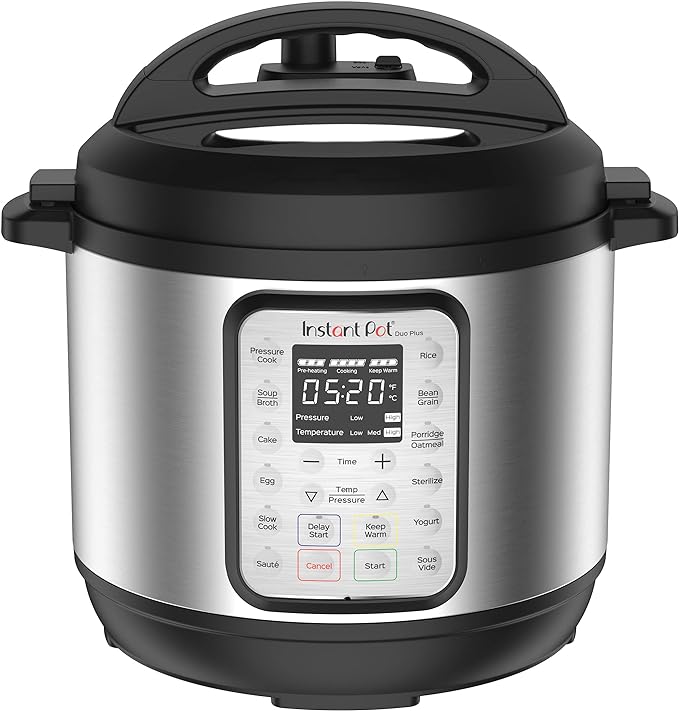
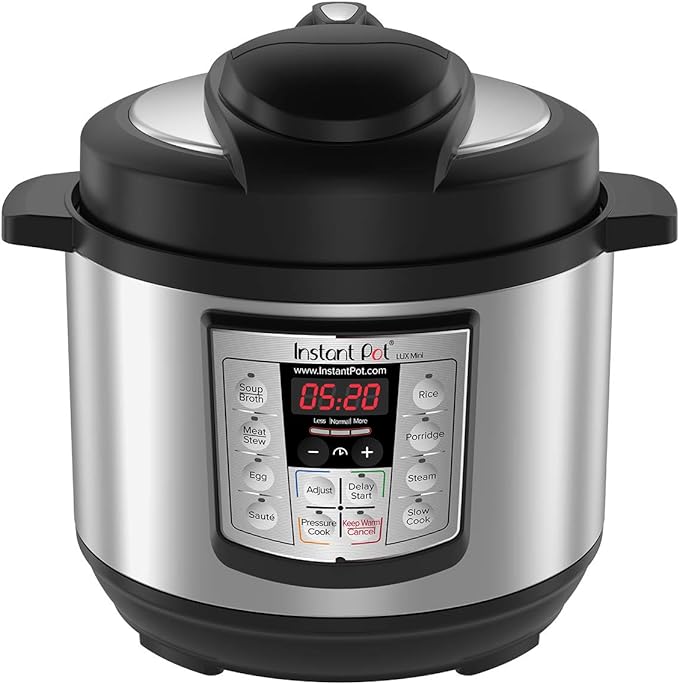
This post contains affiliate links. If you make a purchase after clicking them, we will be compensated, but there is no additional cost to you. All opinions expressed are our own. Thank you for your support 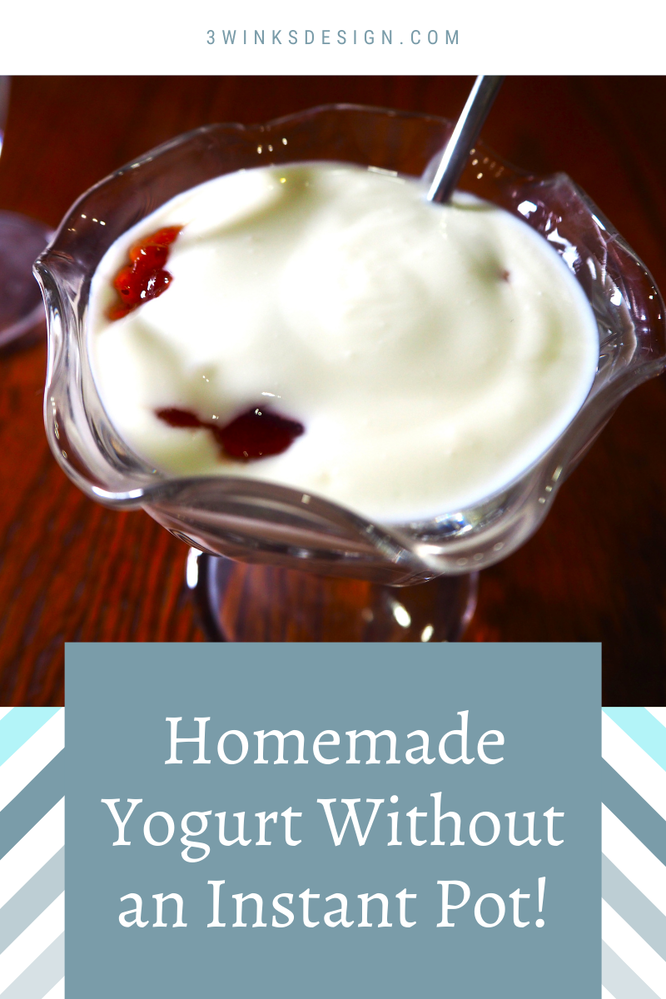 One family member, my son's mil, Anita, is always so supportive of our blog. She is so talented and always has ideas and inspiration for our blog! This past Christmas, she sent me a yogurt strainer. She showed me her results of making yogurt in her Instant Pot and where she found the recipe. I got so excited thinking about all of the things that I can use this strainer for and for all of the things that I can do with the yogurt. Unfortunately, I discovered that my Instant Pot Lux does not have the yogurt setting. But, I knew that before there were Instant Pots, people still made yogurt. So, my search began for a way that I could make yogurt without an Instant Pot. I found many ways! I used a combination of those ideas and experimented on my own, as is my way. Guess what! My very first experiment was a great success and it was so easy that I can't believe that I haven't been making my own yogurt all along!
I made a video of myself making my very first batch of homemade yogurt! Watch it, and then I will list some highlights to help you make your own yogurt without an Instant Pot as well! Whelp, now you know how I look in the morning. Here are a few highlights to remember:
In a few days, I'll share the recipe for my lemon blackberry cheesecake that I made with this homemade yogurt! There will be a few other things to come as well! Here is a shoutout to Anita for getting me excited about making yogurt! It is such a satisfying feeling to make something that is successful, delicious, versatile and money saving! Let me know if you give it a try. If you enjoyed this post, you may enjoy these as well:    
This post contains affiliate links. I will be compensated for purchases made at those links at no additional cost to you. All views expressed are my own. Thank you for your support!  Most of us 3 Winks women live in Phoenix. Lindsey, Maddy and I are all jealous of Alicia during this time of year because she lives in the reasonably temperate California Bay Area while we live here, in the fiery inferno of Phoenix, Arizona. When you live in a fiery inferno, you still have to feed your family healthy meals, but you search diligently for ways to do it without turning on your oven and heating up the house. Even when we use a crock pot or other appliance, we sometimes put it outside on the patio to keep from adding any more heat to the house. The struggle is real. For years, I have used my crock pot as a great oven alternative during the summer. Now, in recent years, the Air Fryer and the Instant Pot have entered the picture. I am still in the learning curve for both of those appliances, but my girls have already embraced them as the blessing that they are. Today, I am going to share with you some of our favorite and simple recipes to make in these gadgets that truly help to keep the heat out of the house! Instant pot
Air Fryer
Crock Pot
Whelp, now I'm hungry! Luckily, recipes like these will help to feed me and keep the house from heating up! What do you use your Instant Pot, Crock Pot and Air Fryer for? I'd love to try some new recipes!
This post contains affiliate links. I will be compensated for purchases made at those links at no additional cost to you. All views expressed are my own. Thank you for your support!

Hello everyone! I hope you all had a happy fourth of July last week! We sure did! My mother in law came to town to celebrate with us. It was fun to see our little BP playing with the grandma she doesn't get to see as much (since she lives out of state) and making special memories together!
Well of course, as we do, we had a party for the Fourth of July! We are the family with the pool, so it's kind of a necessity. We had a rather eclectic mix of people this year! Family, extended family, friends we consider family, and new neighbors who we hope will become friends! It was a great day! Well a few days before the fourth my husband had stopped at the grocery store and came home with an 8 pound pork butt. He wanted to make something with it. My response was, "I don't know how many people you think live here, but only three do, and one of them is a toddler." However, since he had to work on the Fourth and wouldn't be there to start grilling as early as I would have liked, I decided we would do BBQ pulled pork sandwiches! 
I debated trying my hand at doing pulled pork in the my husband's smoker, but in the end I decided I would use my crock pot! I have done BBQ Pulled Pork in the crock pot numerous times in the past, and it is really a favorite of mine!
Doing BBQ Pulled Pork in the Crock pot is not as difficult as you might think! You can still get a tasty, moist pulled pork when it is cooked in the crock pot. There are many principles to smoking meat to make it juicy and melt in your mouth, and you can incorporate those principles with your crock pot. The key to this bbq pulled pork in the crock pot is the infusion of apple cider vinegar, and cooking it low and slow (which is really what crock pots are for!) That liquid inside the pork is going to soak into the meat while it cooks, leaving you with moist, flavorful pulled pork at the end! The low temperature also makes sure your bbq pulled pork doesn't go dry, or get over cooked. I highly recommend still using a meat thermometer and make sure your meat reaches an internal temperature of 202 degrees Fahrenheit. Then you can be sure it has cooked all the way through! When I pulled this pork out of the crock pot it was literally falling apart! Which is just how I like it! We used Kings Hawaiian rolls (and some home made because I was worried about running out) and topped our pulled pork with our favorite barbeque (bbq) sauce and some cole slaw! Happy cooking!
For this Recipe, you will need:
|
Creators of Hot Cocoa Bombs! (copyrighted)

Author
Helen Reynolds: Mother of six children , grandmother to eleven! I love to cook, craft and create things and I especially love doing that with my family, So, when my lawyer daughter, Lindsey, my artist daughter, Madalynn, and I came up with the idea of Hot Cocoa Bombs, this blog was born. Then, one more daughter, with her technical and science skills, plus creativity has joined in to round us out! Read more about us here! 
Click this link and visit 3WinksDesignShop on Etsy. Find our Hot Cocoa Bomb Idea Book, our For the Love of PIe e-book and more of our creations!

Amazon Gift Cards are the Perfect Gift!
    Archives
April 2024
|
 RSS Feed