|
This post contains affiliate links. I will be compensated for purchases made through those links at no additional cost to you. Thank you for your support. 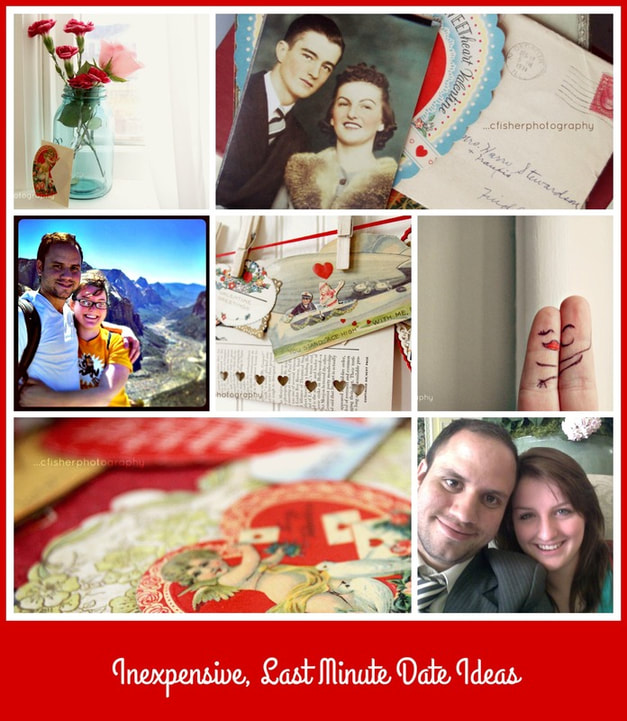 Valentine’s Day is just around the corner, which means it’s about 11 months too late to make a reservation at a restaurant for your date night. That doesn’t mean you can’t put together a romantic evening for you and your other half that both of you will enjoy and remember. And just because it’s not planned in advance doesn’t mean it needs to be expensive. Here are five last minute date night ideas that won’t break the bank. At Home Paint Night Paint nights have become all the rage recently, but don’t shell out all that money for something you can easily do at home. Buy some cheap paints, a couple canvases, and a bottle of your favorite drink. There is an abundance of painting tutorials on YouTube that you can follow. Throw one up on the big screen and do your best to follow along. At the end, gift your new masterpieces to each other. Alicia gave ideas for a watercolor paint night on this post! Sunset Hike With a Picnic There are few things in this world more beautiful and romantic than a sunset. Take advantage of this free spectacle and create your own version of dinner and a show. Pack up a simple dinner, bring along a blanket or two, and find an easy hike near you. At the top, set up for the evening and enjoy the view with a delicious meal and the person you love. Movie Marathon Movie nights are a pretty normal date night idea, but there are a couple ways you can jazz it up to make it more special. Create a theater size spread for you and your love to munch on while you watch (popcorns, your favorite candies, fries, pretzels, etc). Bring out all the blankets and pillows you can find so it feels like you’re sitting on a cloud while you watch you favorite flix. And finally, figure out what you want your marathon to be. In one evening you can probably fit about 3 movies, so keep that in mind! Learn How to Cook a New Meal Together Again, YouTube is a great resource for this and it’s a great, inexpensive alternative to a professional class. Find a few dishes you’re both interested in, make sure you have the ingredients, and then follow the tutorials together to create your own romantic dinner. Not only will you then have a delicious dinner to eat, but you will have the skills to make these recipes again in the future! Window Shopping in Old Towne Most cities have an “ole towne” area, filled with cute little shops, restaurants, and entertainment that is all locally owned. Grab a couple smoothies or ice cream and walk around looking at the sights, window shopping, and just having good conversation. This is a great date idea for if you don’t want to actually do anything and just want to spend time together. And, as long as you don’t actually buy anything in the shops, it’s very cheap! These five date night ideas are so inexpensive, but also so fun and provide great quality time. They are also simple to adjust to fit your needs and interests. Try them out and let us know which one is your favorite! If you enjoyed these ideas, you may want to check out others we've given in the past:
Date Ideas for Newlyweds and Oldlyweds Our Favorite Love Songs
3 Comments
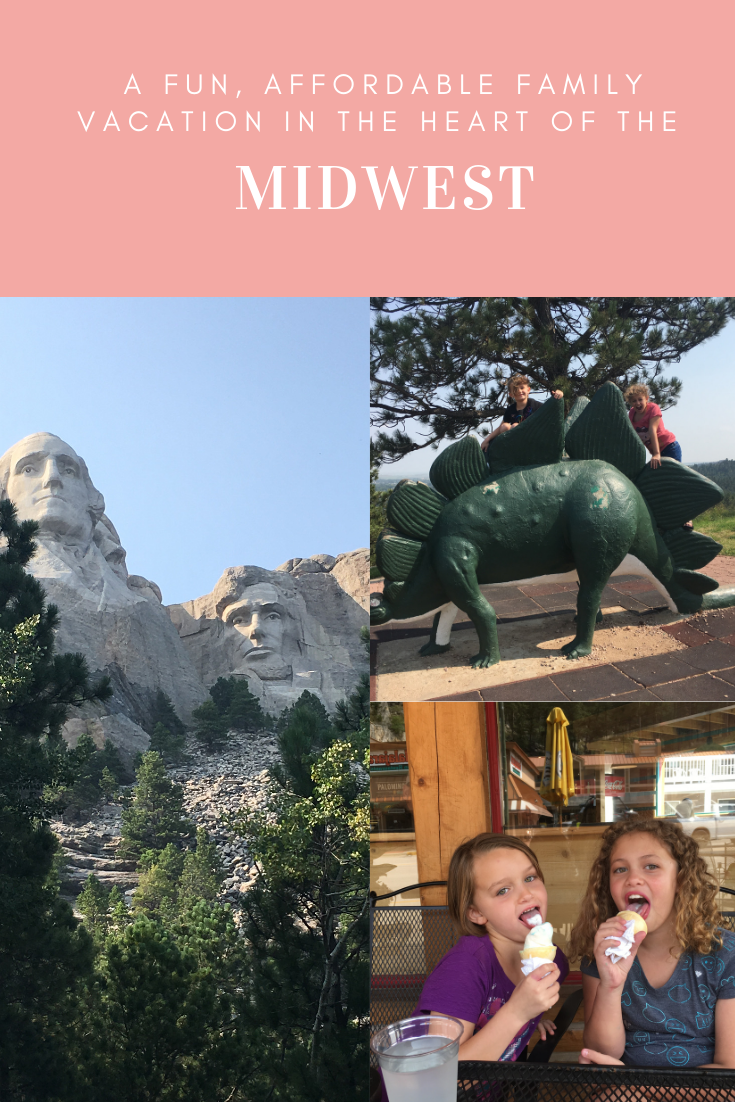 Last summer I went to visit my nieces up in Wyoming. My original intentions were to bring them back down to Phoenix for a girls week, but the drive between Phoenix and Casper was one I did not want to have to make 4 times. Once I got there I thought, “I know, I’ll just look to see what I can do with them locally!” Turns out… there’s not very much to do locally in most of the Midwest… unless you make the drive to South Dakota! Rapid City, SD ended up being our vacation destination. It was only a 4-hour drive and there were plenty of things to do to keep the three of us occupied for a week! 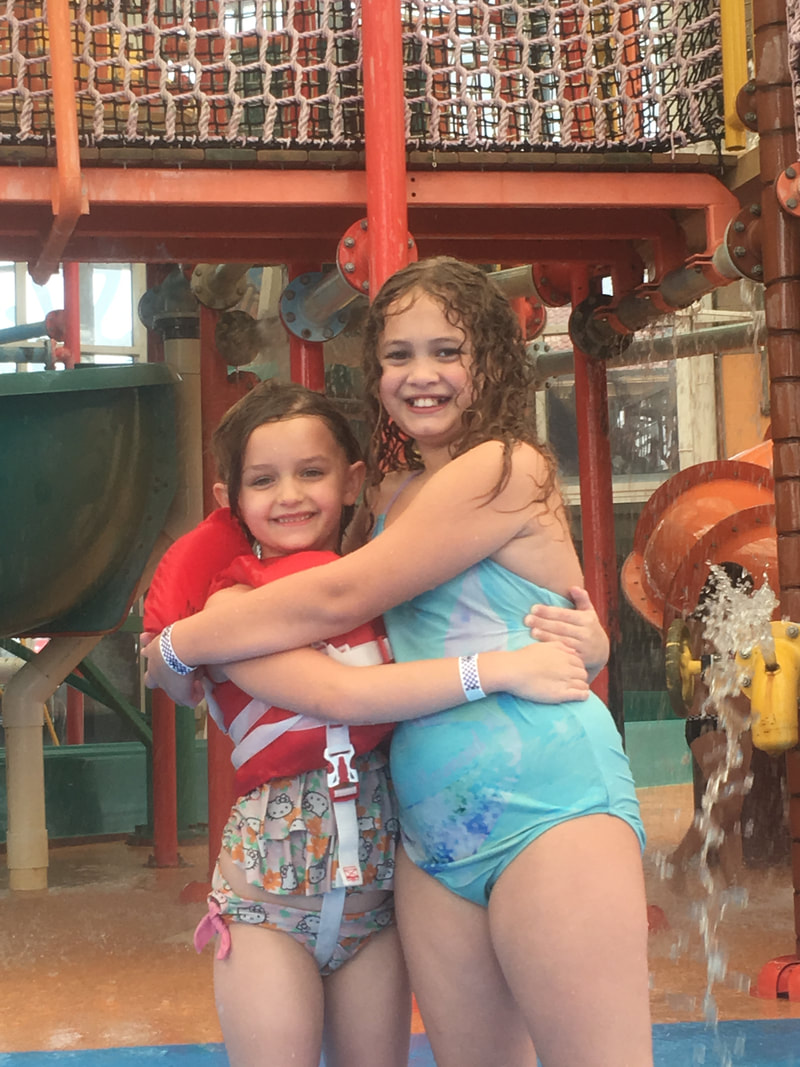 What first caught my eye when looking for activities was actually the hotel we stayed at. It was attached to an indoor water park! Watiki Water Park is an indoor water park with an upstairs arcade, attached restaurant that will deliver to you in the park, and attached hotels. The girls had so much fun with this! We ended up going there for two of the days. It was perfect for the hotter days and so easy to just walk down the hallway from our hotel room to the entrance of the water park.   Another destination we made the trip to twice was Mount Rushmore (Or Mount Smushmore as the girls called it). Since it is a national park, you can buy a pass and go as many times as you want. There is a trail you can follow down to get right up next to the monument, with different viewpoints set up. The drive through the town on the way there was fun too. We stopped and walked around, window shopping and stopping for lunch. 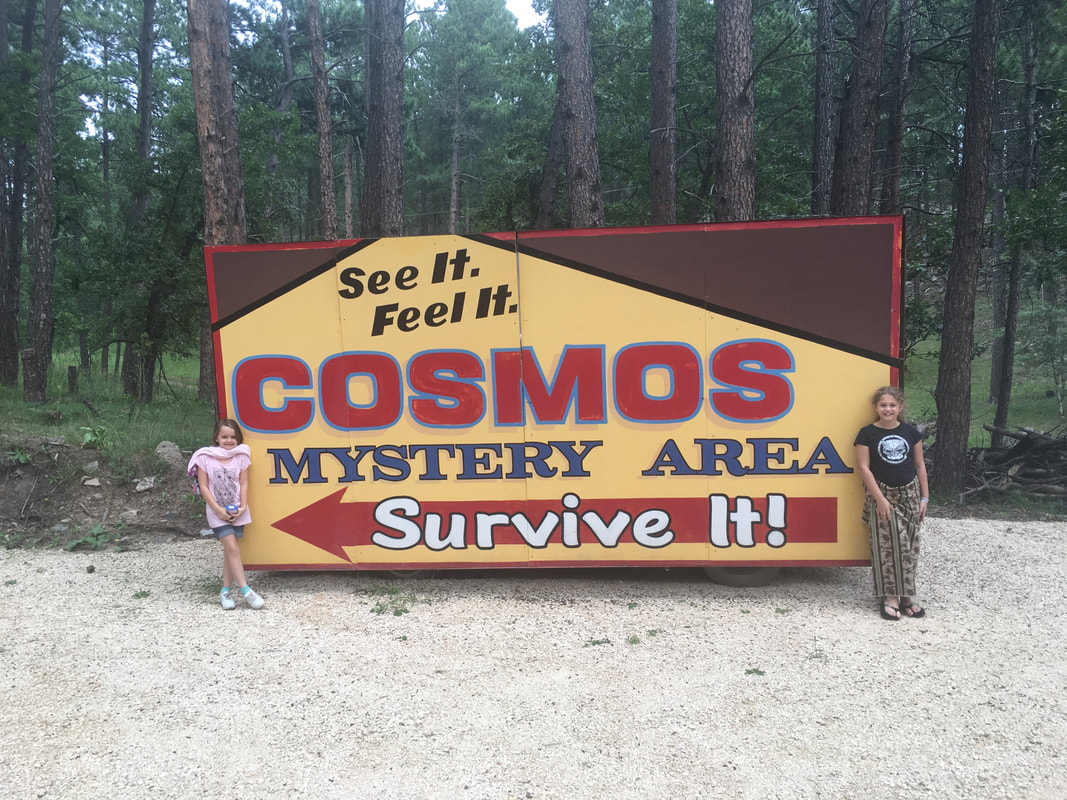 The drive between Rapid City and Mount Rushmore is full of fun activities and sights to see. My favorite? Cosmos Mystery Area. It’s a very intriguing play on the mind. Is it real or is it a trick? I don’t know, but I do know it was a lot of fun and the whole tour group we were a part of loved it. One of the girls even got to be used in a demonstration! There were plenty of sights we didn’t get to see along that drive as well. A petting zoo, Bear Country, a lizard emporium, and more. Bear Country looked especially fun! It's a drive through range that allows you an up close look at bears! 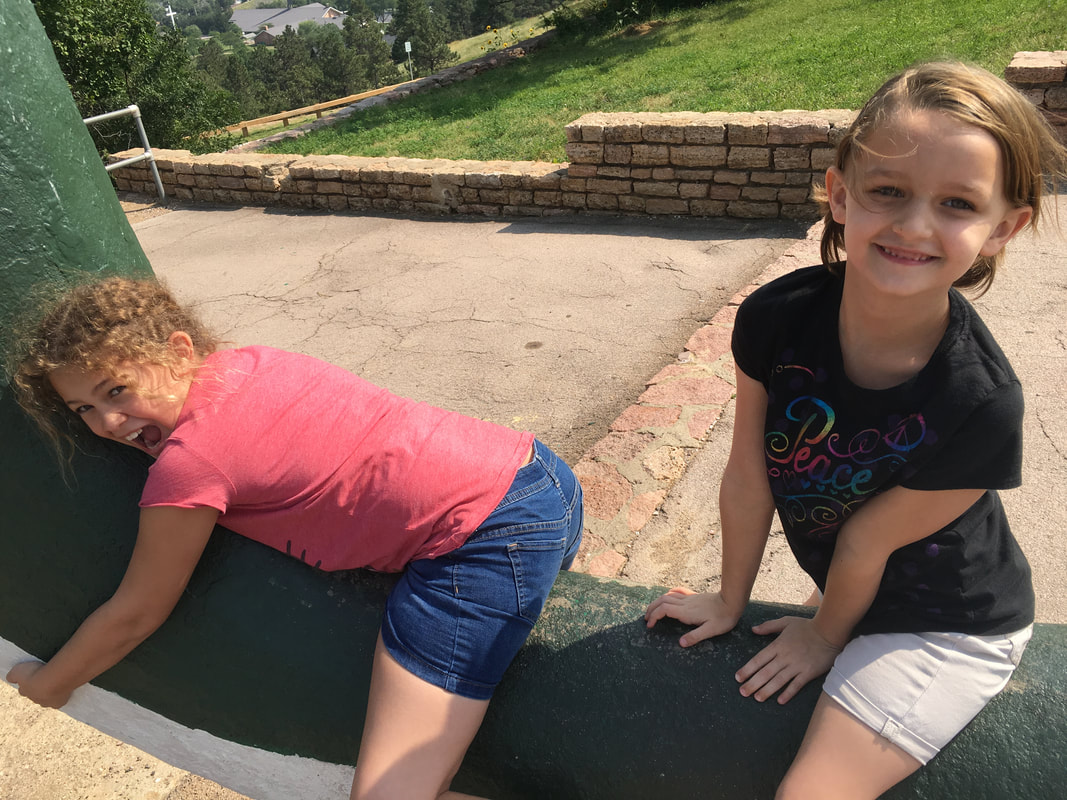 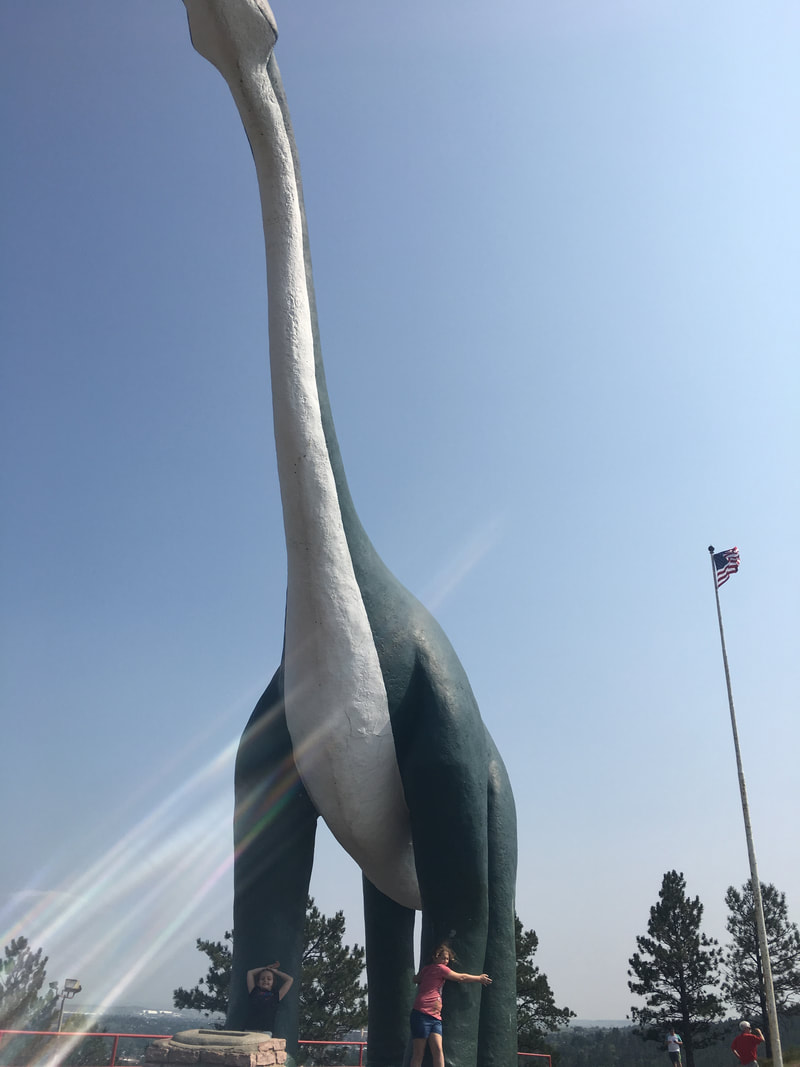  We spent one afternoon just walking around downtown Rapid City. There are plenty of cute little shops and boutiques and historical landmarks to check out. I also took the girls to a salon to get their hair done. Just a short drive from downtown was Dinosaur Park. Several dinosaurs set up on a hill, perfect for climbing and taking pictures- free of charge! There is a gift shop across the street with a little restaurant inside so you can grab lunch as well. There was also the county fair in town that week, so we went over for a day filled with rides, funnel cake, animals, and balloon swords.  Overall, Rapid City was a surprising little nest of fun and activities in the heart of the Midwest. There’s plenty to do for a whole family to enjoy and fill up a fun summer vacation. If you’re wanting to plan a summer family trip, I would highly recommend adding a trip to Rapid City to your list!

As you all should know by now, my mother and I recently took a week long trip to Disneyland. (She blogged about our top tips to make the most of your trip here. One of the things we did before the trip was make our own Minnie Mouse ears to wear around the park. These things usually retail for around $25. We made ours for a fraction of that price, around $5 a pair. And they came out so cute! We got complimented on them each day we wore them, and characters we met noticed they were different from typical ears so it made for interesting interactions. If you’re ready for your own cute and unique ears, keep reading to see how we did it. There is some minor sewing involved, but it really heightened the look and integrity of the ears.


To make these adorable easy Minnie ears you will need:
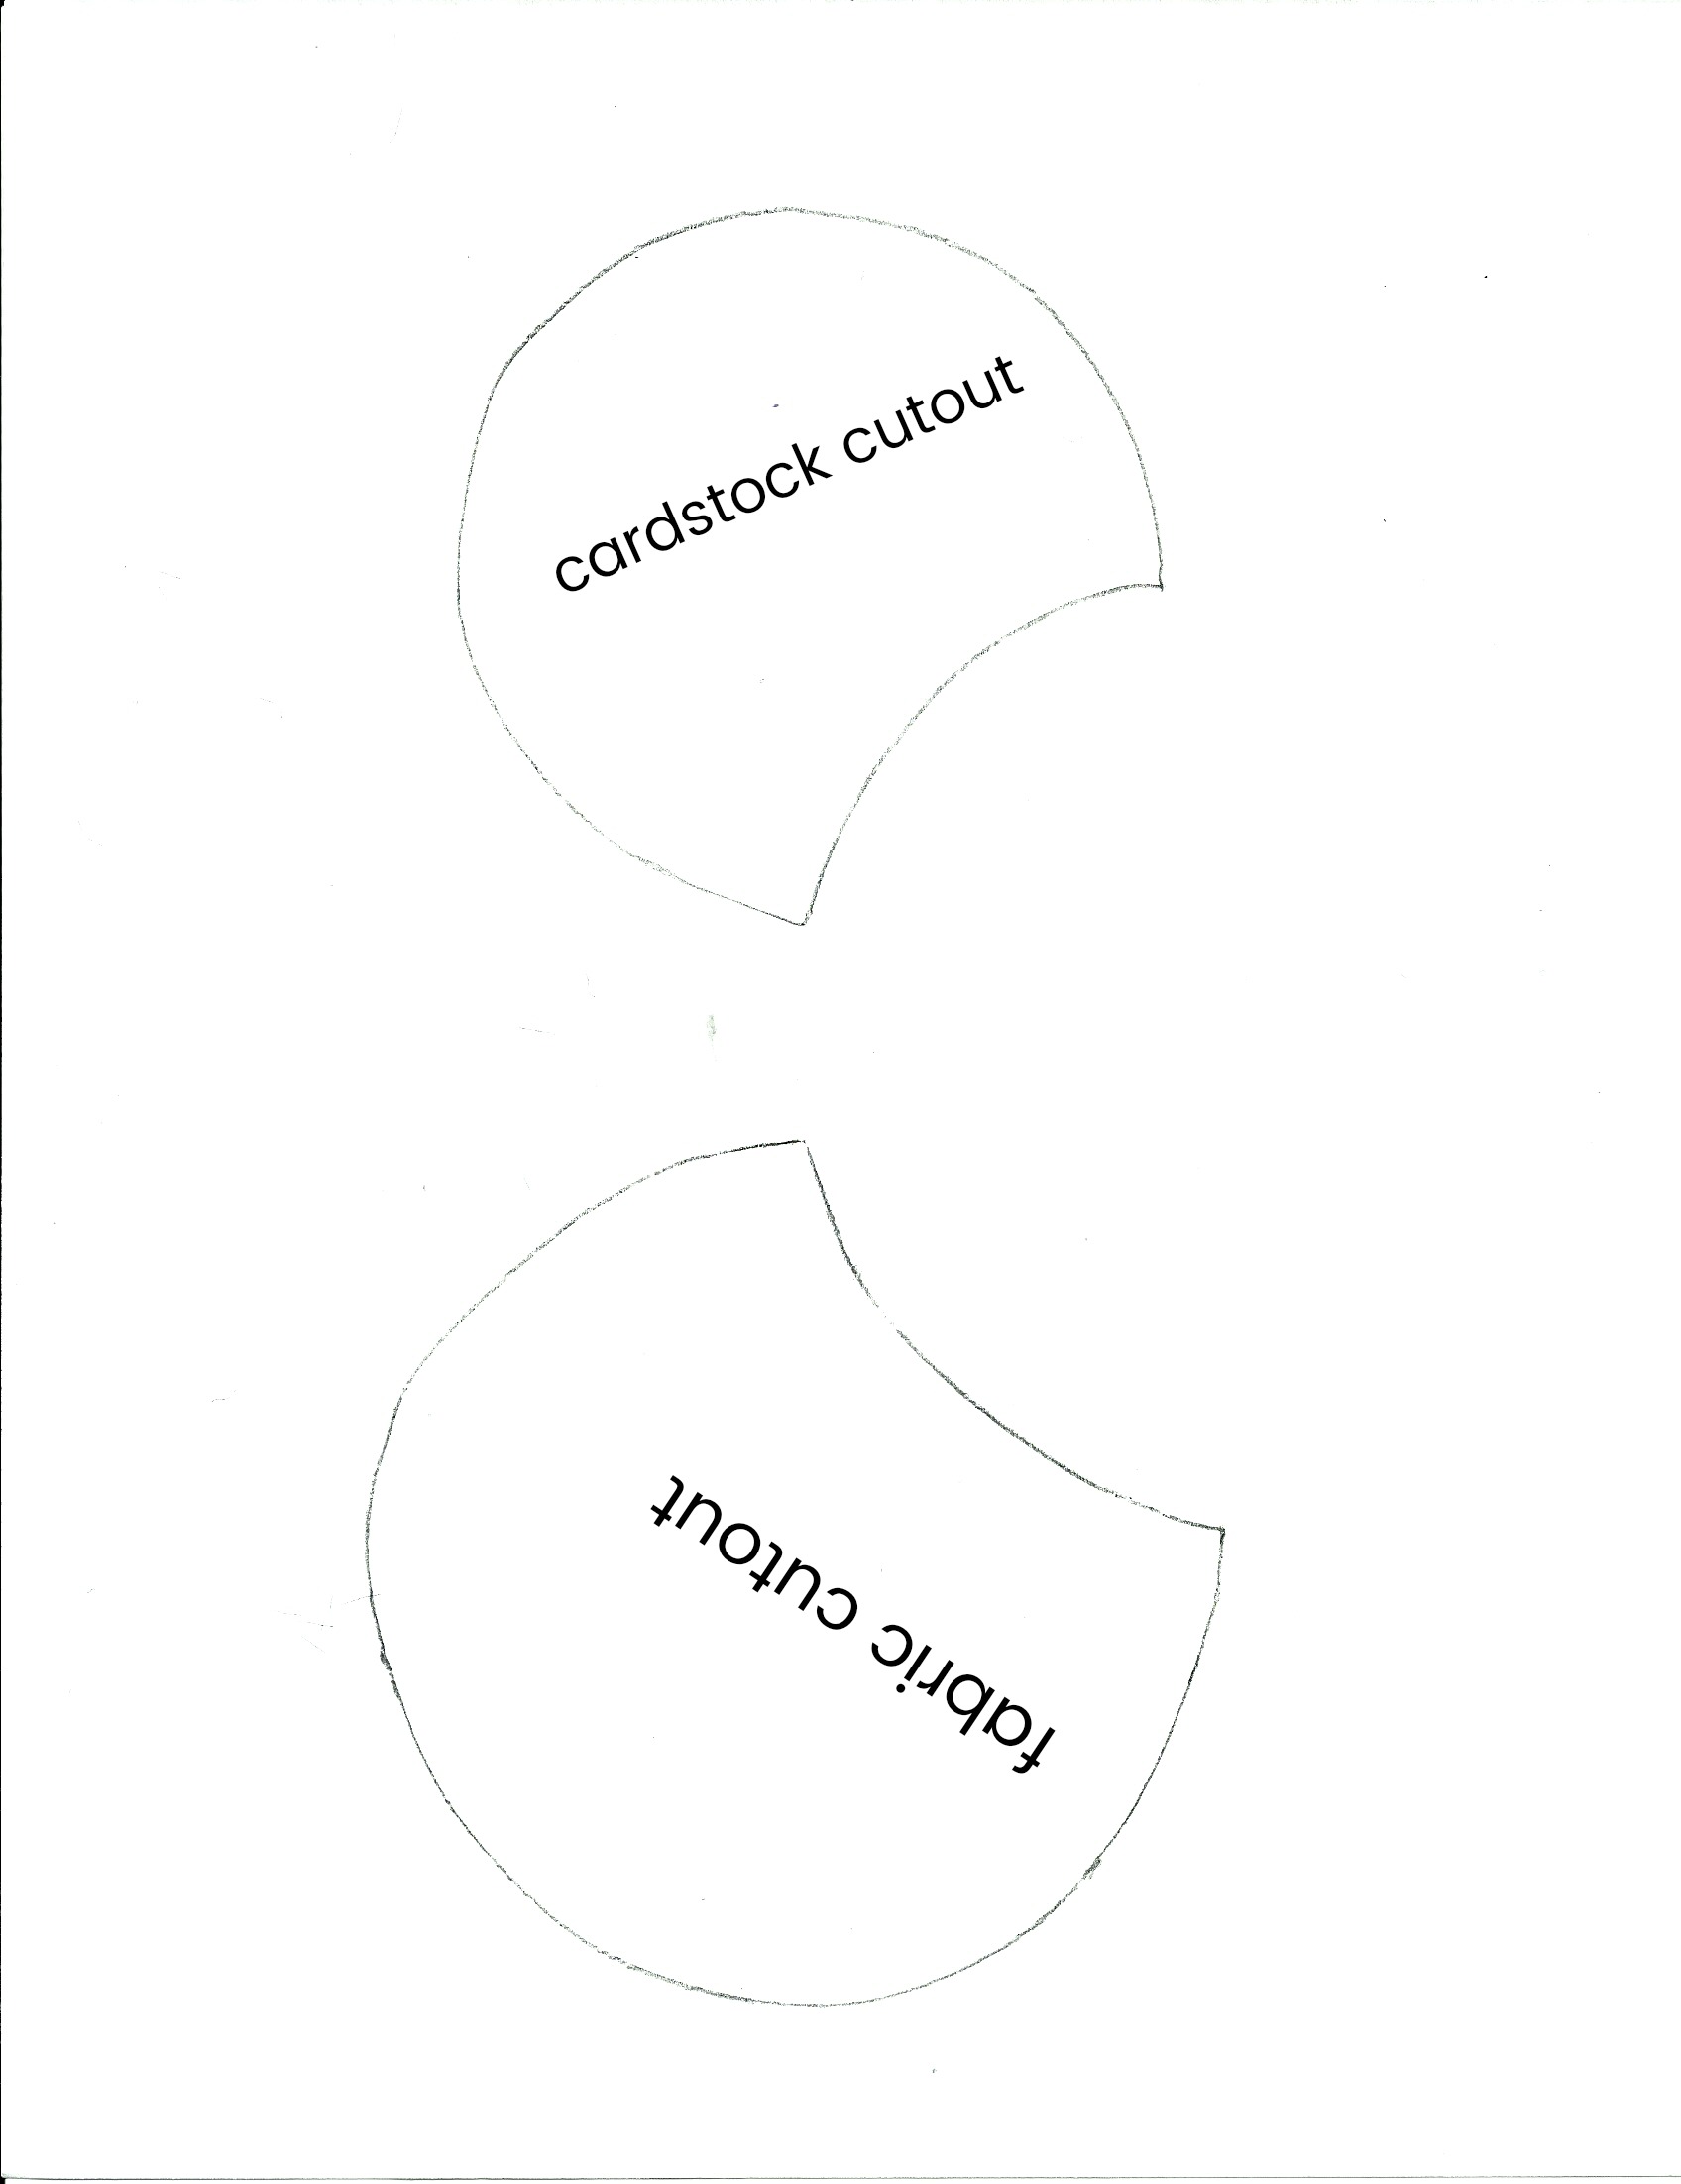
Fabric of your choice. (We chose faux fur because we were basing our ears off of specific characters) Ribbon of your choice (Again, ours matched the characters we chose) Headbands (or here) Cardstock Cotton stuffing Template Thread Hot glue Scissors Pencil 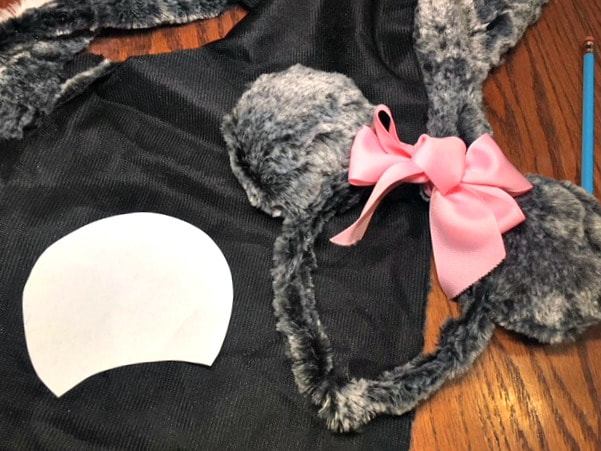
Constructing the ears is simple.
*Print the template out. There is one labeled for fabric and one labeled for cardstock. Cut out the fabric one and trace it onto the backside of your fabric 4 times. Cut these out and put them in pairs of two. Pin each pair together so the backside is facing out (they will look inside out). Sew around the outside of the ears, leaving the bottom open. Once they are sewn together, flip them right side out through the open bottom. *Now cut out the cardstock template and trace 2 of those out onto your cardstock. Cut them out and insert them into the ears through the open bottom. These will help keep your ears sturdy. *Stuff the ears with the cotton stuffing, being sure to get it on both sides of the cardstock and right up around the edges inside. Once the ears are as fluffy as you like, set them aside. *Measure your headband and cut out a strip of your fabric the same length and about double the width as it. Using hot glue, attach the fabric to the headband. It is easiest to do this in small sections, working from one side to the other. *Once that is dry, grab the ears again. Hot glue the open bottoms shut. Once the glue is dry, place the ears on the headband where you want them. When you think they look good, hot glue them in place. The last step is the easiest. Create a bow with your choice of ribbon and attach it to the center of the headband with hot glue. I also glued it onto the ears where they touched to add strength. 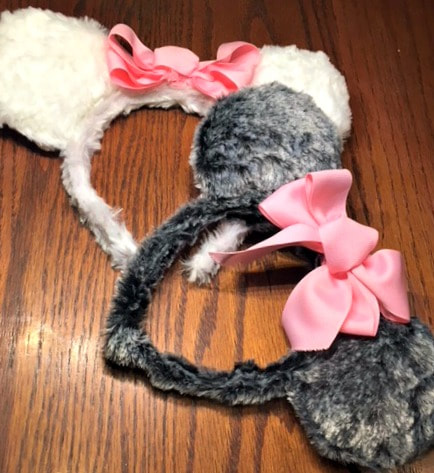
And that’s it! Easy, but so cute and durable. They survived getting soaked on splash mountain and the intense heat of California at noon, so they can take a lot. If you follow our tutorial and make your own Minnie Mouse ears, tag us on social media so we can see! Happy crafting!


This post contains affiliate links and we will be compensated for any purchases you make.
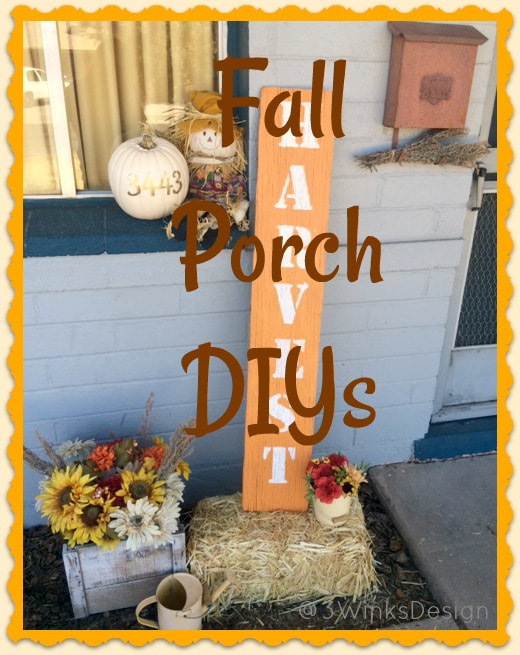
Part of the fun of fall is all of the cute fall porches people set up. Small touches really add a lot of festivity to a home. Unfortunately for some of us, we don't have a lot of room to work with. Maybe you live in an apartment or like us, just don't have very much porch space. If that's the case, I have come up with four ideas that you can use to really bring the festivity of fall to your doorstep.
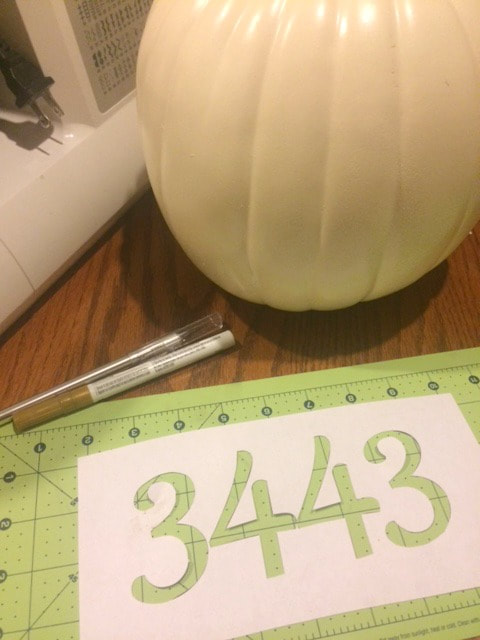
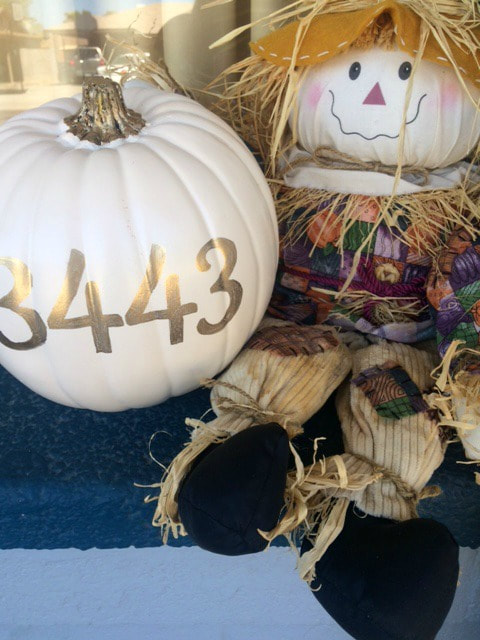
The first idea is this super simple DIY to display your house or apartment numbers. Simply gather a fake pumpkin, a paint pen, and a stencil of the numbers you will need. I created mine using microsoft word and an exacto knife. Secure the stencil to the pumpkin and trace the numbers. When I did this, i thought it was easiest to fill them in without the stencil still in place, but do it however you find easiest. I also painted the stem of my pumkpin to match the numbers. Once finished, you can use a sealing spray to seal it all in before displaying it. This is perfect for a small space because it can be easily displayed in a window sill, as shown. No porch space is taken up!
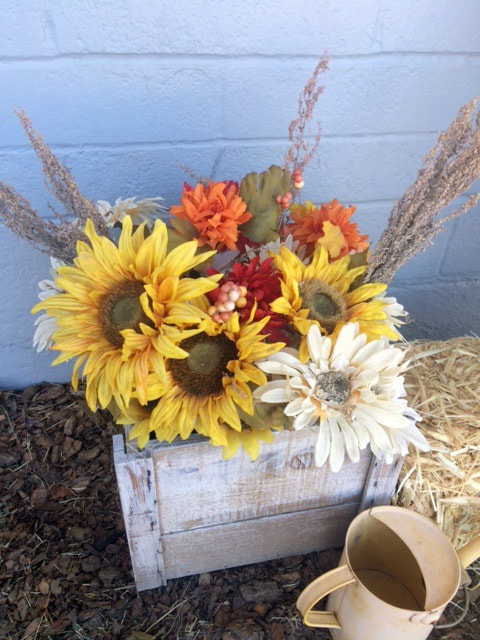
A really easy way to add that fall touch to your porch is through fall foliage. Fake flowers can be inexpensive, they never die, and they add plenty of color and interest to any fall display. You can have as many or as little as you'd like, and you can really put them anywhere. Pots can go in a window sill, on the ground, or you can grab one that hangs from the ceiling. But anywhere you put them, they will look beautiful and festive.
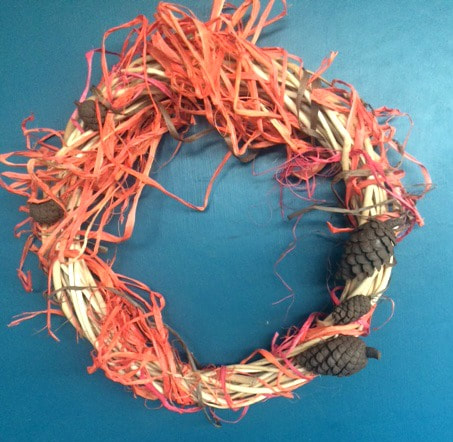
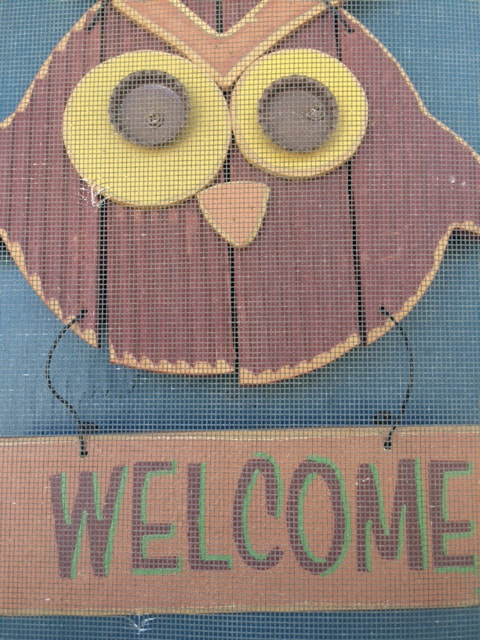
Make your entrance more fall appropriate and welcoming by adding a wreath or cute sign. In an older post, I showed you how to make this rustic fall wreath. If you don't have time to DIY one, a cute sign can definitely send the message. We put this owl one out every year! It takes up no space on the porch, so it's perfect for an apartment or small space.
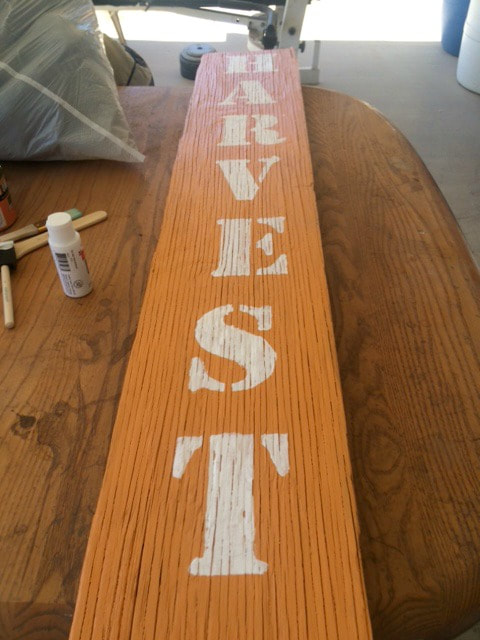
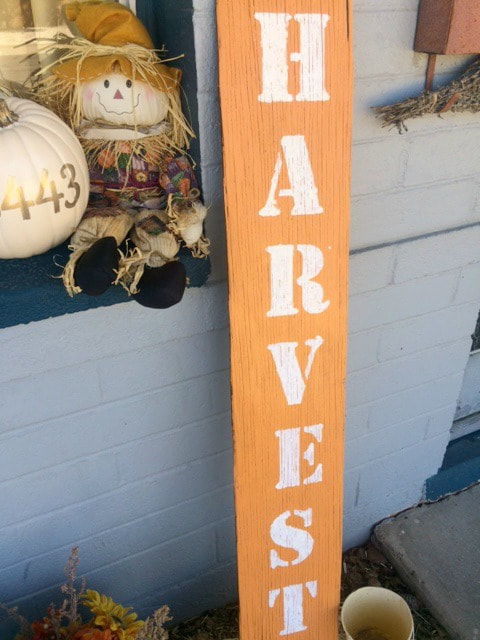
The last DIY is this sign I made that says "Harvest". I've seen this in a couple different places and thought it would be perfect for my porch set up, so I had to make it. For this you will need a large piece of wood, at least two different colors of paint, and a stencil for whatever you would like your sign to say. This stencil was made much in the same way the one for the pumpkin was. Before any painting, be sure to sand the wood on both sides and on the edges to avoid any splinters! Then paint on your base coat and use the stencils to paint on the words. I found it was easiest brush on the base coat and then use a sponge for the stencils. I stopped here, but if you wanted to do a light sanding after the paint is dry to make it look more aged, that would also be incredibly cute.
I love the way this project turned out and it only took about an hour to do. It doesn't take up too much space on the porch, but is an amazing statement piece (literally!). 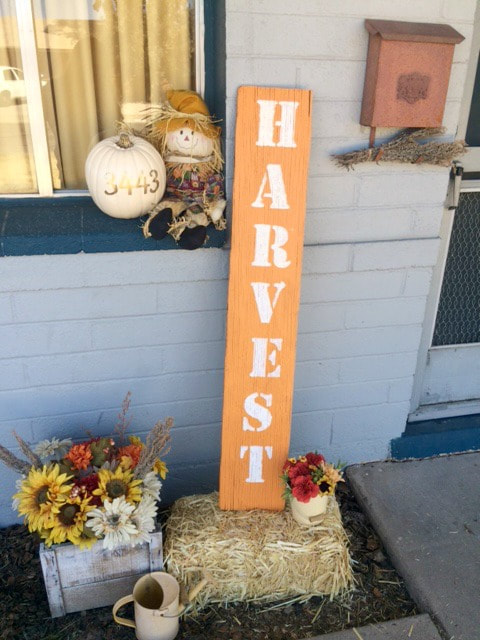
That's our fall porch this year. It's fun and festive, but so easy to produce and perfect for small spaces like ours. If you use any of our ideas, be sure to take a picture and share it with us on social media! Or if you have any of your own ideas, leave them in a comment down below. And keep an eye out for more fall fun from all of us here at 3 Winks!
-Madalynn 
|
Creators of Hot Cocoa Bombs! (copyrighted)

Author
Helen Reynolds: Mother of six children , grandmother to eleven! I love to cook, craft and create things and I especially love doing that with my family, So, when my lawyer daughter, Lindsey, my artist daughter, Madalynn, and I came up with the idea of Hot Cocoa Bombs, this blog was born. Then, one more daughter, with her technical and science skills, plus creativity has joined in to round us out! Read more about us here! 
Click this link and visit 3WinksDesignShop on Etsy. Find our Hot Cocoa Bomb Idea Book, our For the Love of PIe e-book and more of our creations!

Amazon Gift Cards are the Perfect Gift!
    Archives
April 2024
|


 RSS Feed