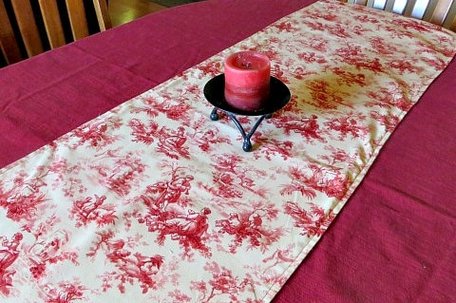
There are just a few days left until Valentine's Day, and you want to do something special for your family? Well, there is plenty of time to whip up this table runner for that special day. This one is reversible so you can use it any time of year!
There is something so romantic and beautiful about toile fabric. The pastoral scenes depicted on the fabric conjure up sweet stories in the imagination. Toile fabric originated in Ireland in the mid-18th century and quickly became popular in Britain and France. France adopted the fabric as its own and that is where the word "toile" comes from. The fabric has gone in and out of popularity since that time with the most recent surge in use in the year 2000. I have loved toile for a long time. That is why when I saw this fabric in the Walmart fabric department, a Waverly fabric, I knew I could use it for the table runner I was wanting to make. 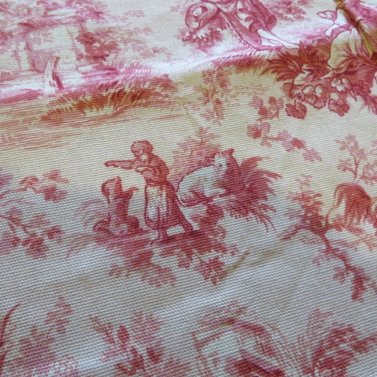
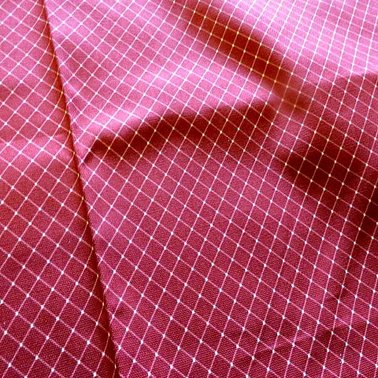
I decided to make it reversible, so this is the fabric I found to back it with.
They go well together!
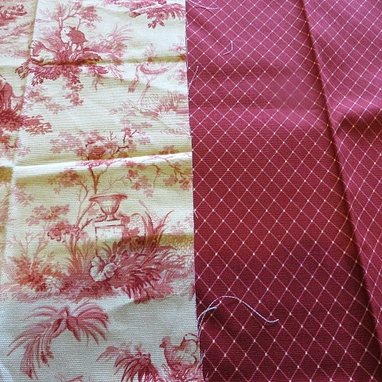
For my table, I purchased 1 and 1/2 yards of each fabric. You should measure your own table to figure out how much you need. I knew that I wanted to add a pointed drop on each end. Because the fabric is 45" wide, this much fabric will actually make 2 runners, and even some napkins if you would like. That means, you could make one as a gift for someone else!
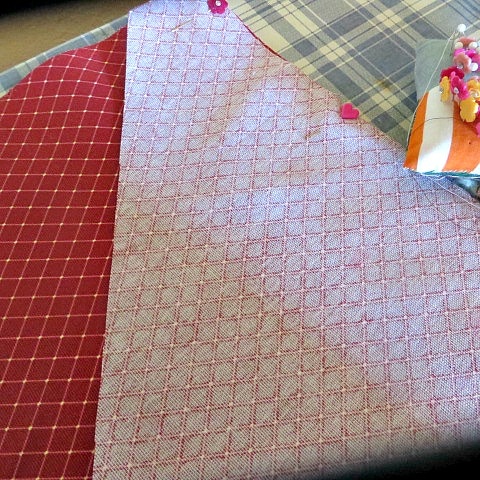
I started by simply deciding how wide I wanted my runner to be and cut out the entire length that wide. I actually just divided the fabric into thirds and cut it into strips. One of the extra strips was used to make the pointed drop. 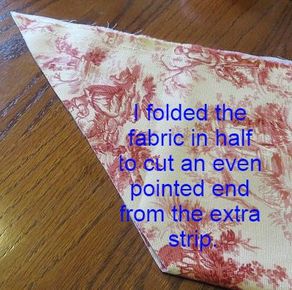
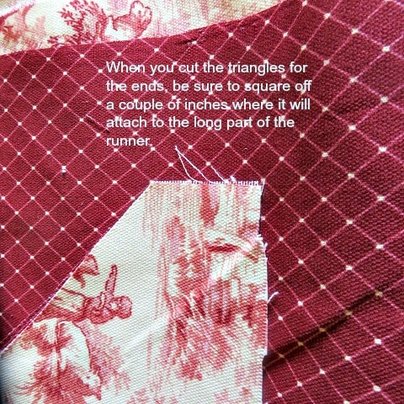
Toile has a one-way print, so when you attach the pointed ends, make sure that you match the way the print goes. Be careful when you cut them that you cut one from each end so that you will have a match for each end!
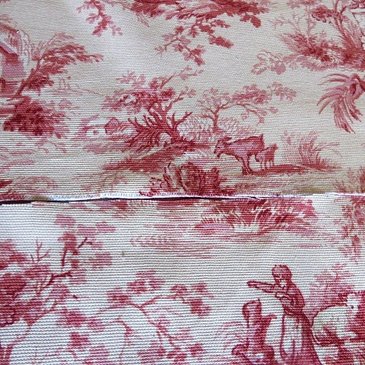
See how the people and animals aren't standing on their heads?
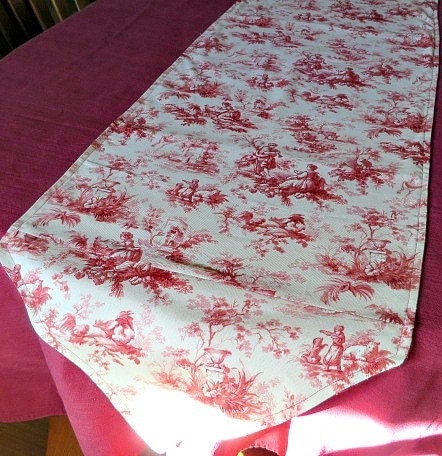
I already had the tablecloth that I used underneath the runner. Here is a similar one that comes in many colors for a good price. I like the layered look, or you can just use it on your table by itself.
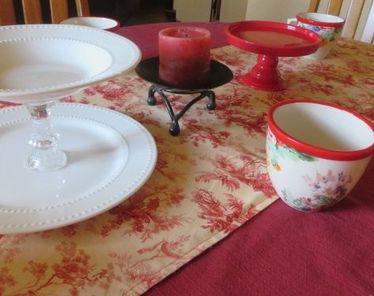
Now comes the fun, as I play with the dishes and platters I will use to set a Valentine table. Here are some of the things I will be using!

Mugs from Pioneer Woman! Love! These will be perfect for our Chocolate Dipped Strawberry Hot Cocoa Bombs.
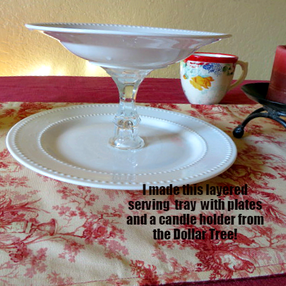
Dishes and a candle holder from Dollar Tree were what I used to make this tiered platter.
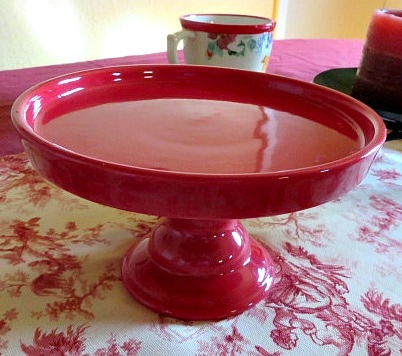
I think I found the red pedestal plate in the Target 1 Spot. I knew it would be great to showcase the Hot Coco Bombs!
These are the bare bones of our Valentine's table, next week I will show you how it all turned out and what we ate! Don't be afraid to try the table runner! It is super easy and adds a nice punch to a table setting any time of year.

10 Comments
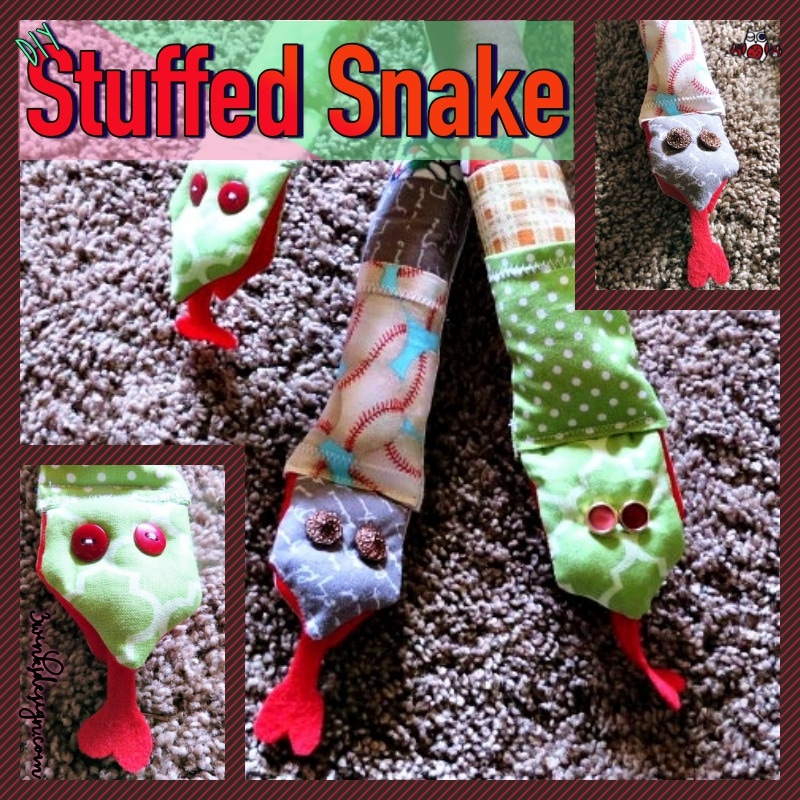
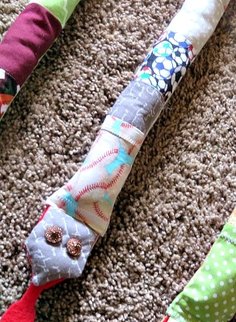
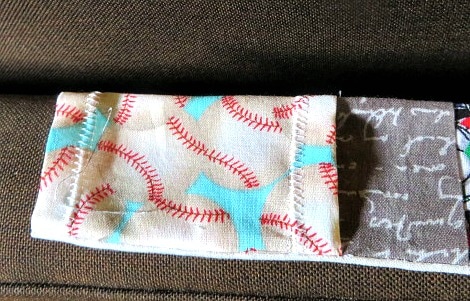
About a week ago, I made a little owl purse as a Valentine's Day gift for my granddaughters. Today I am going to show you what I came up with for my grandsons! I put together a picture tutorial for a Scrappy Snake using some sporty fabric and adding a pocket at the neck to be used to tuck in treats or for little fingers to fit in to make their snake slither!
This snake is really pretty simple to make. I have broken it down into sections to help you see how I did it. But, although it will seem like a lot because of all of the pictures, it really goes together pretty quickly. 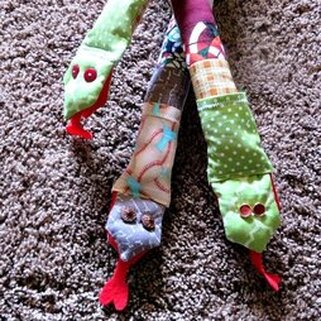
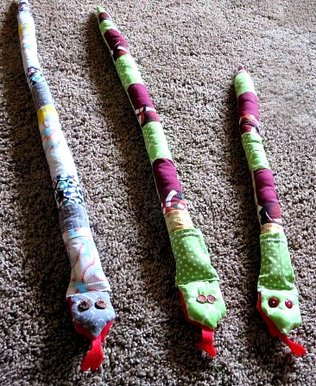
I have already made 3 of them. Just 2 more to go.
Supplies:
Preparing the snake skin:
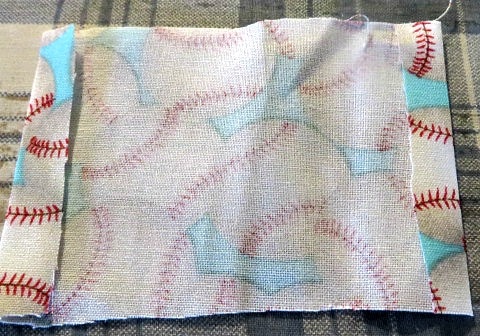
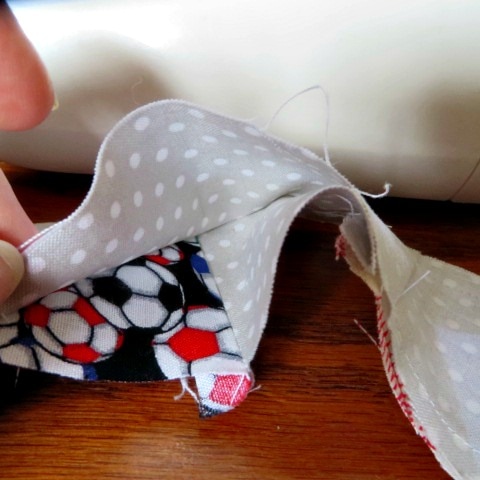
The largest piece of fabric you will need is a long strip to be the under belly of the snake. I had some long left over scraps from another project which were actually the inspiration for this snake project. These strips became the under belly of the snake. 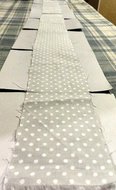
You can make your snake any length you would like. I have made 3 snakes so far, and they are each a different length.
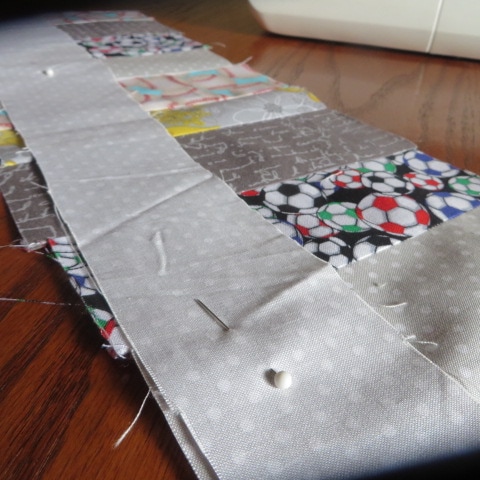
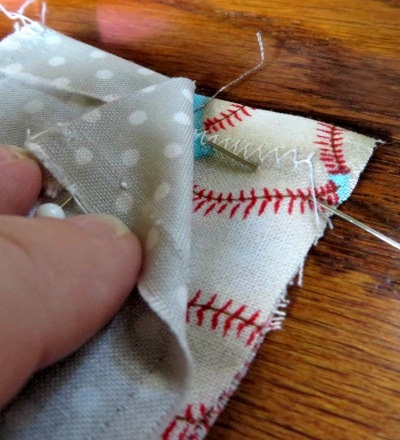
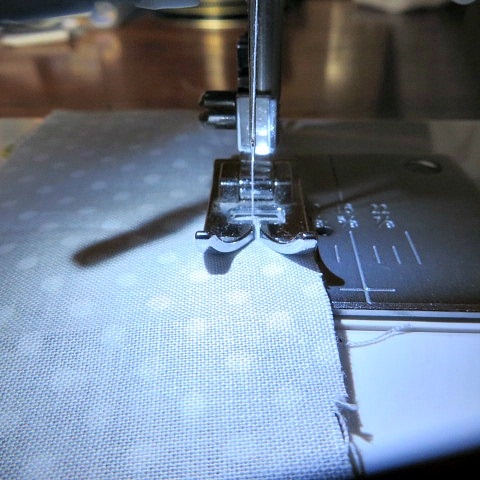
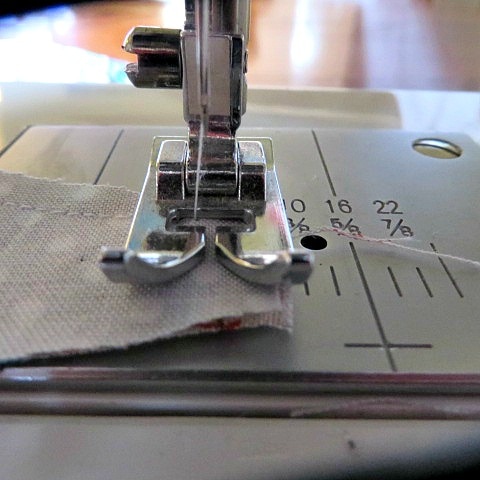
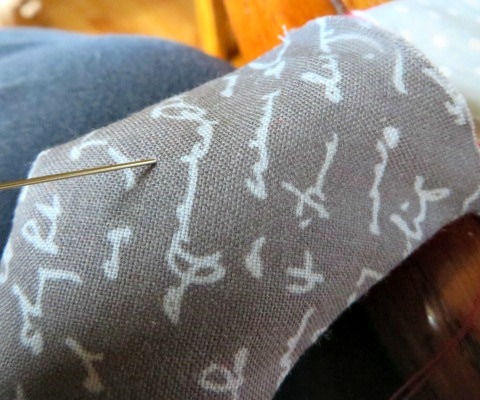
Of course, one of the most fun things about this project is picking out the fabric to use. When you have picked them out, cut out sections that are about 3 x 6 inches and line them up in a pleasing way. Here is a gallery of what I did. Click on the pictures for directions.
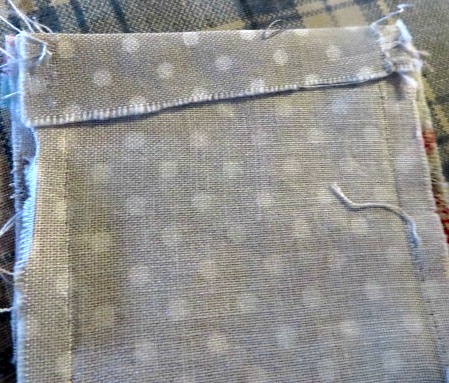
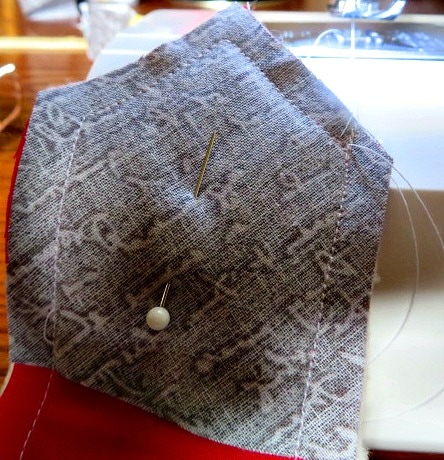
From this size of a scrap panel, you should be able to make 2 snake bodies. You need to make the scrap panel as long as your under belly. Then, here is what you do next.
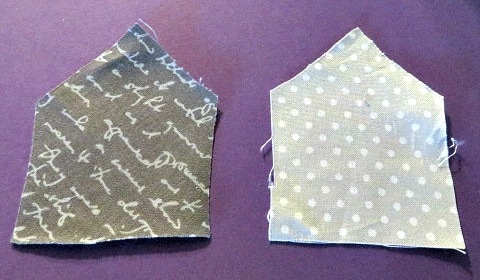
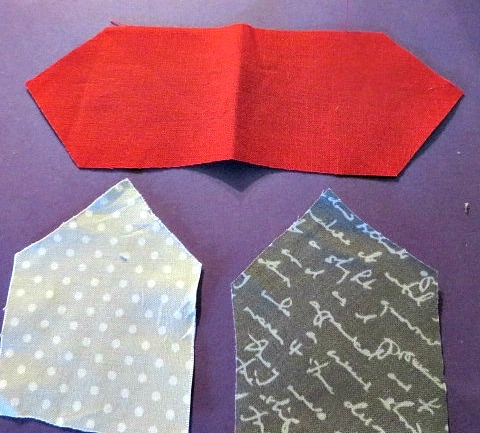
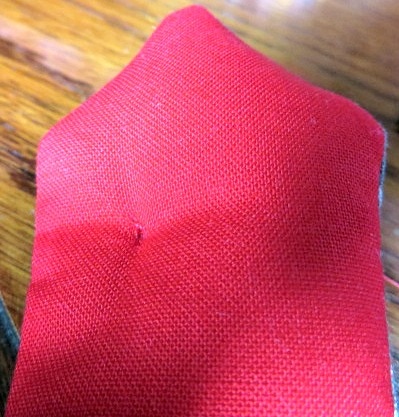
The Head of the Snake:
Now you need to give your snake a head. Read on to see how I did it.
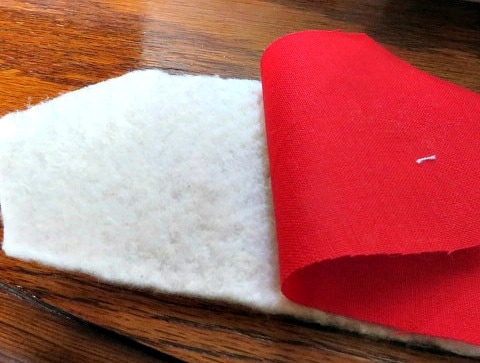
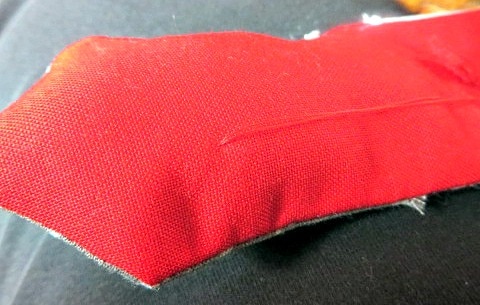
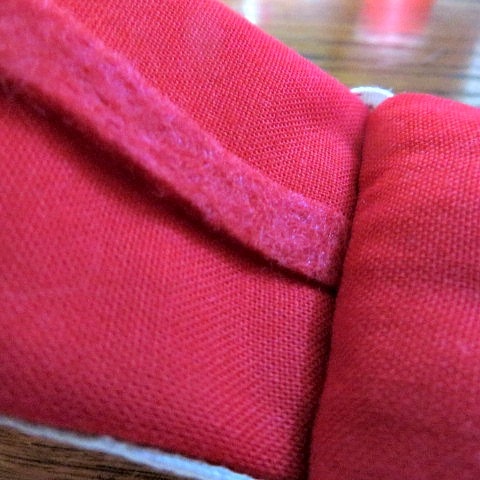
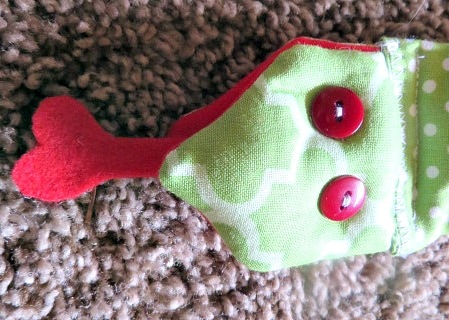
Adding the Tongue:
Because this snake is a Valentine's Day gift, I decided to give him a heart tongue instead of a forked tongue. I simply used a piece of felt and folded it in half length-wise and cut a heart at the end. Then I opened it up and finished cutting the narrow tongue strip. I made sure it was long enough to stick out of the mouth. Check out the gallery for this:
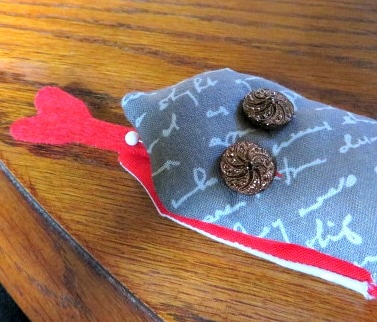
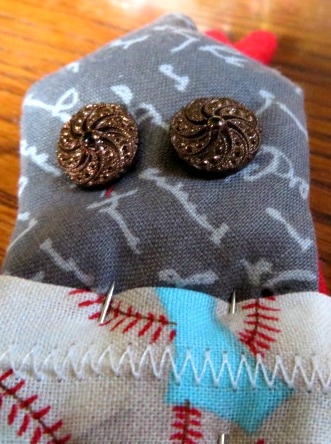
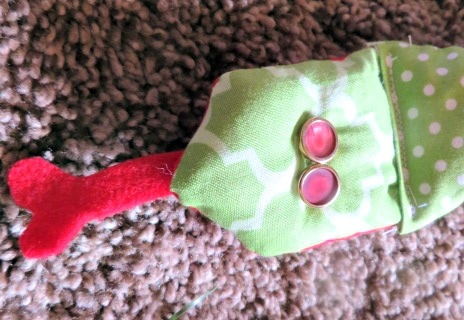
Adding the Eyes:
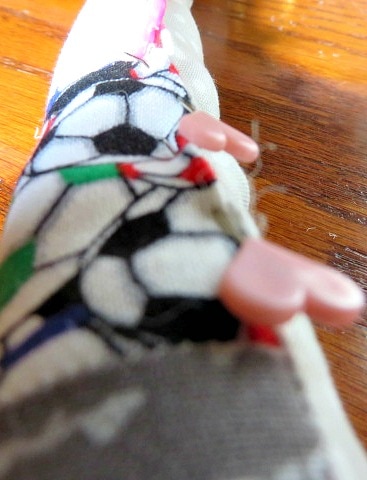
There are many ways to add eyes. Depending on the age of the children receiving these snakes, you want to make sure the eyes are safe. Buttons can be a choking hazard. If you feel like your children are old enough to not eat the buttons, still attach them very securely. For my youngest grandson, I am going to stitch on felt eyes very securely because I think that will be safer for him. For my older grandchildren, I looked through my button box to find something interesting for the eyes. Here is how I attached them.
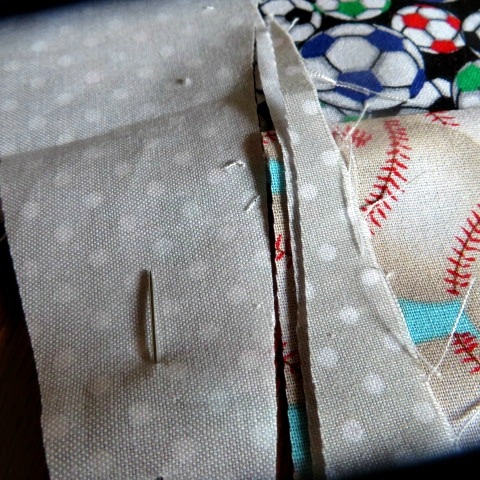
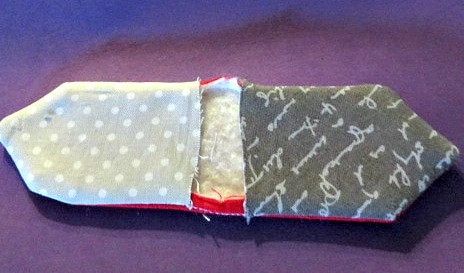
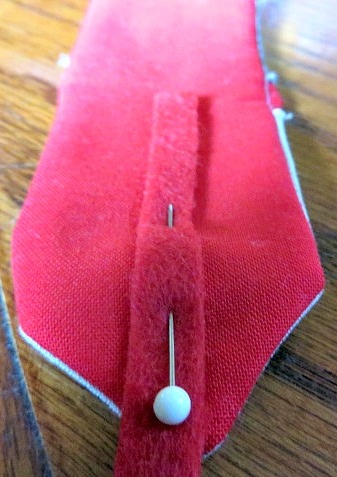
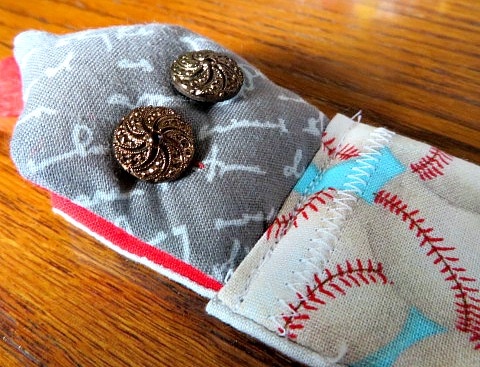
Adding the Head to the Body:
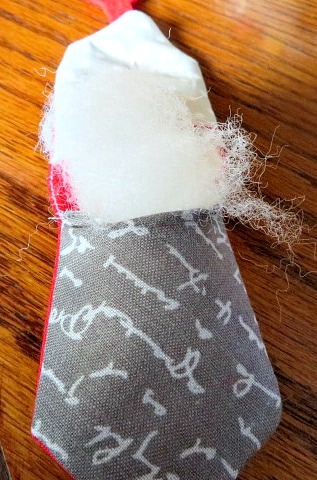
You are getting close to being finished! Attaching the head to the body is really quick and then you will be ready to stuff this guy!
And Voila! You have a super cute snake! Just think, if you can make two snakes (or more if you make the panel wider) you can save a bunch of time on your next one. Also, I was a little worried when I first put my panel together that it was going to look terrible. But, once it was finished, I was really pleased with the look. Each snake has different eyes that I found in my button box.
The funny thing is, I am terribly afraid of real snakes, but I really like these guys!
Now, I am off to the Dollar Tree to get some things to tuck in the mouths and pockets to really turn them into Valentines! I'll show you some pictures of that later. Come back tomorrow for the first edition of Renny's Recipes! You will love it! 
Lindsey and I were talking about Valentine's Day, (she has never been a fan), but I was trying to think of something to do for my grandchildren for the holiday and she remembered a time when she was little when I put little heart baskets by each of their places at breakfast. AWWW! It did my heart good to think that she remembered that, even though she prefers to celebrate Arizona Statehood Day! Well, that motivated me to get to work making something for my grandchildren. Since 5 of them live a number of states away, the earlier the better so I can get everything in the mail on time.
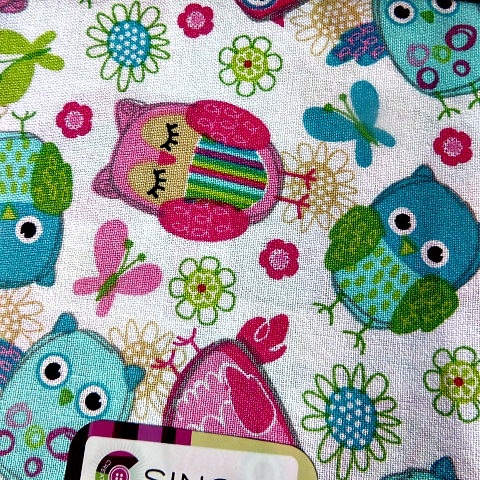
I am a sucker for cute fabric. I went to Walmart and I love their little fat quarters that they have, all color coordinated starting at just 97 cents. Look what I came home with!
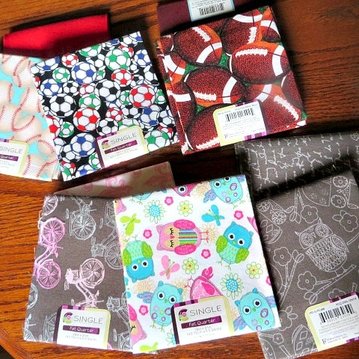
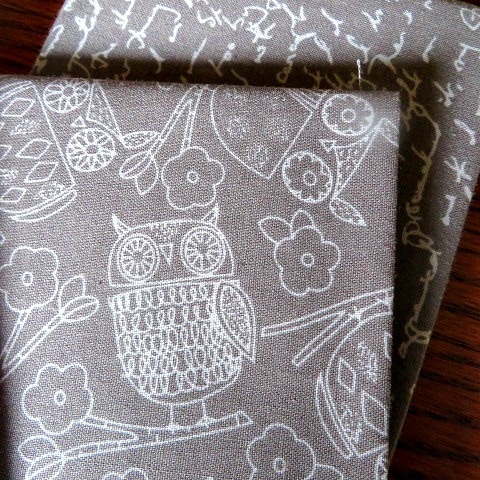
Of course, I had to get the owl fabrics!
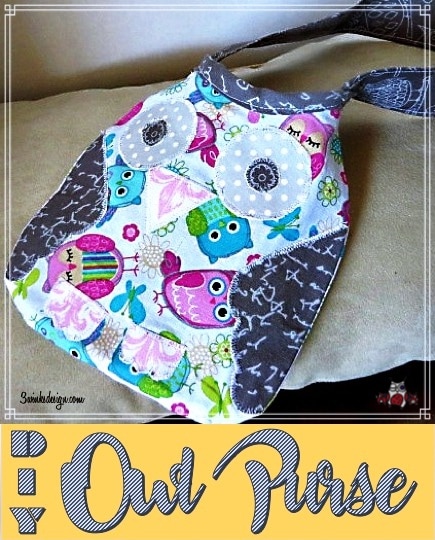
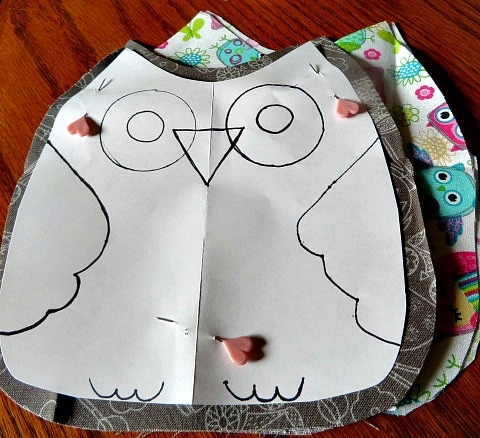
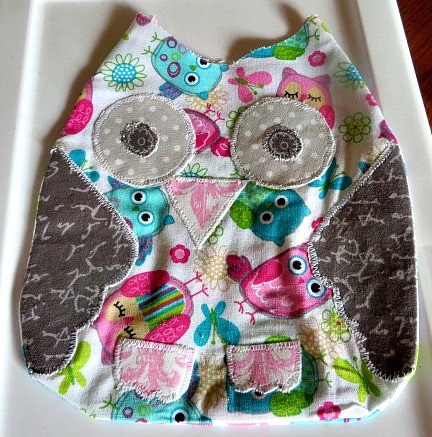
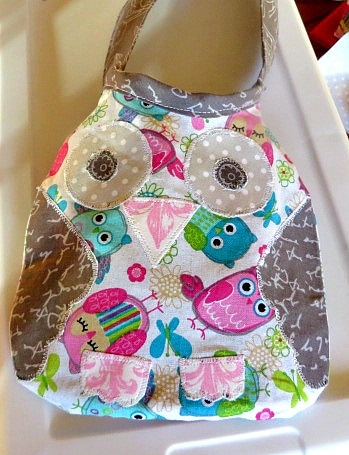
I decided to use it to make my granddaughters some little owl shaped purses that I can tuck some Valentines into.
I started by drawing the owl shape that I wanted to use. I actually made it symetrical the old fashioned way, by folding the paper in half to cut it out like I would a heart. Here is what I got. It kind of reminds me of the owl rice bags I made here. My original drawing looks like this: 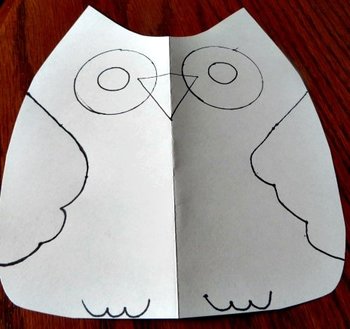
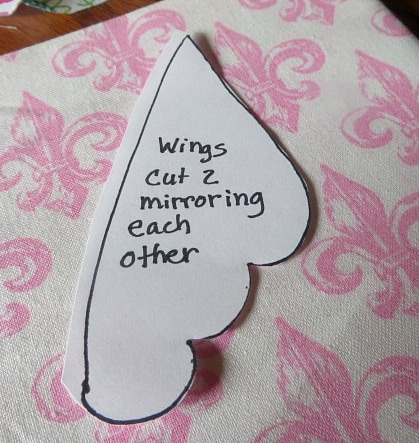
Then I just copied the parts to make the pattern pieces. You could do this with any animal or shape you wanted to turn into a purse or stuffed animal. Here is the pattern for you to copy if you want to use it. Just click on the button.
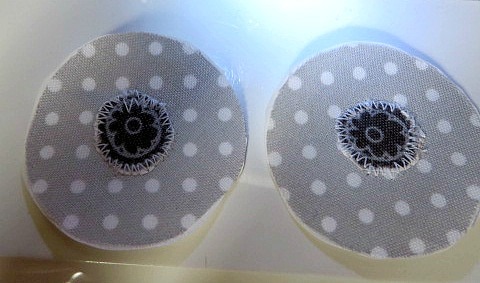
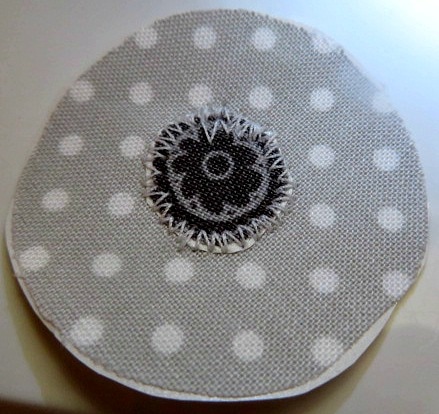
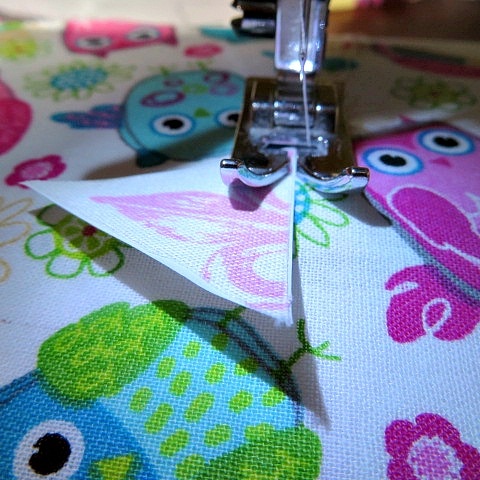
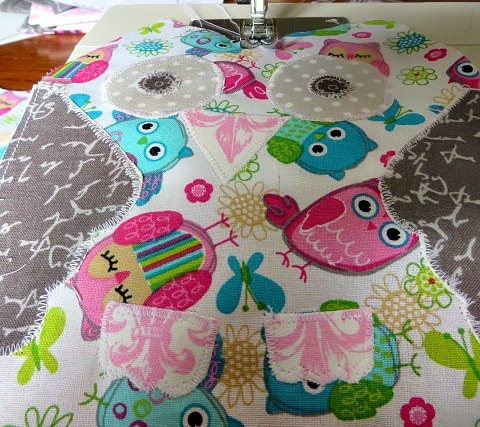
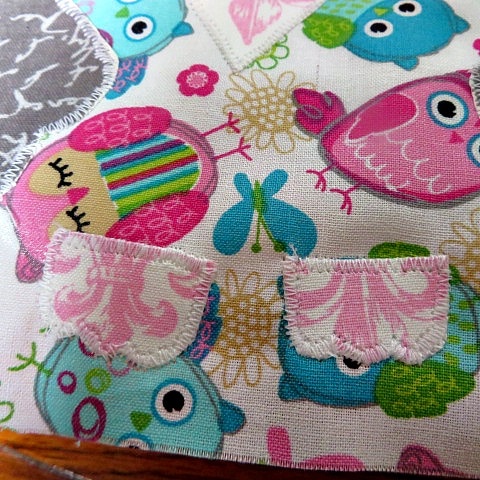
Here is how I made the purse. Just click on the photos for directions.
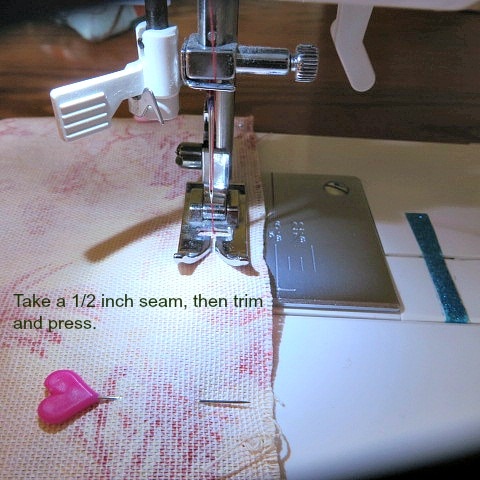
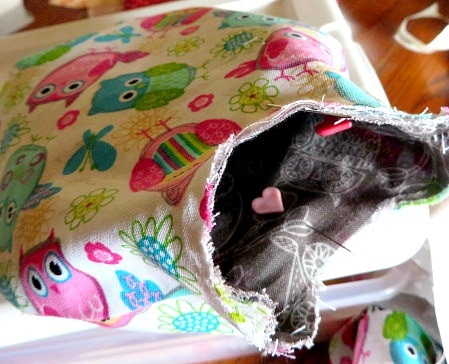
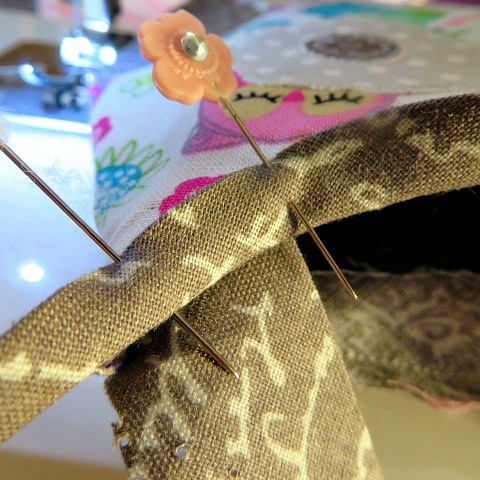
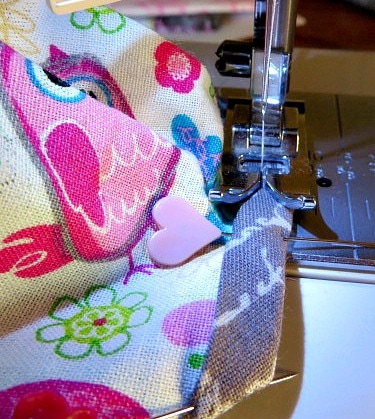
If you want to remove the freezer paper from the back of the pieces, you can stop sewing when you are partially finished, and tear it out easily. I just left it in, it adds body to the purse and doesn't hurt anything. If you use fusible web, there is no need to do anything. I love my cute heart pins. Here are some similar to them. They would make a cute little Valentine's gift to someone who sews.
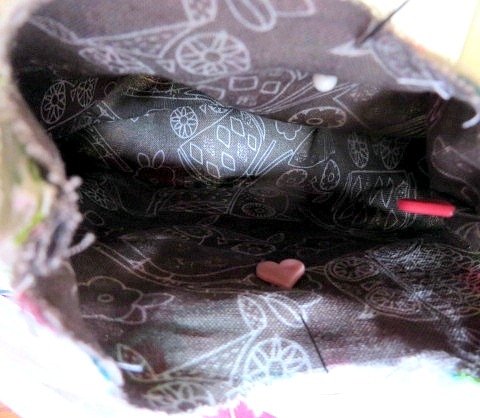
After you have sewn the body together, sew together the lining fabric in the same manner.
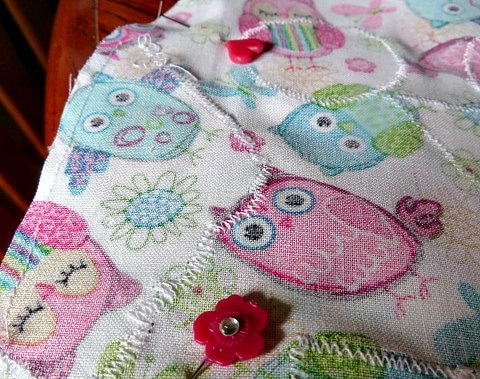
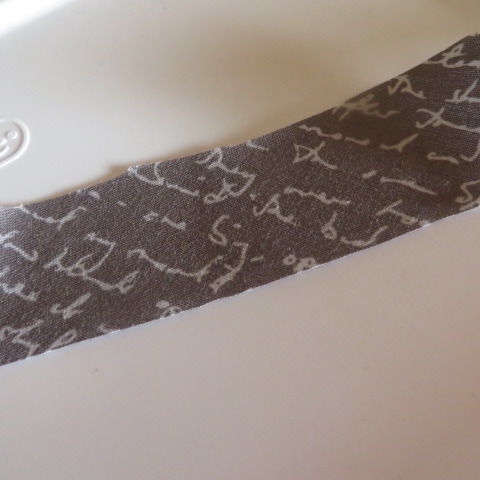
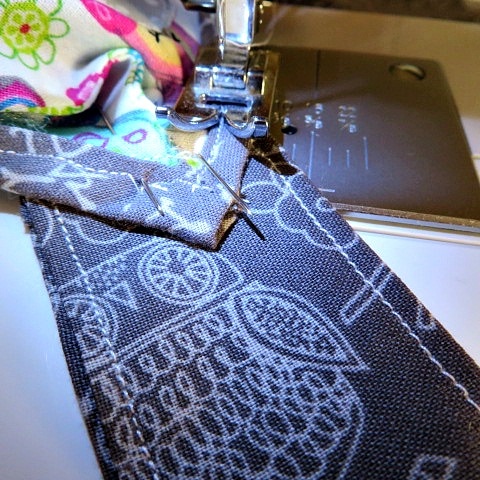
You can actually make the strap skinnier or shorter, I just wanted mine wide enough to show the owl print. When I make the next one for my other granddaughter, I will mix up the fabric choices a bit so they will be able to tell them apart. Also, because it is fun! Remember, this is an original creation, so there are no mistakes! Whatever you decide to do with your owl is up to you! I know my granddaughters witll love them inspite of any flaws.
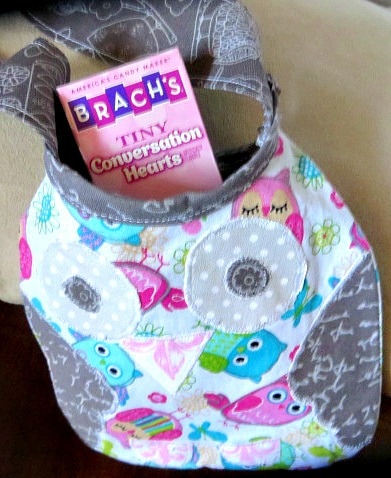
I am really happy with the results! I hope you have fun with it! You could just stuff it and make it into a stuffed animal. But I like the idea of putting in the conversation hearts, stickers and other fun things that the girls will love. 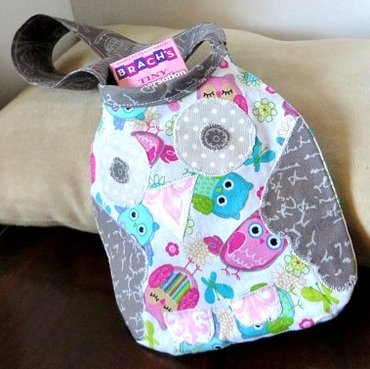
Now, I just need to make somethng for my grandsons! I think I have a great idea! I 'll whip it up and show you next week.
Also, next Thursday, Lindsey will be starting her healthy menu choices segment, so watch for that! The other girls have some great things in the works as well! We are so excited! 
|
Creators of Hot Cocoa Bombs! (copyrighted)

Author
Helen Reynolds: Mother of six children , grandmother to eleven! I love to cook, craft and create things and I especially love doing that with my family, So, when my lawyer daughter, Lindsey, my artist daughter, Madalynn, and I came up with the idea of Hot Cocoa Bombs, this blog was born. Then, one more daughter, with her technical and science skills, plus creativity has joined in to round us out! Read more about us here! 
Click this link and visit 3WinksDesignShop on Etsy. Find our Hot Cocoa Bomb Idea Book, our For the Love of PIe e-book and more of our creations!

Amazon Gift Cards are the Perfect Gift!
    Archives
April 2024
|


 RSS Feed