|
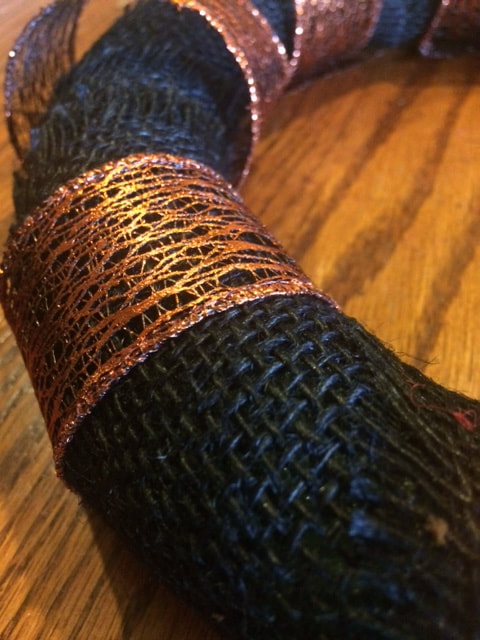
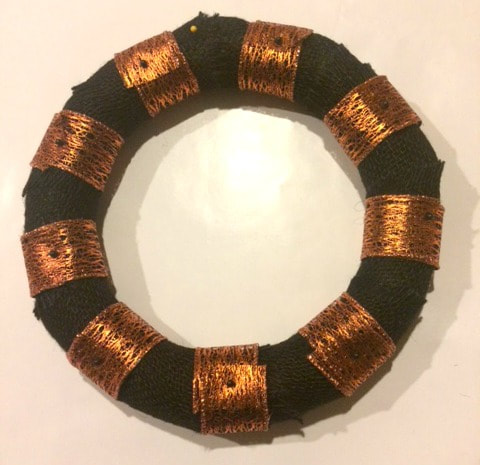
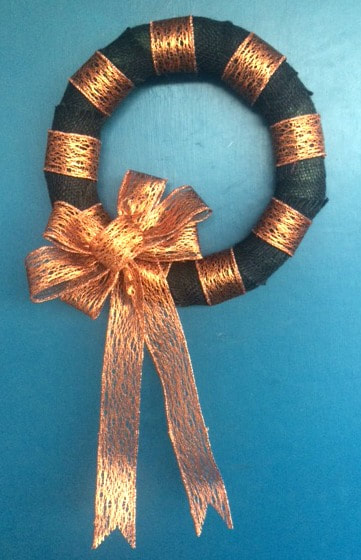
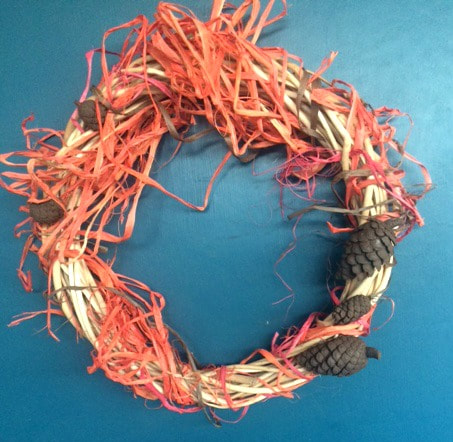
This post contains affiliate links and we will be compensated for any purchases you make. 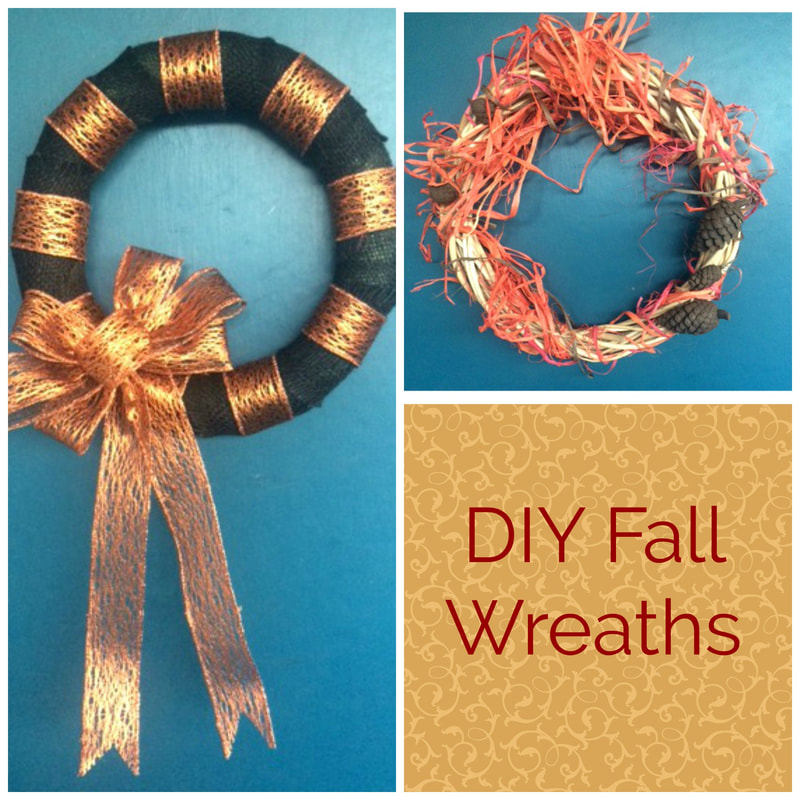 I told you I would be back with some more fall decor and here I am! Personally, I find decorating the outside of my house for each season and holiday to be more difficult than the inside. There's just a lot less space to work with and resources can be limited. You really need to be able to find ways to utilize vertical space. That's why wreaths are perfect! They take up virtually no space and just hang up right on your door, while still adding an adequate amount of festivity to your front porch. That's why today I am going to share two fun options for you to diy! 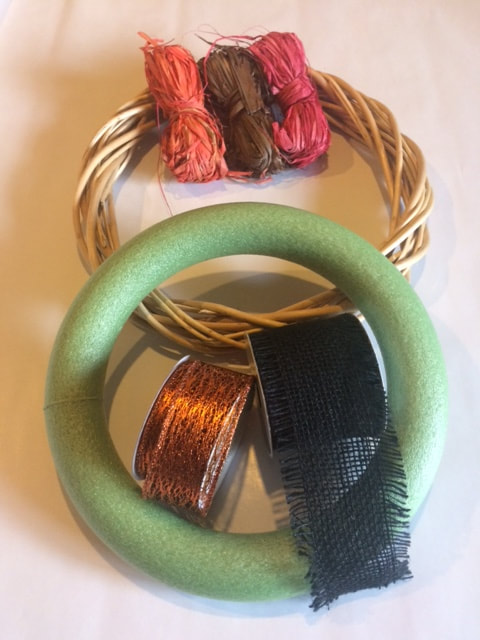 For both of the wreaths, I used wreath bases I purchased at Dollar Tree. For one of the wreaths you will need some fall colored raffia, which can also be found at Dollar Tree, as well as some Halloween or fall colored ribbon. You will also need some pine cones. I just picked mine up right off the ground and painted them brown with acrylic paint.  The first wreath is just a generally fall inspired wreath. I used the wooden wreath base and loosely wrapped orange raffia around the whole thing, adding a couple strands of pink and brown for variety and depth. The ends are just tucked up underneath pieces of wood. 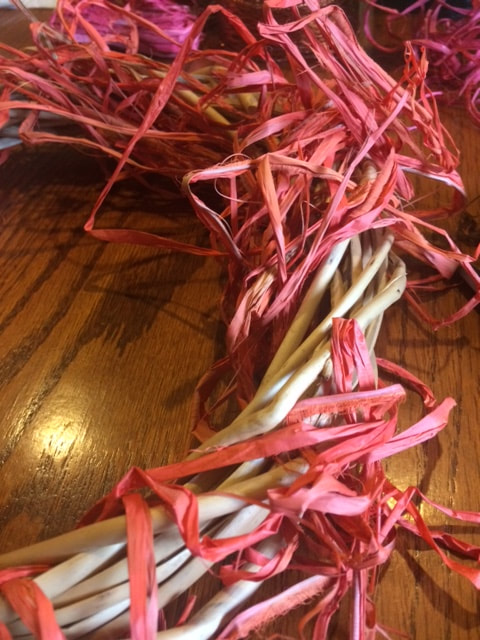 Once the raffia was arranged in a way I liked, I used hot glue to attach the pine cones. I placed them in a way to even out the heaviness of the raffia. Raffia can be a little messy to work wit, but it is well worth it for the beautifully natural and rustic appearance it gives. This wreath will be perfect to keep up all fall long!  I made the second wreath very Halloween-centric, but if you'd like to keep it up the whole season it will look just as cute with general autumn colored ribbon. I began by wrapping black burlap ribbon around the foam wreath. For this project I decided to just use pins to hold the ribbon in place. This made it easier to adjust things to my liking as I went. So I pinned the black ribbon in place and then cut the orange ribbon into 9 strips. Spacing them out evenly, I wrapped the orange ribbon around the wreath in rings, pinning them in place. While the wreath is very cute just with the plain stripe look, I thought a nice bow would really complete the look. I made one out of the orange ribbon and used a pipe cleaner to attach it to the wreath. It's amazing what a difference a single bow can make! This wreath makes an excellent addition to any Halloween inspired porch. Making these fun little wreaths has definitely given me inspiration for some outdoor decorations, so keep your eyes peeled for some more diy fall fun! If you make any of our fall or Halloween crafts, be sure to post a picture and tag us on social media. Let us know in the comments which wreath is your favorite!
3 Comments
I think we can all agree that when it comes to dessert, cookies and brownies are tied for first. Mainly because it's so easy to eat ten of them without feeling like you've done a bad thing. (I don't have this same experience with cake.) The other day, my brother brought home a cookie dough marbled brownie a.k.a. probably the best invention ever. It's literally a cookie and a brownie marbled together. So I thought, "Wow. I really want to make one of those." But then I also thought, "Wow. I really don't want to have to make two doughs." So I decided I would make a brownie that just tastes like cookie dough! So, second best invention ever!
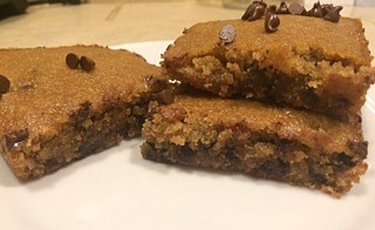
I just took a regular brownie recipe and modified it, both for veganness and cookie doughness. Modifying recipes is always fun. Sometimes disgusting, but always fun. Luckily, this modification adventure did not turn out disgusting! And it was super quick and easy to make. The hardest part was waiting for the dang thing to bake. (Seriously, I hated it.)
So without further a-dough, here is the recipe so you can also share in this deliciousness.
I hope you try it out and please let us know in the comments if you do!

Another Vegan Recipes you may enjoy:


Technology is a wonderful thing! My daughters and I are able to blog together, even though we live, in one case, far apart. Maddy still lives at home, but Lindsey is married and lives in her own home in a nearby city, and Alicia is married and lives in the Bay Area of California. We have been wanting and needing a photo of the four of us on our blog for quite some time. When Lindsey was married, back in August, we should have gotten a picture of us together then, but, somehow we didn't, nor did we get one at Christmas! So, I had the idea, lets just do some selfie pictures and make a photo collage. We make collages every week for the blog. How hard could it be? We did it! Here are the fruits of our labors!
You are probably wondering how I ended up with such beautiful daughters. Since this is Friday Faves, let me just say that they are 3 of my favorite women and I love them so much. They are intelligent and beautiful inside and out. I am a proud mom! Yes, that picture of Maddy is a selfie. She is the queen of selfies. Since we all had to get our make-up on for our selfie shoot, that inspired our Friday Fave question for today: What is your favorite brand of mascara?
Let's start with LIndsey today!
Finally, there is my choice. Sorry, no more pictures of me! I very rarely go out without mascara on. If I can't put on anything else when I am in a hurry, I put on moisturizer and mascara, then I feel like I can face the world. Alicia turned me on to this choice and I really love it. My go to mascara is Maybelline Full and Soft Mascara. Now that I am getting older, I don't want to try to look like I am trying too hard or be over done. I just want to make sure I look nice and not washed out or tired. This mascara frames my eyes beautifully, isn't too stiff and heavy and makes me feel like my eyes look pretty!
If you try out any of today's Friday Faves, be sure to let us know which mascara is your favorite in the comments! Also, feel free to comment about how beautiful my girls are! :) You can shop this post by clicking the links in the post, or by clicking the pictures below. Have a great weekend!
Find past Friday Faves here. SHOP THIS POST BELOW
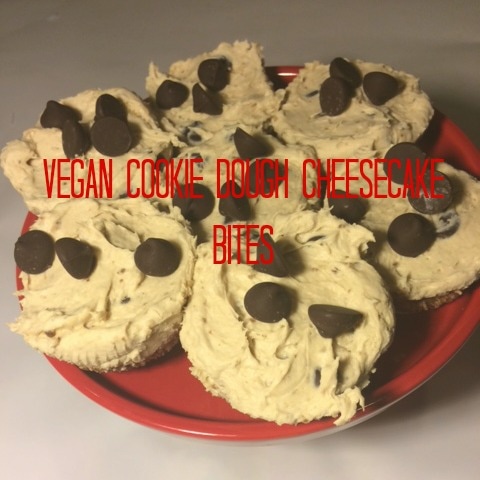
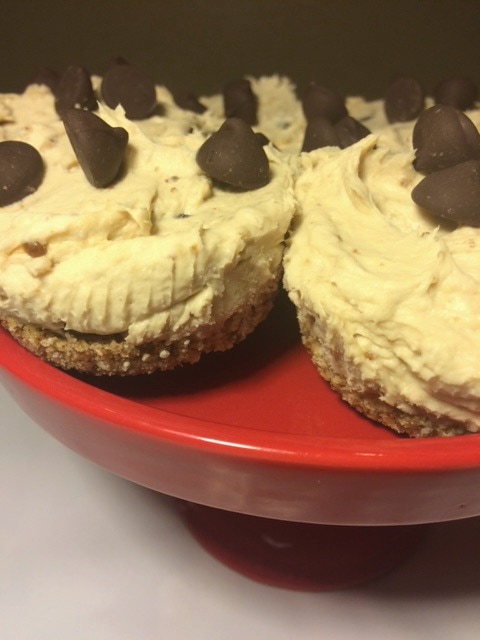
Today, I had a serious problem. I really wanted chocolate. And cookie dough. And cheesecake. And something a little salty. (I also wanted pie- but that problem will have to wait another day for a solution.) I know I'm not the only one who feels this way sometimes. Or all the time. And the solution seemed simple enough. Cookie Dough Cheesecake! Yum! Except, then I found out I had one more problem.
If you've ever made vegan cheesecake before, you know that most recipes require soaked cashews. I didn't have any of those because I eat a whole bag in three days. So, I messed around with the recipe so that there are no nuts required! Yay! The recipe is pretty much just like making regular cheesecake. I just made them cupcake sized because I wanted to eat them sooner. The recipe will work just the same if you decide to make it full size, it just may need to chill longer. Another option is to use canning lids like mini spring form pans like we did in this post. So the first step is to make your crust and fill the cupcake liners with it. Be sure to press the crust down evenly the whole way around. 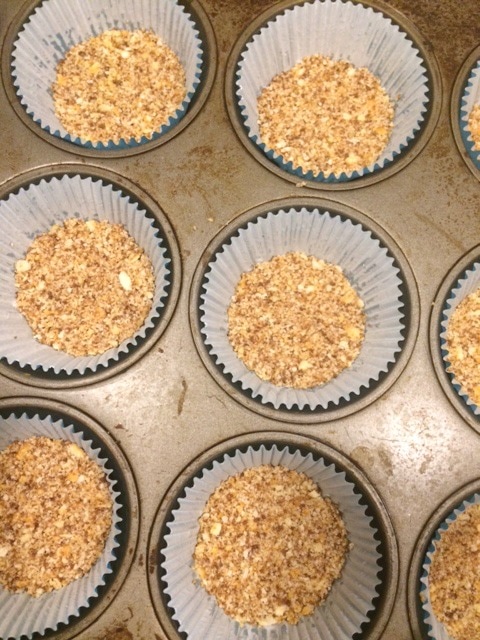
Next, you will stick that in the freezer. While it's chilling, you can mix together the filling. You can find lots of vegan friendly chocolate chips. For a non dairy alternative to cream cheese, I used Daiya brand plain cream cheese spread. For non dairy milk, I used flax milk. (Flax milk is my new obsession. I think it's sooo good!) But, these are just my preferences and you can use whichever brands and products you prefer!
Once the filling is finished, it will be a little bit sticky and look almost whipped. I scooped it into each liner on top of the crust using a cookie scoop. There was about 1 tablespoon in each cup. Then I added some more chocolate on top. Stick that in the freezer for another couple hours. 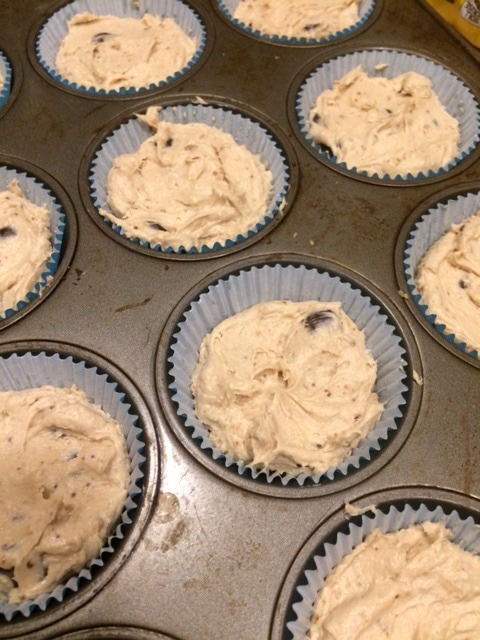
After that is done firming up, they're ready to eat! I think these came out tasting so good, and they look so cute. They would be fun to have for a party or just if you want to control your portion sizes! (Just kidding, I ate like three of them.) This one batch made twelve mini cheesecakes. Try them out and let me know what you think in the comments!
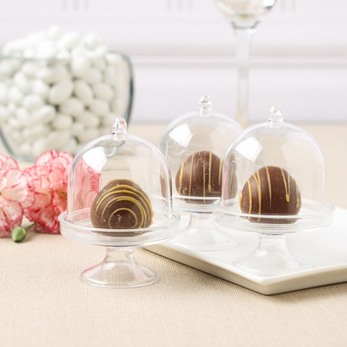
Wouldn't these be cute to use to display your Hot Cocoa Bombs or these delicious cheesecakes? You can order them from Beau-coup!
|
Creators of Hot Cocoa Bombs! (copyrighted)

Author
Helen Reynolds: Mother of six children , grandmother to eleven! I love to cook, craft and create things and I especially love doing that with my family, So, when my lawyer daughter, Lindsey, my artist daughter, Madalynn, and I came up with the idea of Hot Cocoa Bombs, this blog was born. Then, one more daughter, with her technical and science skills, plus creativity has joined in to round us out! Read more about us here! 
Click this link and visit 3WinksDesignShop on Etsy. Find our Hot Cocoa Bomb Idea Book, our For the Love of PIe e-book and more of our creations!

Amazon Gift Cards are the Perfect Gift!
    Archives
April 2024
|


 RSS Feed