|
This post contains affiliate links. If you make a purchase after clicking them, we will be compensated, but there is no additional cost to you. All opinions expressed are our own. Thank you for your support.
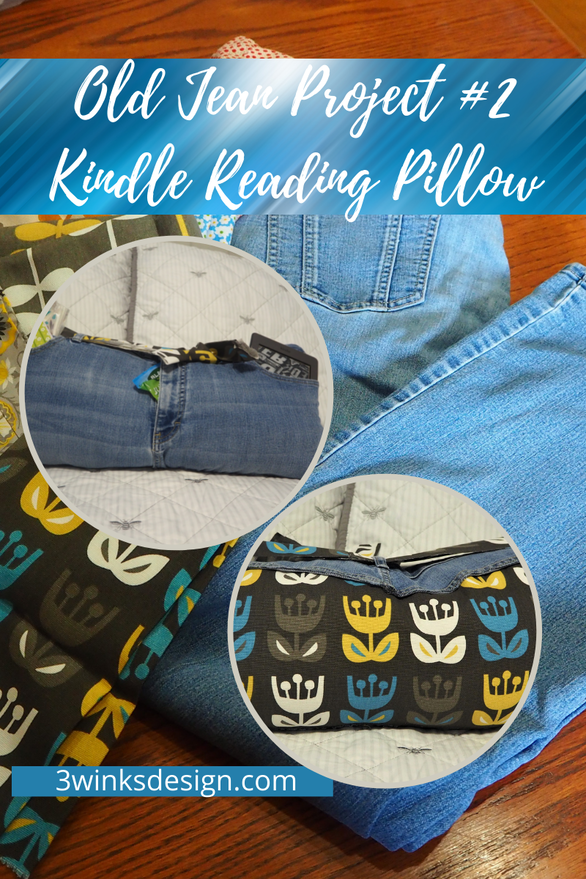
I am really super excited about this project because I had a brain storm for it all on my own and then made it happen.
My friend Anita teaches sewing classes to kids. They do some amazing projects. One of the projects that she has had them make in the past is a super cute reading pillow. It is a pillow with a pocket for storing your book and then to lean on as you read. As I was thinking of projects to make with my old pair of jeans, I picked up my Kindle and realized that it fit right into my front pocket! I thought to myself that a lot of people nowadays read almost exclusively on their electronic devices and maybe I could do a play on the reading pillow for them! This is what I came up with.
0 Comments
This post contains affiliate links. If you make a purchase after clicking them, we will be compensated, but there is no additional cost to you. All opinions expressed are our own. Thank you for your support.
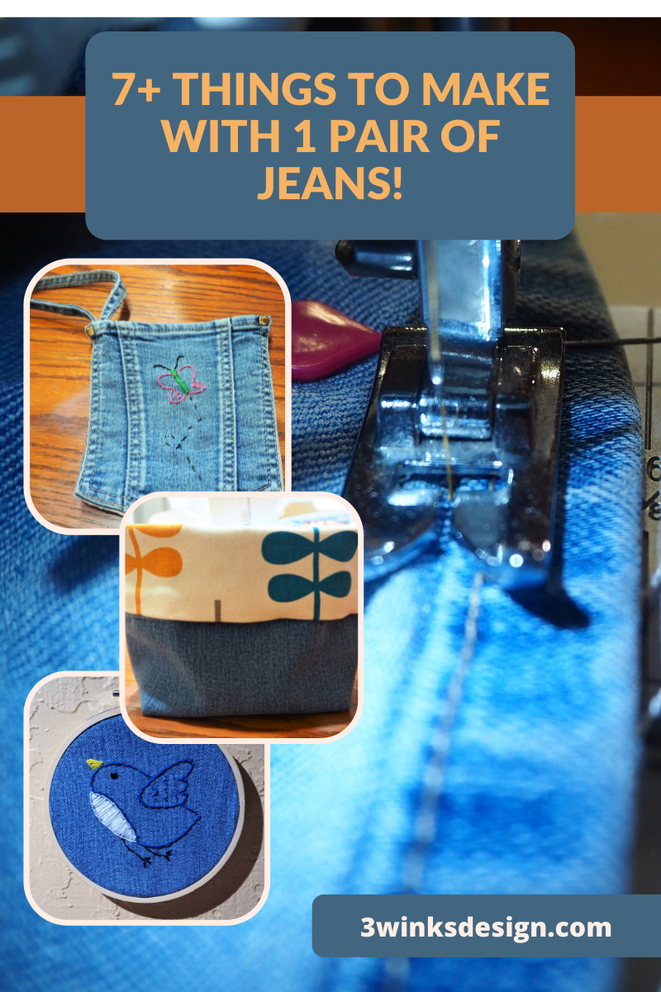
What is it about your favorite pair of jeans that even when they wear out, you don't want to get rid of them? The older they get, the more comfy they are. Even at my age of AHEM-something years old, I love wearing jeans, or denim more than anything else. But, after awhile, you end up with a stack of worn out jeans that you can't wear anymore but hate to just discard because you figure that there must be something to do with those old jeans!
This post contains affiliate links and I will be compensated if you make a purchase after clicking on my links. Thanks for your support! Back in 2017, I made this tote bag as a gift for my Girls Camp Youth Leaders. Of course I created one for myself as well! Since then it has stood the test of time as I have used it often to carry my hair supplies and other sundry things when I travel. It has proven to be useful and sturdy. So, today I'm reposting the tutorial just in case you've missed it. It is a great sewing craft for the Spring or Summer and if you have kids going off to camp, they will put it to good use! 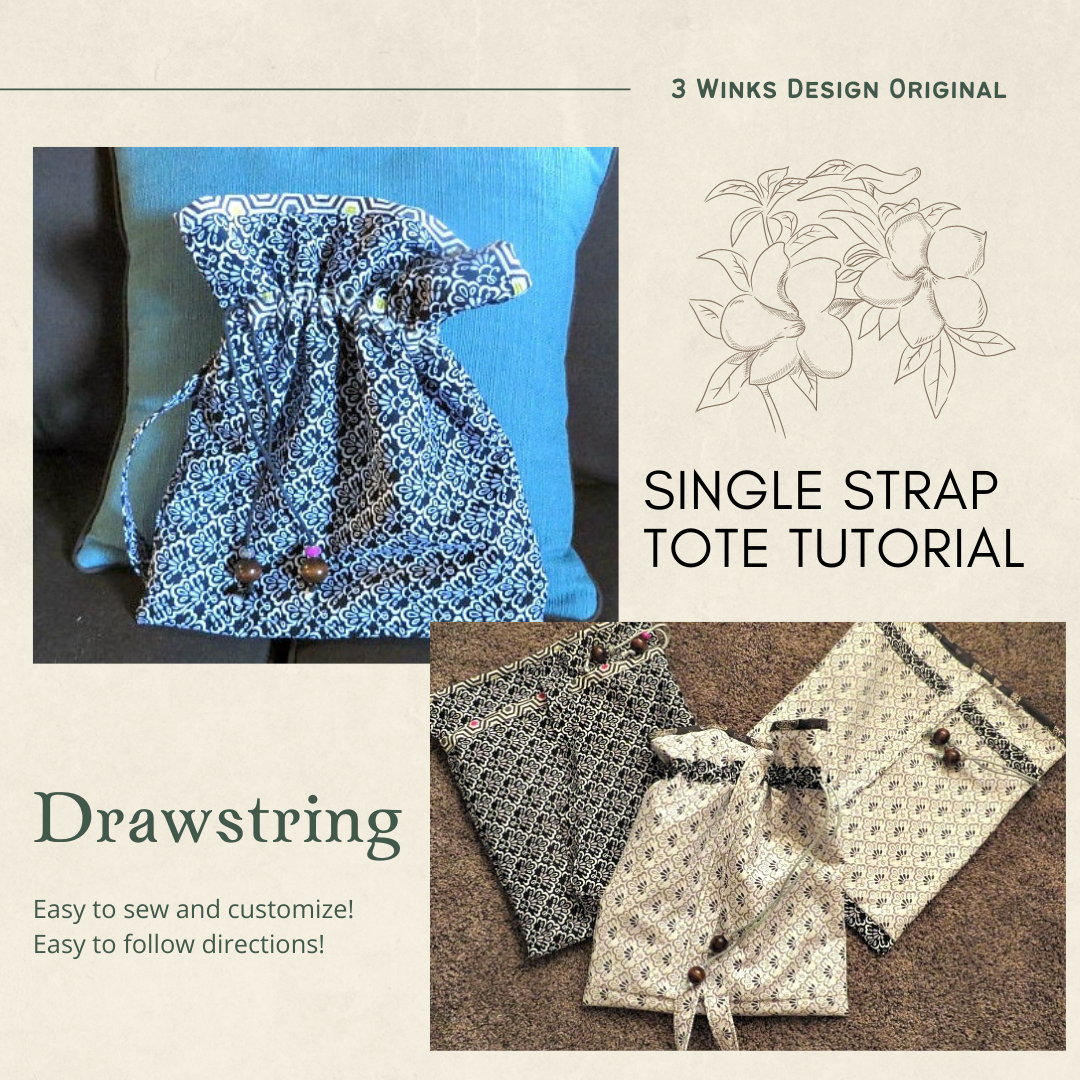 I mentioned in this post that I am going to Girls Camp again this year as the Youth Camp Leader cabin mom. This year we are going for 5 days to a camp area that will be very primitive as far as using tents instead of cabins. (But, there will be showers and flush toilets! Thank Heavens!) It will be so much fun. I wanted to do something fun for my girls. Last year I made the girls I was over pillowcases. This year, because these girls have so much responsibility at camp and need to bring more little extra things, I thought some tote bags would be nice. I know that I could order some perfectly good totes from Oriental Trading or Dollar Tree, but, I saw in my brain what I wanted these totes to look like. The girls said that they liked black, a few wanted a little color and I had found some really good prices on fabric, so of course I had to come up with my own design. By the 5th bag, (or 2nd) I realized how crazy I was, but by then I was committed to the project. I needed to make 14 of them, because I couldn't leave out my cabin mom partner and myself! I have to confess that they are so cute! They would make great gifts for any occasion besides camp and if you only have to make one or a couple, you can totally whip one tote out in about an hour and a half. I got even faster as time went on. Here is the tutorial:
This post contains affiliate links. I will be compensated for purchases made through those links at no additional cost to you. All views expressed are my own. Thank you for your support!
As I have worn the hat of Summer School Teacher for 2 of my grandchildren this summer, I tried to do a lot of hands-on learning with them to keep things interesting! I am a big believer in whole language and integral learning. Today I am going to share a theme that was very instructional, easy to find resources for and something that my grandkids really enjoyed! Here are the parts to the lessons about Plants and Chlorophyll.
The Science Part:
This could also be called the Science, Reading and Vocabulary part. The kids had to learn vocabulary words such as Chlorophyll and Photosynthesis. We kept it pretty basic because my grandson just finished 1st grade. But they learned that almost all plants have chlorophyll and that is the chemical that gives them their green color. They learned that chlorophyll is necessary to help plants obtain energy from light. There are many online resources that will help you make this lesson as in-depth as you would like. Here is a great video that teaches photosynthesis.
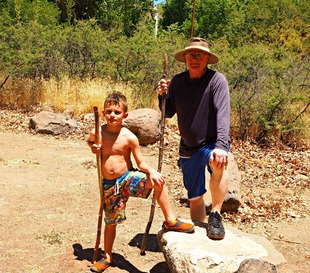
The reading workbook that I was using for my grandson happened to have a selection about plants that tied in with our science lesson. One related activity that we did was have my grandchildren help plant cantaloupe in our garden and watch them grow. As the little green sprouts came up, they knew that the sun was necessary to help them grow, as well as the water and the soil. We also took them on a fun field trip! (It was mostly for fun, but we got some learning in there as well!) We went up to a creek area in the mountains.
We went swimming and hiking and my husband pointed out the different varieties of plant-life in the area. There were trees like the Arizona Sycamore, Cedar Trees and Cottonwood. I had my grandchildren collect leaves of all different varieties to bring home for the next part of our lesson.
Art added to the Science!
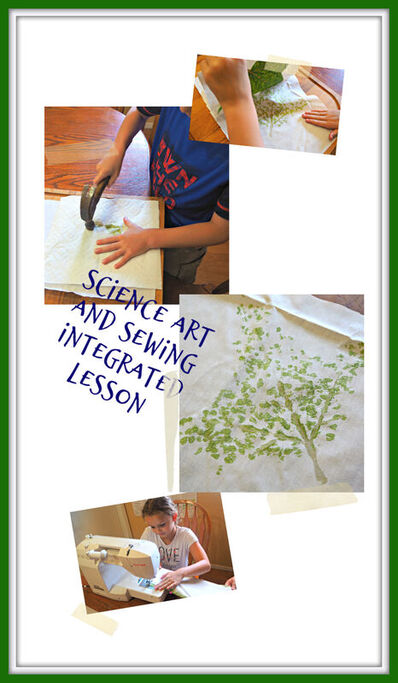
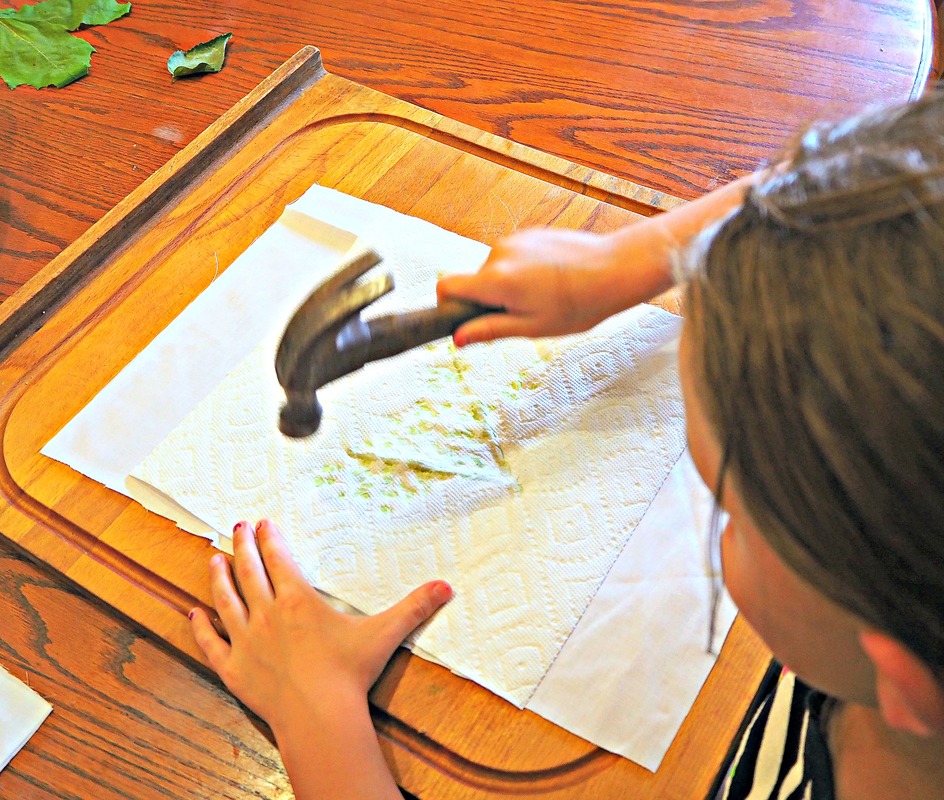
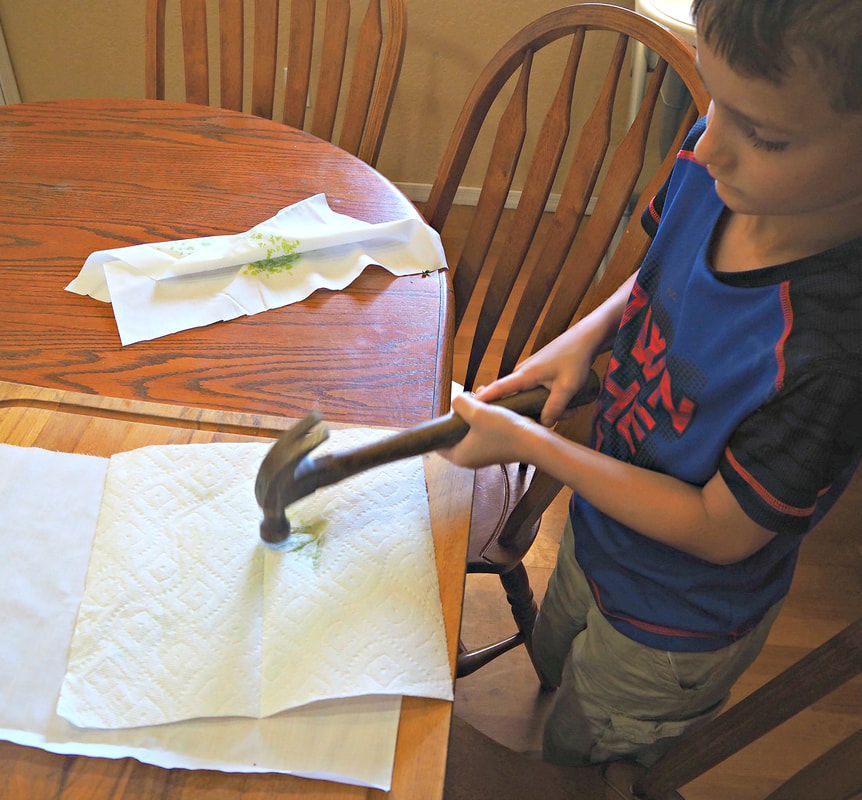
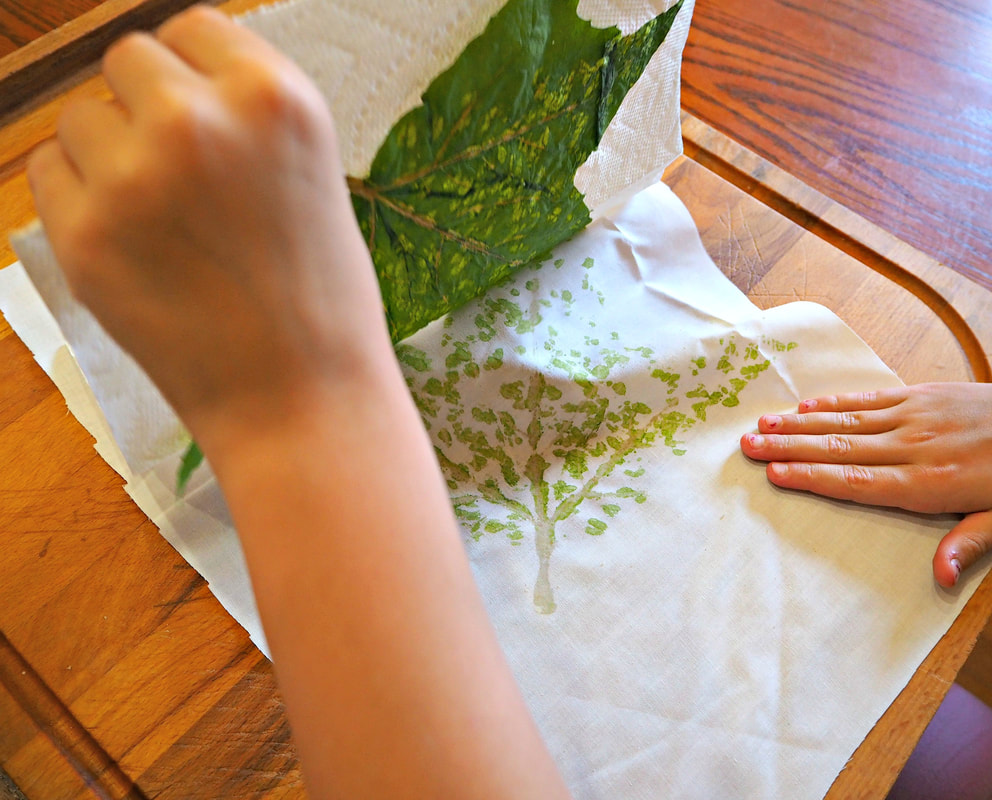
One way of studying leaves and chlorophyll is to remove the chlorophyll from the leaf. When plants stop producing chlorophyll, the green color also leaves (pun not intended) and the leaf's other pigments show, such as the red, orange and yellows seen in the Fall. There are chemical and heat methods that will remove all of the chlorophyll from a leaf and show the color it will be in the Fall. We did not use one of those methods. But, we did remove some chlorophyll from our leaves by pounding them with a hammer onto cotton fabric.
We didn't pound our leaves until the next day after our trip to the creek. Some of them were a little wilted, some had actually dried out! It was interesting to see which leaves would give off chlorophyll and which ones wouldn't. Obviously, the dry leaves didn't and we talked about why that was. Also, the green shades varied from one type of leaf to another. The pounding of leaves was loud and fun!
Sewing:
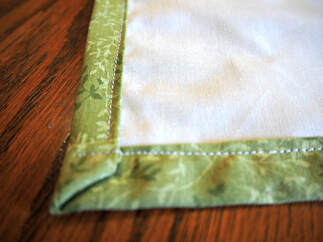
In my stash, I found the perfect fabric to back these leaf prints to make them into placemats. I cut them out a little larger than the white fabric so that we could make a border of the fabric on the front of the placemat, framing the leaf prints.
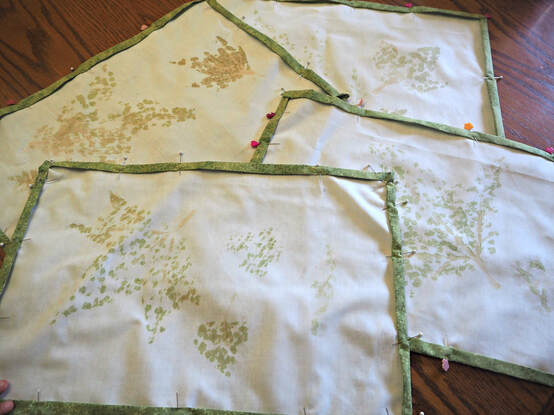
I heat set the chlorophyll with an iron, covering them with a cloth, hoping that the print won't wash out. Then we pinned the back on all around.
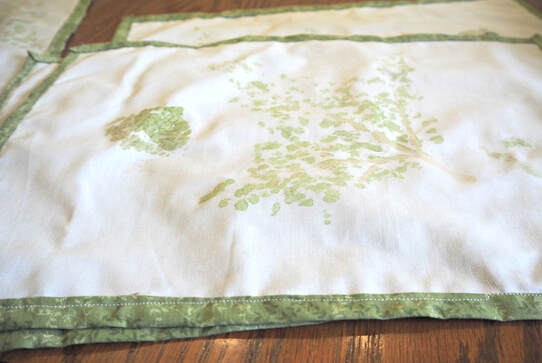
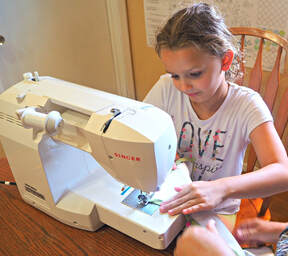
Sewing a simple straight stitch all around the border was a great way to begin to teach my grandchildren sewing. Even my 7 year old grandson did some of the stitching on the machine, but it made him nervous so he only did one side. My almost 9 year old granddaughter, on the other hand, loved sewing and completed 3 of the 4 placemats. (I began by demonstrating on a couple of the sides the way to hold and guide the fabric.)
The placemats came out pretty sweet, and when my granddaughter describes them to people, she tells them that they made them with chlorophyll! So, I am really happy that she can remember to say and use that word!
|
Creators of Hot Cocoa Bombs! (copyrighted)

Author
Helen Reynolds: Mother of six children , grandmother to eleven! I love to cook, craft and create things and I especially love doing that with my family, So, when my lawyer daughter, Lindsey, my artist daughter, Madalynn, and I came up with the idea of Hot Cocoa Bombs, this blog was born. Then, one more daughter, with her technical and science skills, plus creativity has joined in to round us out! Read more about us here! 
Click this link and visit 3WinksDesignShop on Etsy. Find our Hot Cocoa Bomb Idea Book, our For the Love of PIe e-book and more of our creations!

Amazon Gift Cards are the Perfect Gift!
    Archives
May 2024
|

 RSS Feed