|
**This post contains affiliate links and I will be compensated if you make a purchase after clicking on my links. But, all opinions expressed are my own.
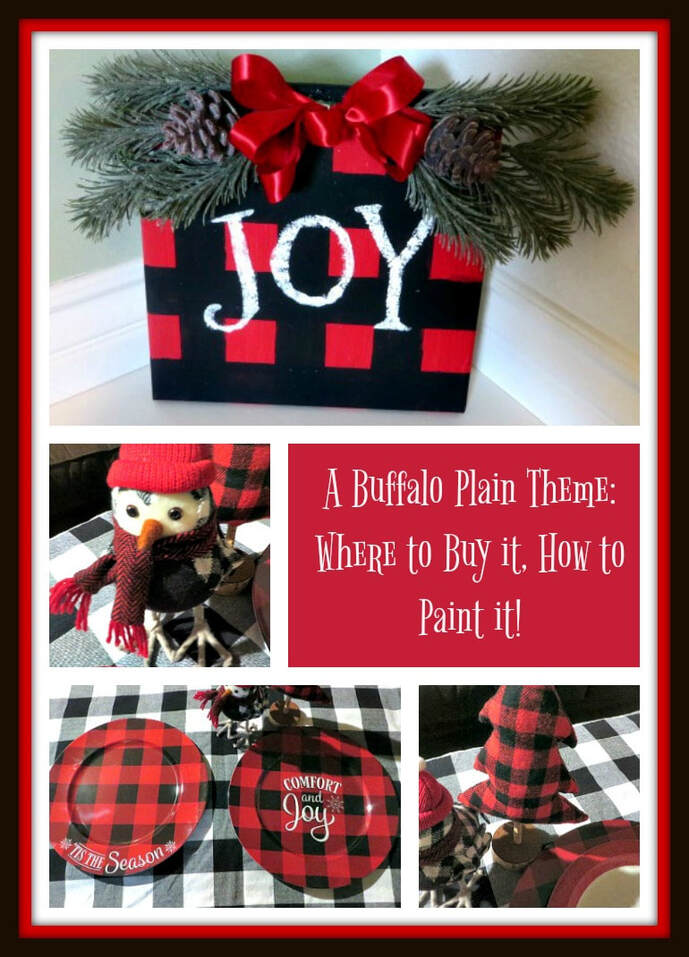
My love of buffalo plaid this year all started with Madalynn bringing home this Black and White Buffalo Plaid Tablecloth from Walmart one day. I loved it! Then, I went to Dollar Tree and found these red and black buffalo plaid chargers. After that, there was no turning back! Everywhere I go, I look for buffalo plaid Christmas decorations or supplies for making my own buffalo plaid decor. Here are some of the things I've found so far that I am in love with! I am actually mixing the black and white with the red and black and I feel like it is really working. After I show you this stuff, I'll teach you how I made that adorable JOY sign by painting it myself!
Where to Buy Buffalo Plaid (it is pretty much everywhere)
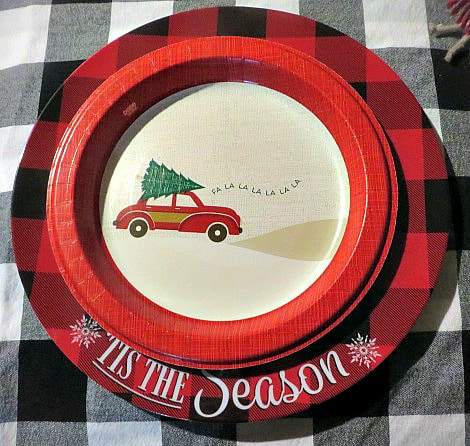
These are actually Dixie Plates that I picked up at Target! (They aren't available online). When I saw them I knew that they would work great with the plaid, even though they are a print. I adore the vintage car with a tree on top look that is so popular lately. Plus, the plaid border works fine. The chargers that say "T'is the Season" go perfectly with the "fa la la la la!"
Paint Some Buffalo Plaid
Maddy has some extra stretched canvas around here and I decided to use one of them to make this JOY sign to hang up this year. Here is what you will need:
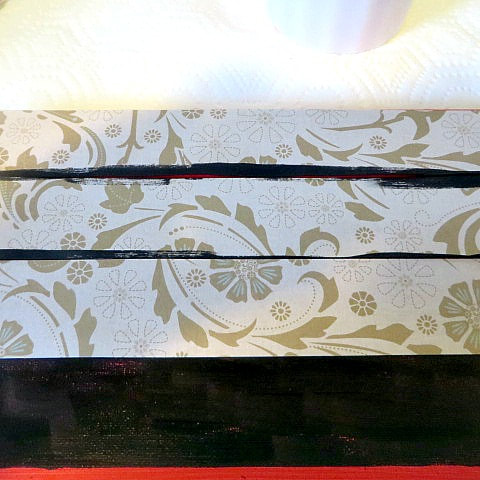
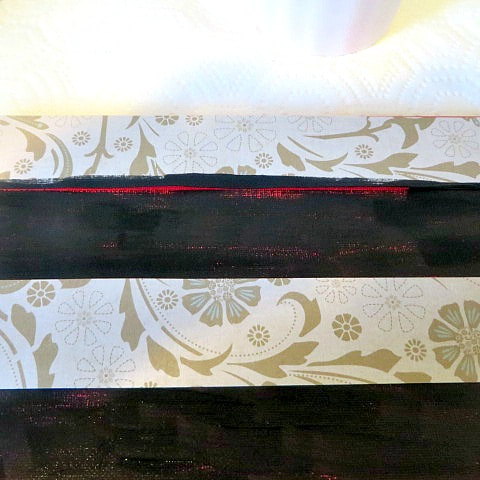
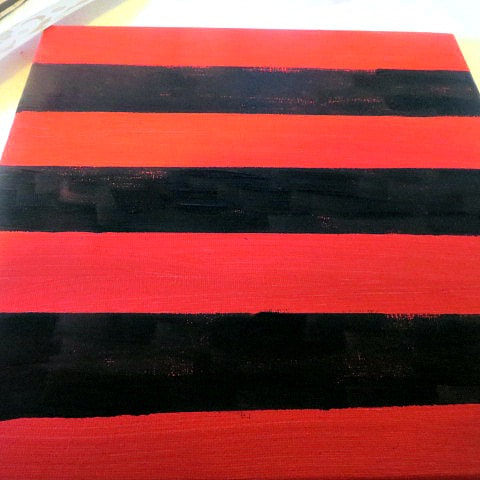
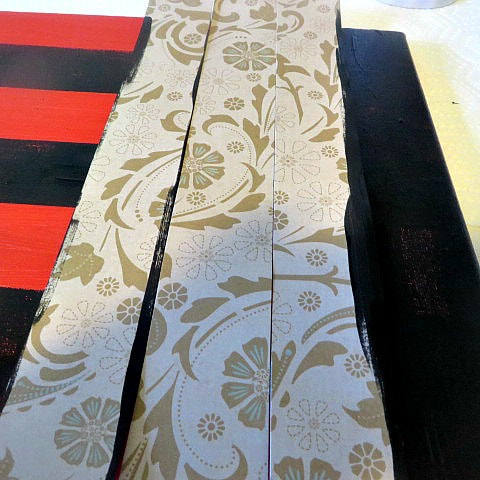
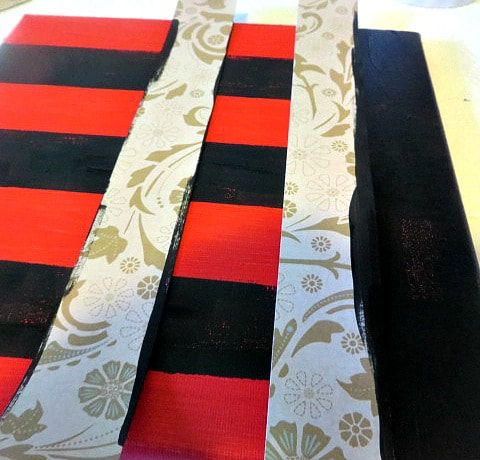
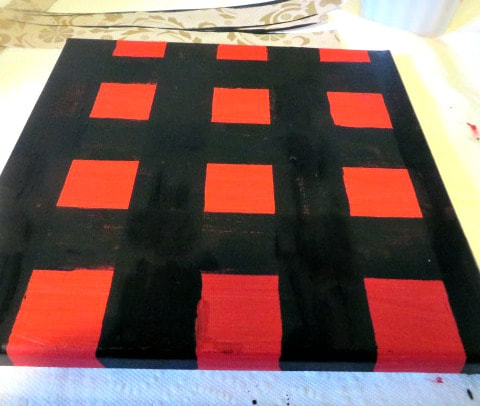
*10" X 10" stretched canvas * Red and Black acrylic paint * 3 10" X 1.5" heavy paper for masking * JOY stencil * White acrylic paint * paint brush * stiff bristle brush for stenciling * pine picks * Red Ribbon Below, I will use a picture gallery to show how I painted the plaid. First, paint the entire canvas red and let it dry well. Decide how large you want your plaid to be. I used about 1.5" strips to paint mine. Click on the pictures to see:
Now decorate the plaid canvas!
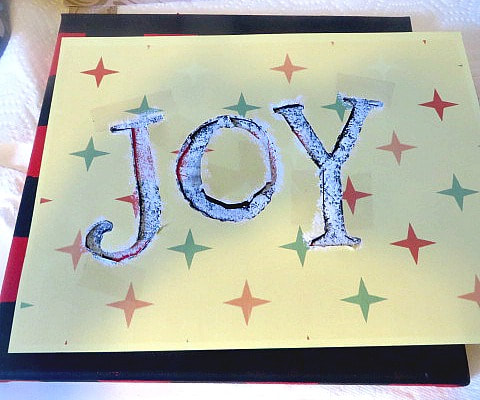
I created a stencil to use to paint the JOY on my canvas.You can print it out and cut it our to use. Just copy and paste the picture below.
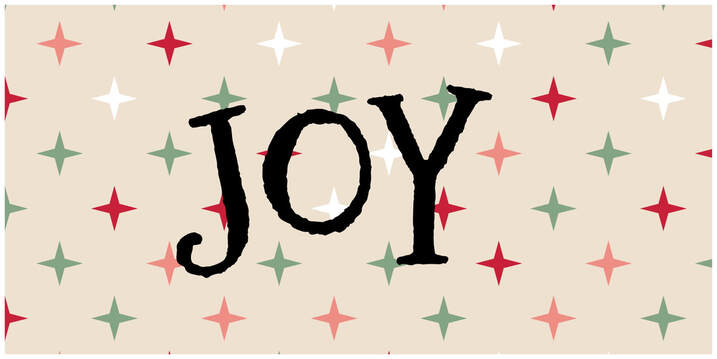
You can copy and paste the photo and then expand it or contract it to the size you want it to be. Then, print it onto some card stock and use an Exacto knife to cut it out. Or, you can make your own stencil on your Cricut or other machine.
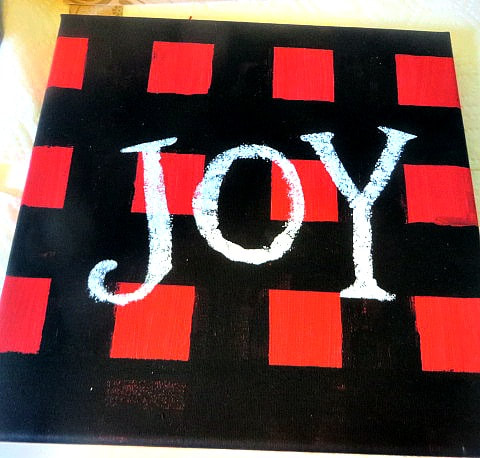
I stapled my pine picks to the wooden part of the frame and reinforced with hot glue. Then I added the ribbon to hide all of that.
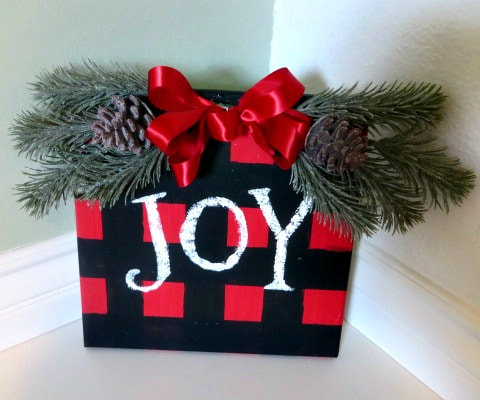
I am so pleased with how it turned out!
I have a few more ideas up my sleeve to go with my Buffalo Plaid Christmas theme! Be sure to check back and see what they are!


2 Comments
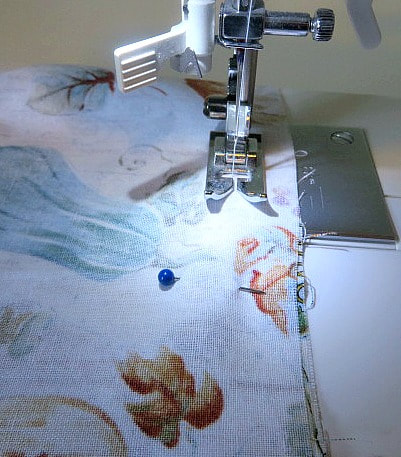
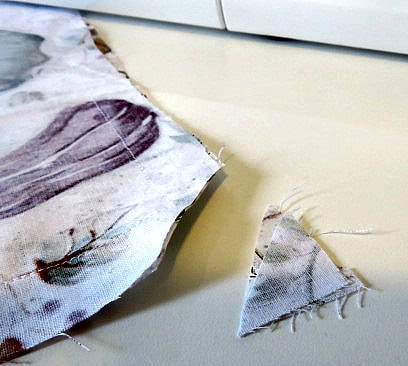
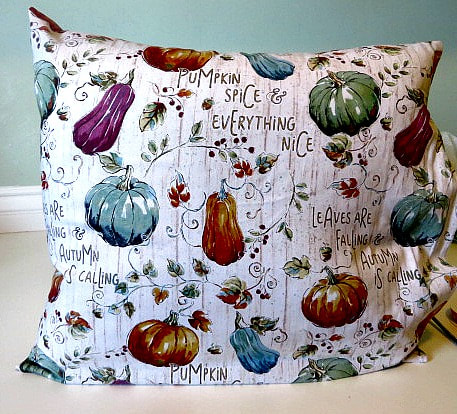
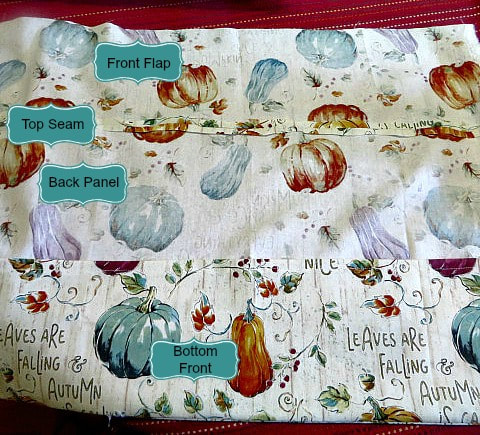
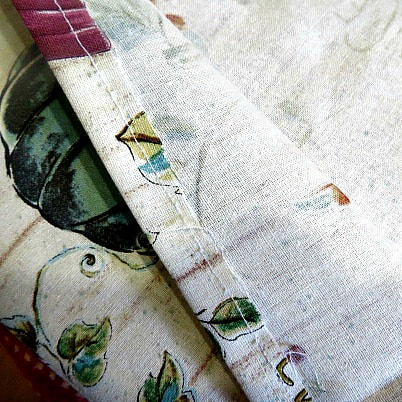
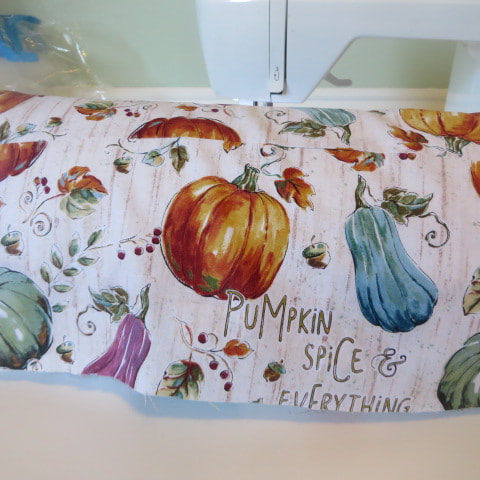
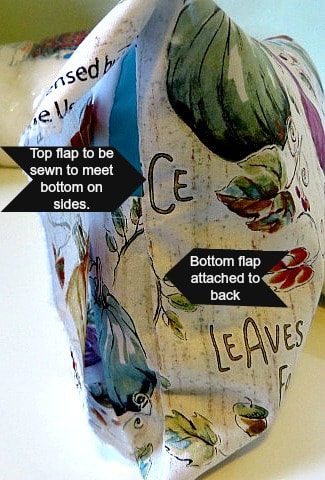
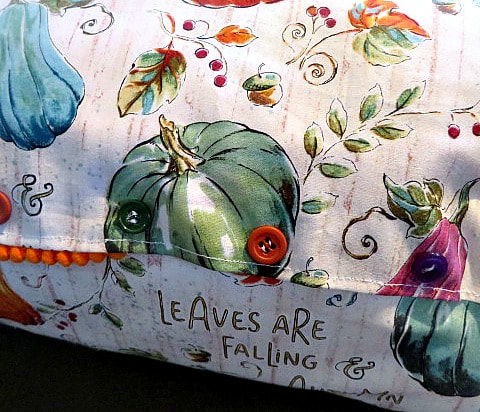
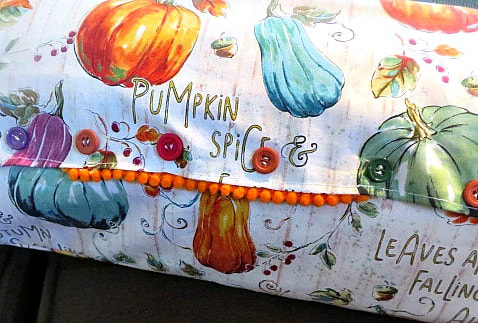
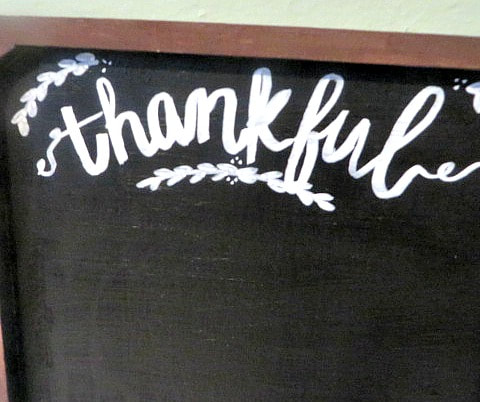
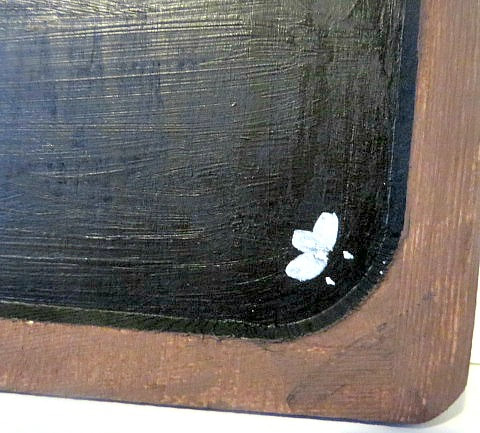
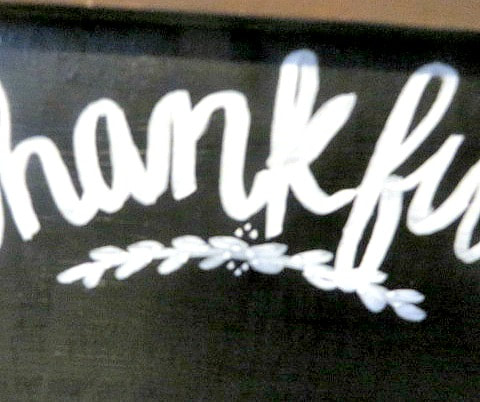
his post contains affiliate links. I will be compensated for purchases made through those links at no additional cost to you. Thank you for your support!  When my husband and I took off on our road trip to Wyoming this past summer, we left without any bedding or pillows! We knew that we were going to be spending one night in our son's new apartment in Kemmerer, WY sleeping on the floor, so this was bad. When we got to Kemmerer, our son took us to one of the few stores in that little town, Family Dollar, where we purchased a blanket and a couple of $6.00 pillows. We survived the night, but I knew that the pillows wouldn't get much use after that trip and I started wondering if I could turn them into sofa pillows. As you can see from the collage of pictures above, I did it! Sofa pillows are pretty simple to make, they cost much less than department store prices when they are handmade, and you can make them for any decor. So, if you know the taste and colors of your recipient, they can make a lovely gift as well. I decided to make some seasonal pillows for the Fall. The pumpkin print fabric that I found at Walmart would be perfect to gift to Lindsey anytime of the year! I love that the colors of pumpkins and gourds on this fabric match many colors and can be easily integrated with the pillows that I already have. For today's Handmade Monthly, you will actually be getting 3 different sets of instructions. These include how to make the forms, How to make a square pillow with trim and a cute idea for a coordinating neck roll pillow. Making the Pillow Forms: From one pillow I made an approximately 19" square pillow and one neck roll. You will have to measure your pillow and decide the size you want your sofa pillow to be. I used a quilter's erasable marker to draw a cutting line. 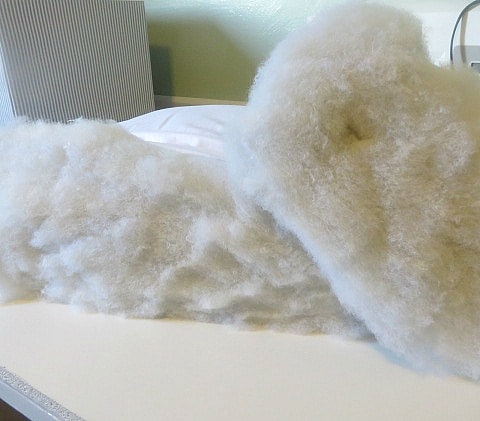 Here they are, cut apart! Very fluffy! Once the pillows are marked, cut them apart. You will have to cut them a layer at a time because they are so thick. Next, push the fluffy insides into the pillow covering and pin the open side closed. Then, sew the open ends together. 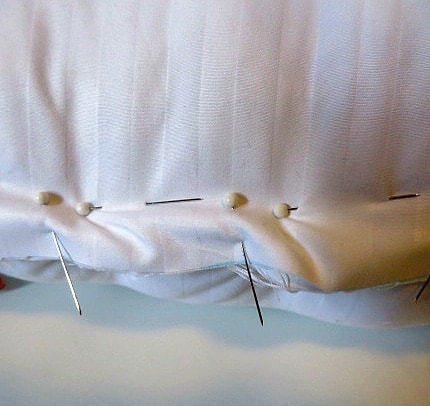 This is how I pinned them closed. I removed the pins as I sewed along. 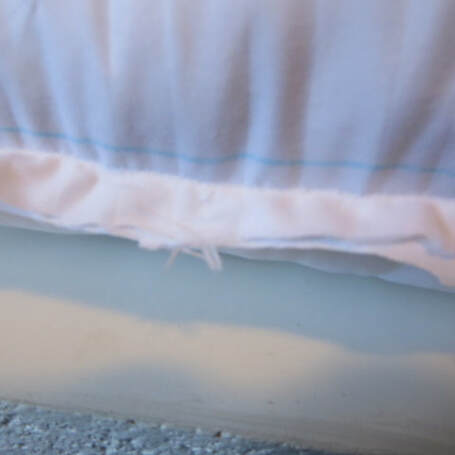 All sewn. Now I had 2 nice pillow forms that only cost about $3.00 a piece! All I needed to do was cover them. Large Square Pillow with Trim: I found the fabric for the pillows at Walmart. You will also need a sewing machine, a tiny bit of fiber fill, thread and trim. You will need to cut 2 pieces of fabric, one for the front and one for the back. Measure them to the size of your pillow. Measure over the fat part of the pillow to get the right measurement. Then, add about 5/8" all around for a seam allowance. Click on the photos below to get directions: I bought some orange mini pom-pom trim. Generally, when adding trim, I put it on the seam line, facing inward and sew it into the seam line. When you flip the fabric right side out, the trim will show on the edge. But, this time, there wasn't very much sewing room on my trim, so I decided to add it on the outside. OH MY GOODNESS, I had such a time of it! I even made a collage about it! Add one more thing to your supplies, a glue gun! 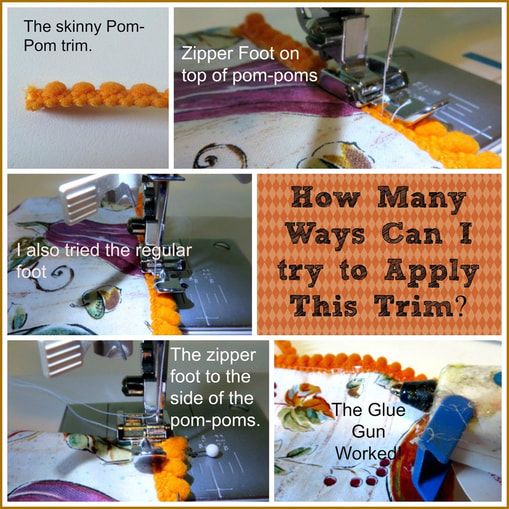 I usually hate it when I hear the term "no-sew" pillows, etc. because to me sewing things makes them more lasting and better quality. But, this time I gave myself permission to use the glue gun for this tiny trim! After you glue it around the 3 sewn sides of the pillow, put the form into the pillow cover. Then, for nice crisp corners, take some bits of fiber fill and stuff it into the corners of the pillow. It will fill in where the form cannot go. It looks so much nicer in the final product. Trust me! When that is done, whip stitch the open side closed. 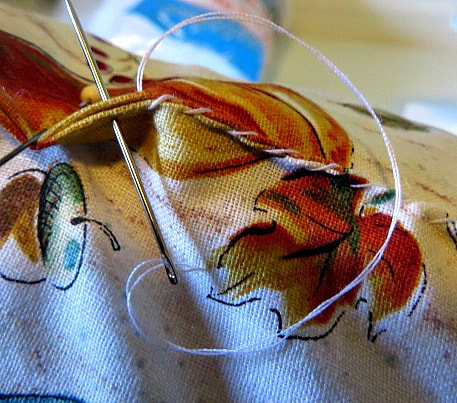 Just whip it shut. Then, glue on the trim. The trim will hide the stitching and strengthen it as well. Et Voila! You have an adorable pillow! 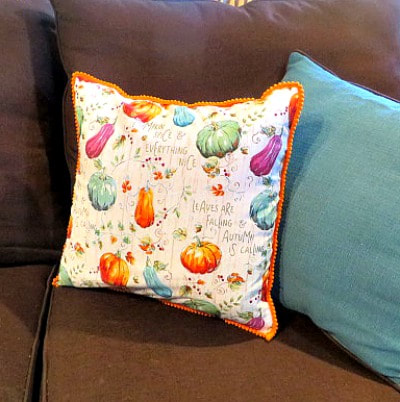 That trim was worth the trouble! And, see how my corners are nice and perky? It's the fiber fill. An Envelope Neck Roll PIllow: When I started this pillow, I had something else in mind, but it kind of evolved as I went along. For this pillow, you will need to cut a back according to the width and height of your pillow form, just like you did with the square pillow. For the front, you will need a bottom pocket and an overlapping top flap. Here are some pictures to show you how it is done: By the way, I also tucked some fiber fill into the corners of this pillow as well. I am in love with the cuteness! I have one more pillow that I plan to use for Christmas pillows! I can hardly wait to get started! 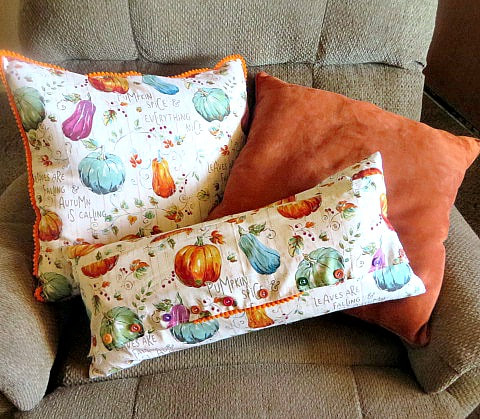 This post contains affiliate links. I will be compensated for purchased made through those links at no additional cost to you. All views expressed are my own. Thank you for your support! 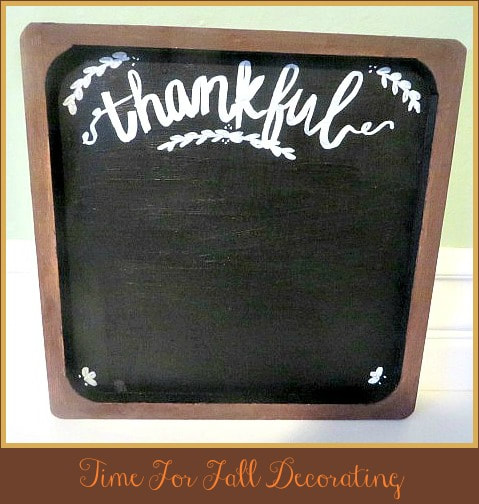 With Labor Day Weekend upon us, it is the perfect time to break out the Fall decorations and perhaps add a few new items to the mix. I love getting into the chest where my Fall items are stored and finding things I didn't remember that I owned! But, I also love going into the stores and seeing new ideas and getting inspiration there. Maddy and I went on a little Fall shopping spree and we came back with some great stuff that is pretty inexpensive! First of all, look at the adorable Thankful Chalk board that Maddy decorated. We found the plaque at Michael's for about $2.50. Maddy had a great idea to turn it into a chalkboard that family members can write things that they are thankful for everyday or every week throughout the season, whatever your pleasure. Of course, I already owned the chalkboard paint. I painted the base coat and did a thin wash of brown acrylic paint around the frame. Then I was nervous about writing "thankful," so I made Maddy do it! Ha ha! Look how cute it came out! She always thinks of the cute details like the little leaves and dots. She did it all with one chalk marker! Free hand! I would have written thankful and left it at that! Here are a few close-ups: Michael's had a lot of their Fall decor on sale for 40% off or more. This weekend would be a great time to check it out before it is all gone! Another great place we found to shop was at Dollar Tree! We found so many things to craft with and decorate with that we can't wait to show you some of our creations in up coming posts! In the meantime, here are some of the things you are going to love! (But I'm not going to tell you all of our secrets yet! Use your imagination and see what you come up with!)
My goodness you guys! There is so much fun stuff that I can't even list it all! You have to click the links and see for yourself! Just remember, at Dollar Tree, you have to shop fast because everything goes fast! Especially if you want stuff for Halloween! Decorating for the seasons and holidays is so much fun to do with kids because they get so excited. I was glad that my daughter and my granddaughter have been here to help at my house! (Even though my granddaughter is not quite 2, she sure gets excited about the stuff!) So, have a FUN Labor Day weekend and get in the Fall mood! If you are still have high heat and humidity like we are, it may even help you feel a little cooler! Click on our Halloween category to see past ideas! Also our Fall category has great ideas and recipes! PS: How do you like our new look? Let us know in the comments!
This post contains affiliate links. I will be compensated for purchased made through those links at no additional cost to you. All views expressed are my own. Thank you for your support! 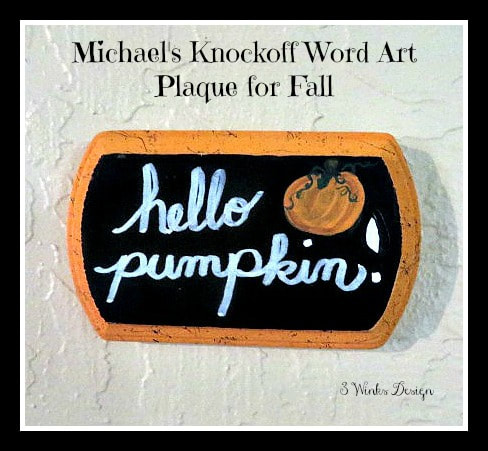 It's that time of year! School is back in and before you know it, Halloween will be here. Time to get out the Fall decor and start eating things made with pumpkin pie spice! I was thinking about a little strip of wall that I have between my family room and kitchen when I went to look around Michael's the other day. Michael's has a ton of really cute fall items for the home right now and I saw a bunch of really cute plaques for about $5.00 that I thought would be perfect for my wall. Then, I found these little unfinished wooden plaques for 99 cents! I knew that I could paint a whole slew of word signs at a much lower price! (.99!) I already owned the paint and brushes, etc. I am going to paint 2 more, which I will share with you later, but today I will share the basics for this cute little "Hello Pumpkin" plaque. Supplies:
As I said, I already owned all of these supplies except for the .99 plaques. If you have to buy it all just for this project, if will be cheaper to just buy the pre-made plaques! Instructions: 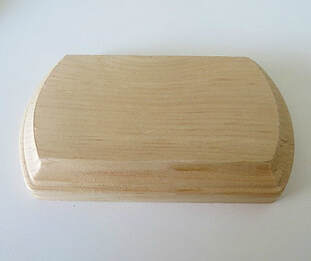
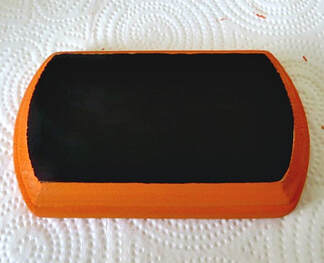 3. Use blackboard paint to cover the flat surface on top. 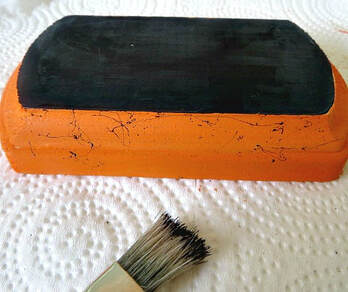 4. Use a stiff bristle brush or toothbrush to flick paint around the edge of the plaque. 5. Practice how you want to do your lettering on a piece of paper before you attempt it on your plaque. You could use white graphite or a stylus to give yourself a pattern to follow. 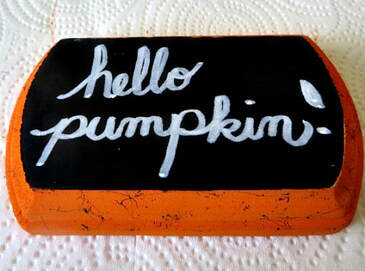 6. Use the white chalk marker to write on the plaque. 7. I decided it needed a little something extra, so I made a pumpkin in the corner. Use plenty of coats to fill it in and hide the black. Then use your brush strokes to add to the texture of the pumpkin. 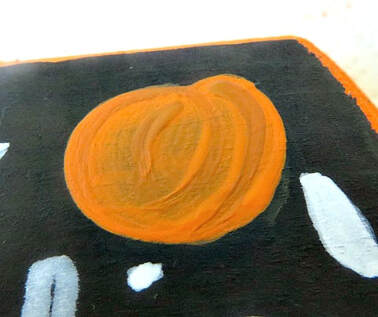 I used a little brown to add shadow along the creases of the pumpkin and at the bottom. 8. Finally use green to add leaves, vines and stem. 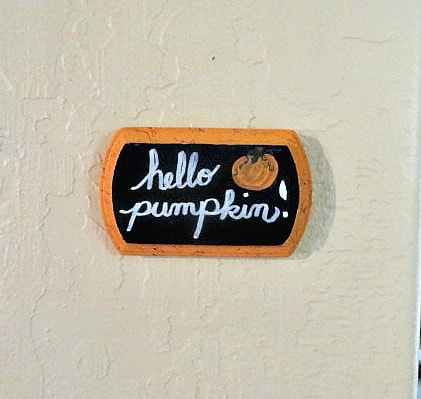 Et, voila! I am converted to Command Strip picture hangers for all of my picture hanging needs! No more pictures getting crooked with the slam of a door or big truck driving by! And, Command Strips make it so much easier to hang them straight the first time!
I'll show you the next plaques I do later on! Let me know if you have any good Fall sayings I can use. |
Creators of Hot Cocoa Bombs! (copyrighted)

Author
Helen Reynolds: Mother of six children , grandmother to eleven! I love to cook, craft and create things and I especially love doing that with my family, So, when my lawyer daughter, Lindsey, my artist daughter, Madalynn, and I came up with the idea of Hot Cocoa Bombs, this blog was born. Then, one more daughter, with her technical and science skills, plus creativity has joined in to round us out! Read more about us here! 
Click this link and visit 3WinksDesignShop on Etsy. Find our Hot Cocoa Bomb Idea Book, our For the Love of PIe e-book and more of our creations!

Amazon Gift Cards are the Perfect Gift!
    Archives
April 2024
|

 RSS Feed