|
This post contains affiliate links and I will be compensated if you make a purchase after clicking on my links. Thanks for your support!
I am freaking out because CAMP is NEXT WEEK. I feel like there are still millions of things that I could do for it and somewhere, sometime, I just have to stop and go with what I've got! But, not today because I am still working on little treats to give my youth camp leaders each day to keep them motivated.
A couple of weeks ago, I made them all these totes so that they would be able to carry all of their odds and ends for the girls that they will be over this year. I gave them to them a week ago so that they will be able to have them to pack in. I am happy to say that they really liked them. So, here are some of the things that I am working on now. In the Spring, I came across these gardening kneeling pads at Dollar Tree. I don't see them on the website any more, but there were still quite a few at the store the other day. 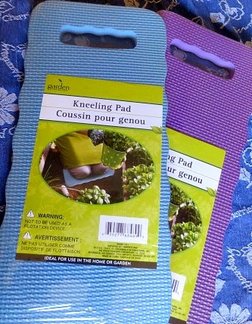
I had seen a quote on Pinterest that I really liked, and since the theme for camp this year comes from James 1:5...
"If any of you lack wisdom, let him ask of God who giveth to all men liberally, and upbraideth not and it shall be given him."
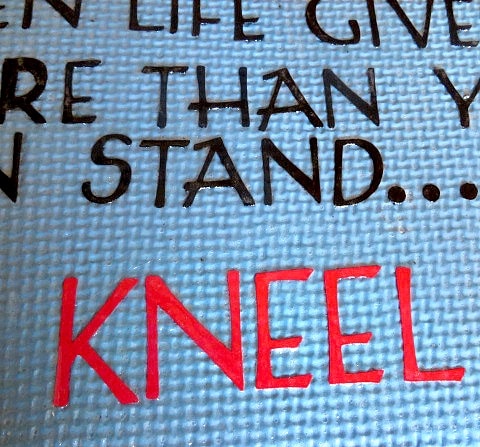
...I thought, what a great combination with this quote that I read! Here is the quote:
"When Life gives you more than you can stand, KNEEL!"
I just knew that the kneeling pad and the quote had to go together! I toyed with the idea for a while, and so far I have tried two ways of doing them. See which one you like.
First, I pulled out my Cricut and cut out the letters and used Mod Podge to stick them on. (It is also available at Dollar Tree and you can order as few as 4 bottles online!) I used about 3 coats of Mod Podge all over the pad after sticking on the letters, allowing it to dry between each coat. This gave a smooth, less likely to rub the letters off finish. 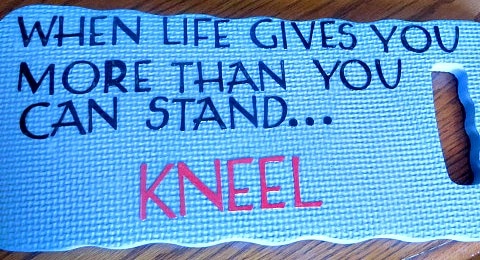
Unfortunately, after I finished it I realized that the lines I was using as a guide were not straight, so my words were somewhat crooked.
So, I liked that one, except for the crooked part. But, it was very time consuming. So, I decided to try to do one with Sharpies! I was afraid that the bumpy nature of the pad would make it too difficult to write neatly, but it wasn't that bad! It actually looks darker in person compared to this photo.
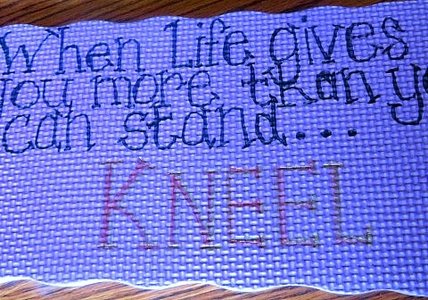
So, these are my two attempts. Let me know if you can think of a better way!
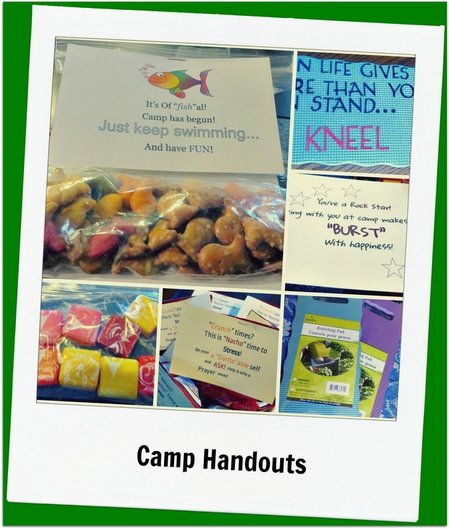
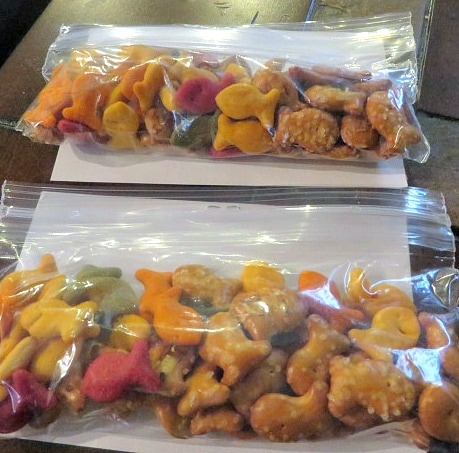
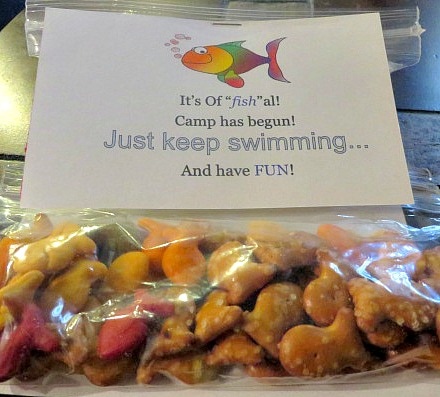
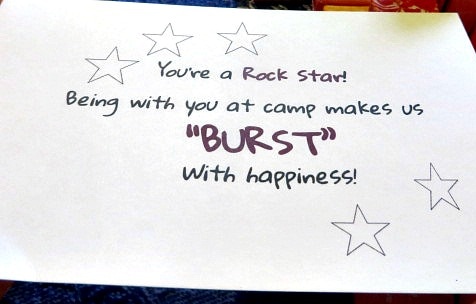
After making these, I turned my attention to the little treats of encouragement for the girls. I decided to give them Goldfish Crackers, Starburst and Doritos. I came up with some little notes to go with them. I am providing you with the printables below if you would like to use these ideas. I used 4" x 6" card stock, but printed with the 3 x 5 setting and clicked "fit to page".
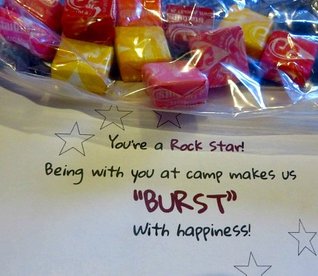
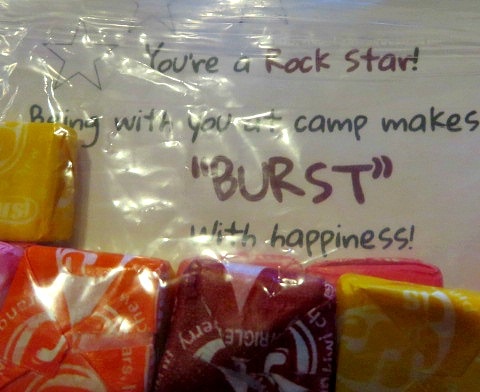
This time I put the note behind the bag so that you can read it through the plastic.
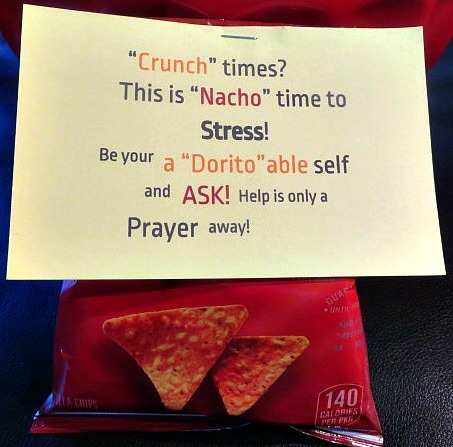
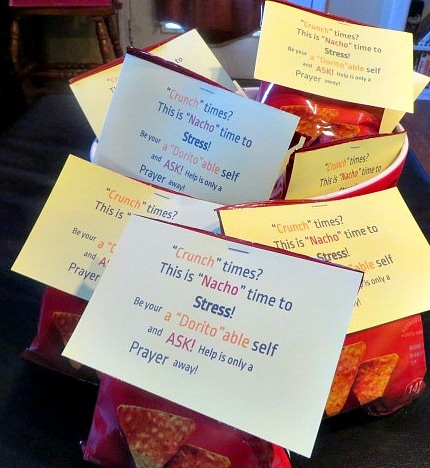
The last one with Doritos is my favorite. I hope everyone gets it!
You know, "adorable" ...
Anyway, those have been my camp brainstorms so far! I hope my ideas spark some ideas in you! Let me know what you think! 
3 Comments
I am going to girl's camp again this year! I wrote about the projects I did for camp last year here, here and here. This year, I am working with the older girls, ages 16-18, who actually help to run the activities at camp. They are called Youth Camp Leaders, or YCLs. One of the things they do for the younger girls is give them devotionals every night before lights out. Tonight, we are having a planning meeting where we are sharing ideas for devotionals with each other. Since there are 5 days at camp this year, we figured that if we all shared ideas, the girl's could pick the ones they felt inspired to give. I took a trip to DollarTree to get inspired and here are some of the ideas I came up with!
The theme for the youth in our church this year is James 1:5.
"If any of you lack wisdom, let him ask of God, that giveth to all men liberally, and upbraideth not; and it shall be given him."
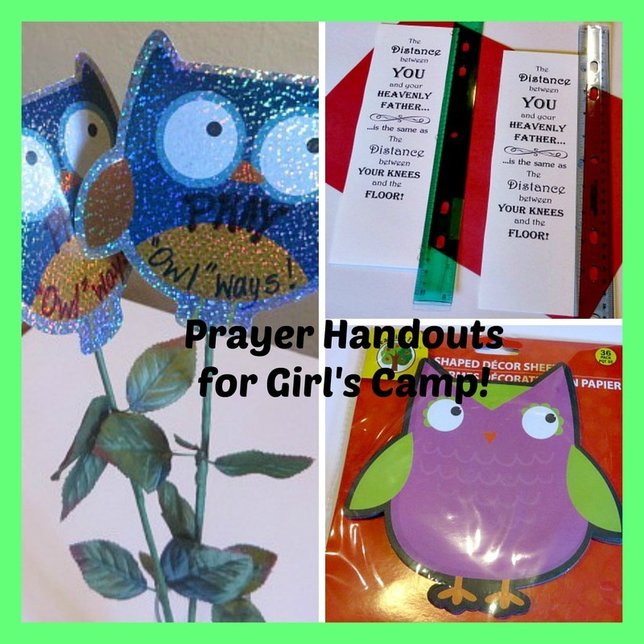
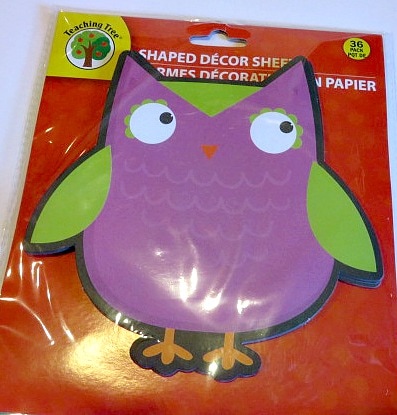
So, obviously, I thought of owls and the fact that they are often used as a symbol of wisdom. As always, click on the pictures for more instructions.
I couldn't find these owl shaped sheets on the website, but they had a lot of them in our store. So, look for them there.
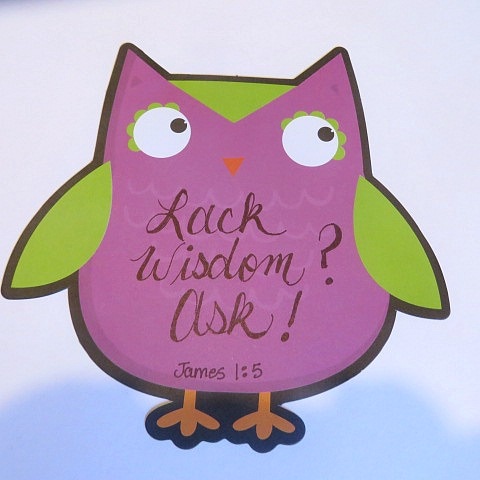
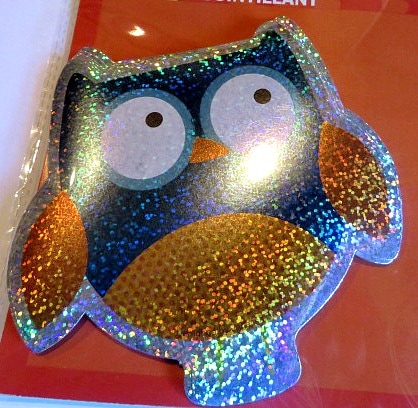
They also have these sparkle owl cutouts! I had some flower stems that used to have cookies on them. The cardboard that the cookie was attached to is still on the stem. So, I wrote a message on the owls and plan to make them into a bouquet. Each girl will be able to take one. You could actually stick the owl to a daisy or something if you needed to.
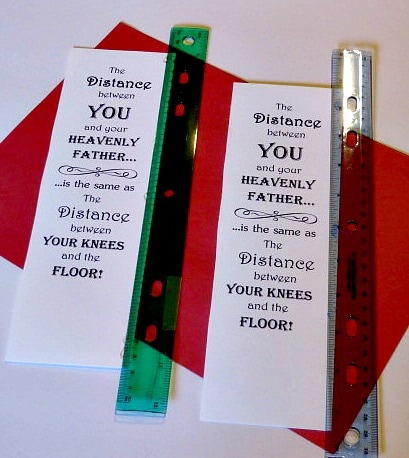
Finally, getting away from the owl theme, I remembered that I had seen this quote on Beauty4ashes and I really liked it.
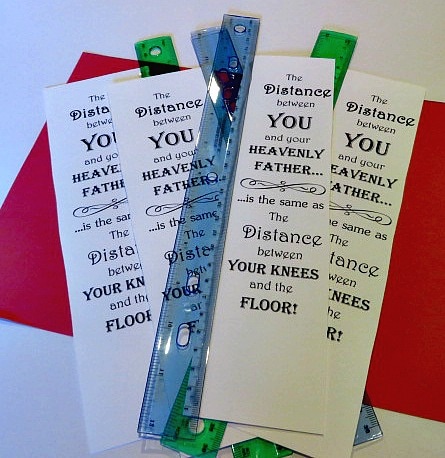
"The distance between you and your Heavenly Father is the same as the distance between your knees and the floor."
So, when I found these rulers, I knew in my mind what I wanted to do.
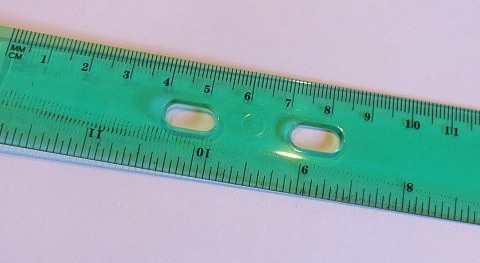
The great thing about these rulers is that they come 3 in a package for a $1! You can purchase a case for $48, which means you get 144 rulers! What a coup for teachers or anyone who wants to make a campful of these handouts that I am going to show you! That is a bushel of them!
Here is what you will need to make these simple handouts:
Here is the pdf so that you can download and print your own handouts! Just click the button!
If you have any great ideas about prayer, and/or using a survivor theme at camp with prayer as the underlying message, please give them to me in the comments section! I hope these ideas will inspire you!

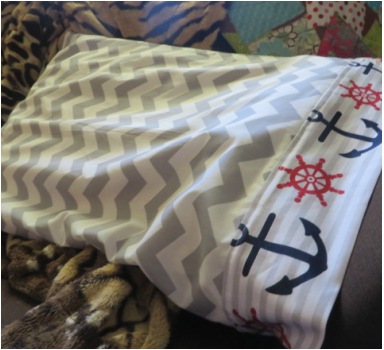
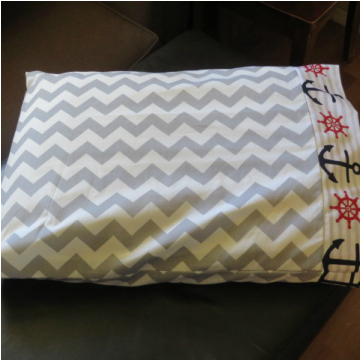
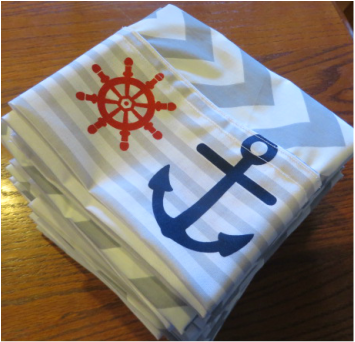
I was all finished with camp crafts I thought. Then I went to Walmart and found this fabric. 9 more pillowcases complete! Why are anchors so cute! I leave on Monday morning for camp. I have a couple of guest bloggers in the wings, so be on the look out for them! If you missed my pillowcase tutorial, look here! These just had to have the hem panel added separately. Still french seamed! I love them even if the girls don't! Talk to you in a week!
Click to set custom HTML

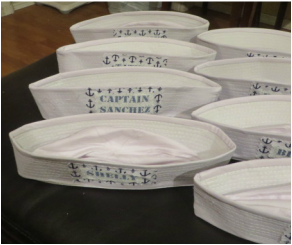
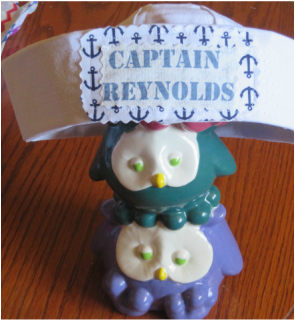
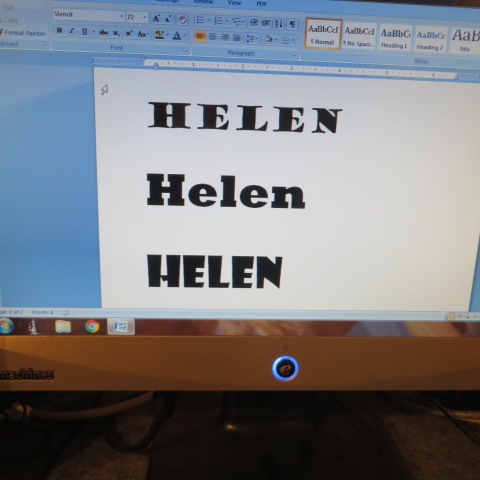
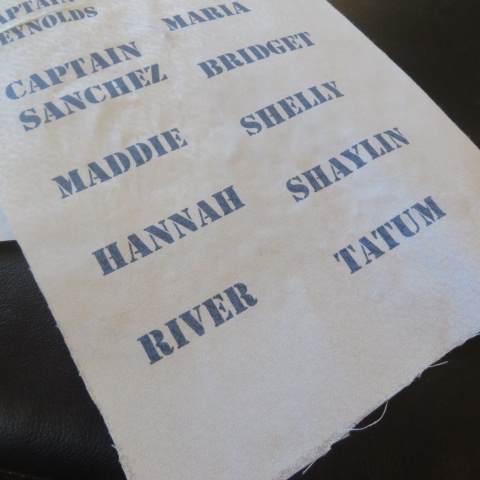
Did you know that you can print in your regular printer on fabric? I used this technique to put names on our sailor hats for Girl's Camp! It was great not to have to worry about paint drying or markers bleeding and I could use a cool stencil font (in this case) that reminded me of the military theme.
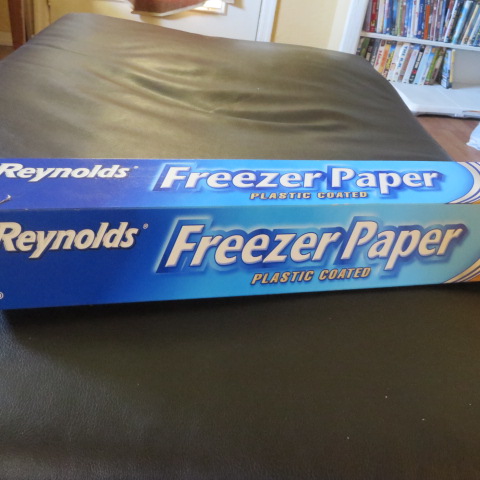
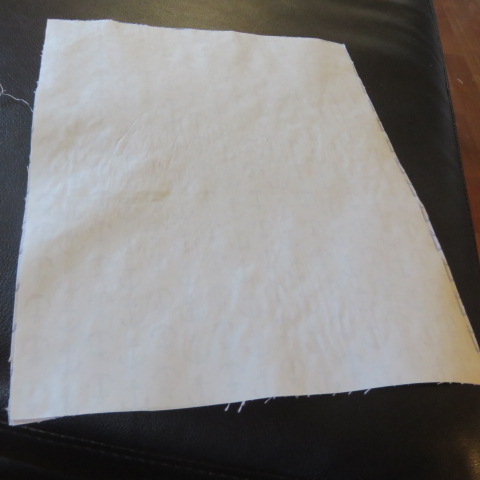
It all starts with picking out the right fabric to print on. White or cream works best. Then, use a piece of computer paper as a pattern to cut out a piece of freezer paper that will fit into the computer. Iron it onto the back of your fabric and cut the fabric around the edge of the freezer paper. I used Reynolds freezer paper of course. (Unfortunately, we are not related to the owners of this company.) Quilters have used freezer paper for years for piecing and working with fabrics. Be sure to iron it on the fabric shiny side down. Click the pictures below see what to do.
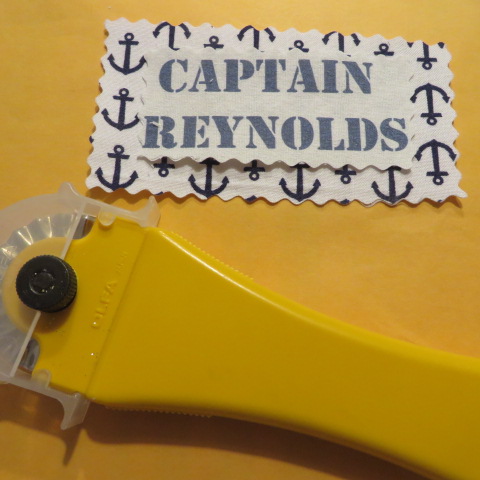
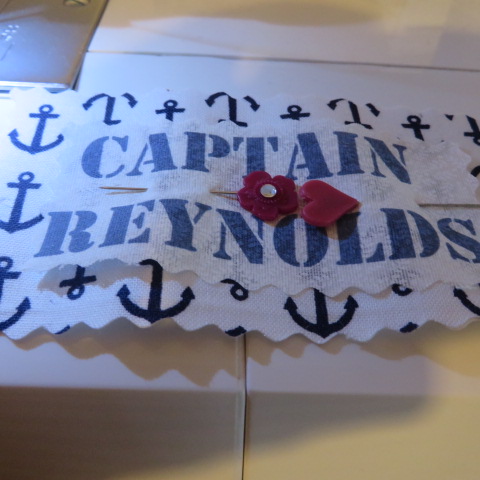
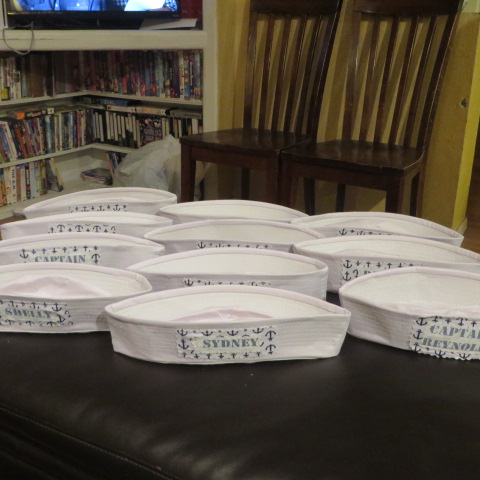
After the words are printed you can cut them out and use them in your project. I have used this technique to make fabric bookmarks in the past. I can think of a few other options that I may use in the future. This time I finished the sailor hats. I cut the names out with my pinking rotary cutter. I stitched them onto the background fabric and attached them to the hats. I guess I could have glued them, but the stitching looks so good and was easy to do, even stitching through the stiff brim. I ordered the hats from Oriental Trading.
I am sure that you can think of a million ways that printing on fabric can be used creatively! Tell me some of your ideas! I would love to try them, (after camp and the wedding!)
Oh, alright, here I am wearing it.
|
Creators of Hot Cocoa Bombs! (copyrighted)

Author
Helen Reynolds: Mother of six children , grandmother to eleven! I love to cook, craft and create things and I especially love doing that with my family, So, when my lawyer daughter, Lindsey, my artist daughter, Madalynn, and I came up with the idea of Hot Cocoa Bombs, this blog was born. Then, one more daughter, with her technical and science skills, plus creativity has joined in to round us out! Read more about us here! 
Click this link and visit 3WinksDesignShop on Etsy. Find our Hot Cocoa Bomb Idea Book, our For the Love of PIe e-book and more of our creations!

Amazon Gift Cards are the Perfect Gift!
    Archives
April 2024
|


 RSS Feed