|
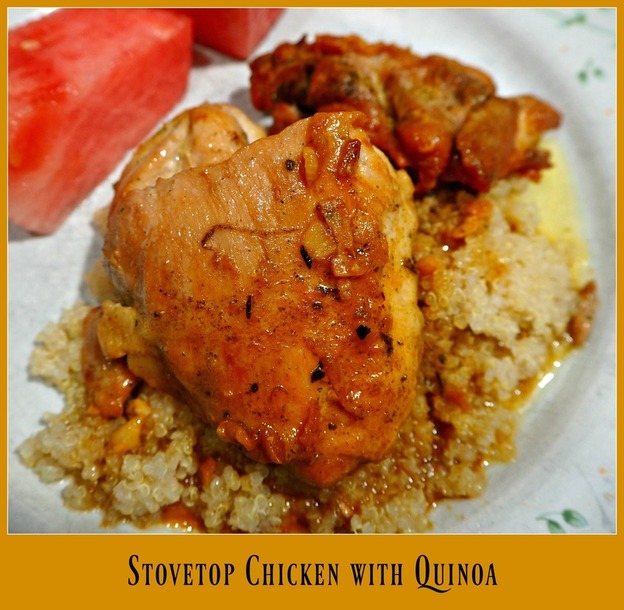
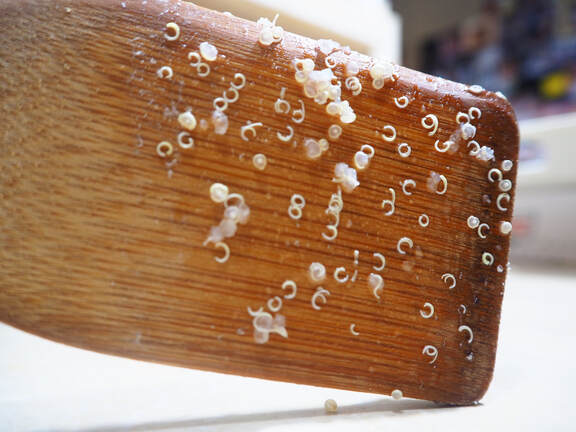
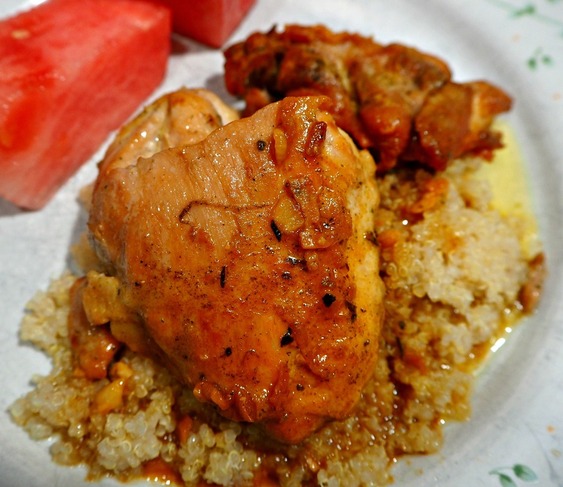
This post contains affiliate links. I will be compensated for purchases made through those links at no additional cost to you. All views expressed are my own. Thank you for your support! Here is another recipe that adds merit to the old saying, " Necessity is the mother of invention!" I had purchased a produce box from my local produce guys. There was a small package of quinoa inside. I had never cooked quinoa except in packaged rice and quinoa mixes and the jury was out on how I liked it. I know that it is a super food, very good for you. So, I decided to see what I could do with it. Of course, I searched the web to find out how to cook the quinoa in the best possible way. I found the answer on Cookie and Kate! I was so pleased with the results when I followed their advice! Before that, I had no idea that: #1 Quinoa has to be rinsed or it will be bitter. #2 Quinoa should pop open into little tiny spirals! Look at my bamboo stirrer! The results were spectacular, so if you want to try quinoa the way it is supposed to be cooked, go to their site! To go with the quinoa, I decided to use boneless, skinless chicken thighs that I had. I've read recently that chicken thighs are more healthy than the breasts! I don't know if that is true, but I do like the serving size of the thigh and my husband like dark meat best. I didn't want to do an oven baked chicken because of the summer heat, so I decided to try something on top of the stove. I was so pleased that it came together so quickly! I used the Crog Salt that I made and told you about on this post. If you haven't made our own yet, I listed the ingredients separately in the recipe. I also added thyme. The tomato-chicken bullion is widely available in grocery stores. My friend Neomi turned me on to it and now I use it in recipes frequently. Here are a few tips to easily make this recipe:
It is as easy as that! Spoon some of the sauce over the chicken and quinoa to serve! My husband loved it and so did I! I could hardly wait to tell you about it. Here is the recipe, enjoy!
1 Comment
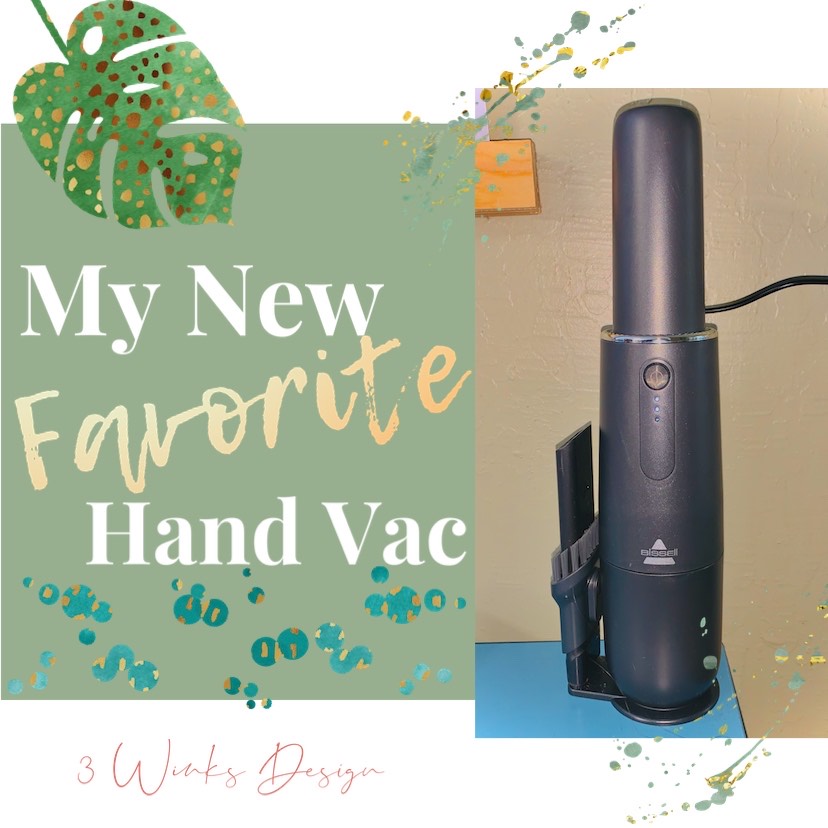
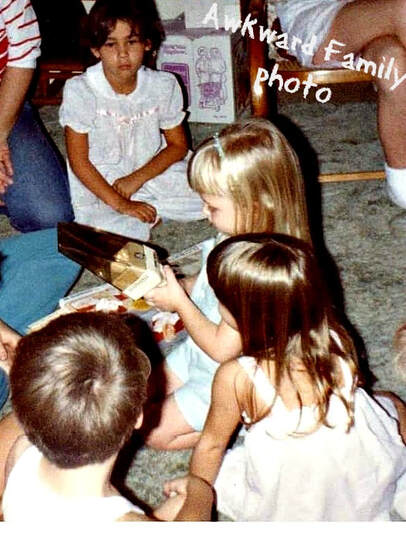
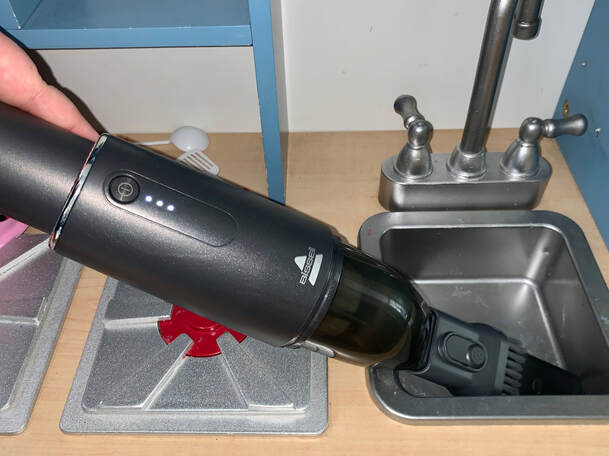
This post contains affiliate links. I will be compensated for purchases made through those links at no additional cost to you. All views expressed are my own. Thank you for your support! I have to tell you about my new vacuum! On Mother’s Day I received an Amazing gift card. I have held onto it trying to decide what would be the best thing to get with it. For a long time I’ve been on the hunt for a small hand vac that would be easy to carry to the car to clean messes and fit easily into the cupboard where I keep my toaster and crumbs tend to gather. It’s annoying to bring the whole vacuum into the kitchen for such a little thing. I remember my mom having a Dustbuster and my sister getting a toy one (that actually worked!) when she was little. I wanted something like that. Browsing Amazon one day I saw a special deal on a new model of a Bissell hands vacuum. It was only $30! A steal! Plus it was a brand I trust, Bissell is the same brand as my current vacuum, which I’ve had for 8 years and is still doing great! I was hesitant because it only had 20 reviews but almost 5 stars. I decided to go ahead and get it because I love my Bissell big vacuum. My little Bissell came and I love it! I’ve already used it in the car and it looks so good. It came with an attachment that makes it easy to get into small crevices between seats. And into cup holders. It’s pretty powerful and easy to clean out the filter (which is washable). I also love it’s sleek design and that it charges with just a USB. I do wish that it could hold more stuff before needing to be cleaned out. But cleaning it out is so easy that it’s not that big of a deal. Safe to say I’m in love with my little vacuum. I think if you’re missing the days of a dustbuster you will love it too. And I want to add that I bought this with my own gift card and I’m not sponsored by Bissell. I just like their products. Other Posts About Products We Love!
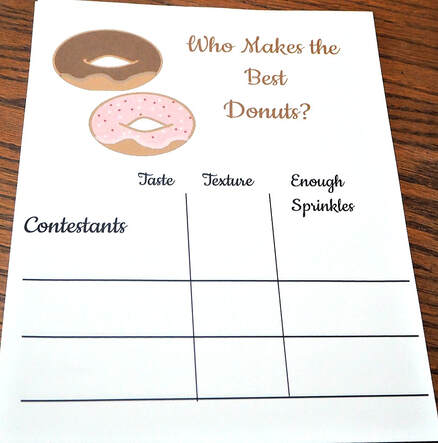
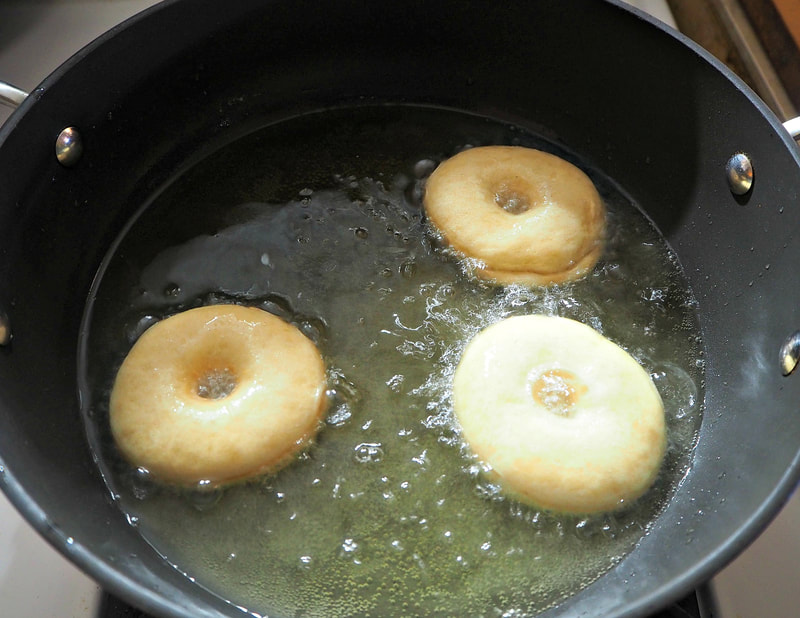
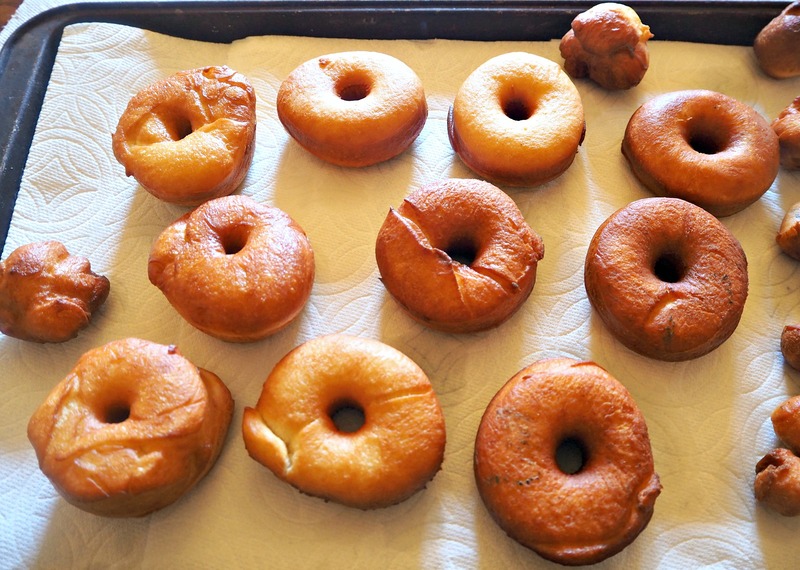
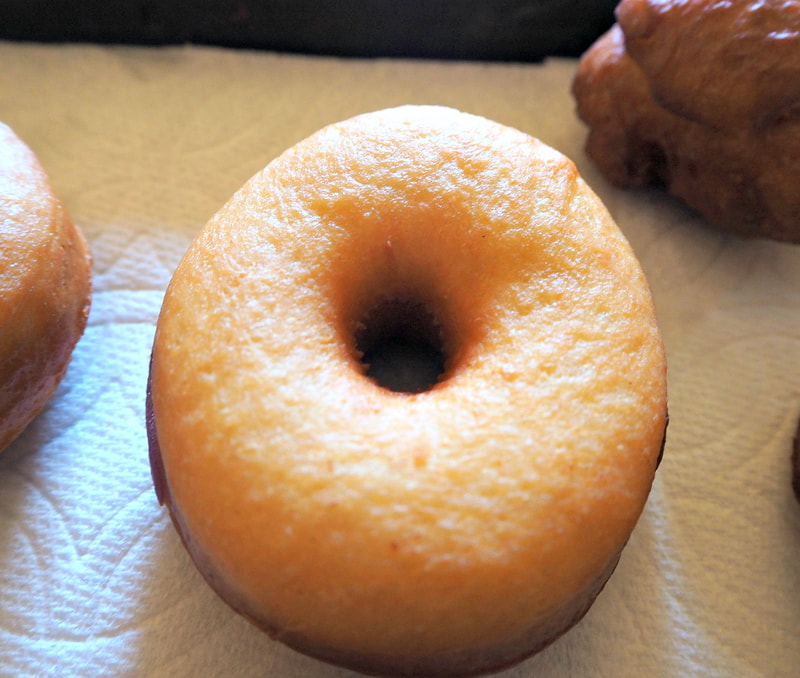
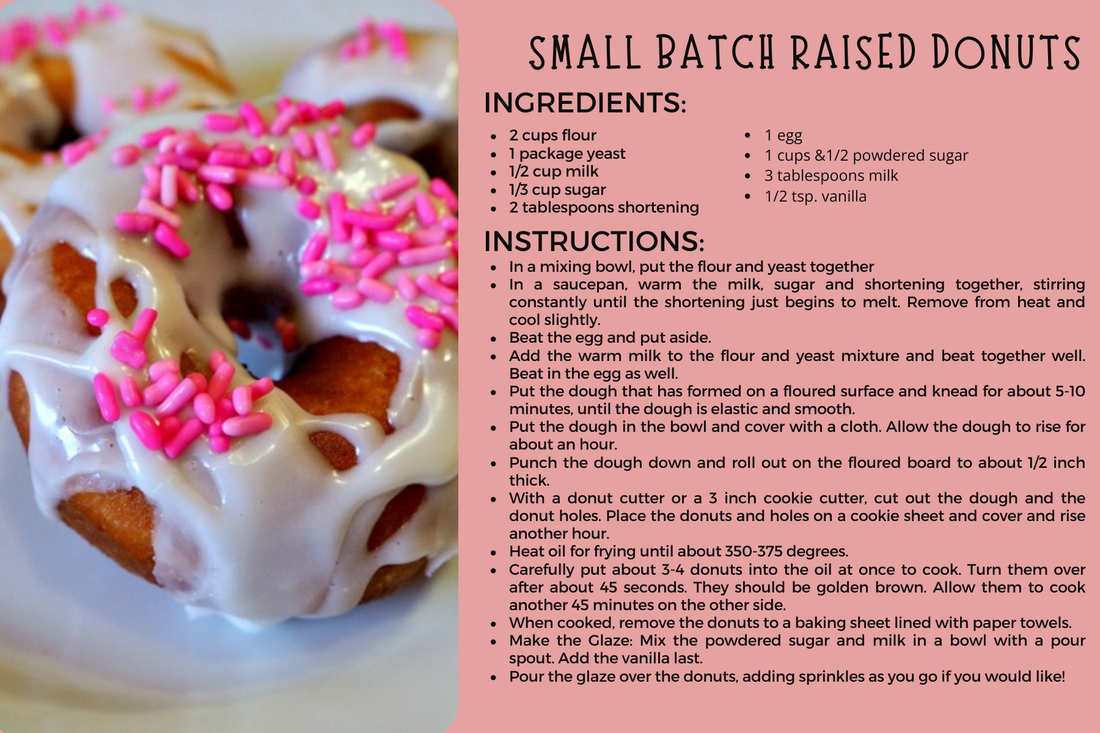
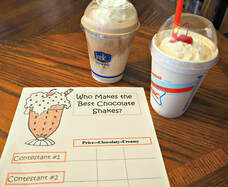
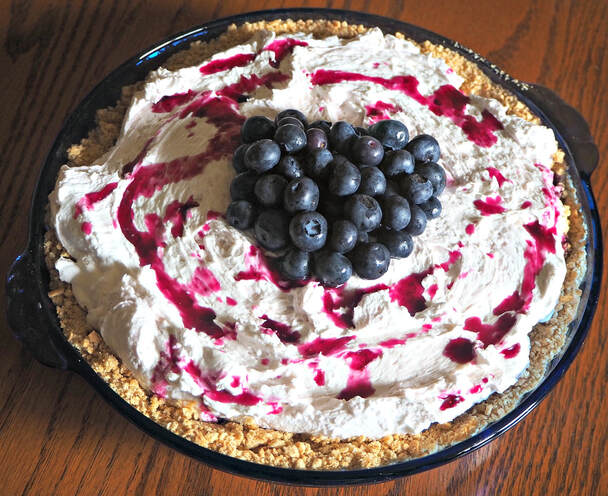
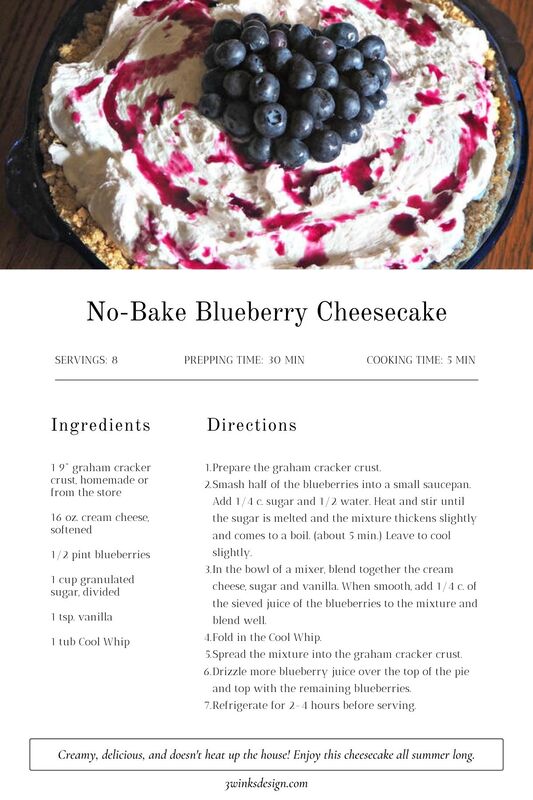
*Prices may have changed since we posted these. This post contains affiliate links. I will be compensated for purchases made through those links at no additional cost to you. All views expressed are my own. Thank you for your support! Last week I shared with you the contest we had to judge the best milkshake from fast food restaurants. I shared a printable for keeping score, all on this post. We decided it would be a lot of fun to do a similar activity with donuts! When we did it, we used a similar scoring sheet, but after the competition, I tweaked it for you to include the 3 categories that seemed the most important for donut judging: Taste, Texture and Enough Sprinkles! For our competition, we ranked 3 different donuts from 3 different donut sellers, namely, Fry's (the Kroger store in our area), Rainbow Donuts and Bosa Donuts. There are still many other choices to try, but these were where we started. From each unwitting competitor we purchased a glazed, a chocolate and one specialty donut of any kind. In hindsight, we wish we would have agreed on the one special donut because it would have been easier to make a decision. Then, I cut the donuts into equal pieces for everyone to try. We had 8 people this time. If you have more that that, you will want to get more donuts! The funny thing about this activity was that the kids were so excited for it, but they got full donuts before we were finished trying them all. So, you may want to limit your testing to just one type of donut, such as glazed, maple or chocolate, or Boston Cream! Donuts do fill you up quickly. It was also interesting to see what people preferred in texture. Some love the airiness of donuts while others like them slightly more dense. Some people like more glaze and others less. The kids really only wanted to test the ones that had sprinkles! I think that we have more testing to do! It was a fun activity. If you would like to try it with your family or friends, press the button below to get the pdf for the printable score sheet. If you don't want to run out and buy donuts, you could try making some! I know that there are all kinds of recipes out there for baked donuts, or ones you make from canned biscuit dough. But, today I thought I would share a recipe for good old fashioned raised, yeasty, fried donuts that you can glaze or ice anyway you would like. This recipe is small because people who only have 3 people in their house don't need a ton of donuts because face it, they aren't the healthiest things in the world. But, a few on a Sunday morning, (or afternoon), can be a real treat. Don't forget the sprinkles! Other Contest Ideas! This post contains affiliate links. I will be compensated for purchases made through those links at no additional cost to you. All views expressed are my own. Thank you for your support! Blueberries have been on sale! Here is a luscious, creamy way to use them without heating up your kitchen. I didn't even turn on my oven to make the crust! I simply put together the graham crackers, sugar and melted butter, pressed them into my favorite blue pie dish and chilled it until I was ready to use it. (Blue pie dish=Perfect for blueberry desserts!) The blueberry flavor isn't super strong, so on this blueberry cheesecake I love to pile on the fresh blueberries to get that fresh taste. Here is the recipe! I hope you try it and love it! Let me know! Here are a few other blue pie plates! |
Creators of Hot Cocoa Bombs! (copyrighted)
Author
Helen Reynolds: Mother of six children , grandmother to eleven! I love to cook, craft and create things and I especially love doing that with my family, So, when my lawyer daughter, Lindsey, my artist daughter, Madalynn, and I came up with the idea of Hot Cocoa Bombs, this blog was born. Then, one more daughter, with her technical and science skills, plus creativity has joined in to round us out! Read more about us here! Archives
July 2024
|





 RSS Feed