|
July 4th is almost here, and that means a lot of pancake breakfasts! One of the favorites in our family is a recipe that we learned from an old scouter named Ed Frasier. When he told us about them for the first time, we were incredulous! But, we tried them out and we have been eating them when the urge strikes ever since.
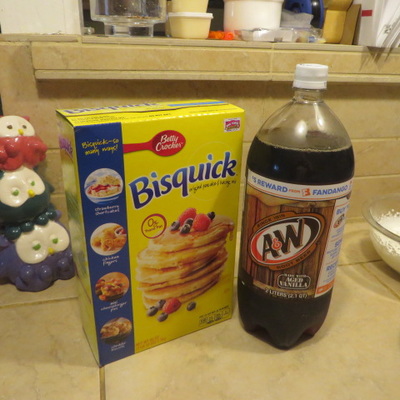
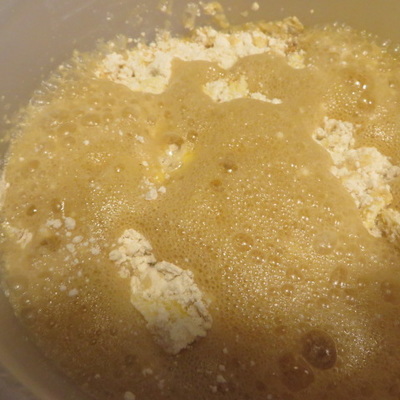
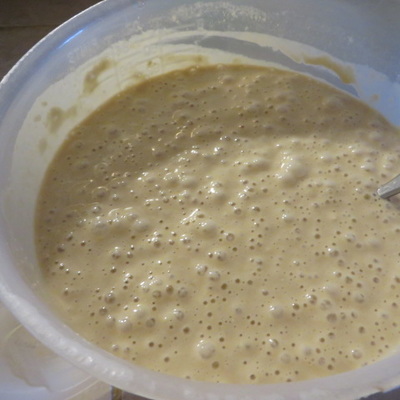
You can use any pancake recipe or mix that you would like. Today, I am using Bisquick because it is fast, easy and delicious. Just use the recipe for pancakes on the side of the box, substituting the root beer for the liquid called for. Or, if you use your own pancake recipe, replace the liquid with root beer. I also like to add a little root beer extract to boost the root beer flavor.
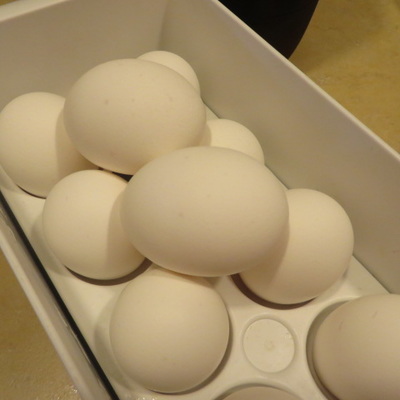
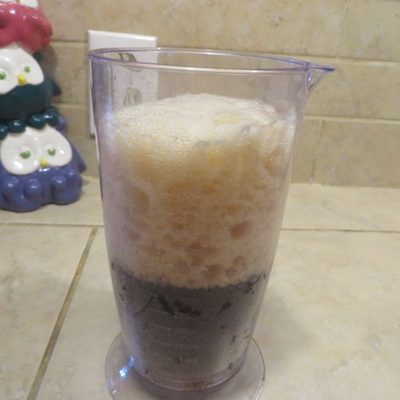
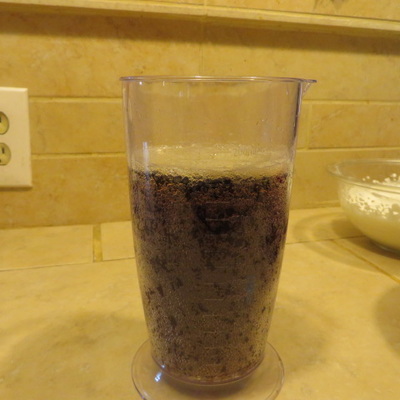
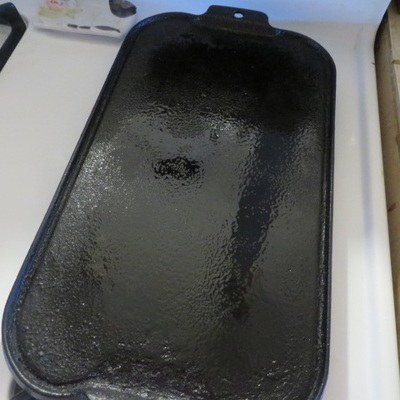
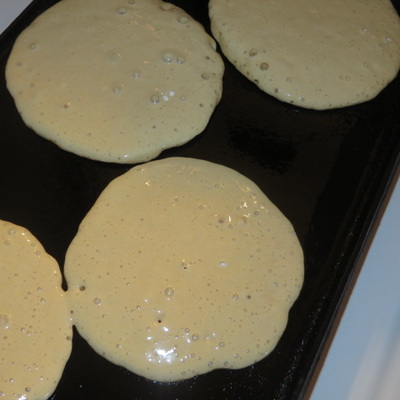
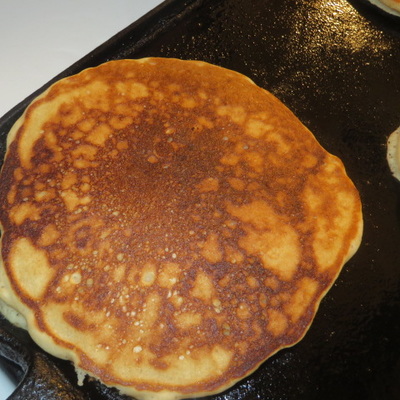
I usually make a double batch of the recipe. So, that means 4 c. ofBisquick, 4 beaten eggs and 2 c. of A&W. You substitute the root beer for the milk in the recipe. Then, about a teaspoon of root beer extract. If you don't have the extract, you don't have to use it, but I have found the root beer taste is much less noticeable without it. Make sure you let the foam head on the root beer go down in order to measure it. Then you bake the pancakes on your favorite cast iron griddle! (Lodge Brand is our favorite!)
Click on the pictures below to read the directions!
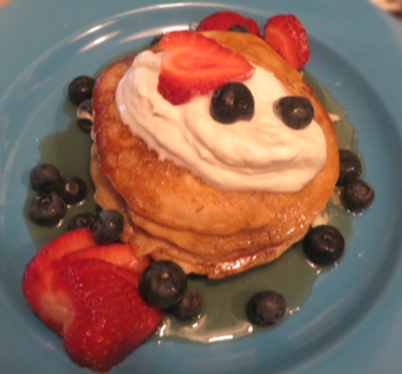
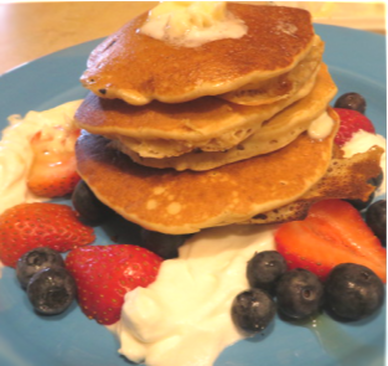
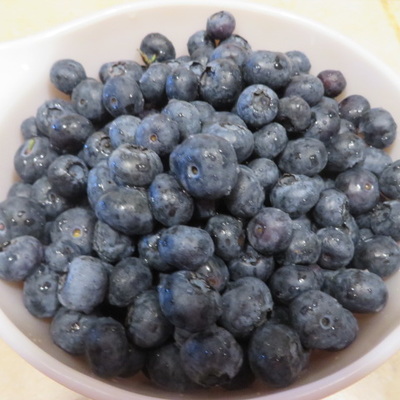
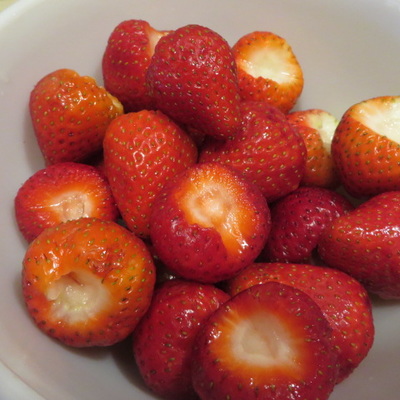
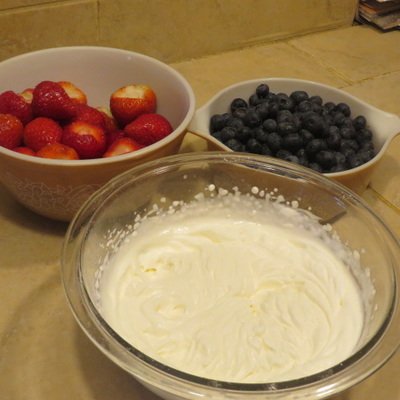
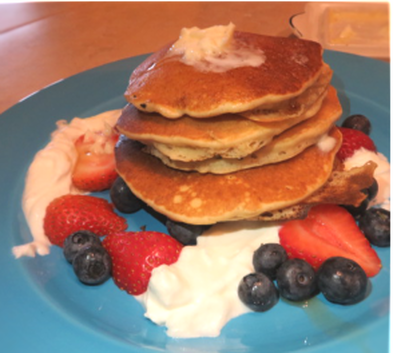
In advance of making the pancakes, I got the butter, syrup, strawberries, whipped cream and blueberries ready! After all, it needs to look patriotic! Everyone got to decorate their own pancakes with what they wanted! They were delicious! Give Root Beer Pancakes a try. They are a lot of fun! By the way, you can really use any flavor soda you want to use. Orange and cherry cola are good as well.
4 Comments
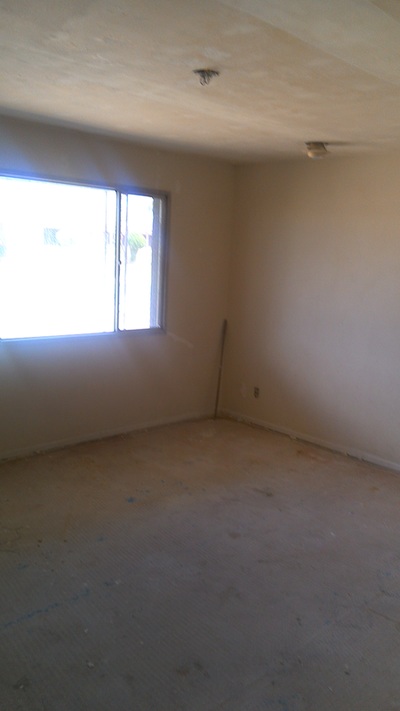
You may remember this adorable picture of my grandson from this post back in January. I told you then that we were beginning to do some renovations on our home, but things were getting done slowly because of my work schedule. I have posted this picture so you can see the ancient, old, gross carpet we had down in the living room. We also had popcorn ceiling and walls badly in need of a paint job.. (Besides, who wouldn't want to see that cute face again?) Now that summer is here, we are finally making some progress!
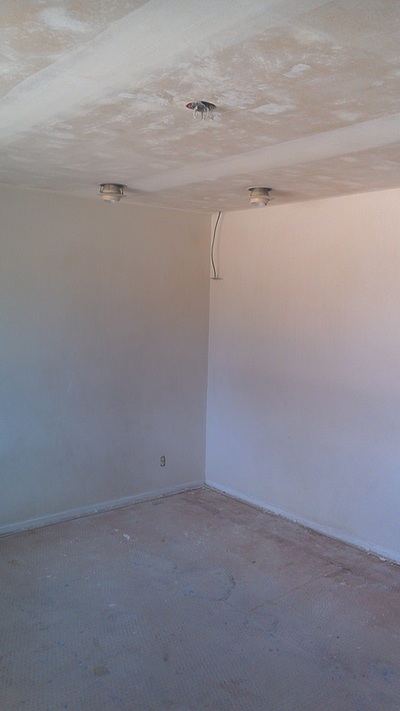
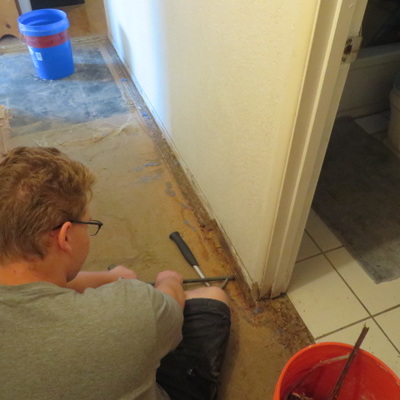
We ripped up carpet and scrapped off the popcorn ceiling. Here is my youngest son tearing up tack strips down the hallway, then we pried up ancient tiles down to the bare floors where we are going to install solid surface flooring. The only place that is still getting carpet in our home is the living room, (mostly because of the floor sitting at Christmas).
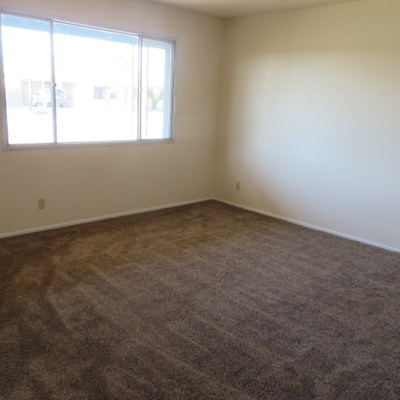
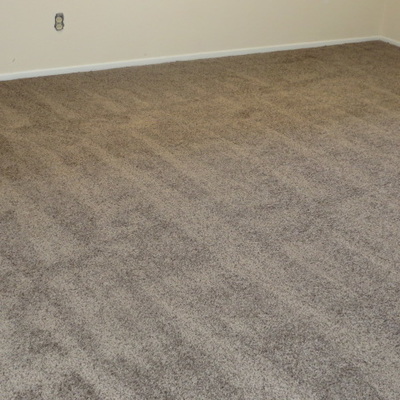
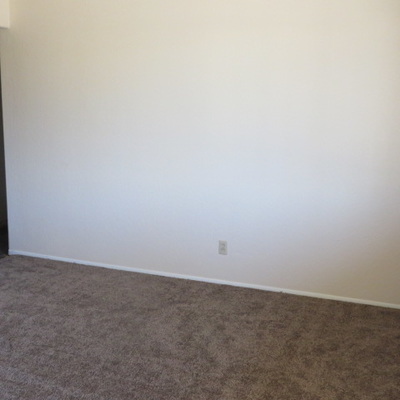
We purchasedStainmaster Carpet at Lowe's.. But, before it was installed we painted the living room with Olympic Paint, a satin called oatmeal cookie! My husband's favorite kind of cookie is oatmeal, so my daughter and I took that as a sign when we were out looking for a good color for the room.
Here is my cute husband doing the cutting in. He used to paint for a living, years ago, so he is very good and quick at the cutting in. TIP: Use an angled brush! There is the nice warm oatmeal color, we painted the trim white.
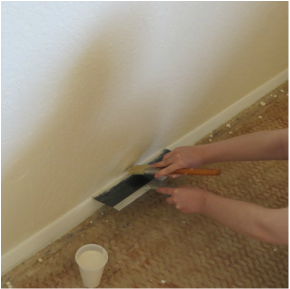
This is another little tip, you don't have to put tape everywhere, you can use a straight edged putty knife or trowel, similar here, along the baseboards. (Good Job Maddy!)
Ta-Da Carpet is laid and furniture is on the way! More updates to come!
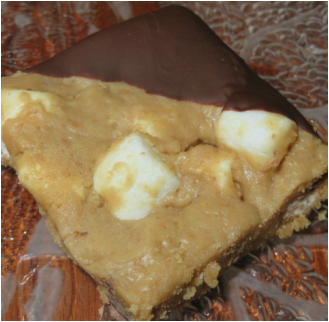
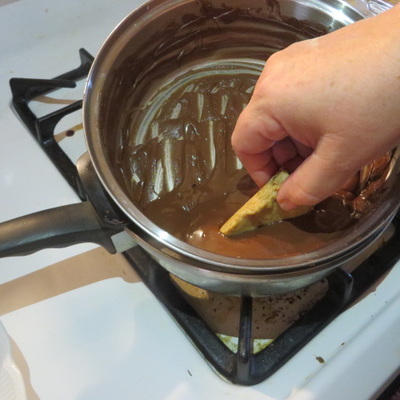
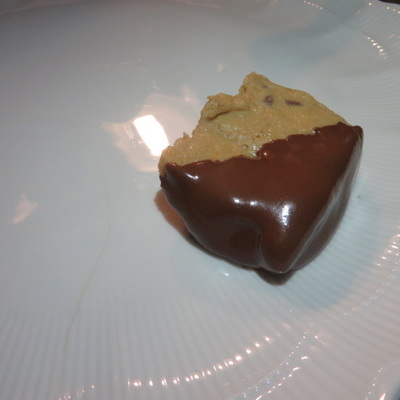
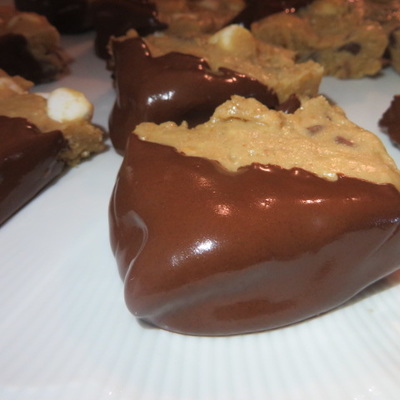
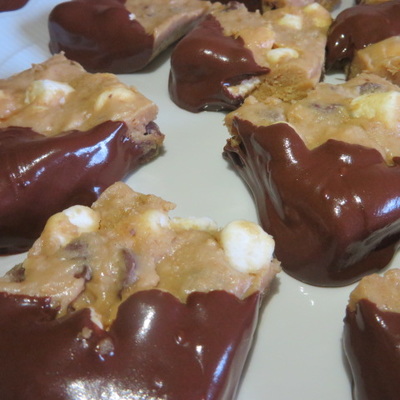
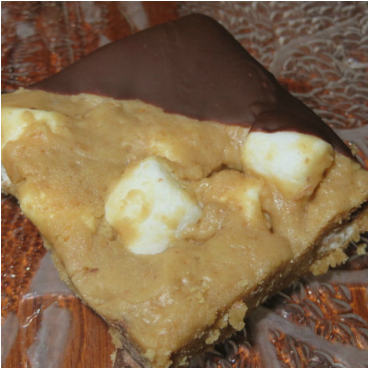
I am still keeping my oven turned off! On Saturday I took chocolate dipped strawberries to a baby shower. I had some chocolate left over, so I decided to use it on these delectable S'more Bars! The only problem with them is that they are so sweet, I could have sliced them a bit smaller!
Spray a 9x13 pan with cooking spray.
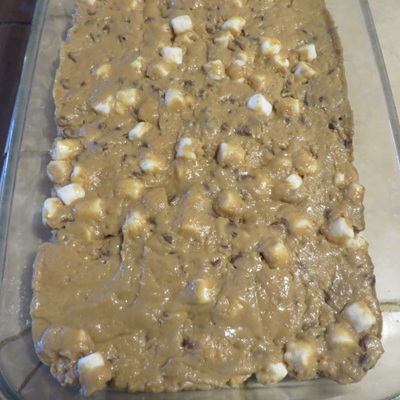
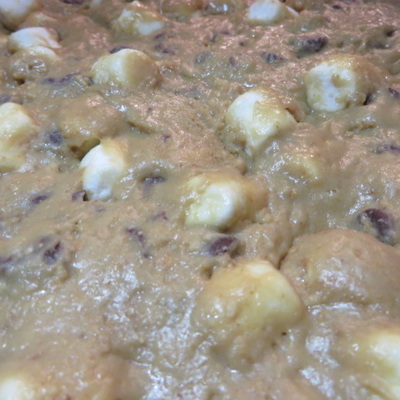
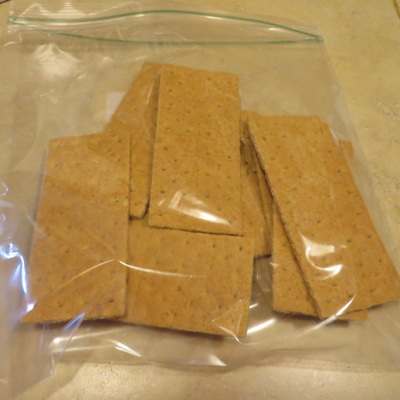
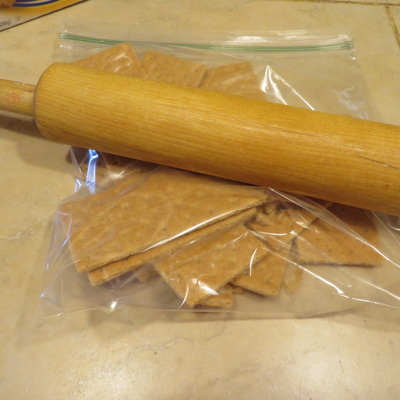
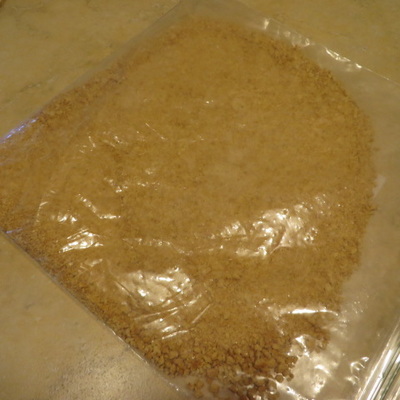
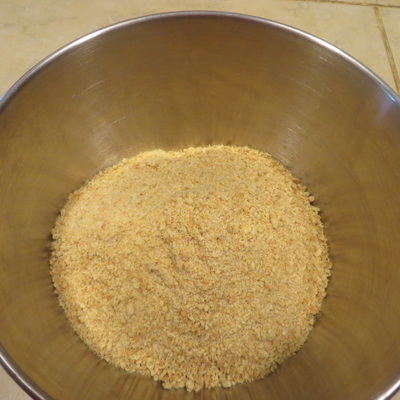
Beat 1/2 c. butter, 1 c. dark brown sugar and 1 tsp. vanilla extract until light and fluffy. Add and beat in 2 c. graham cracker crumbs. Check my last blog entry threewinksdesign.weebly.com/home/cutest-little-cheesecakes-ever to see how I crush graham crackers for these small recipes. Also add 1 c. flour and 1 tsp. coarse sea salt. Beat in 1 can (14 oz.) sweetened condensed milk. Next, stir in one 12 oz. bag of milk chocolate chips and 2 c. mini marshmallows. Smoosh the whole mixture into the pan and cover with plastic wrap. Chill in the refrigerator until firm.
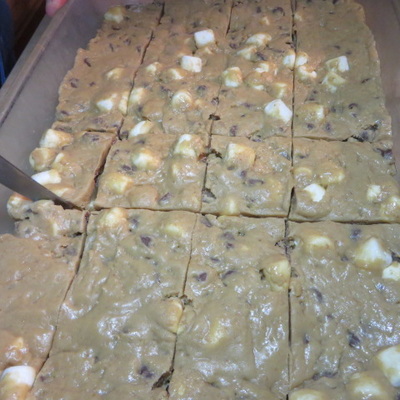
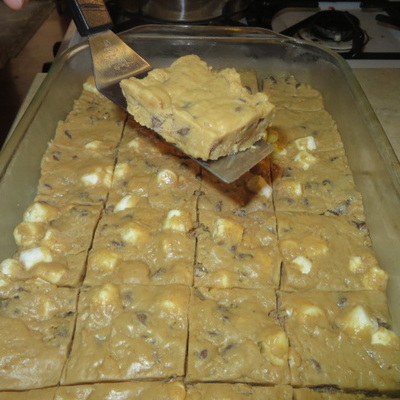
When the bars are firm, cut them up into squares and dip them into the chocolate. I liked putting them in on the angle. You can eat the bars without the chocolate, but I find the chocolate brings out the s'more flavor. No fire, less mess, the kids love them! This is a nice summer snack!
Cli ck to set custom HTML
It is blazing hot in Phoenix! Temperatures are hitting 120 degrees. We made the mistake last Sunday of turning on the oven to make my husbands birthday dinner. It took a long time for the air conditioner to catch up with that! So now, I am looking for every way that I can to feed my family without heat! I am also looking for cute treats that are possibilities for my daughters bridal shower. So, looking through Pinterest, I found this pin. I was so excited about it! Unfortunately, the recipes on that pin were baked. As I said, that is not happening, but I knew I could do some unbaked things that would be delicious!
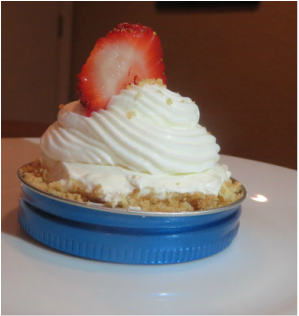
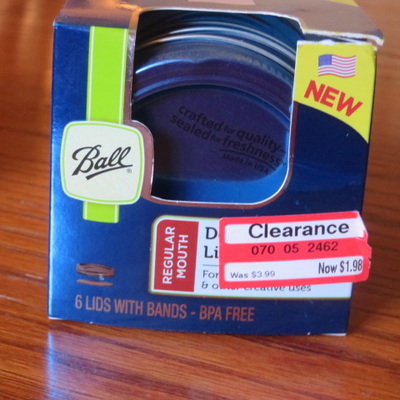
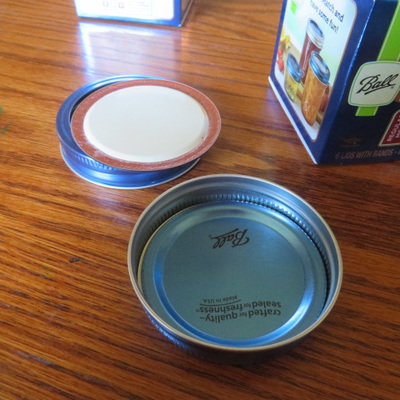
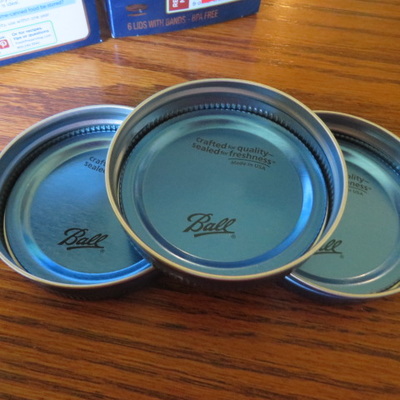
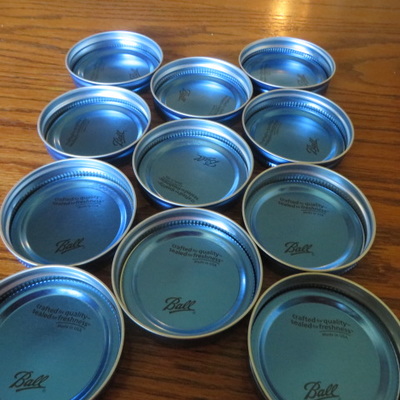
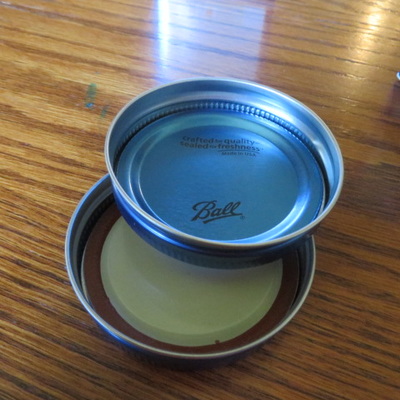
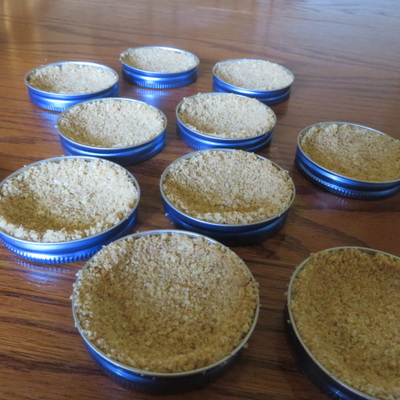
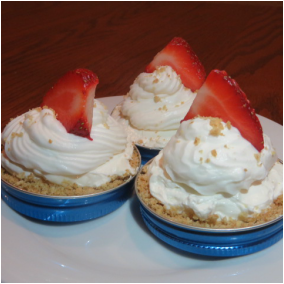
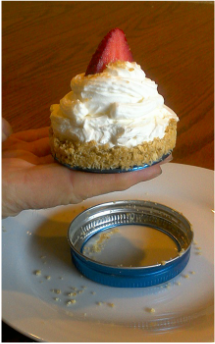
Everyone seems to be on the mason jar kick lately. I use the jars for canning, of course, but using the lids like tiny spring-forms is genius! I just happened to have these cute blue ones that my daughter picked up for me on clearance.
I love the shiny blue color! Ball is a great brand for canning supplies!
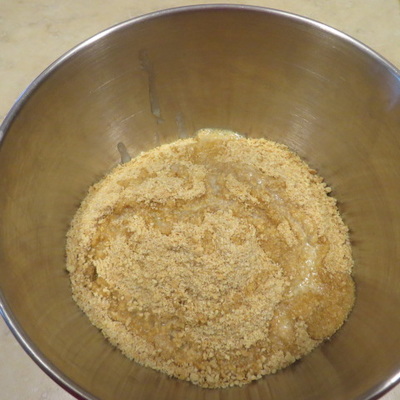
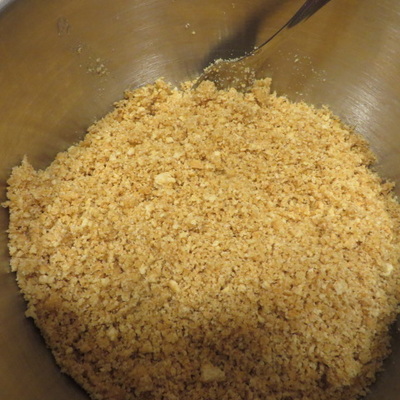
So, the first thing I did was make a graham cracker crust. When the weather cools off again, I will try this with my mom's famous pie crust and make some cute fruit pies. For now, here is how I do a graham cracker crust.
Hover over the pictures to get the directions.
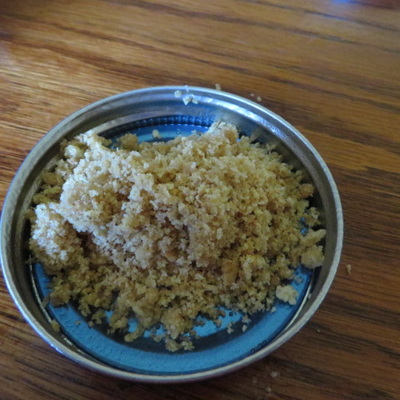
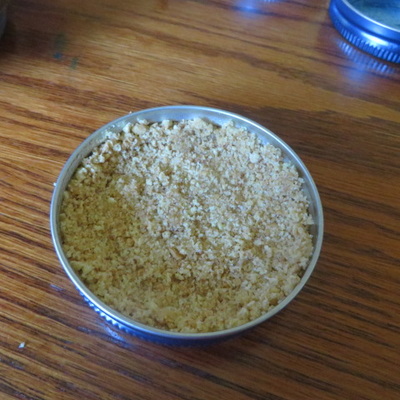
I mean, you could do all of that in your food processor, but then you have to clean it. Who wants to do that? Now, it is time to put the crust into the lids. See how they are like mini spring form pans?
Normally I would give a little toasting to my crust in the oven because the sugar melts a bit and helps to set the crust. Then, by refrigerating it, the butter hardens again throughout, also holding the crust in shape. So, I had to rely on the butter since I think I have already mentioned that the oven was not going to be turned on.
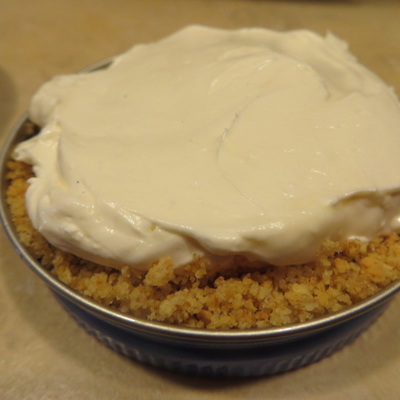
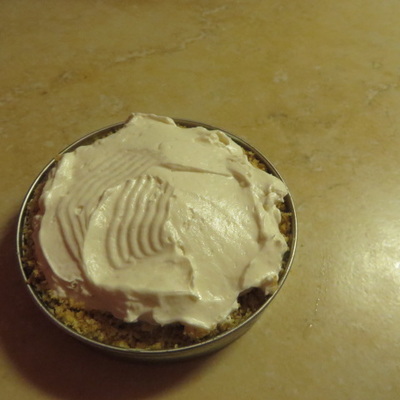
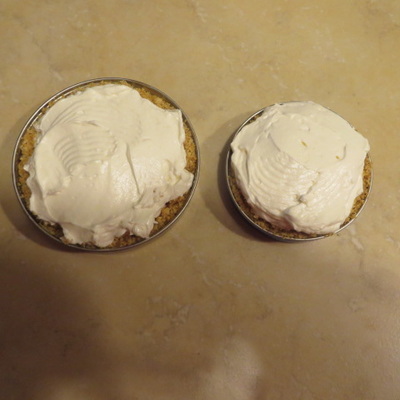
For the filling, I just used the basic cream cheese, whipped topping mixture.
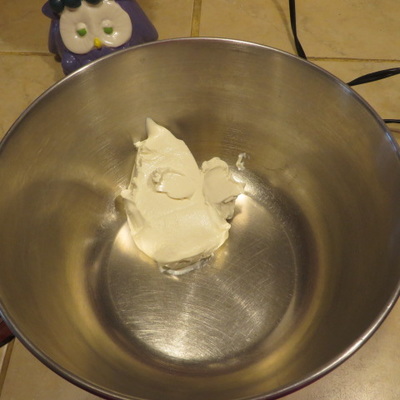
I just realized that I forgot to photograph some of these steps, but I think you can picture it. Use the beaters to blend the softened cream cheese and 1/2 c. sugar together. Add a tsp. of good vanilla. Then, add a tub of whipped topping ( like Cool Whip) and whip together.
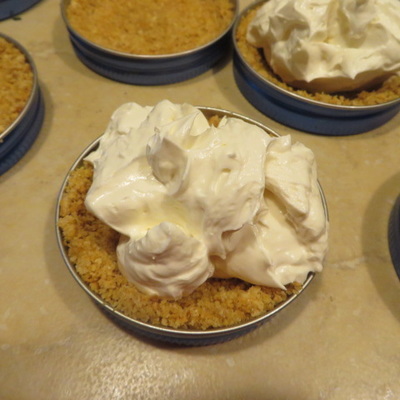
Now, take the crusts out of the refrigerator and start to fill them.
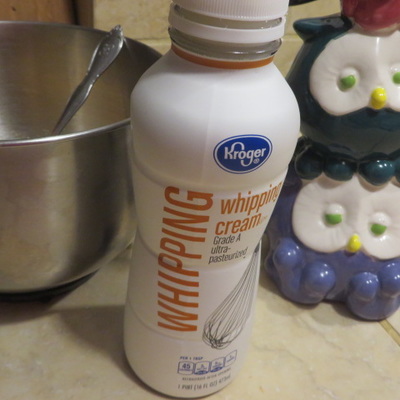
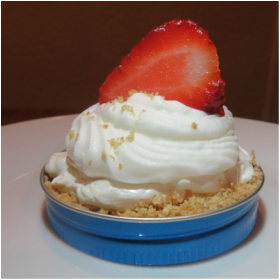
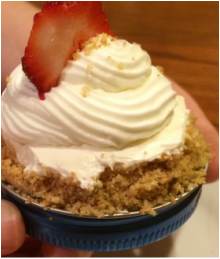
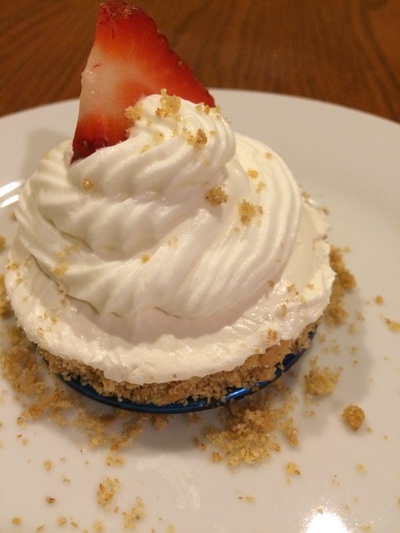
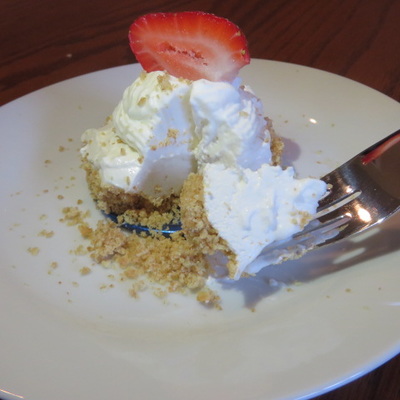
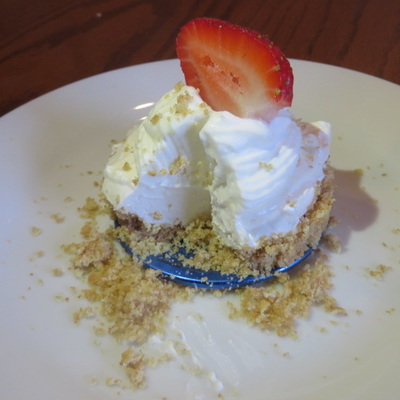
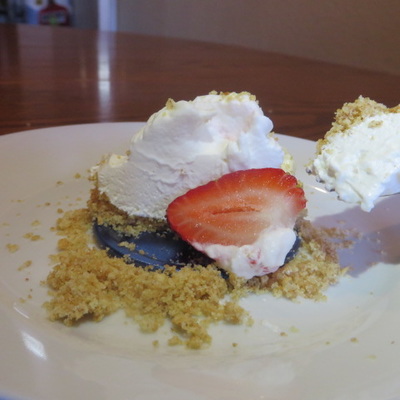
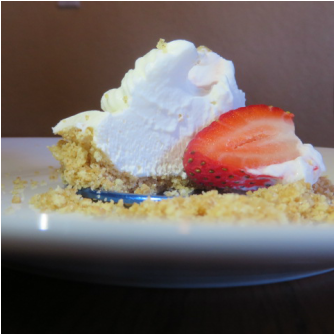
I whipped up about half of that bottle of cream. One tip I would give you is to use confectioners sugar to sweeten it. Then, there will be no little granules of sugar in your cream. Also, do not sweeten too much, I use just a couple Tablespoons. Whipped cream doesn't need to be overly sweet, especially in this already sweet treat. Then, I piped on the cream to the top of the cheesecakes and added a slice of strawberry for garnish! They are adorable, rich and creamy! More photos!
After all of the photography, someone had to finish off this little delicious dessert! I sacrificed myself!
Now that I have discovered this fun technique, the possibilities are going to be endless! Think Key Lime! Think Pumpkin! I will keep you posted! Better yet, give me your flavor ideas! |
Creators of Hot Cocoa Bombs! (copyrighted)
Author
Helen Reynolds: Mother of six children , grandmother to eleven! I love to cook, craft and create things and I especially love doing that with my family, So, when my lawyer daughter, Lindsey, my artist daughter, Madalynn, and I came up with the idea of Hot Cocoa Bombs, this blog was born. Then, one more daughter, with her technical and science skills, plus creativity has joined in to round us out! Read more about us here! Archives
July 2024
|






 RSS Feed