|
Before I start, don't forget our giveaway! We will pick our winner November 7th, when I get home from my trip to Kansas.
Lindsey's Pumpkin Party was last night and it was a lot of fun. We didn't do most of the stuff we thought we would, but we got to eat lots of food and have wonderful conversation, which, it turned out, was enough! Here are some of the things we did to make this party very pumpkiny:
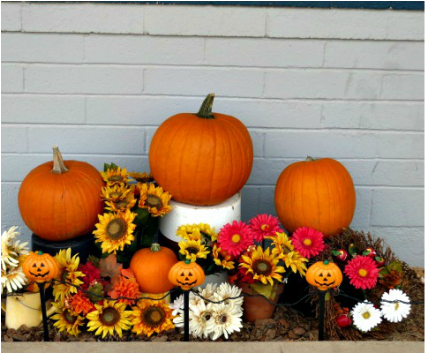
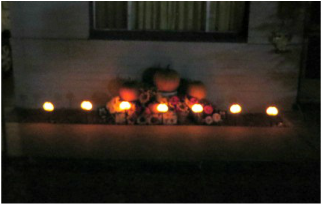
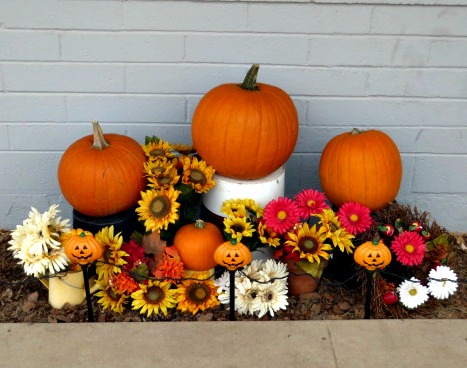
We greeted everyone with our festive fall arrangement in the front of the house. (see picture above). I created it in the front flower bed. We didn't carve the pumpkins because this wasn't a Halloween Party, it was a pumpkin party. The lights gave the nod to Halloween. I will carve the pumpkins Monday to give the Halloween spookiness. Here is how it looked at night.
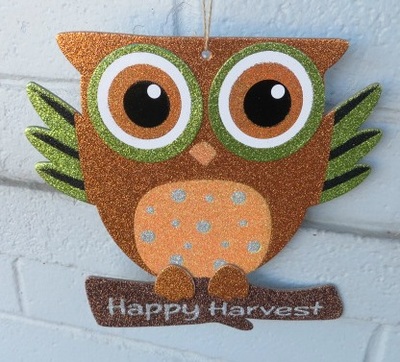
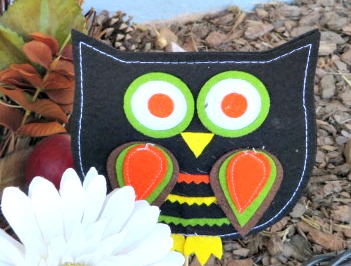
My son-in-law brought me a few owls to add to the arrangement.
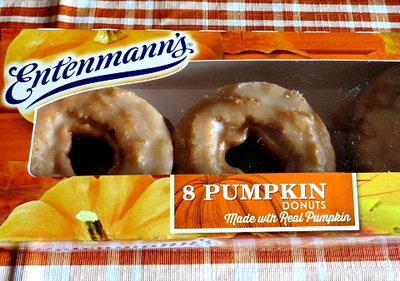
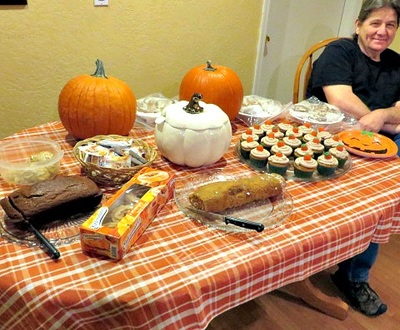
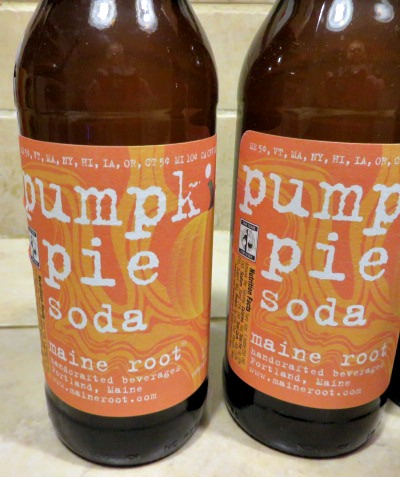
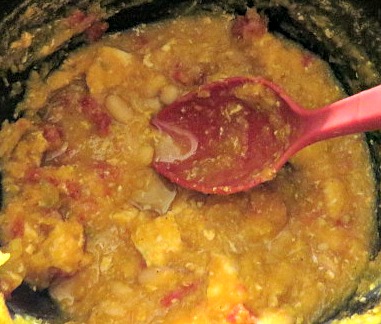
There was so much food! Here are a few shots of the food!
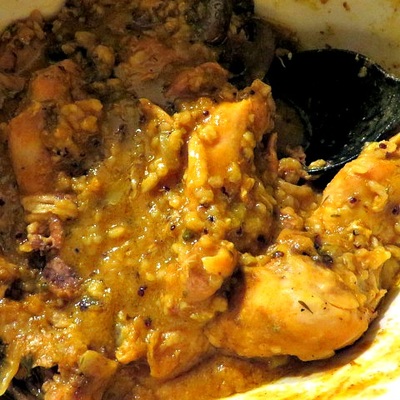
The pumpkin chicken dish was really a last minute decision on my part. I had made the cupcakes and started thinking about what else to make to use up the rest of the pumpkin I had opened. I started searching recipes and I found one with chicken breasts and pumpkin chunks. I decided that the flavors looked good and that maybe I could do my own version of it. Here is what I came up with.
Chicken Drumsticks with Pumpkin Sauce
(Crock Pot Recipe) In a skillet, melt 2 T. butter. Saute 1 chopped small onion and 1 c. mushrooms. Set aside. Spray or line your crock pot. Put 1 c. pureed pumpkin in the bottom of the crock. Mix in 1/2 c. milk or cream, 1 T. Knorr Tomato Bouillon with Chicken flavor, 2 tsp. salt, 1/4 tsp. black pepper, 1/4 tsp. cayenne pepper, 1/2 tsp. turmeric, 1 T. thyme. When all mixed, add 2 c. water. Add the mushrooms and onions to the mix. Stir in one package Seeds of Change Quinoa & Brown Rice with garlic. Now lay about a dozen chicken legs in the sauce. A double layer is fine. I put my crock pot on high and cooked it for about 6 hours. You could put it on low and cook it longer. This was a very tasty dish! You could use breasts instead of drumsticks I guess, but this was an economical way to serve a lot of people who were taking a little bit of this and that.
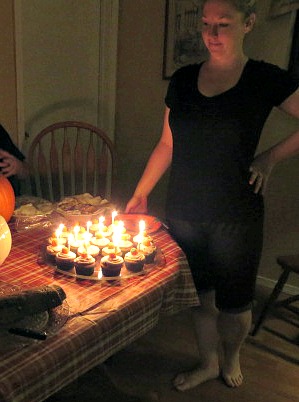
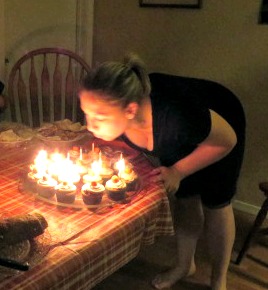
So, Happy Birthday to my wonderful daughter! This has been quite a year for her! She is a lawyer, a new wife and so many other things that I can't even begin to tell you all that she has on her plate. I am so proud of her and love her so much.
I hope you all have a wonderful weekend! Give some pumpkin food and fun a try. Talk to you again on Monday!
4 Comments
I have 3 daughters, all of them born in October. The oldest, Lindsey, and the youngest, Madalynn, have birthdays on the 29th and the 30th respectively. Alicia's is on the 10th and my daughter-in-law joins the mix with a birthday on the 18th. It kind of made sense as my girls were growing up that many times their parties took on a Halloweenish flair. Especially Maddy's! When Lindsey was in college, she began hosting a Pumpkin Party to celebrate her birthday because she loves all things pumpkin (thus the pumpkin cinnamon rolls) and so it seemed appropriate. She would invite everyone, even if they couldn't be at the party, to enjoy pumpkin food and fun wherever they were in the world. I feel like she was doing pumpkin before pumpkin was cool! I mean, I can't believe how the pumpkin and pumpkin pie spice flavor trend has caught on! Little did you know that it was my daughter who started it.
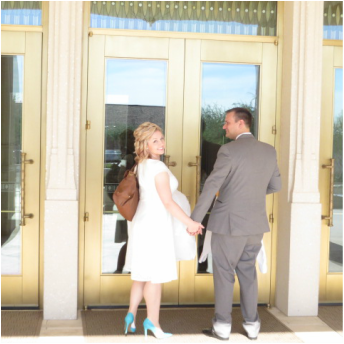
Lindsey is the one who got married in August. She asked me if she could host her Annual Pumpkin Party at my house this year because she and her husband live on the East side of the valley and she doesn't know as many people there yet. This is giving me a good opportunity to decorate and bake in Lindsey's favorite way....PUMPKINY!
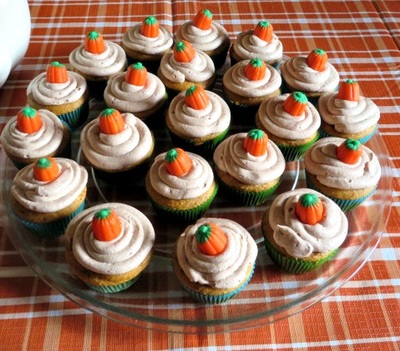
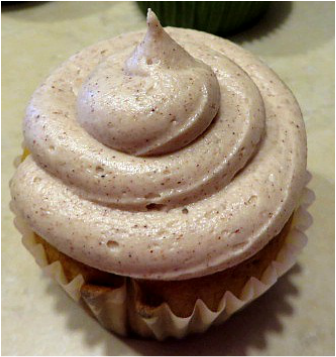
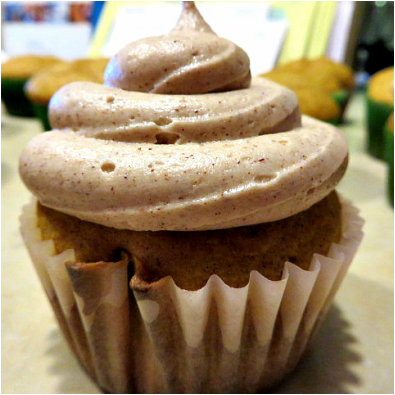
First of all, I found this delicious recipe for pumpkin cupcakes with cinnamon buttercream frosting. I made them for our church choir to test out the recipe. I could hardly stop eating them. They are so good and super easy to make because you dress up a cake mix to make them. This recipe was adapted from Love From the Oven.
A local store had pumpkins on sale for one day only 7 lbs. for 98 cents! I picked up a few and you will have to see what I do with those!
Lindsey says she found a recipe for pumpkin apple cider, so I am anxious to try that. There are more tricks up our sleeves, so check back for pictures of the party.
You may have noticed a few new things about our blog. We have a pop up subscribe box now. We are trying to build up our subscriber list so that we can keep everyone updated with our new ideas and recipes and giveaways. Our first email went out today! Those of you who are subscribed were the first to hear about our Hot Cocoa Bomb Giveaway! We are celebrating our email capability as well as the fact that we now have our own domain! So, we are giving away a dozen Cocoa Bombs and a printed copy of the Hot Cocoa Bomb Idea Book so the winner can learn to make their own Bombs.
How to enter the giveaway:
I want you to know how much we appreciate everyone who supports us in our blogging endeavors! It is so much fun to do, and also a real learning experience. We have a lot of ideas for content in the coming months, so we hope you will subscribe and stay tuned!
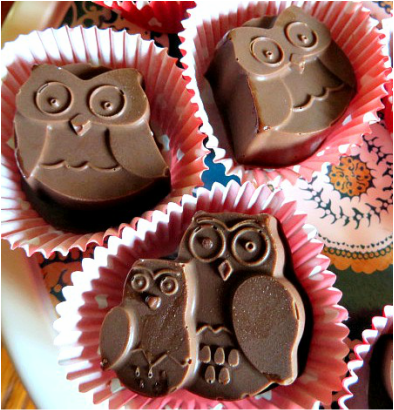
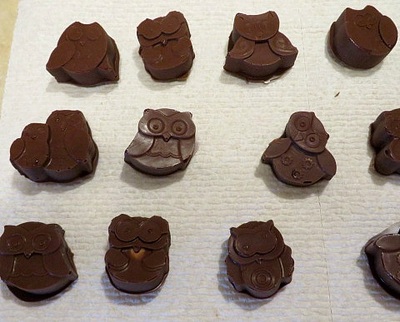
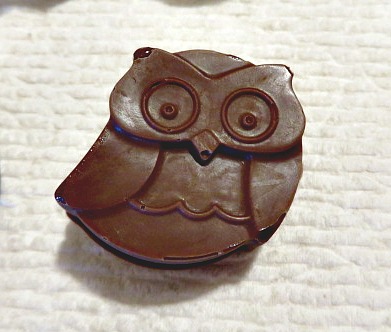
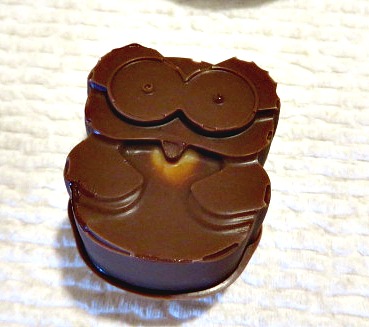
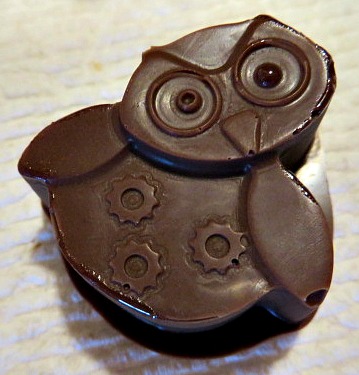
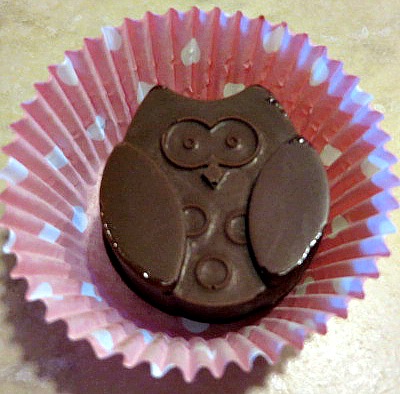
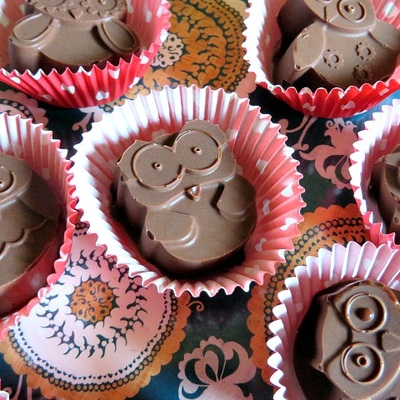
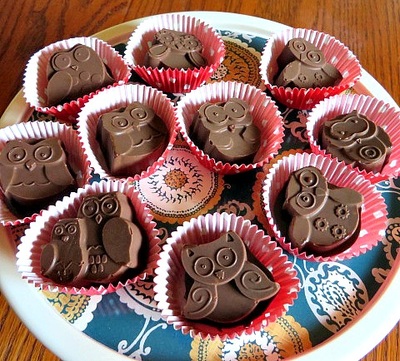
In the photo above, you see a parliament of chocolate owls. Here is the story of how they came to be.
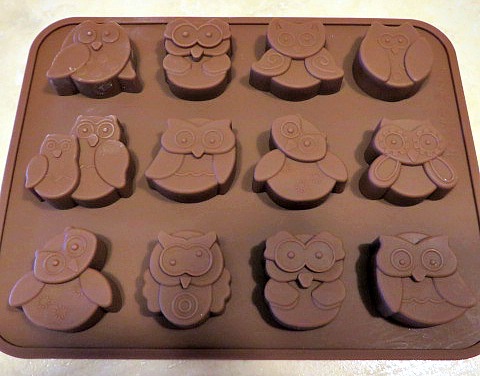
A few weeks ago I was shopping around on Amazon when I came across what I thought was an adorable cupcake mold shaped like owls. It was a fabulous price and since I had quite a bit of money on my Amazon gift card because of Ibotta, I went ahead and orderedthe mold. I can't find the exact ad on Amazon with the picture that made me think it was cupcake size. But, it came in the mail yesterday and it is actually tiny chocolate mold size.
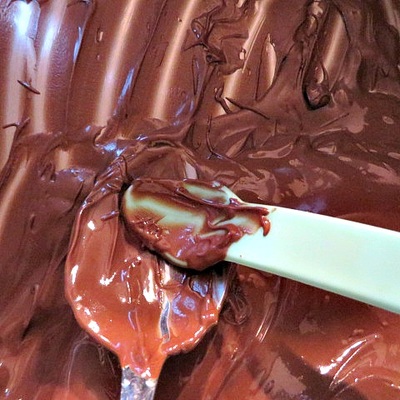
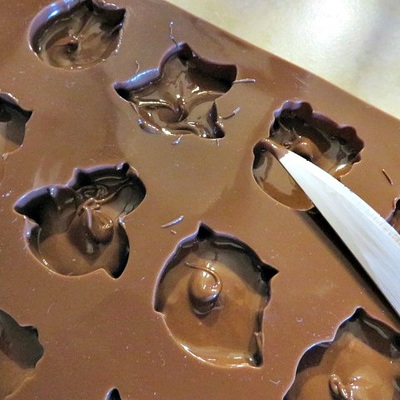
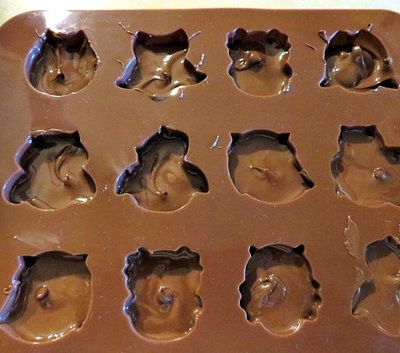
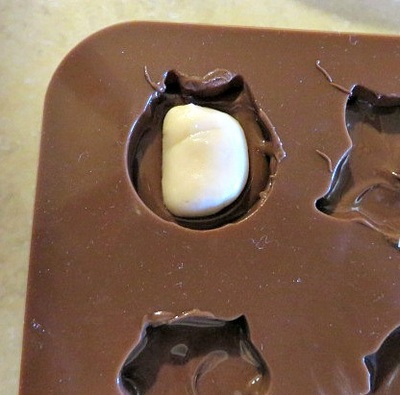
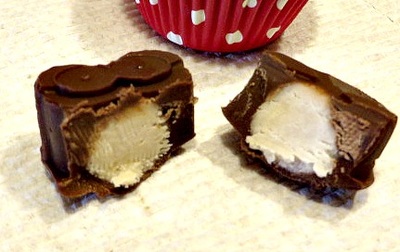
It is still stinkin' cute and you know how we feel about owls here at 3 winks. So, I knew that I could do something with it. A long time ago, before I was really doing anything with my blog except writing it and my family was looking at it, I posted about making dipped chocolates. I decided that I could make that work for these little guys. In my old post, I used citrus flavors for Spring, for these guys, I chose to flavor them with a maple extract because it seemed appropriate for owls and for Fall if you follow my weird train of thought. I gave the recipe for the fondant filling back then, but I will try to do it for you as a printable today. First, I will give you the directions for filling the mold. I used Milk Chocolate Chips for this recipe. Click on the pictures for the directions.
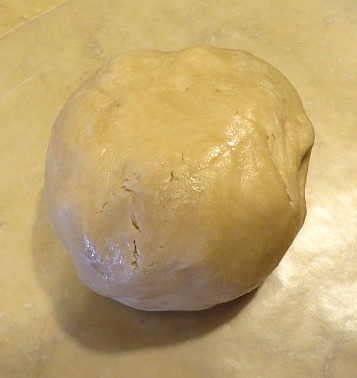
Now it is time to make the fondant while the chocolate sits at room temperature. Click the button for the recipe.
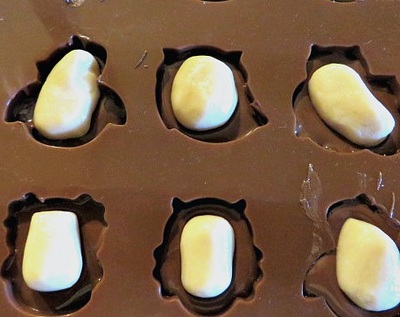
Once the fondant is made, follow these directions:
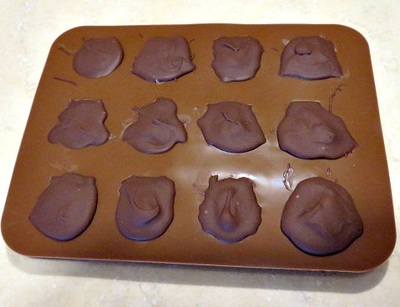
Next, you fill the rest of the mold, covering the fondant with chocolate. You may want to use the tip of the knife again to shape it and to take out air bubbles. When the fondant is all covered, I pop it into the freezer for about half an hour to harden. Then, you just pop them out. Click on these pictures for tips.
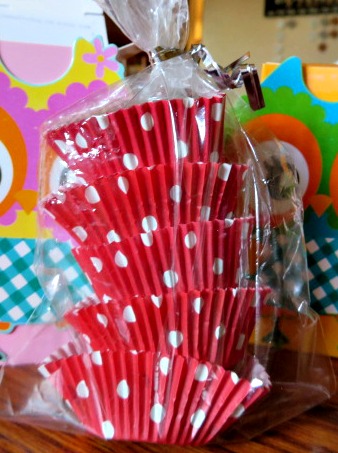
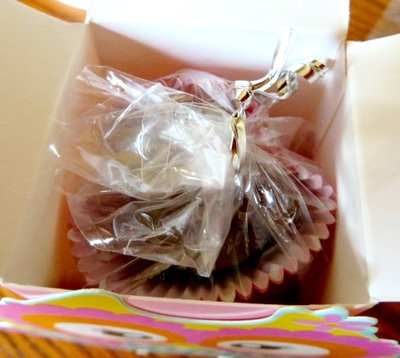
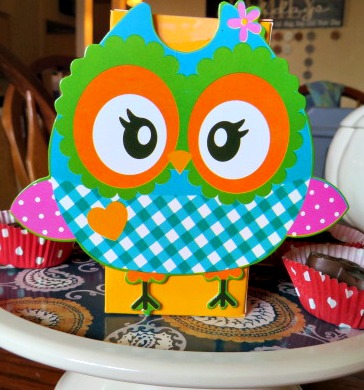
I decided that these might work out well with our owl theme to sell at the Ugly Sweater Express. I used mini muffin cups to put them in and I stacked them in the little plastic bags that I wrap Hot Cocoa Bombs in and they fit just right in my littleowl boxes from Oriental Trading.
Of course, you can use this method with any shape of mold you may have. It is a simple process. I don't really know if it is any easier than just dipping the chocolates, but they are super cute and don't really need any decorating afterwards. But, you could decorate them! Let me know if you do it, I would love to see them.
I found it! I want you to notice the a mold below. See how it says cake mold? No wonder I was confused. I guess I could make some teeny tiny cakes.
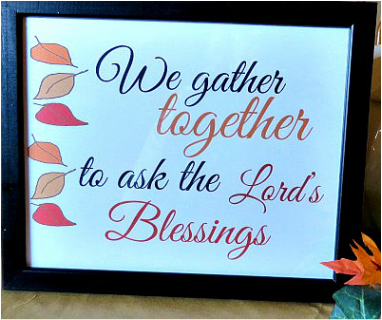
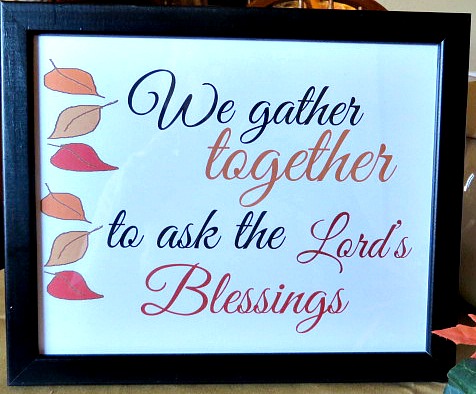
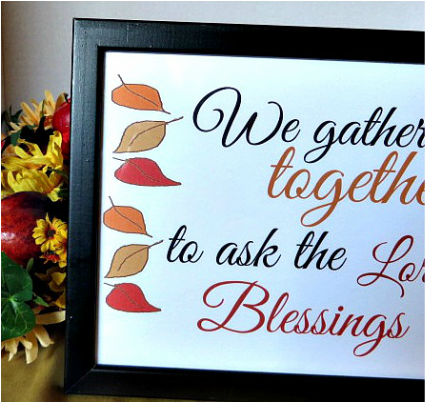
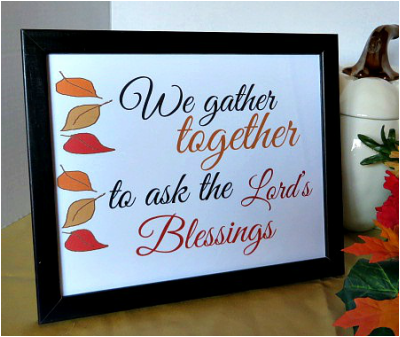
I am kind of obsessed with printables. I love all of the talent I see on the internet and I have blogged about that here, and even made a gift using free printables. Ever since I finally learned about Google Drawing, I have been playing with it when I get the chance. I posted my first printablehere for Halloween. You can go to our free printables page to get it. When I made that piece, I used free clip art from the internet. But, I have been feeling like I wanted to try to make my own art. Today's printable is my first attempt at that. I used Paint to draw my leaf border, and then I was able to send it to Google Drawing to complete the look of my design. Kind of simple, although you would be surprised how difficult it is to draw leaves with a mouse! I like the way it turned out and I hope you will, too. I consider each little baby step a victory as I try to improve my skills at creating and blogging. This is such an awesome process for me.
If you want to give it a try yourself, this tutorial onThe Bold Abode is where I started. The rest is just trial and error. It is important to find appropriate fonts and font size, and choose your colors that go well with your theme, decor and taste.
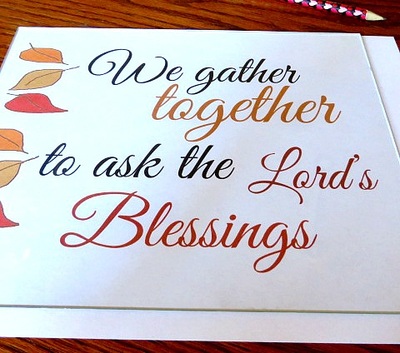
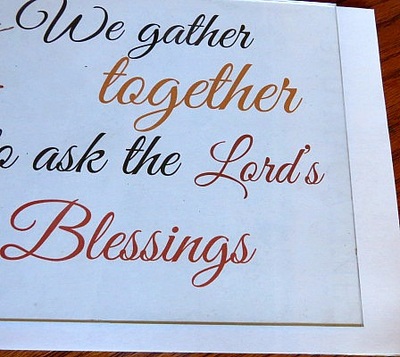
After you print your artwork, it will be too large for the frame, so you have to trim it down. Use the glass from the frame to center over the piece so that you can decide where to trim it. You may decide to go back and edit and move things around to get the look that you want.
Click on the button to download the picture!
Now I am off to make Cocoa Bombs and work on plans for the pumpkin party. I love this time of year!
|
Creators of Hot Cocoa Bombs! (copyrighted)
Author
Helen Reynolds: Mother of six children , grandmother to eleven! I love to cook, craft and create things and I especially love doing that with my family, So, when my lawyer daughter, Lindsey, my artist daughter, Madalynn, and I came up with the idea of Hot Cocoa Bombs, this blog was born. Then, one more daughter, with her technical and science skills, plus creativity has joined in to round us out! Read more about us here! Archives
July 2024
|



 RSS Feed