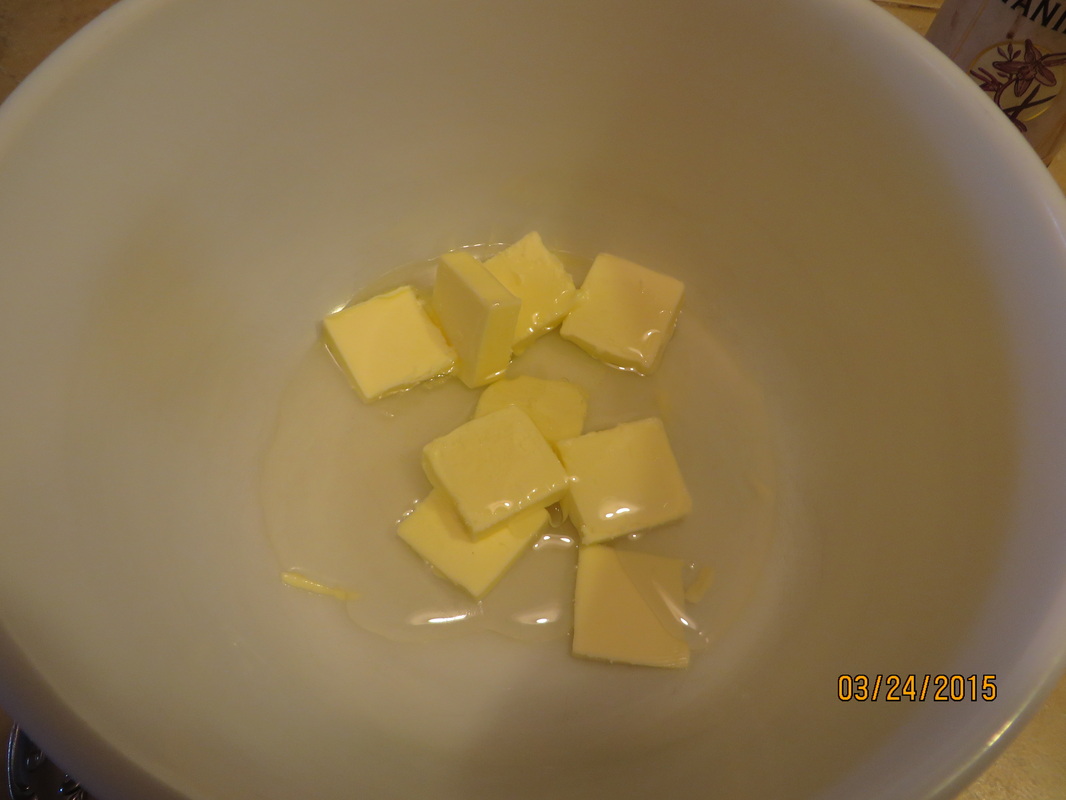
 Start with 1/3 c. softened butter in a bowl. Add 1/3 c. light Karo Syrup, 1/2. tsp. salt and 1 tsp. vanilla. Mix it all together. 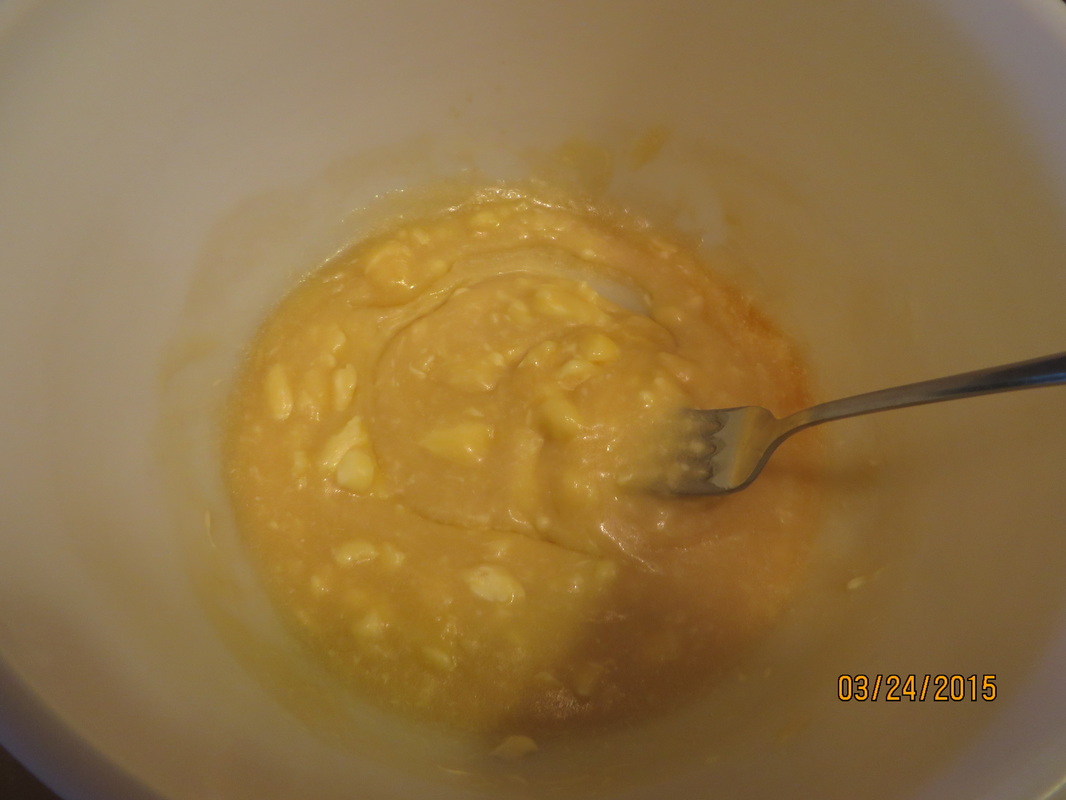 It starts looking like this. Keep mixing! I have been trying since before Christmas to show you my recipe for handmade dipped chocolates. These are the ones my oldest son says he remembers me always making but letting him eat very few of them because I was always giving them away. I don't think that is exactly true, although he probably did want to eat many more than I let him eat. Well, unfortunately, he is away at law school and won't get to eat any of this batch, unless we mail him some, which I guess is a real possibility. Since I missed making them at Christmas last year, I thought I would make them for Valentine's Day, but of course that was interrupted by a couple of babies being born! So, now we are almost at Easter, I have finally found the chance! I saw a cute tutorial on Pinterest about some delicious looking Oreo truffles shaped like eggs and decorated. http://www.gimmesomeoven.com/easter-egg-oreo-truffles/ I love Oreo truffles, but for Spring, I associate flavors that are a little brighter, like citrus flavors. I always make lemon meringue pie for Easter dinner. So I decided to make 3 citrus flavors, lemon, tangerine and key lime! Get the citrus squeezer here! I dipped them in dark chocolate to help offset the sweetness of the filling. So, follow along and you can make some of your own Easter Eggs this year! My recipe is one I have had since I was in Jr. High Home Economics! I have made it for many years. I hope you enjoy it. 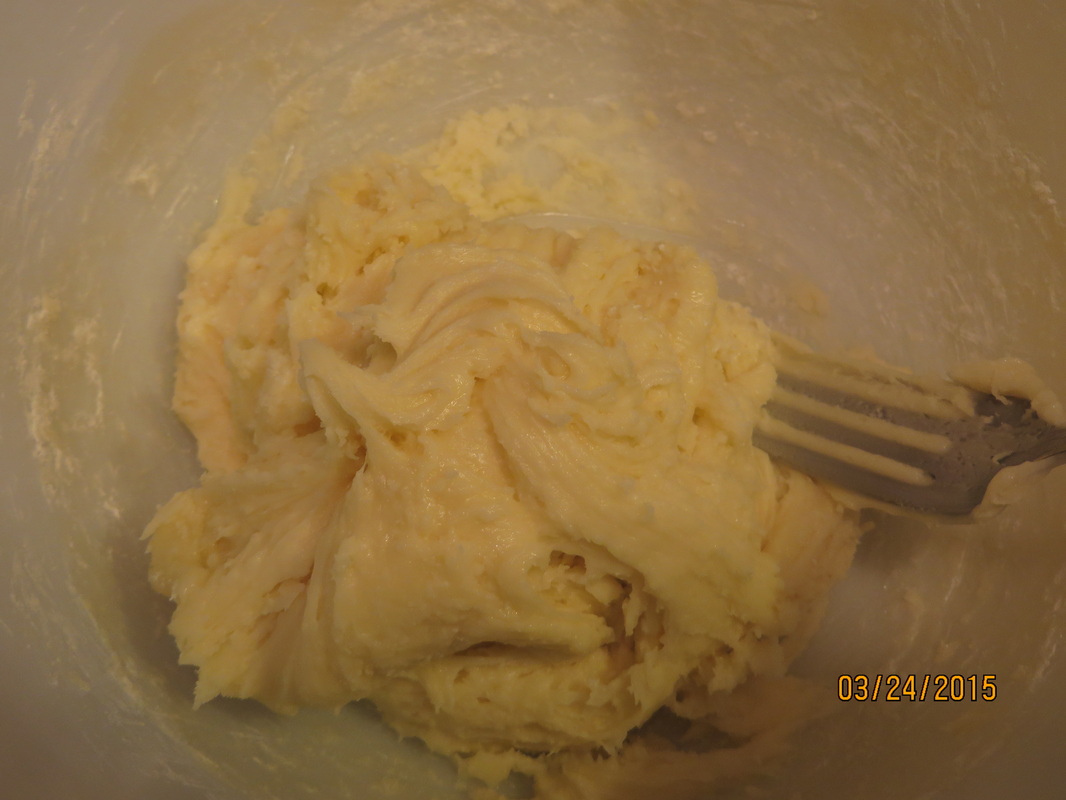 When the butter mixture is well blended, add 3 1/3 c. powdered sugar, all at once. Mix together until you have a dough like mixture like this one. You could do this in a food processor, or you could knead it into this stage with your hands. 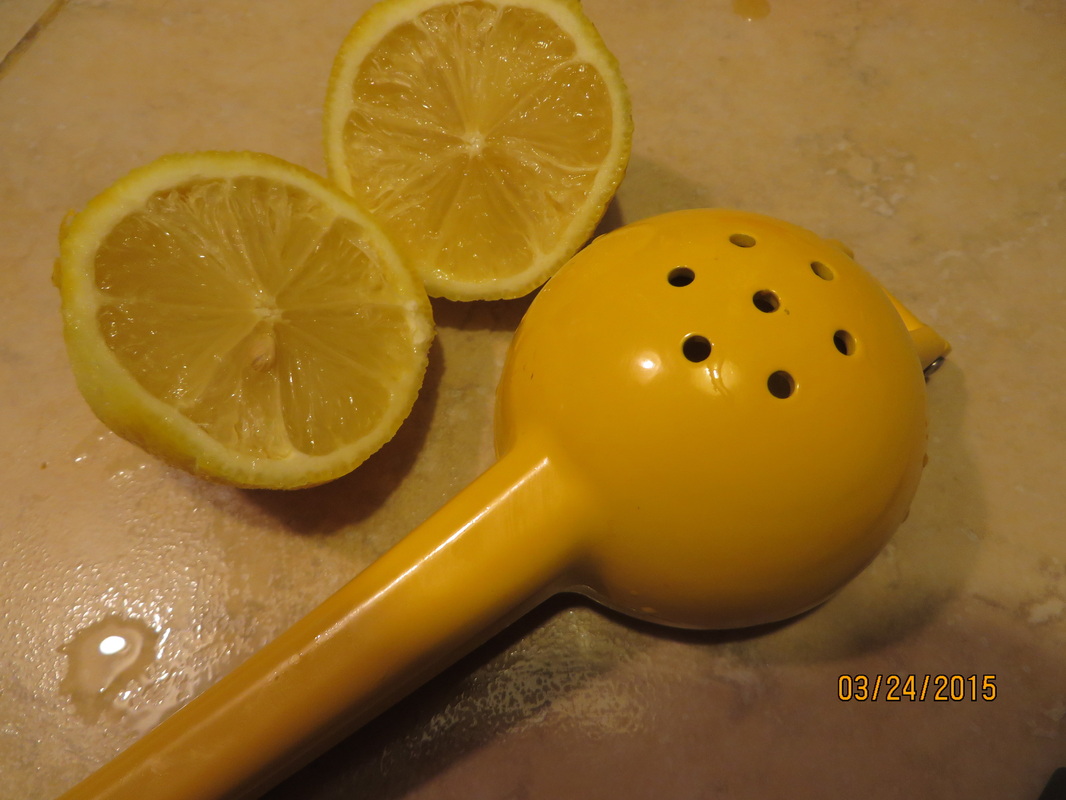 Then I used my nifty new citrus juicer to add juice! 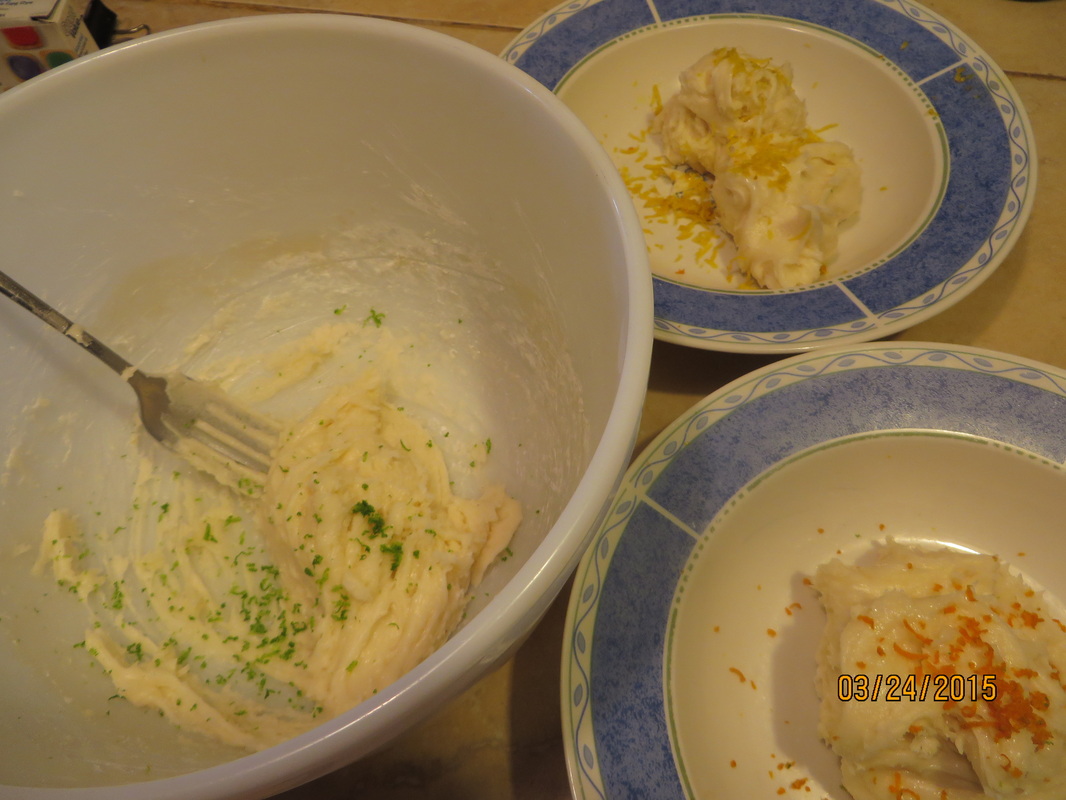 First I added the zest of each fruit, because that is where you will get some good flavor. 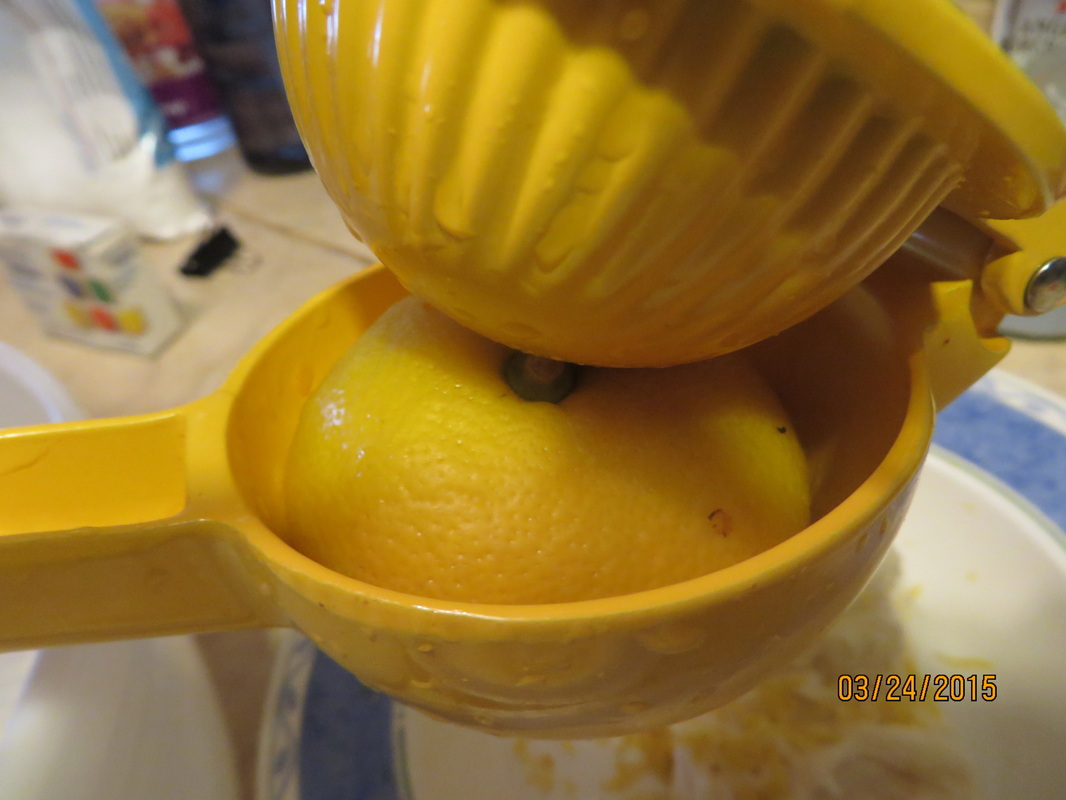 I used both halves of the tangerine and the lime. I only used half of the lemon's juice because it was sooooo juicy. Mix it all into the fondant, then you have to add more powdered sugar to get back the desired consistency of the dough in order to shape and dip it.  Here are my fruits. No artificial flavoring! Now it is time to add the flavors. I divided the dough, (it is actually a fondant) into 3 parts to flavor separately. 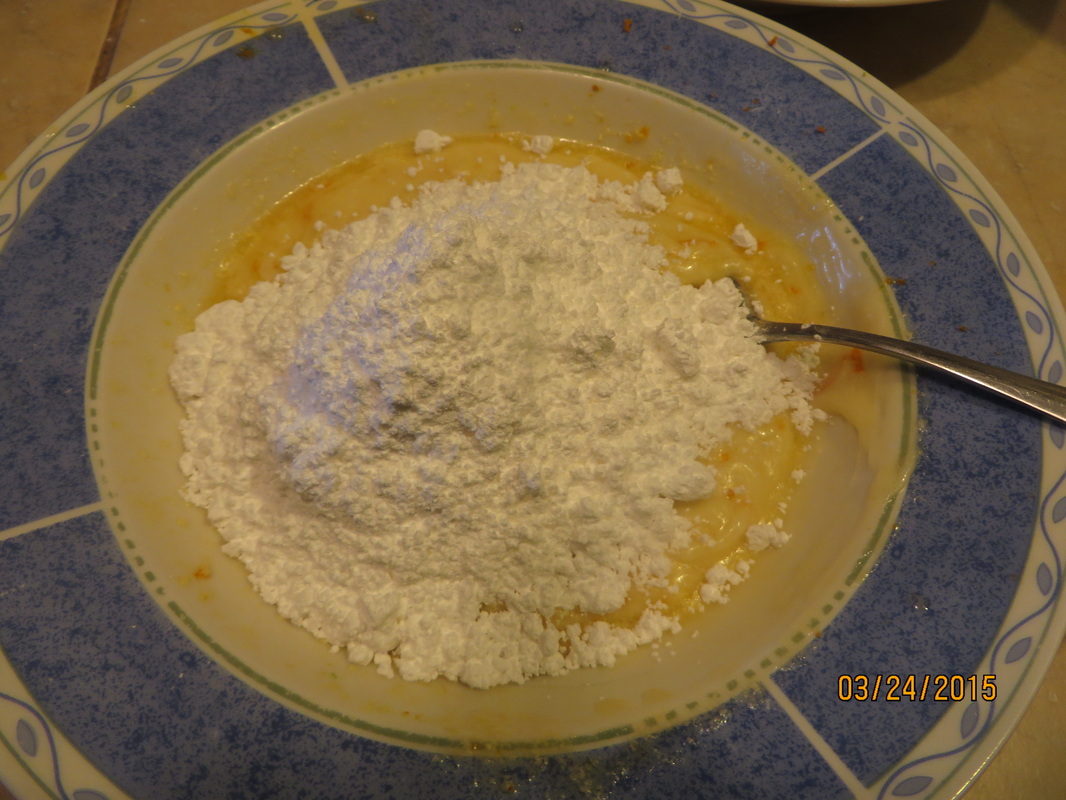 After you mix it back into a dough, refrigerate it for awhile to aid in shaping consistency. It only takes one fruit per flavor that you are going to make. 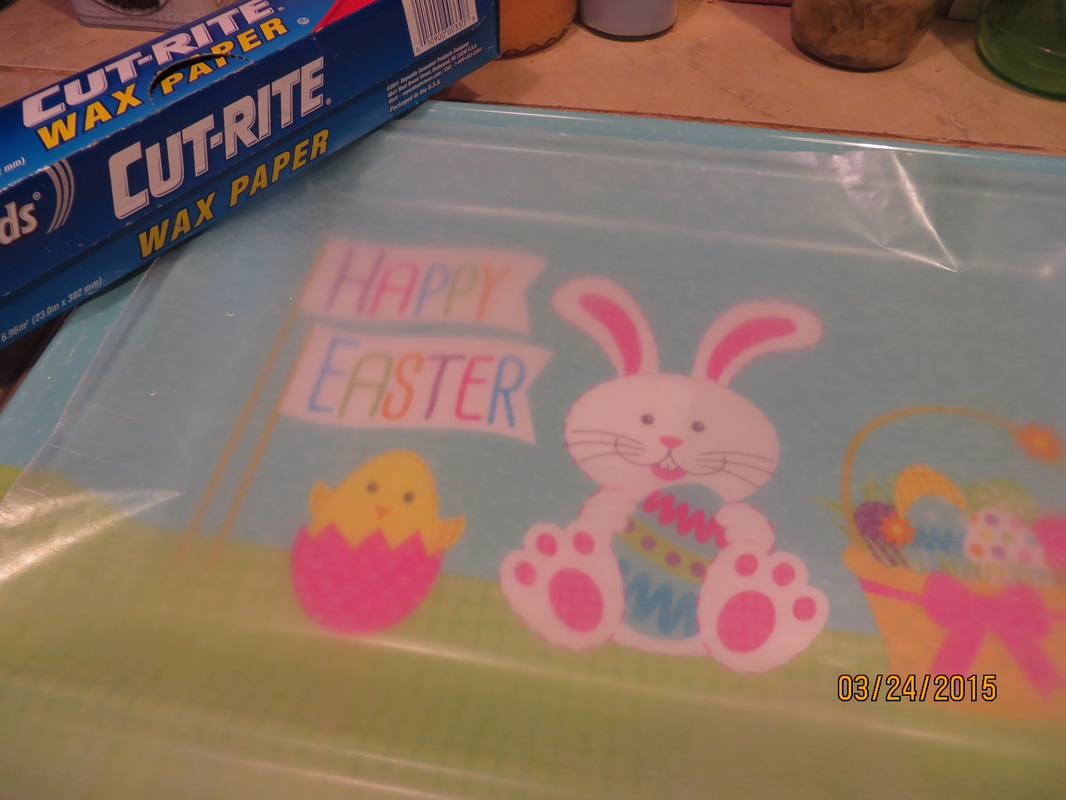 Line a tray or cookie sheet with waxed paper. See this cute Easter tray? My friend Melissa made a cute cake for a Scout auction and I bought it. The tray came with it! How fun is that? 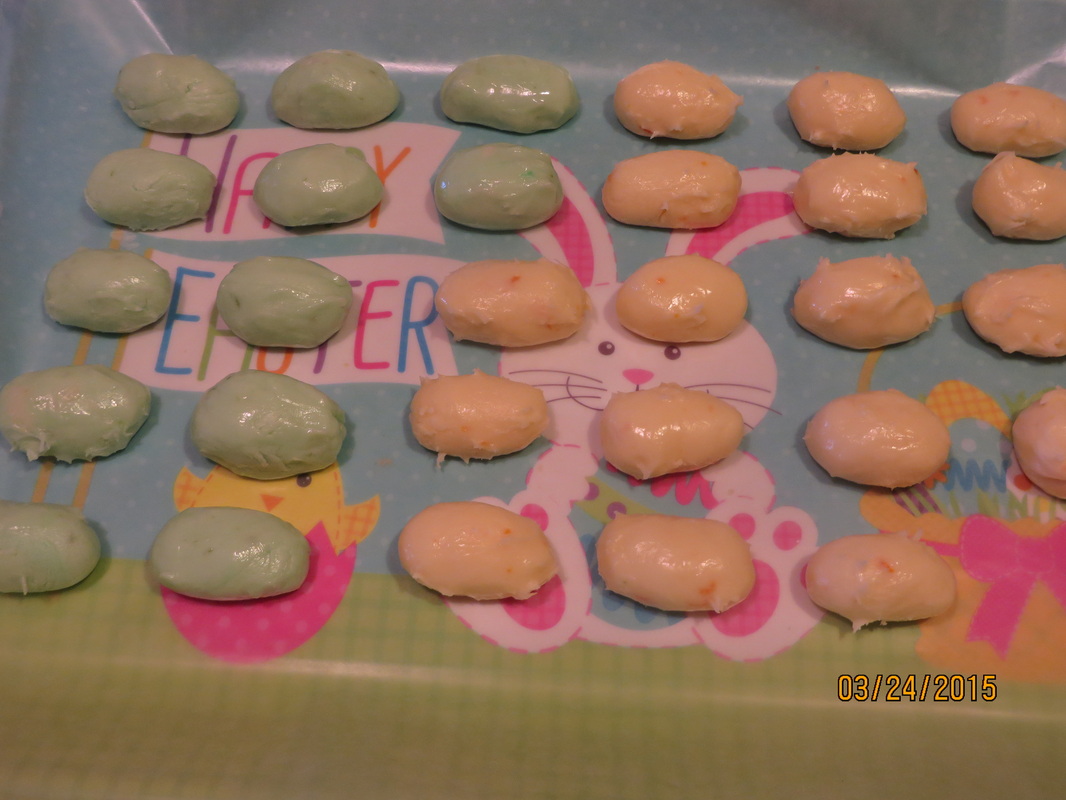 Then, just start making your egg shapes and putting them on the tray. These are handmade, so the sizing isn't super uniform. I was able to make about 4 dozen chocolates from this recipe. I did put a little green food coloring in the lime ones to vary the color a bit. Now you put them in the fridge or freezer for an hour or so to harden them before dipping in the chocolate. I just used melted Hershey's Special Dark chocolate chips melted on the double boiler to dip them in. 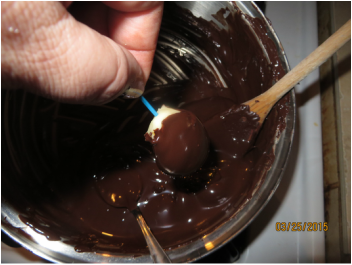 I use a toothpick to dip them, and just left it in until the chocolate hardened. Then a pulled it out and patched the hole. 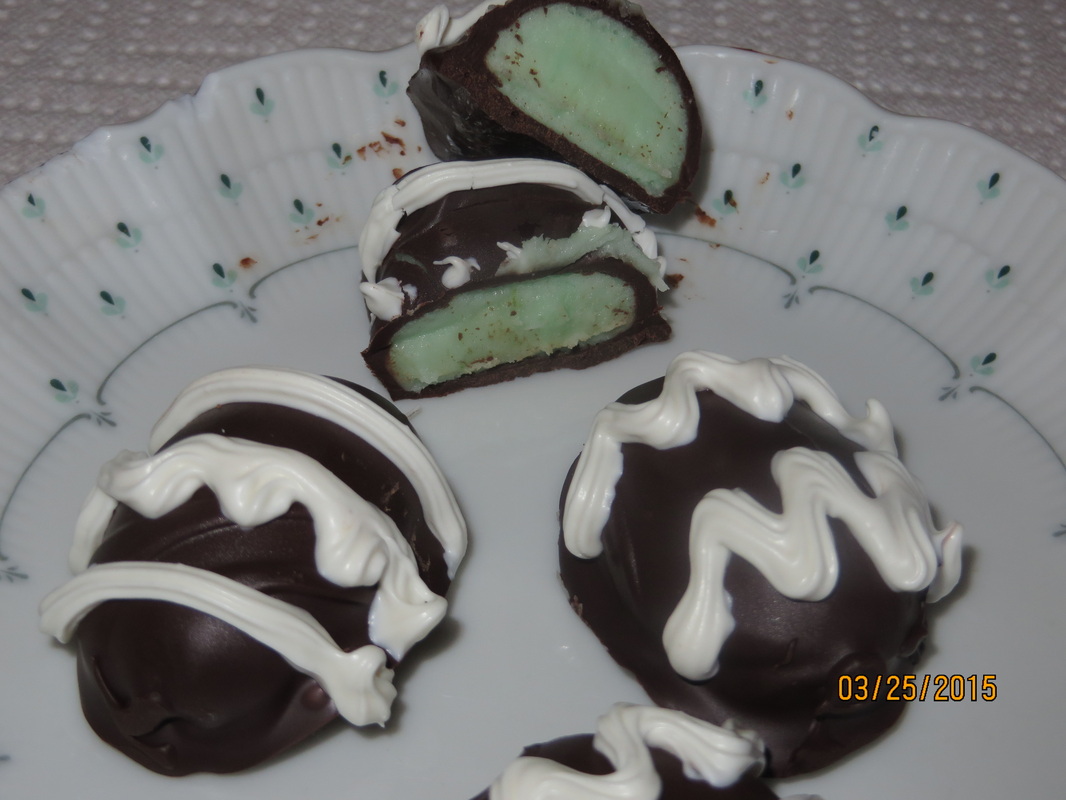 I gave them a quick decorate with Wilton Candy Melts. They are delicious! Hope you love them!
5 Comments
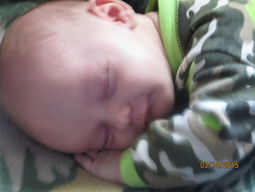 Hunter Joseph made his entrance a week later, weighing 8lbs 14 oz. Quite a difference in size, but they are both so adorable!  Adrian Gustavo, came in weighing 5 lbs. 4oz. at 34 weeks. He had to spend a couple of weeks in the NICU, but now as you can see, he is doing fantastic! Okay, I realize I haven't updated in a few weeks, but I have a great reason. Actually TWO great reasons, and here they are! Yes! I am a proud grandma, and no, I haven't finished the quilt yet, but I will soon, I promise! But, for today, as mentioned in today's title, it is Pi Day! It is not only Pi day, but it is a special Pi Day, It is 3.1415... I was invited to a Pi day party today, so I wanted to bring something special. Let me give you the background of this idea While in Provo, UT with my daughter who gave birth to the tiny grandson, prematurely, her friends were giving her a baby shower. I offered to help since I was there and they asked me to decorate! So, I was excited and looked through Pinterest to find ideas. I loved this one http://www.projectdenneler.com/2012/09/vintage-book-dessert-table.html. So, we did our own variation on her theme. One of the things she did that I loved was make little pies out of Reeses Peanut Butter Cups. She didn't explain the recipe, so I figured it out on my own and thought I would share it with you. I made a batch of them and put a little quote from Winnie-the-Pooh called "Coddleston Pie" next to them. We went to a thrift store and got quite a library of children's books started for my littlest grandson for about 50 cents per book and used them as decorations. We also handed out Goldfish Crackers with a quote from Dr. Dolittle about when he learned to speak goldfish! And, we handed out little boxes of jelly beans with a quote from "Jack and the Beanstalk." (The same one that is suggested in the above link.) Since Little Adrian was still in the NICU at the time of the shower, I made little picture frames with book quotes on them and we displayed them around the room so people at the shower could see him. Here are some shower pictures: Then, because I wanted my pies to have that tan pie color, I decided to make a peanut butter frosting to put them together with. When I make frosting I never really measure anything, but here are my best estimates with photos: So, now that I am back at home, I knew my other grandchildren would love these and I thought Pi Day was a good excuse to make them. Here is how I did it. First you need snack size Reeses Cups and M&M minis. 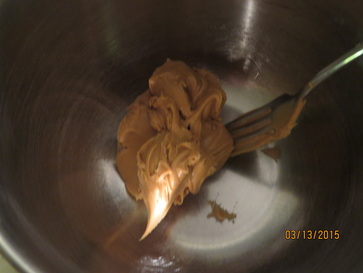 So I think this is about 3/4 of a cup of peanut butter. I use creamy so that it will not have any chunks to push through the decorating tip. 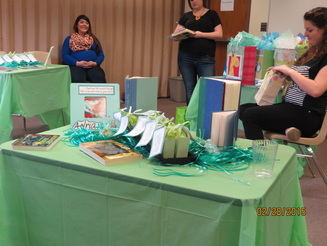 That is my daughter, opening gifts. The green bags on the table have the goldfish in them with the quote attached. 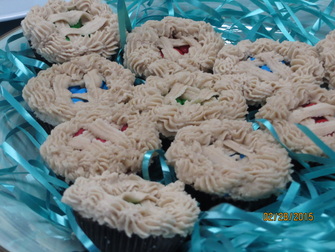 Here are the little pies. They were a hit.  Add powdered sugar, vanilla and milk to make a nice, not too stiff frosting. I used probably 3 cups of sugar, a tsp of vanilla and then slowly added milk a little at a time to get the right consistency. Next, you need to unwrap the Reeses Cups that you want to use, and spread some of the frosting on the top of them. 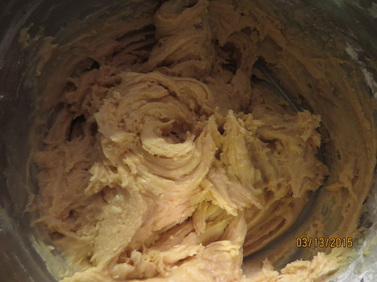 Here is how it looks when it is finished. This was actually a little stiffer than I wanted and added a few more tablespoons of milk to soften it. 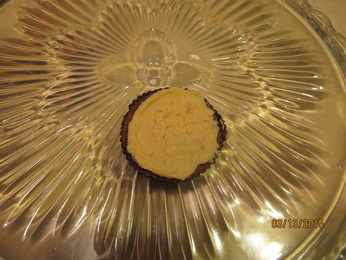 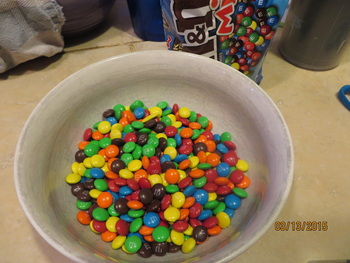 I pour the mini M&Ms into a bowl so that I can easily pick out the colors that I want for the pies. I did red for cherry pie, blue for blueberry and even chocolate for chocolate pie. 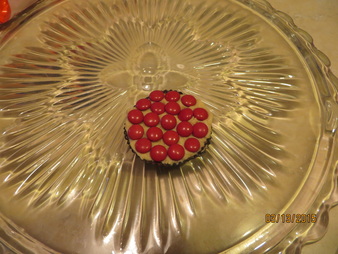 Then, just push the M&Ms onto the frosting like this. I try to put them with the M facing down. 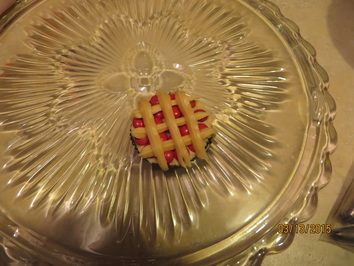 Pipe the criss-cross pattern on top. I used a leaf tip at first, then I just switched to a smallish star tip. 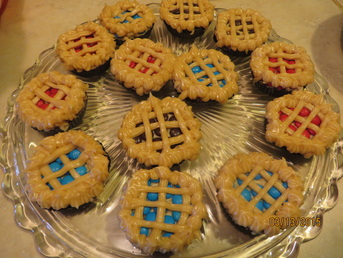 I used the star tip to give the pies a decorative edge crust. I have to admit that the ones for the shower came out more consistently pretty. But, I wasn't caring for 5 grandchildren, including a 3 week old baby when I did them for the shower. Still, they were a hit when I took them to my friend's Pi Day Party. I am going to tag on a PS here for Hot Cocoa Bombs. My daughter Alicia, who we gave the shower for, is a school teacher. Right before Christmas break she asked me to ship her some Cocoa Bombs to Utah so she could give them as gifts to some of her teacher friends. I did and they got there safe and sound. Well, some of those teachers were of course at the shower. When Alicia introduced them to me, they all said, "Oh! You made the Cocoa Bombs!" I admitted that it was me and they raved over how great the bombs were and how they were trying to figure out how I made them, and so on and so forth. It was very encouraging and heartening to be given such unexpected praise for my creation! I hope you will try them for yourselves. The tutorial is here: http://threewinksdesign.weebly.com/3-winks-writes/do-you-want-to-build-a-cocoa-bomb-the-3-winks-way Happy Pi Day!
|
Creators of Hot Cocoa Bombs! (copyrighted)

Author
Helen Reynolds: Mother of six children , grandmother to eleven! I love to cook, craft and create things and I especially love doing that with my family, So, when my lawyer daughter, Lindsey, my artist daughter, Madalynn, and I came up with the idea of Hot Cocoa Bombs, this blog was born. Then, one more daughter, with her technical and science skills, plus creativity has joined in to round us out! Read more about us here! 
Click this link and visit 3WinksDesignShop on Etsy. Find our Hot Cocoa Bomb Idea Book, our For the Love of PIe e-book and more of our creations!

Amazon Gift Cards are the Perfect Gift!
    Archives
July 2024
|
 RSS Feed