|
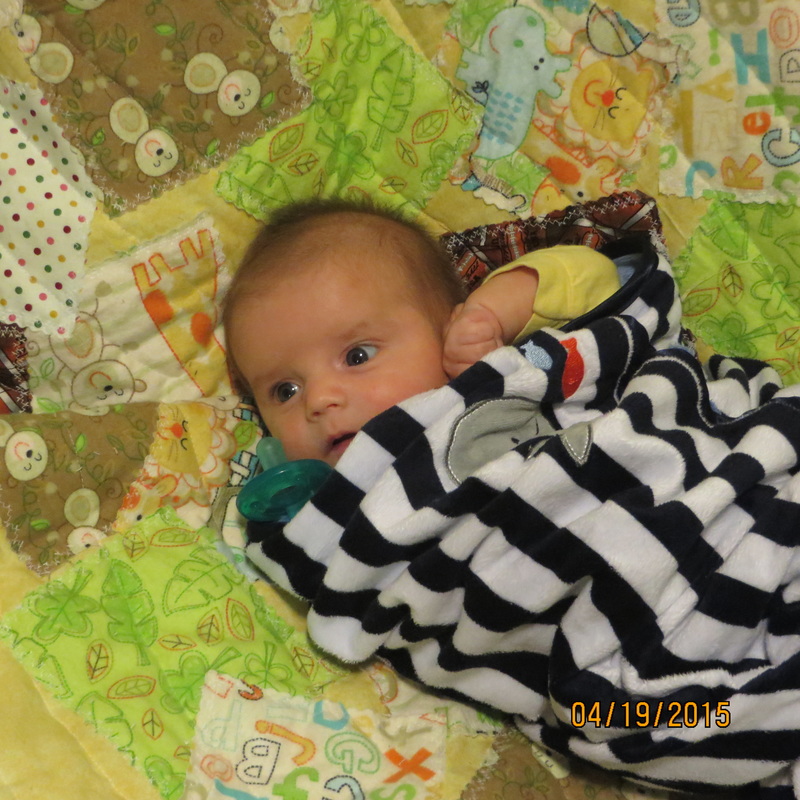
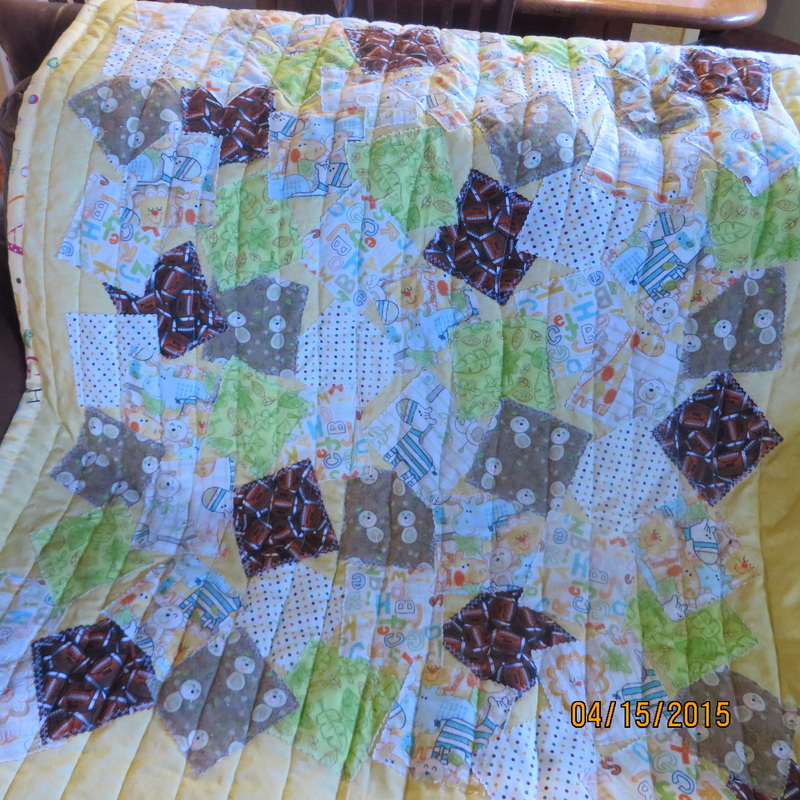
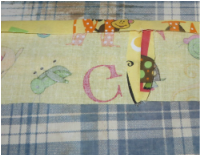
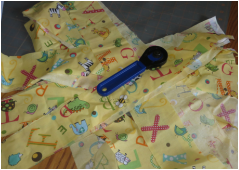
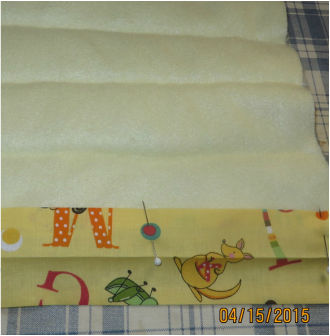
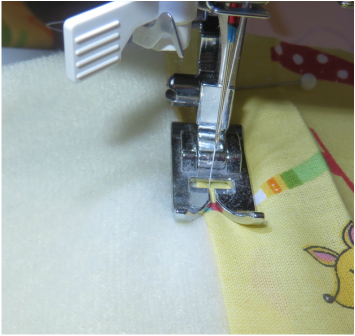
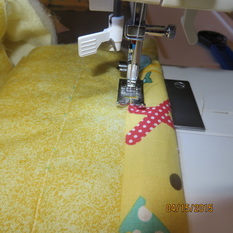
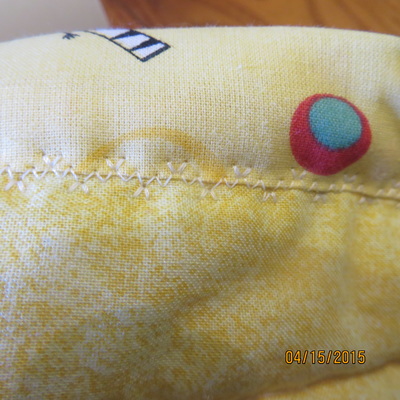
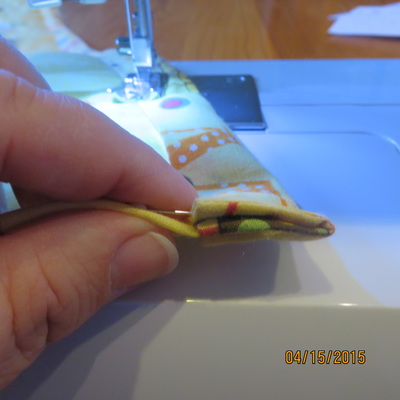
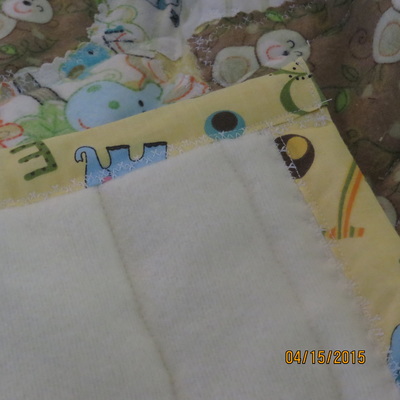
I finished Baby Adrian's Quilt! Remember this post? http://threewinksdesign.weebly.com/3-winks-writes/babies-babies-everywhere I was able to take Little Adrian his quilt when we went up to Provo for his baby blessing, two Sundays ago. Here he is on it: Isn't he a doll? The quilt came out pretty good, too. Here is how I did it. As I told you I would do, I sandwiched the batting between the top and the bottom and macine quilted it in channels. I think you can see that in the above photo, but her is another picture. 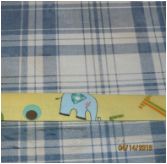 Folded and edge finished. Folded and edge finished. Then, I folded the strips in half and folded under the edges to finish them. Put your iron to good use. This is a photo of the finished quilt. Don't look too closely at the crooked lines, but I don't think it is too bad, do you? Next, I cut strips of my edging fabric. I cut the strips 3 inches wide because I wanted some of the cute ABC animal print to show. I started by pinning the strip onto the back of the quilt. Then I stitched the strip on with a straight stitch. Next, fold the strip to the front, folding under the ends to finish them. Here are some photos to show the process. Click on the above photos for more descriptions.
I was really happy with the end results! I have enough of the edging fabric left over to make a lighter weight blanket for my other little cutie. We live in Phoenix, so I think a light blanket will be just the thing to keep the air conditioner from gettin him cold. I will be posting about that soon. In the meantime, enjoy a few more pictures of my cuties!
4 Comments
We have had so much going on with our family and extended family in the last month, that my blog has taken a backseat. I ended up making another batch of dipped chocolates, as I demonstrated in my last post, but this time I added the Oreo ones and a peanut butter flavor. Our Easter was great and especially poignant because members of our family have been lost to us recently. We know that because of Jesus Christ's resurrection, we will see them again.
One other thing that I wanted to talk about this week is strawberry jam! I did manage to get a batch of it made when strawberries were a good price. I love making jam. It gives me such a feeling of satisfaction and accomplishment to see my jars sitting there all sealed and ready to go when I am finished.
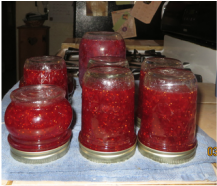
Those are my jars upside down, sealing.
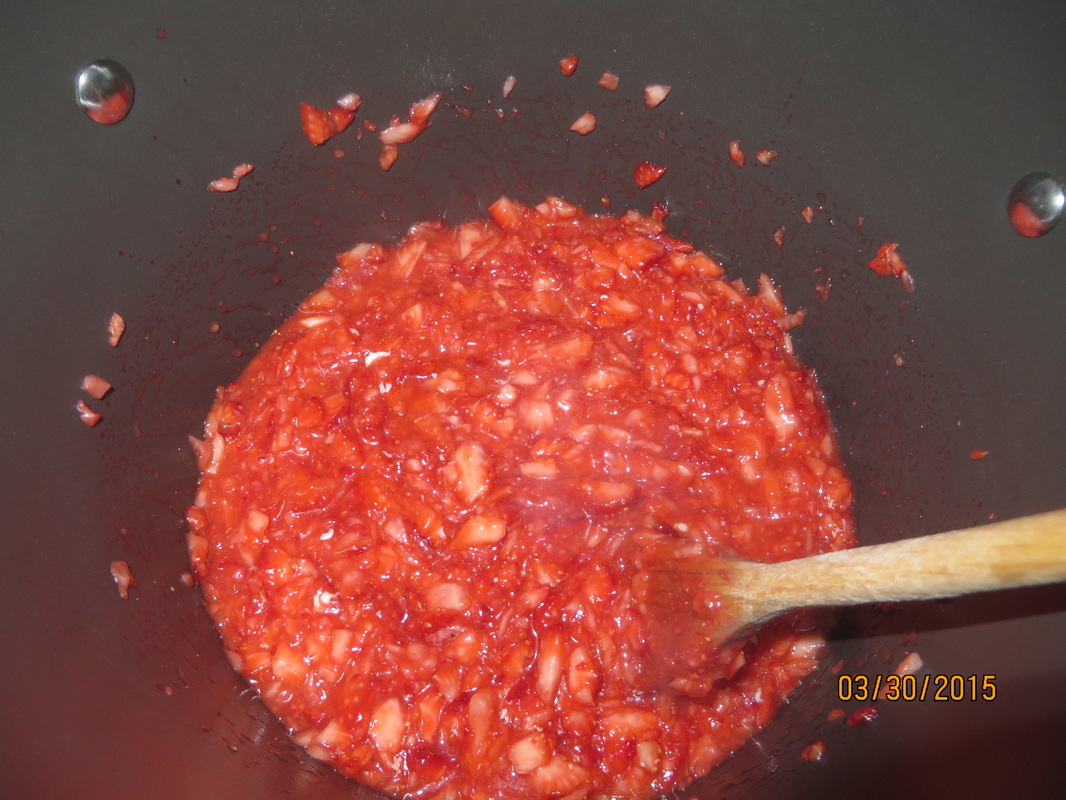
I know that a lot of people already make jam. So I thought that I would just give a few tips that I have learned over the years that I have been making jam. * First of all, I have started chopping up or mashing my fruit in my food processor. I used to cut it up and then mash it with a potato masher. But, the food processor is so much faster. You just have to be careful to pulse it and only do that until it is in nice sized chunks because you want to have bits of fruit in your jam. * Remember that if you want to have jam and not a fruit syrup, you put in the fruit, butter and pectin first and get it all boiling, then add the sugar all at once and bring to a boil again. I have made this mistake so many times, but I finally got it into my braid that this is why over the years we have had ice cream toppings instead of jam on occasion.
* Be sure to wipe the rim of the jar before filling it and use new lids each time. Then, I flip the jars upside down for at least 5 minutes so they will seal, and this also helps disperse the fruit throughout the jar. You can water-bath seal them, but the directions on the pectin say that the flipping method is safe and I have never had any jam go bad on me.
Really, jam keeps for a long time. We try to rotate it by age so we use the older jars first, but we have found some that we have overlooked that that has been a couple of years old, and it was perfectly fine. Sometimes it may discolor a little, but it tastes great!
* After you add the sugar and boil for the reccomended amount of time, take the time to stir it and skim off the foam before you bottle it. The recipe that I use is the one in the pectin box, and it says to stir and skim for 5 minutes. I always worry that the jam will cool too much to seal if I take that long, but I do stir and skim for a couple of minutes. Then I jar it. The reason this is important is because you want the fruit chunks to be dispersed throughout the jar and not all floating on the top of the jar. The people who will eat the jam will get lots of fruit on top, and then virtually jelly in the lower part of the jar.
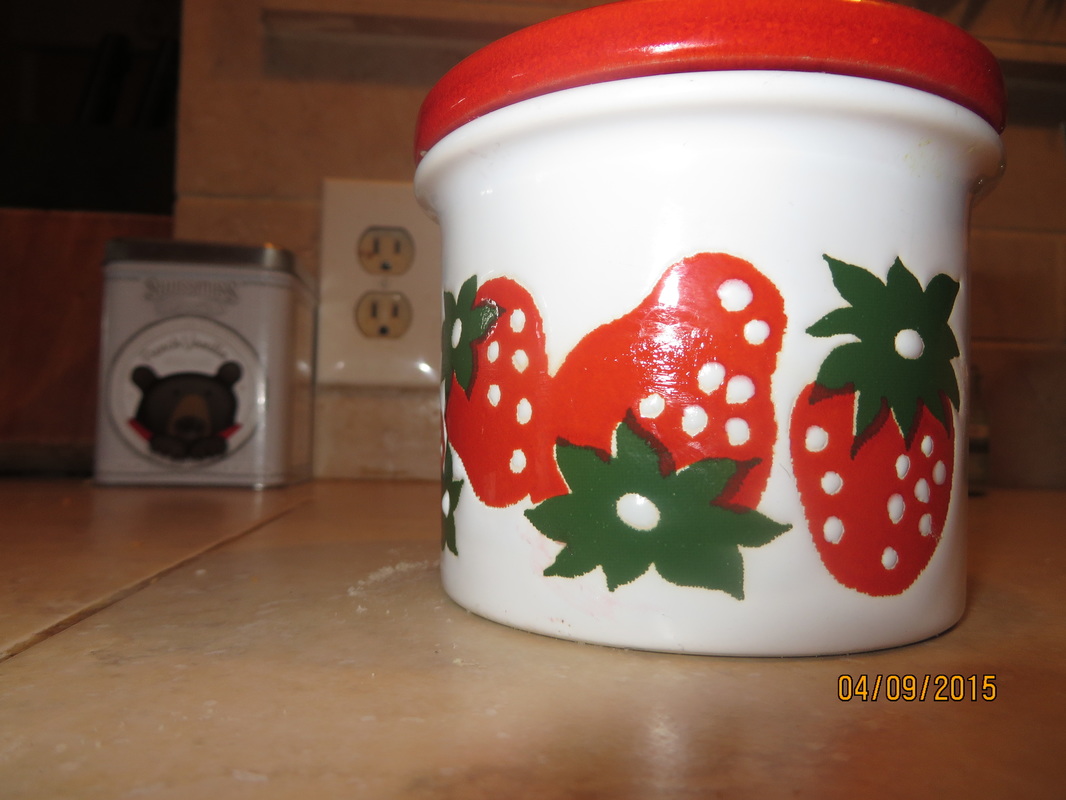
When you skim, use a metal spoon and save the foam. I actually put my foam and any leftover jam that won't fill a jar into the crock in the picture above that I bought in Germany from the Waechtersbach Factory in Germany back in the '80's.. Then I put it in the fridge and we eat that jam first!
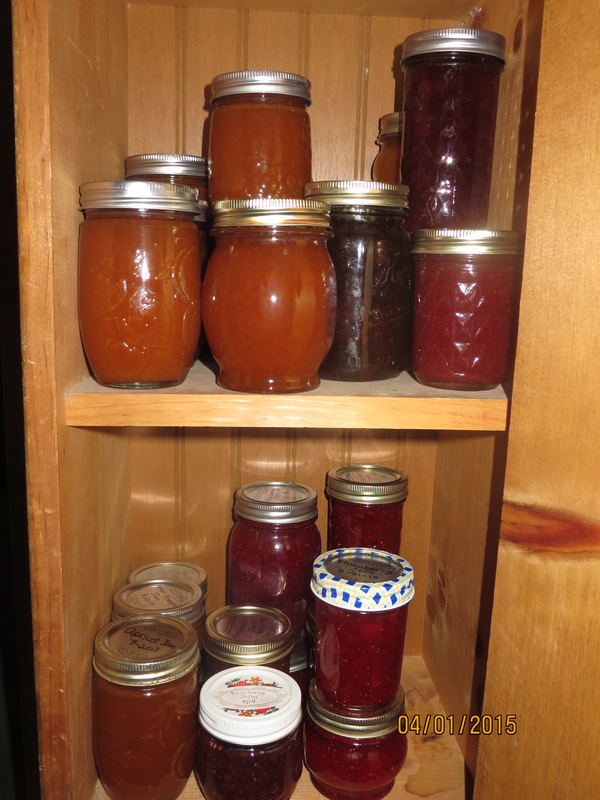
That other picture is my cute little jelly cupboard where we keep our jam. It has been much more full than this in the past, so I need to get busy and fill it up!
Oh! One last tip. I used to put cute lables on the jars, but they were a pain to take off after the jar was empty. (Always save and reuse your jars, they can be expensive.) So, now I use a sharpie and write the kind of jam and the date on the lid, because it will get thrown away anyway. (Do not reuse your lids!) If you really want something cute for giving away jars of jam, get the round kind that can fit on top of the lid. I was going to put a delicious looking picture here of jam on my roll, but I ate it too fast! Hope these tips help! |
Creators of Hot Cocoa Bombs! (copyrighted)
Author
Helen Reynolds: Mother of six children , grandmother to eleven! I love to cook, craft and create things and I especially love doing that with my family, So, when my lawyer daughter, Lindsey, my artist daughter, Madalynn, and I came up with the idea of Hot Cocoa Bombs, this blog was born. Then, one more daughter, with her technical and science skills, plus creativity has joined in to round us out! Read more about us here! Archives
July 2024
|




 RSS Feed