
Technology is a wonderful thing! My daughters and I are able to blog together, even though we live, in one case, far apart. Maddy still lives at home, but Lindsey is married and lives in her own home in a nearby city, and Alicia is married and lives in the Bay Area of California. We have been wanting and needing a photo of the four of us on our blog for quite some time. When Lindsey was married, back in August, we should have gotten a picture of us together then, but, somehow we didn't, nor did we get one at Christmas! So, I had the idea, lets just do some selfie pictures and make a photo collage. We make collages every week for the blog. How hard could it be? We did it! Here are the fruits of our labors!
You are probably wondering how I ended up with such beautiful daughters. Since this is Friday Faves, let me just say that they are 3 of my favorite women and I love them so much. They are intelligent and beautiful inside and out. I am a proud mom! Yes, that picture of Maddy is a selfie. She is the queen of selfies. Since we all had to get our make-up on for our selfie shoot, that inspired our Friday Fave question for today: What is your favorite brand of mascara?
Let's start with LIndsey today!
Finally, there is my choice. Sorry, no more pictures of me! I very rarely go out without mascara on. If I can't put on anything else when I am in a hurry, I put on moisturizer and mascara, then I feel like I can face the world. Alicia turned me on to this choice and I really love it. My go to mascara is Maybelline Full and Soft Mascara. Now that I am getting older, I don't want to try to look like I am trying too hard or be over done. I just want to make sure I look nice and not washed out or tired. This mascara frames my eyes beautifully, isn't too stiff and heavy and makes me feel like my eyes look pretty!
If you try out any of today's Friday Faves, be sure to let us know which mascara is your favorite in the comments! Also, feel free to comment about how beautiful my girls are! :) You can shop this post by clicking the links in the post, or by clicking the pictures below. Have a great weekend!
Find past Friday Faves here. SHOP THIS POST BELOW
3 Comments
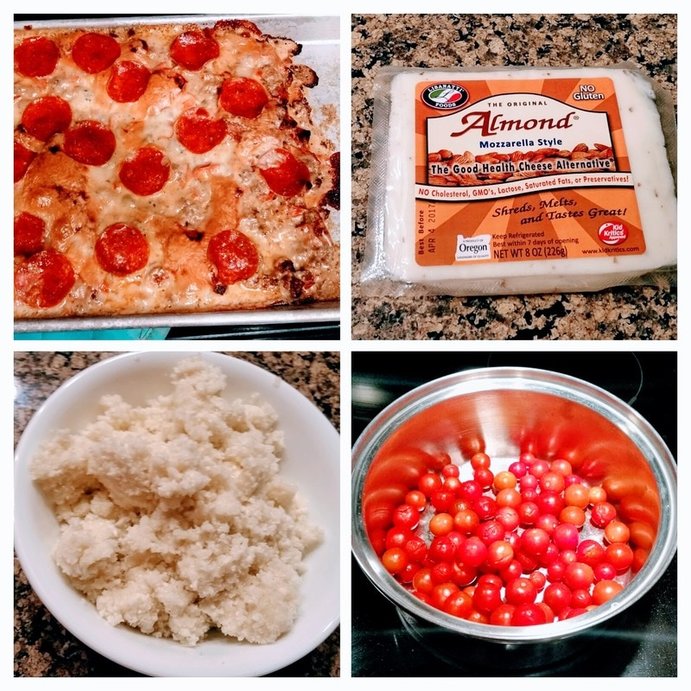
I am in my new house and although unpacking is slow going, I am excited about being there. Now I can get back into cooking in my own home, and I decided to go big this week.
I have been wanting to try a cauliflower pizza crust for awhile now, and I decided that this was going to be the week that I did it! Additionally, we moved into a house that already had a garden at the side of the house. A garden with tomato plants, and so I decided with the plethora of cherry tomatoes we now have in our refrigerator that I would make my own tomato sauce. You are free to do that as well, or you can buy the canned stuff if you prefer. 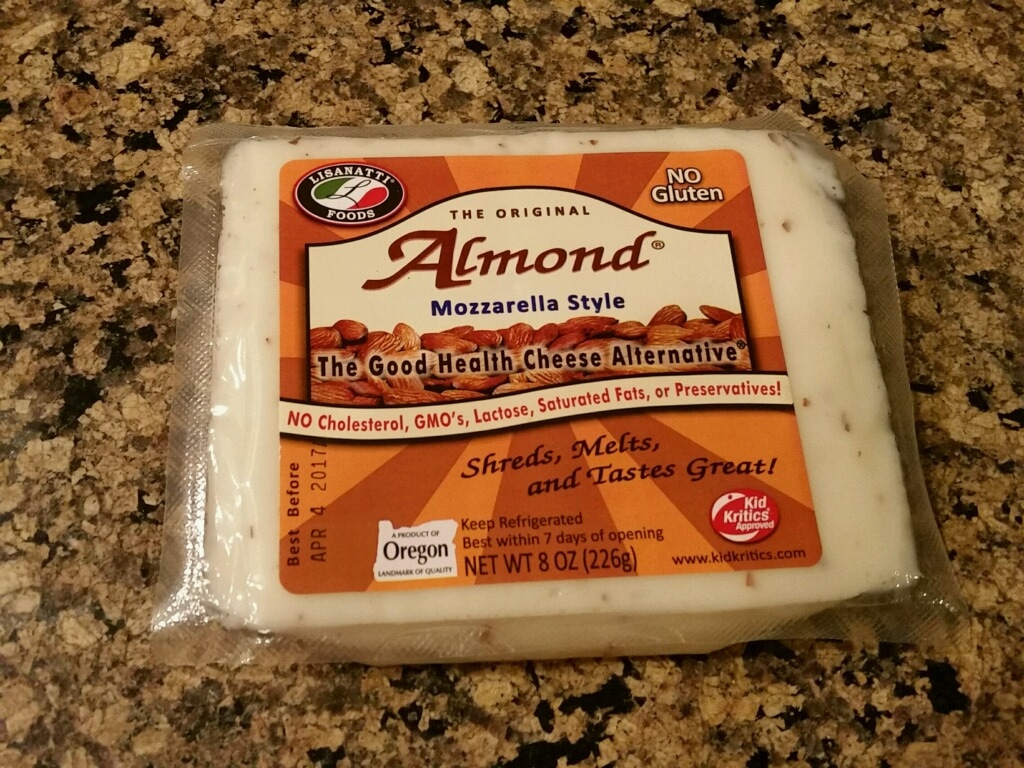
A struggle that I have in our home is that PH is lactose intolerant. I'm always trying to find cheese alternatives for him. I decided to pick up this brand of almond milk cheese. It is pretty tasty, but warning, you cannot shred it! It was way too soft and I had to just break it into globs to place on top of the pizza before putting it in the oven.
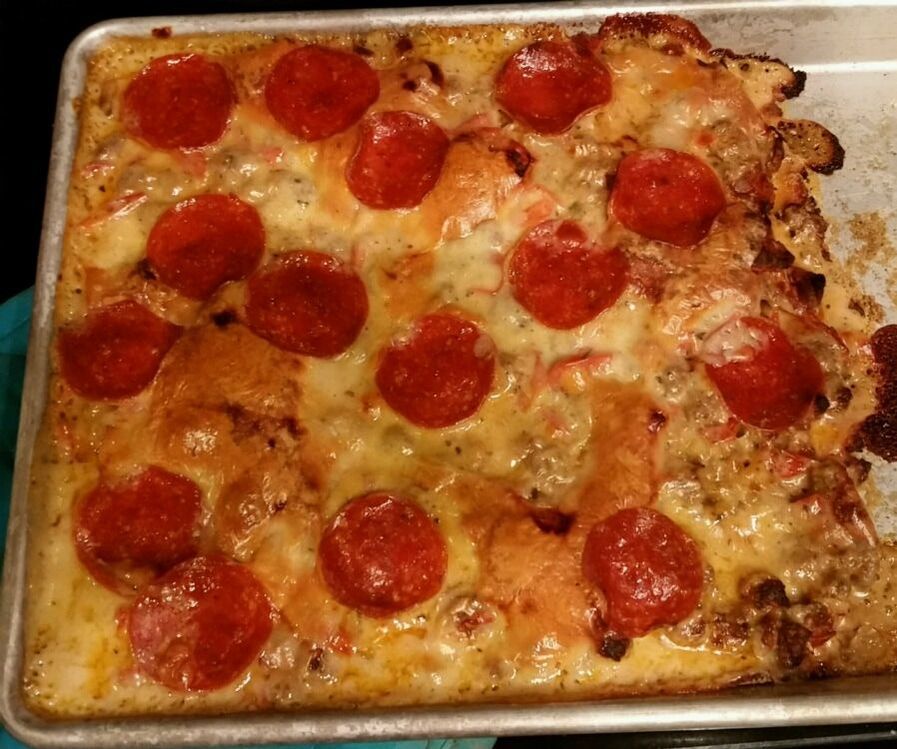
My pizza didn't end up taking up the entire pan. Now, I used regular pepperoni and I also added Jimmy Dean's Turkey Crumble to the sauce. If I had it to do over again I wouldn't have added as much turkey. The pizza ended up being way too salty because of it.
I would also suggest cooking the cauliflower crust by itself and then adding the toppings and cooking until the cheese melts. I felt like my crust was just a little too soft and I think cooking it on it's own first would help with that (plus, I probably needed to wring more water out of the cauliflower!) The taste of the crust was good though. Honestly, PH and I were distracted more by the over saltiness of the turkey, which I have left out of my recipe. I mean, this was more like a meat pizza you know? I didn't add any veggies, but you totally should, because that would just make it even healthier! So, get to making your healthy pizza and let me know what you decide to top yours with!
This post contains affiliate links and I will be compensated if you make a purchase after clicking on my links. Thanks for your support!
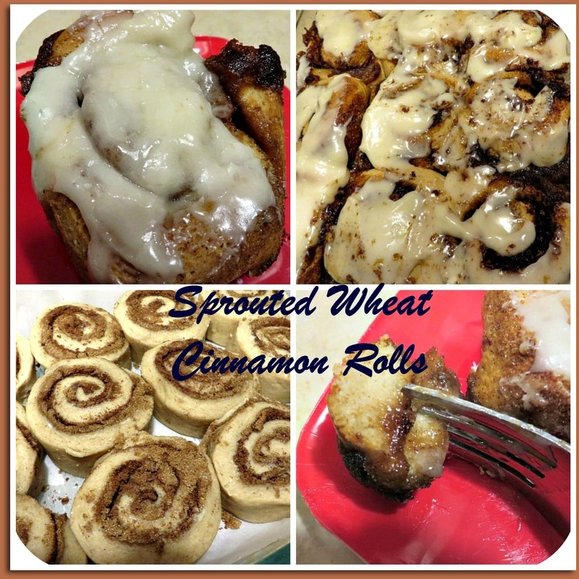
Ever since I learned how to sprout my wheat to make flour, I have wanted to incorporate it into every recipe. There is just no denying the health benefits of sprouted wheat. I wrote about them here and here. I used the sprouted wheat in my waffles on this post. I have been wanting to try a batch of cinnamon rolls with it and I finally did. I found a recipe on A Spicy Perspective that is a copy cat of Cinnabon Cinnamon Rolls. (Actually, they are supposed to be BETTER than Cinnabon!) I tweaked it a bit to work with sprouted wheat flour. I actually used 1/2 sprouted wheat flour and 1/2 all purpose flour in this recipe in an effort to keep the fluffy consistency of the roll once it is baked. I also increased the yeast in this recipe. Here is the recipe the way I used it. Just click on the button for a printable recipe.
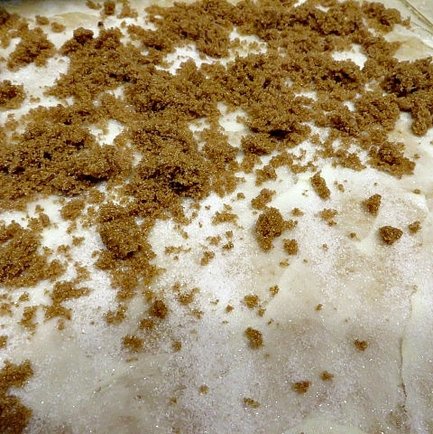
This shows the layering of the butter, sugar, brown sugar and cinnamon. Well, the cinnamon isn't on here yet, but it will be!
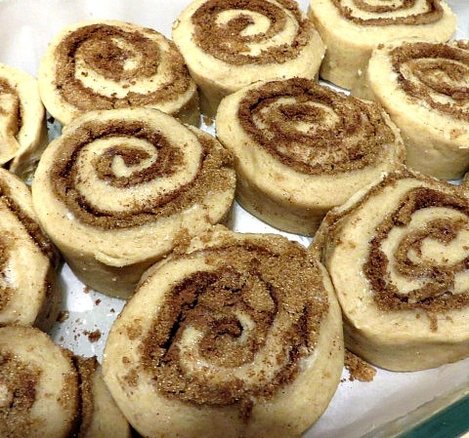
Here are the rolls in the pan and ready for the rise.
This is the first time I have used parchment under cinnamon rolls and now I am never going back! I like these pre-cut sheets that fit neatly your pans. There was no sticky mess to clean and the cinnamon rolls didn't stick to the bottom of the pan. It was awesome! A little tip I learned from Panna is to spray some cooking spray in each corner of the pan and it will hold the parchment in place as you put in whatever you are baking.
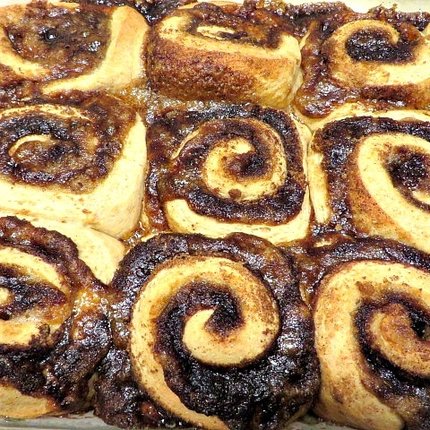
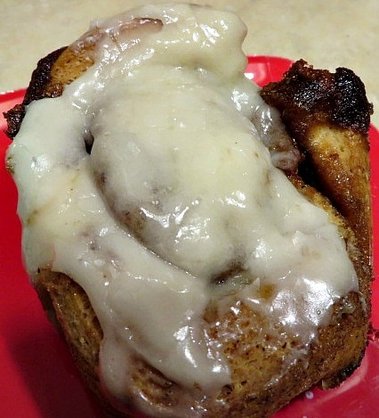
Hot out of the oven!

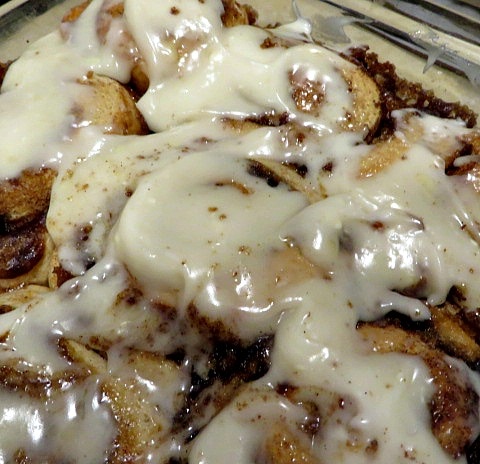
Gently spread on the first half of the icing while still hot. Go back and spread the rest later.
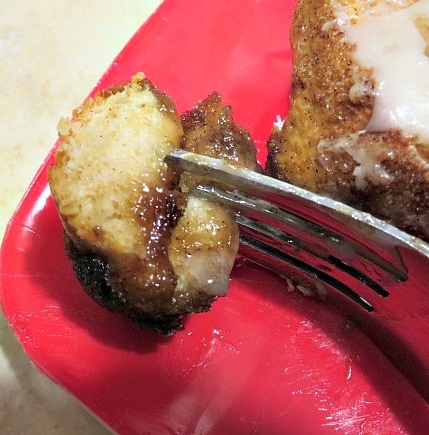
Gooey and delicious!
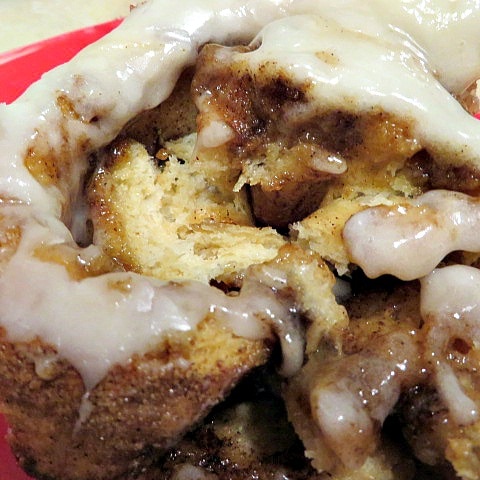
Cut it open to see the inner deliciousness.
The cinnamon rolls were a hit! Using the sprouted wheat has become an obsession with me! If you love that whole wheat flavor, I hope you give the process a try. It is so good and better for you.

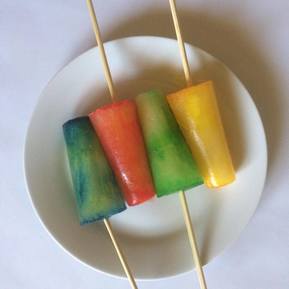
Hey Alicia here! This year I’ll be posting a party idea for you guys each month with modifications to make it for kids or for a date! This post contains affiliate links and I will be compensated if you make a purchase after clicking on my links. Thanks for your support! Have you seen or even been to one of those Paint Nites? I see a lot of my friends going to do them and it looks fun, but I know the price isn’t in our budget right now. And to be honest, a lot of the paintings I see are pretty but not my aesthetic. I want to join in on the fun, but I don’t want to spend my money on something I think is just not going to fit into my décor. That’s how I came up with this party idea. There are literally thousands of painting tutorials on YouTube. And there are even episodes of Bob Ross on Netflix. So why couldn’t I just have Paint Night at home? While these events usually involve acrylics (as far as I’ve seen), I prefer watercolors. So this party will be a Watercolor Paint Night Party. Basic party idea: Enjoy food and beverages while learning to paint a scene in the comfort of your own home. Supplies:
Setup: Find the video you’d like to use first. I like this video by Wonder Forest. It’s a pretty lake scene and doesn’t use too much paint. If this one isn’t for you, browse until you see one that strikes your fancy! Try searching Watercolor Painting Tutorial on YouTube. A great thing about YouTube is you can speed up or slow down the video. It does distort the sound a little but might be worth it. You can also rewind, fast-forward, and pause as needed. For most videos I viewed, you want to tape your paper down to prevent warping when the paper gets wet. Cut a sheet of the watercolor paper in half and tape it down to a piece of cardboard. I think cut-up cereal boxes will work best because they are smooth. Paper plates or extra cardboard can be used as a paint palette. As you can see from this video, it doesn't take much of these paints to make your picture. But I would wait until everyone is settled and ready to start before you put the paints out. And of course every person will need a cup of water and a paper towel or tissue. You'll also want to have a table and chairs in front of the screen so everyone can have easy viewing access to the video.
A quick note about the brushes. These will be the most expensive thing needed for the party in terms of how many you will need. Of course this depends on how many people are invited. I have some suggestions to help on this.
To make it a more kid friendly party:
So what do you think? Does this budget friendly Watercolor Paint Night work for you? Let us know if you try it out and how it goes for you!
PS I'm struggling with my pictures right now so I will get them up soon! Thanks for your patience. |
Creators of Hot Cocoa Bombs! (copyrighted)

Author
Helen Reynolds: Mother of six children , grandmother to eleven! I love to cook, craft and create things and I especially love doing that with my family, So, when my lawyer daughter, Lindsey, my artist daughter, Madalynn, and I came up with the idea of Hot Cocoa Bombs, this blog was born. Then, one more daughter, with her technical and science skills, plus creativity has joined in to round us out! Read more about us here! 
Click this link and visit 3WinksDesignShop on Etsy. Find our Hot Cocoa Bomb Idea Book, our For the Love of PIe e-book and more of our creations!

Amazon Gift Cards are the Perfect Gift!
    Archives
July 2024
|


 RSS Feed