|
Alicia here taking over Lindsey's Renny's Recipes regularly scheduled post, and posting about a delicious dessert I have made.
This is my last German recipe post as part of my international meal planning posts. It has been so fun trying new foods, and it's made me excited to visit Germany one day. Next month is Ecuador, and although we have posted a few Ecuadorian recipes on here before, these will be dinner recipes that you'll most definitely want to try. So stay tuned next week for that. Black Forest Cake
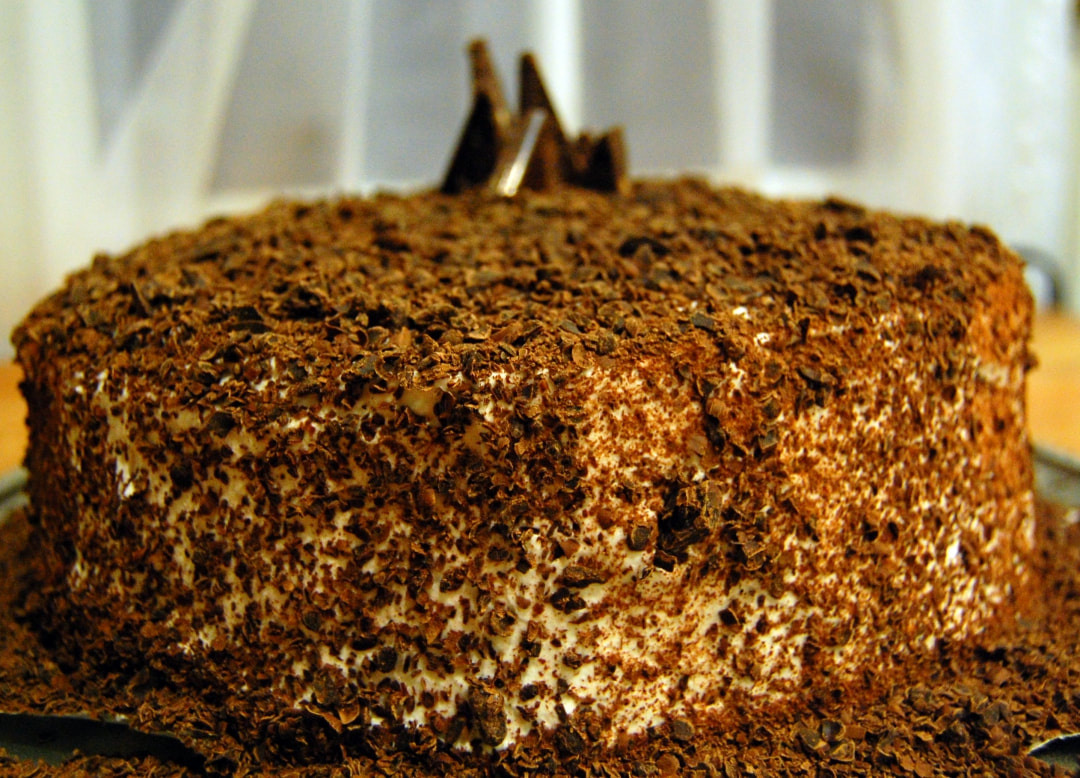
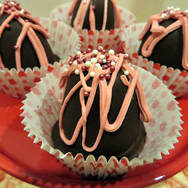
But back to today's dessert, Schwarzwälderkirschtorte, This means Black Forest Cherry Torte in Germany. Invented in the 1920's by a Josef Keller, this is a decadent cake with dark chocolate, sour cherries, and Kirsch (usually). Kirsch is a kind of cherry brandy, making the cake not suitable for children (usually).
If you've been following our blog awhile you may have noticed that we don't drink alcohol, so you can consider this recipe a ''dry'' Black Forest Cake. A delicious treat the whole family can enjoy. In place of the Kirsch, I used tart cherry juice. It was mixed with apple juice, but I soaked the cherries in the juice, which deepened the cherry flavor. I've linked to the juice I used. This cake was soooooo good. My husband said it is worth the calories to have a piece. I must say that I agree. Plus it's got cherries, so that's fruit and all the antioxidants in the chocolate, I mean, can we really say this cake is all that unhealthy. ;) 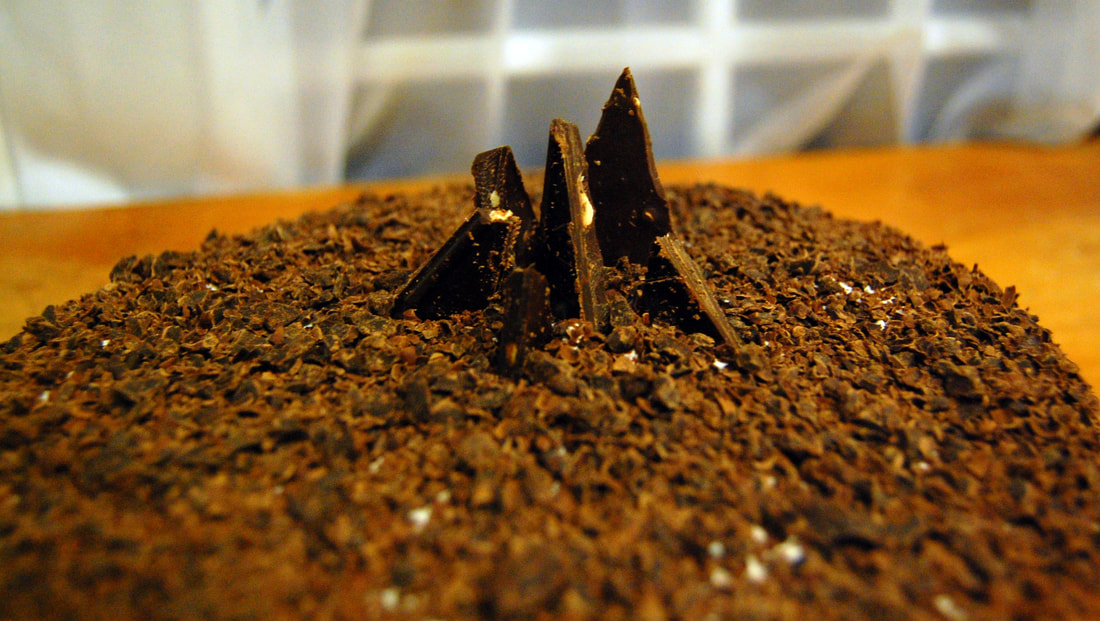
If you want to make this cake be sure to plan accordingly. This is an all day, if not an overnight two day kind of cake. I think I took about 4-5 hours of active time working on the cake. So that's not including the cherries soaking for about 6 hours. If you want really deep flavors, allow the cherry juice to soak into the cake overnight before icing it on the outside.
Another issue I ran into was that I added too much liquid to my frosting for the filling. It was still delicious, but it did get a little runny and grainy. So add your cherry juice a little bit at a time in order to not have my same problem. It was good with the ratio I put in the recipe.
My final tip is to use your food processor (if you have one) to shave your chocolate. I tried doing it by hand on my cheese grater and it produced beautiful chocolate swirls, but also was really awkward and took forever. I put the grater blade (big side up) in my food processor, and it wasn't as beautiful but was so much easier and faster. In the center of my cake I used a dark chocolate bar cut into triangles to make an abstract kind of forest. I think it turned out pretty cute. 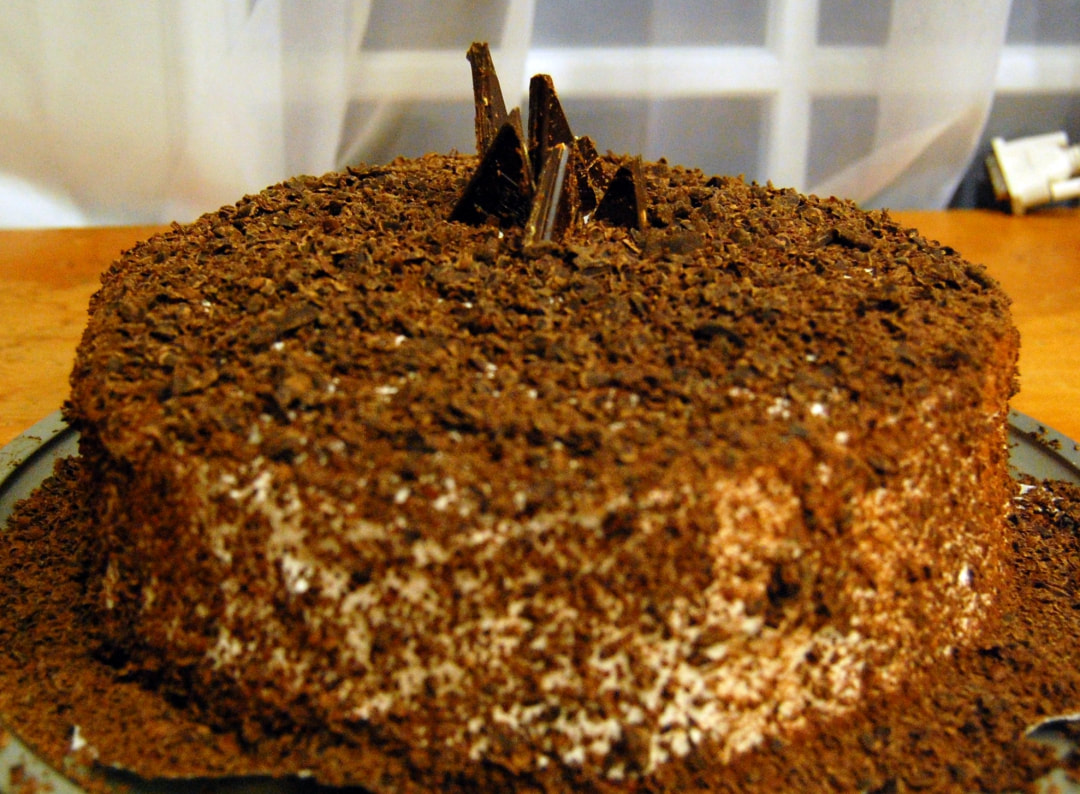
I loved this cake, I'm already thinking about when I should make it again. It was so good. I know you can't see from the pictures, but the special dark cocoa made the layers almost black. And the flavor was so deep and complex. I think it would be a great Valentine's Day dessert.
1 Comment
This post contains affiliate links. We will be compensated for purchases made through those links at no additional cost to you. Thank you for your support.
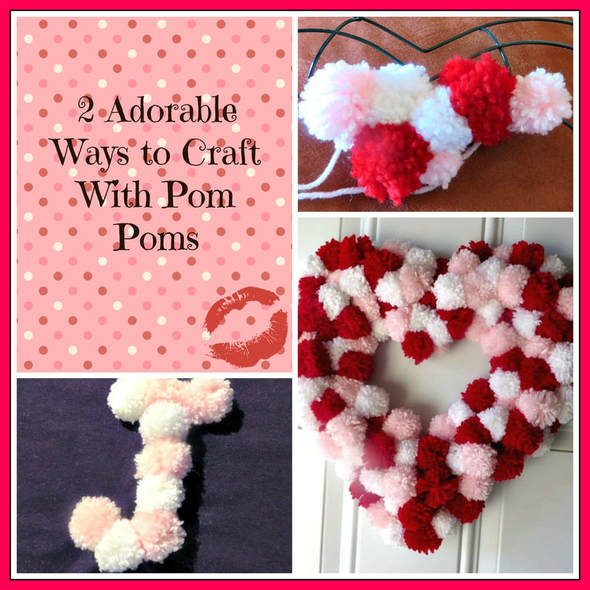
Pom poms are so fluffy and cute and super popular right now! If you are like me, you look at cute fluffy things and wonder what you can do with them to incorporate more cute fluffiness into you life. Since I have two young granddaughters at my house right now, it has been the perfect time to do some pom pom crafting with them, especially since we are getting so close to Valentine's Day. To begin with, I taught them the fork method of making our own pom poms! They were so excited and it is an easy craft for them to do. They did need help tying them tightly enough, but other than that, they were really good at it. If you haven't seen the fork method yourself, here is a quick video to teach you how! 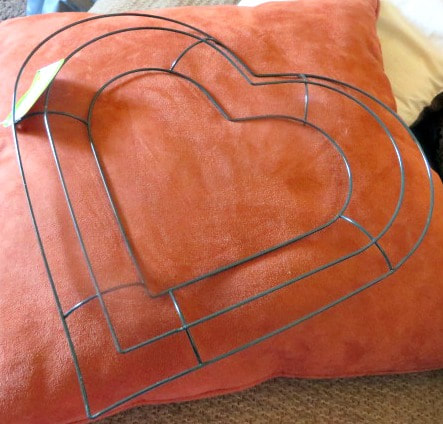
Click on this picture to find these heart shaped wreath forms at Dollar Tree!
I found a heart shaped wreath form by accident at Dollar Tree. (They also have round ones.) I thought it would be perfect for a wreath for Valentine's Day, so I picked it up. You can order them on line, so if you have a group crafting event coming, these would be great! At first I thought about a floral wreath, but then I saw yarn and thought pom poms and the pom pom wreath idea was born.
The girls and I started making pink, white and red pom poms. The wreath really takes a lot of pom poms, but they go quickly and they are a lot of fun to do. You can watch TV as you work. I used a large serving fork to make large pom poms, the girls used regular dinner forks for smaller pom poms to act as filler.
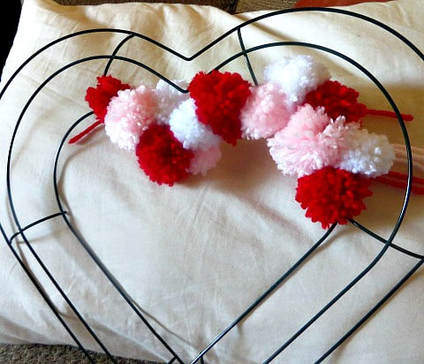
The wreath form is different on each side. One side is concave and one is convex. I used the convex side as the front. Then, I started using the tails part of the pom pom to start tying them to the form.

On the back, it helps to keep the pom poms tight to each other and in the place you want them to be if you tie them to each other.
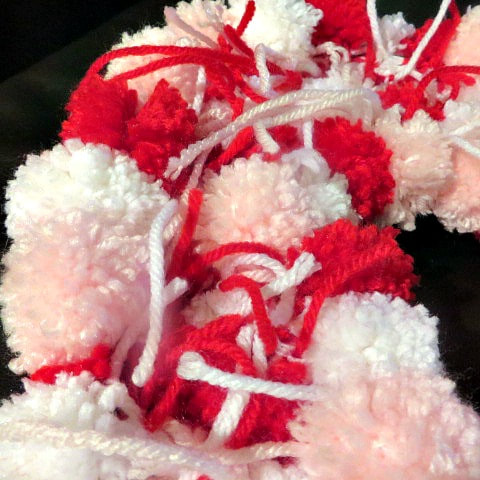
Once the wreath is complete, go back and trim off the strings even with the rest of the pom poms, they will blend in and it will look much neater in the back.
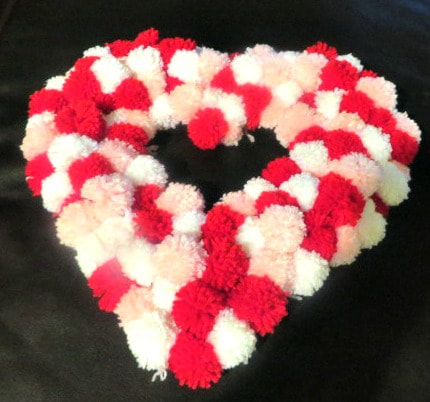
As I mentioned before, it took a lot of pom poms, but I think it came out super cute!

I took it and hung it on Lindsey's door to brighten her day.
My granddaughters and I had so much fun that we couldn't stop there! We picked up some inexpensive t-shirts for them and decided we could do something cute with pom poms on them.
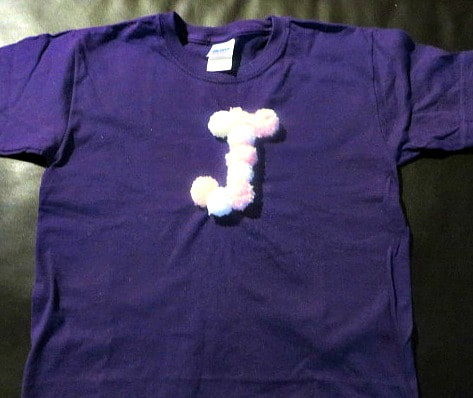
Here is Jayda's. We decided an initial would be darling. The pom poms are sewn on with embroidery thread. These shirts will obviously have to be delicately hand washed and hung to dry.
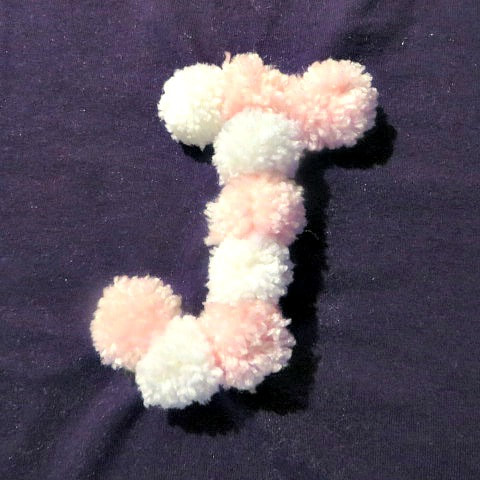
If you use purchased pom poms, they may stand a chance in the washer and dryer. But, these handmade ones are much more fragile. Be sure to sew them on tightly.
I've also seen ideas with sweaters using pom poms as polka dots, or in heart shapes. Here is a pom pom choker for just $4 right now at Lulus! The ideas are endless! If you don't have time to make anything with them, just keep one in your pocket as a warm fuzzy whenever you feel it in there! These cute fuzzy things can't help but cheer you! :) 


This is my last German dinner post! Just to recap, each month I am choosing a country and then once a week cooking a meal from that country. January has been Germany. See my previous posts on this adventure here, here, and here!
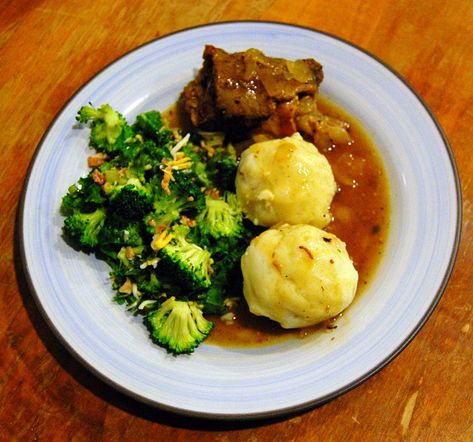
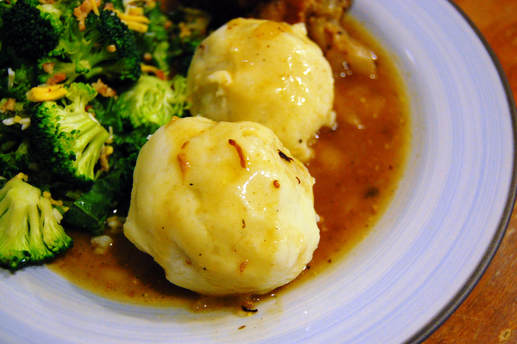
It has been a very delicious and fun experiment so far. And as a bonus I have made a German dessert that I’ll be sharing with you on Thursday! I’m taking over Renny’s Recipes this week, so stay tuned. Today’s dish is rinderrouladen and potato dumplings. Both of today’s recipes are from Germanfoods.org. Rinderrouladen
A rouladen is a roll-up and a rinderrouladen is a beef roll-up. It’s so good you guys and I didn’t even make it right (I think)! I really was trying to make an original recipe for you here but I feel like it still needs perfecting. As such, I will just link you to one of the base recipes I used and tell you my tips for it. Hopefully in the future I can update this with the recipe. (Because I will be making this again.) It was so delicious!
It’s a really thin cut of beef round or chuck. I used bottom round and chuck to try them both. Then rolled up inside is bacon or ham, caramelized onions, and a pickle. Then it's braised in beef stock for about an hour. I couldn't tell the difference between the two different cuts of meat. 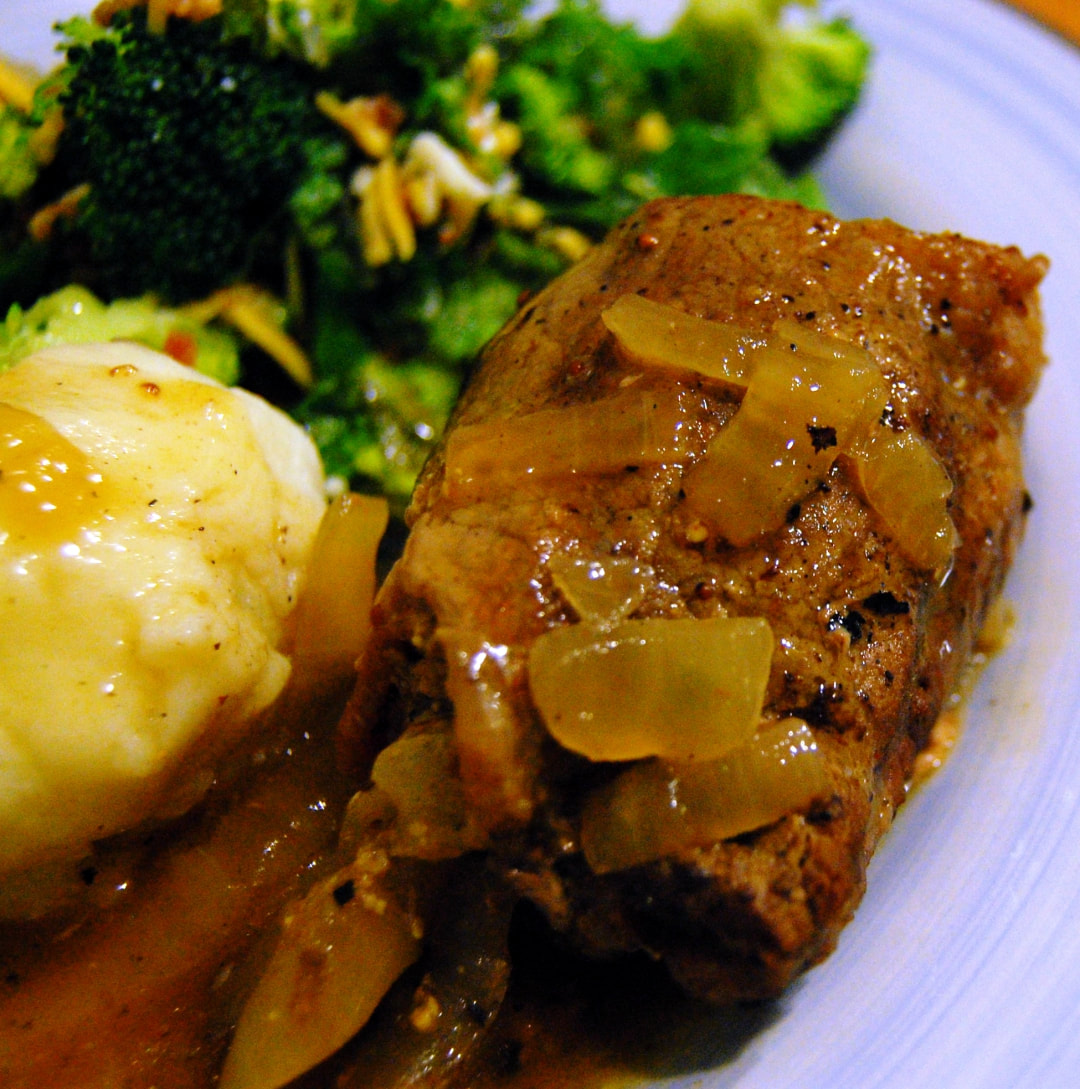
My rouladen with gravy.
Here are my tips:
This could be a great thing to make for a special occasion, like Valentine’s Day at home, a birthday, or anniversary.. The meat can be kind of expensive so it’s not an everyday meal. Potato Dumplings (Thüringer Klöße)
I have never in my life made dumplings, nor watched anyone make them. And though I have had these before and really liked them, mine turned out like weird mashed potatoes with toast stuffed inside. Also mine came out huge and only half the batch came out of the water in tact. I think watching a video of someone making these would have been beneficial for me.
Don’t get me wrong they were still good with the gravy, but I wished I had just made mashed potatoes. I’m calling it user error. I didn’t use the recipe I’m linking too, but I wish I had because it seems more detailed in the instructions. Because I need to practice these more I have no tips for you. But if you try them let me know how they turn out. I found a mix for them on Amazon that I might have to try.
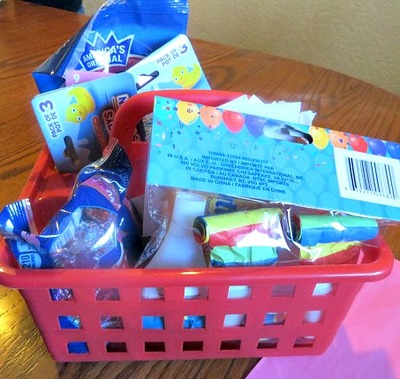
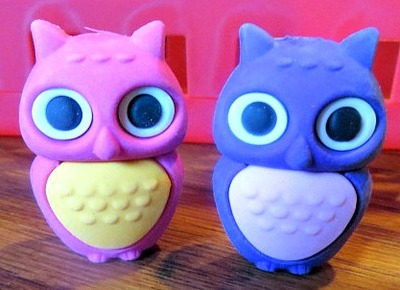
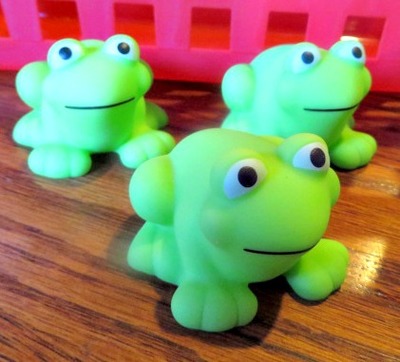
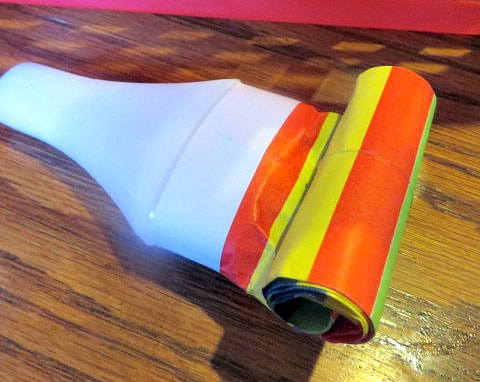
Have you tried any of the German recipes yet? Stay tuned for a German dessert on Thursday! This post contains affiliate links. We will be compensated for purchases made through those links at no additional cost to you. Thank you for your support. 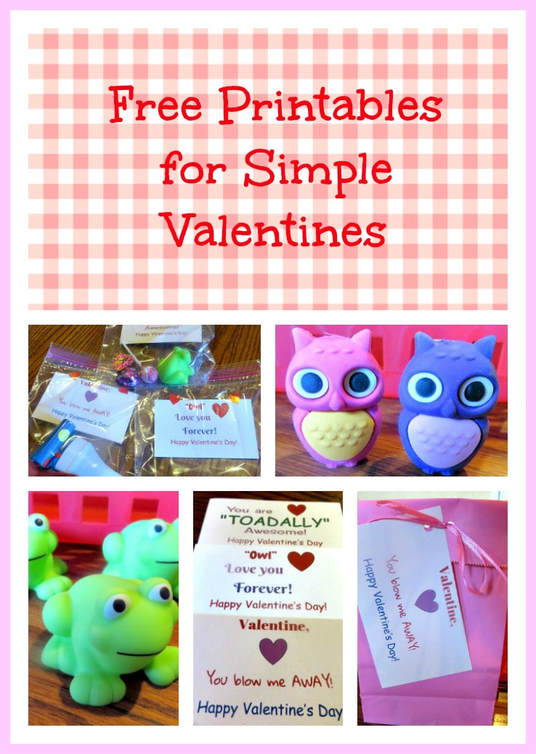 As a grandmother of 9, going on 10 grandchildren (hurray!), I like to do little things for my grandchildren that help add a little magic to their lives and to just show my love in little ways. Last year, I was a little more elaborate and I made the girls owl purses and the boys some patchwork snakes. This year, because my house is so full of people for a couple of months, I am planning on something a little less elaborate, but still sweet and fun that I know my grandchildren will enjoy. This plan of mine called for a trip to Dollar Tree to get some ideas. It was a lot of fun. Look what I found! (Most are linked for your convenience!) There are so many cute little sayings that could go with these little favors. I chose 3. 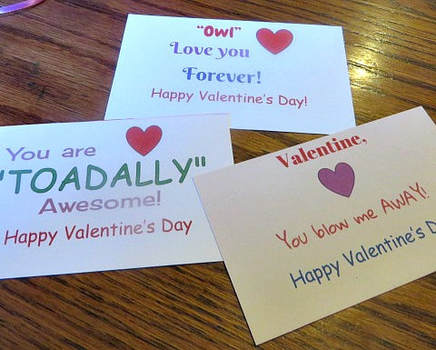 Here are the pdfs for them so that you can print them off. Just click a button. Then be sure to choose 3.5 x 5 paper. I just printed them on 3.5 x 5 cards. Do not click fit to page. There are a lot of cute ways to package these cute Valentines. You could use these cute pink bags from Dollar Tree and tie them with ribbon. 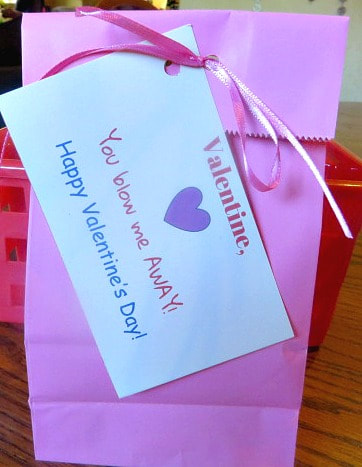 I filled the bag with the blow-out toy, a balloon, some bubble gum and of course a few candy treats. (Get the blow reference?) 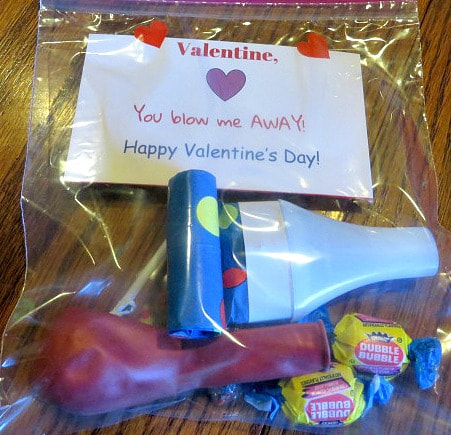 Or, you could just use a zip lock baggie to hold everything. I used heart stickers to attach the card to the inside of the bag. I just remembered that I need to sign the card! If you would like, you could always just use one of the toys to get the message across. I just like the variety. 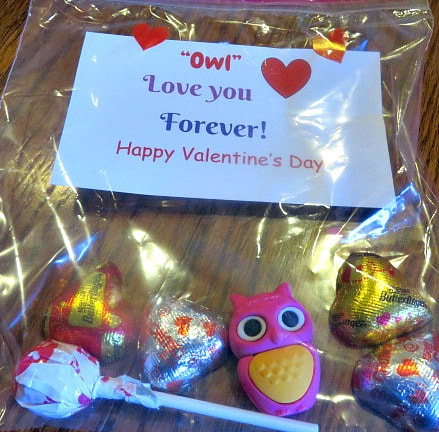 The owl is just so cute. They come in multiples of 9 in the pack I purchased. You could put in more than one as they also come in multiple colors. 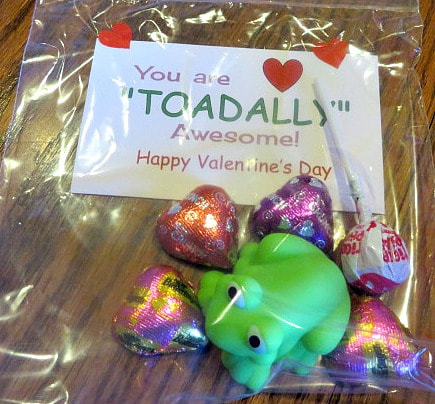 My 4 year old grandson saw these frogs in my bag when I came home from the store, and he got so excited! I guess he had better get one in his gift. Because 3 of my grandchildren are in school and will come home with lots of Valentines, I think it is nice to do these little Valentines for the little ones still at home so that they don't feel left out! It is a fun way to teach them to do kind things for others. I think the Blow Me Away Valentine would be great for a classroom party. (Perhaps leave out the gum!) 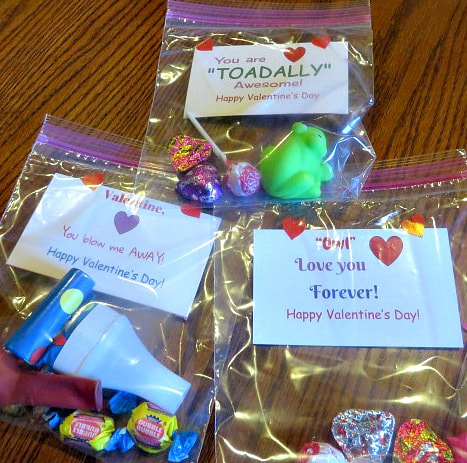 We will be back this week with more fun Valentine ideas! Be sure to check back! In the meantime, check out some of our past Valentine's Day posts!
|
Creators of Hot Cocoa Bombs! (copyrighted)

Author
Helen Reynolds: Mother of six children , grandmother to eleven! I love to cook, craft and create things and I especially love doing that with my family, So, when my lawyer daughter, Lindsey, my artist daughter, Madalynn, and I came up with the idea of Hot Cocoa Bombs, this blog was born. Then, one more daughter, with her technical and science skills, plus creativity has joined in to round us out! Read more about us here! 
Click this link and visit 3WinksDesignShop on Etsy. Find our Hot Cocoa Bomb Idea Book, our For the Love of PIe e-book and more of our creations!

Amazon Gift Cards are the Perfect Gift!
    Archives
July 2024
|

 RSS Feed