|
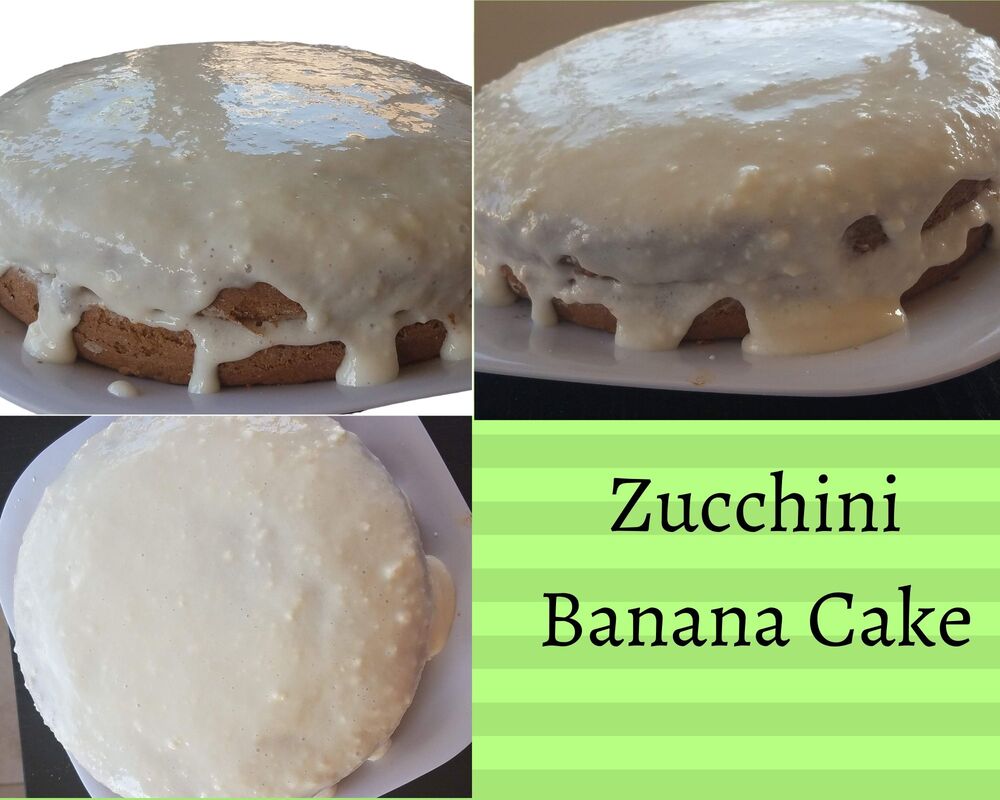
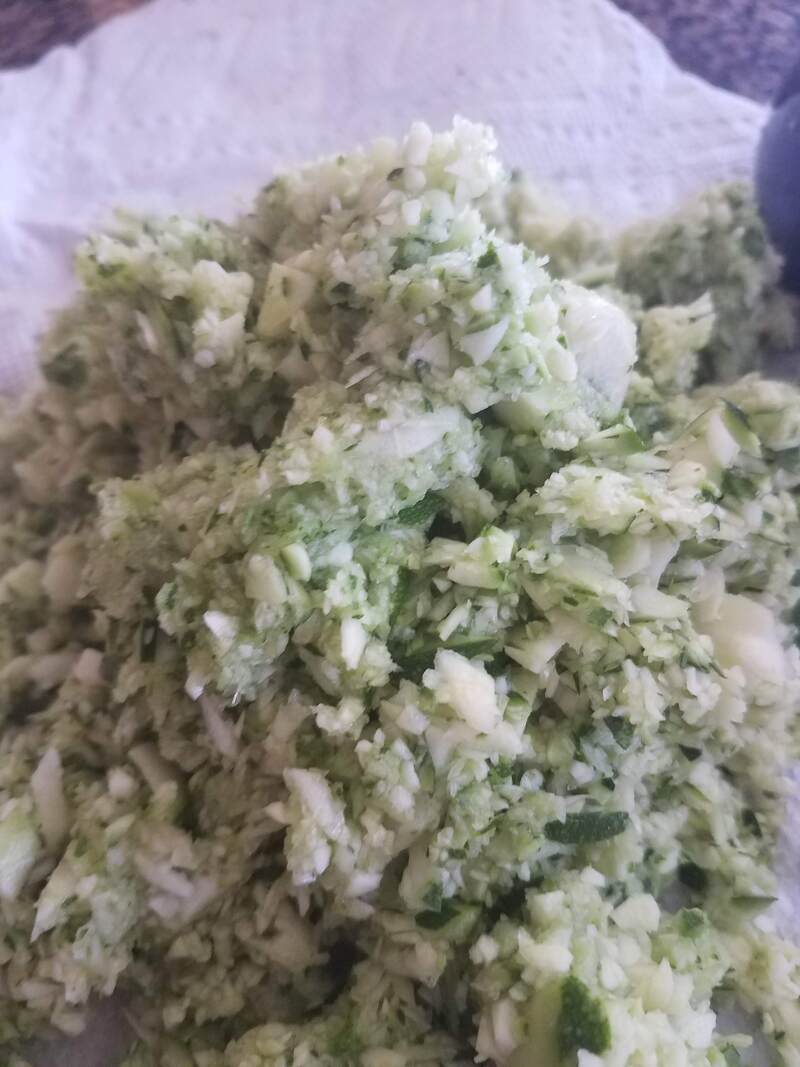
This post contains affiliate links. I will be compensated for purchases made through those links at no additional cost to you. All views expressed are my own. Sometimes I think about how our grandparents, great grandparents, and maybe even our parents grew up having dessert as part of their dinner fairly regularly. My mother in law came to visit about a month ago and was talking about how every Sunday night there was pie. Her mom would bake a pie once a week. Once a week! I love baking desserts, but I generally avoid making dessert for dinner because it takes extra time, and then there are all the extra calories. Dessert is usually reserved for when we're having people over. Sometimes though, I think about having Sunday dinner with dessert. With that thought in mind, I baked this cake yesterday. We shared our Chocolate zucchini cake recipe and I thought about baking that because I had some zucchini, but I also had bananas and thought maybe a non-chocolate cake would be nice. So I did some experimenting and came up with this zucchini banana cake with a delicious cream cheese frosting. We all enjoyed it, and really, you get the added bonus of knowing that even though you're eating cake, there is a vegetable AND A fruit in it, zucchini and banana! A great marriage for a great, moist cake that you can say is healthy (er)! It's a win win. Although, I did decide I'd probably hold off on Sunday night desserts until we have more children and they are a bit older. Because, that leaves a lot of cake to finish off during the week, and I have a husband who doesn't eat leftovers. It's really not helpful. YOU can make this cake, and it will be a hit! I threw my zucchini in the food processor because it is faster. I chopped them up until they looked like this. I threw the zucchini in last and just left it sitting on a paper towel to absorb moisture until I was ready for them.
This zucchini banana cake is also easy to make gluten free. I just substituted regular flour for Bob's Red Mill 1 to 1 Gluten Free All Purpose Flour and it still turned out great! Also, if you wanted to make it vegan you could substitute the eggs for flax eggs and instead of cream cheese frosting, make coconut whipped cream instead! I might try that the next time because I do think the whipped cream would go perfectly with the light taste of this cake! Happy baking!
0 Comments
**This post contains affiliate links and I will be compensated if you make a purchase after clicking on my links. But, all opinions expressed are my own.
Hey Alicia here.
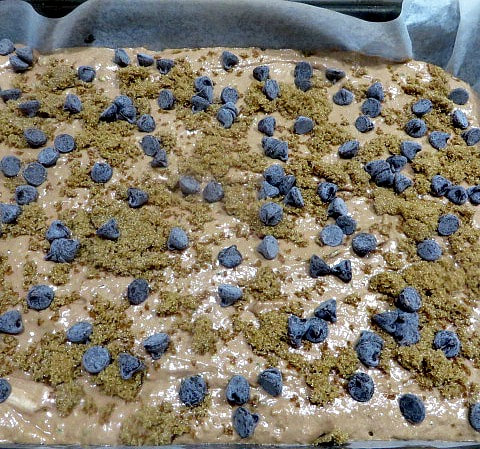
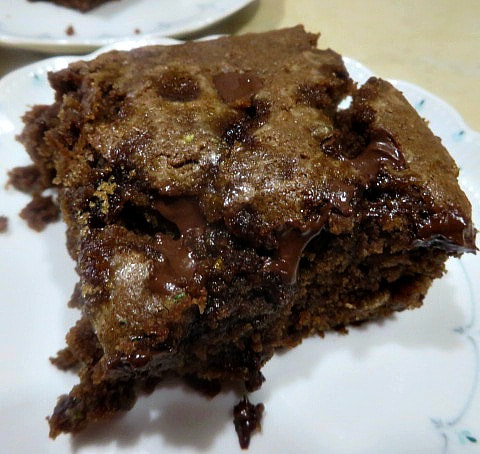
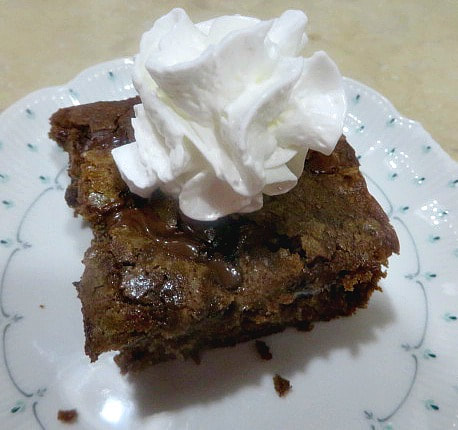
We originally posted this recipe last year in May, but I live in a different state and didn't get to try the cake the first time around. So, I made it recently with a giant zucchini my friend gave me from her garden and it was seriously THE BEST CAKE I'VE EVER HAD. It was fluffy, moist, soft, chocolatey, deliciousness. It was light and airy. I wanted to make this cake again before it was even all gone. I especially love that this cake doesn't need frosting. The brown sugar chocolate chip topping was PERFECT! I decided we need to share this recipe again because now Is the time of year when people start finding huge zucchini in their yards that are perfect for baking. Try this, you will NOT regret it. Seriously, I'm considering not eating zucchini any other way from now on. To really make your cake fluffy make sure you cream the butter and sugar really well, until they are light and fluffy and almost increase in volume. Doing this helps to trap air into the batter. Then I repeated this process when I added the egg in (beating it for a little longer to fluff up the wet ingredients). It made it amazing. Go and make this cake and be amazed at the results. You won't regret it! Original Post Below:
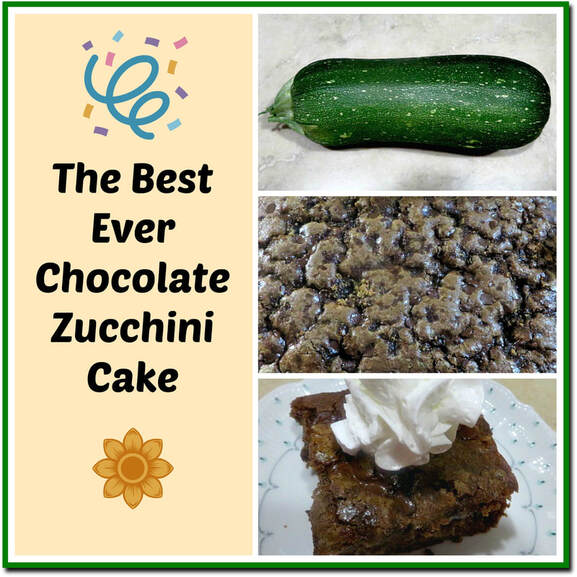
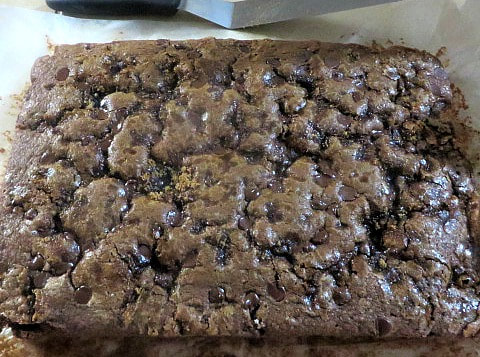
My DIL's mom, Anita gave me a giant zucchini. Yes, we know that the smaller ones are the ones you are supposed to pick to cook up for a delicious dinner veggie. But, if you have ever grown zucchini, they somehow have a way of hiding until finally one day there is a giant one laying there taunting you to do something with it. Anita found this particular one before it had a chance to become extraordinarily huge, but it was big enough for me to make 2 recipes out of it! Today I will share with you the first thing I made with it. It is The Best Chocolate Zucchini Cake Ever!
When Anita handed me the zucchini, she said, "Here! Make some zucchini bread!" I had every intention of doing that and taking her a loaf. But then one afternoon a couple of days later, I looked in the fridge and realized that I needed to use that zucchini and the idea of a chocolate zucchini cake came into my head. I had heard about them before but never made one. I as so glad that I did because this cake came out so moist and delicious, much better than any zucchini bread I had ever made! This particular recipe was adapted from an old church recipe compilation. It doesn't need frosting because it has a brown sugar, chocolate chip topping that is perfect!
Now, here is my secret "oops" moment that caused this cake to be so moist, I believe. I used my food processor to grate the zucchini. I accidentally left the chopping blade down in the bottom of the food processor! What I ended up with was coarsely chopped, slightly pureed zucchini. It was almost like a very thick applesauce, only zucchini. Well, I couldn't waste it, so I went ahead and made the cake anyway! It was an amazing success. I took it to our church choir practice to share it. It was a hit!
Even if you don't have a giant zucchini, you can use regular sized ones for this recipe. Later, I will give you the recipe for what I did with the rest of the zucchini!
Have you ever made a silly mistake that ended up making your recipe more delicious? Let me know in the comments!
If you don't have any zucchini at all for this recipe, here is one that Lindsey made for Memorial Day last year!
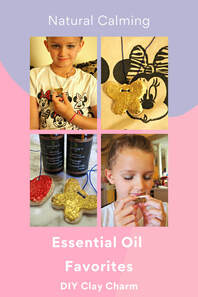
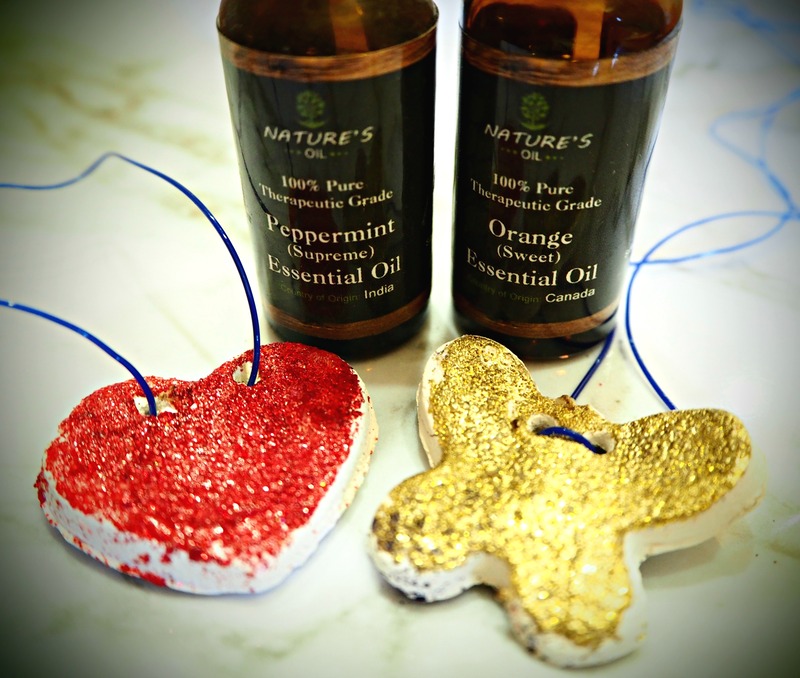
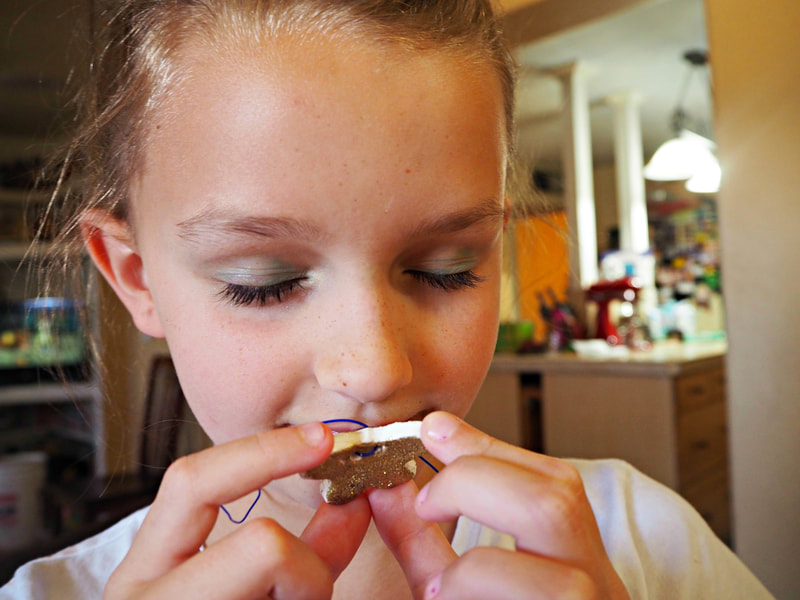
This post contains affiliate links. I will be compensated for purchases made through those links at no additional cost to you. All views expressed are my own. Thank you for your support! My granddaughter is a beautiful, friendly, outgoing, creative, loving almost 9 year old who loves to play with make-up and other girly things. She really wanted to be with my husband and me this summer. We went up to Wyoming and picked her up, along with one of her brothers, and brought them home with us for most of the summer. Since they had a weird school year like everyone else, we felt like we could spend this quarantine time doing summer school with a private tutor, ME! It has been a lot of fun! They are bright students and I am so proud of them. My granddaughter has such an active mind and one of the things we have had to work on is her ability to concentrate and stay on task. When she does, she does beautiful work. But when she is distracted, her comprehension suffers. She isn't so bad that she needs medication, but I thought it might be nice to use some essential oils to help calm her mind that always seems to be going a mile a minute. I came up with an idea that she could participate in and it is a project that speaks to the girly girl in her. We made self drying clay charms that will absorb essential oil. She can wear the charm as a necklace and the aroma of the oils can help her to calm her mind. I am not an expert in oils, and I have done research into the ones that I do use. I have shared the ones that I use with you in a past post. I tend to be very cautious of course, especially with my grandchildren. That is one reason I decided to use the aromatic way of employing the oils in this case. What Oils Are Good For Calming and Concentration? I did my research to discover what oils might be helpful to help increase my granddaughter's concentration and focus. My friend is a doTERRA representative, so I asked her for her advice. I also searched for information online. The following list contains the oils that I have found to be recommended over and over again to help with calming, focus, concentration and memory:
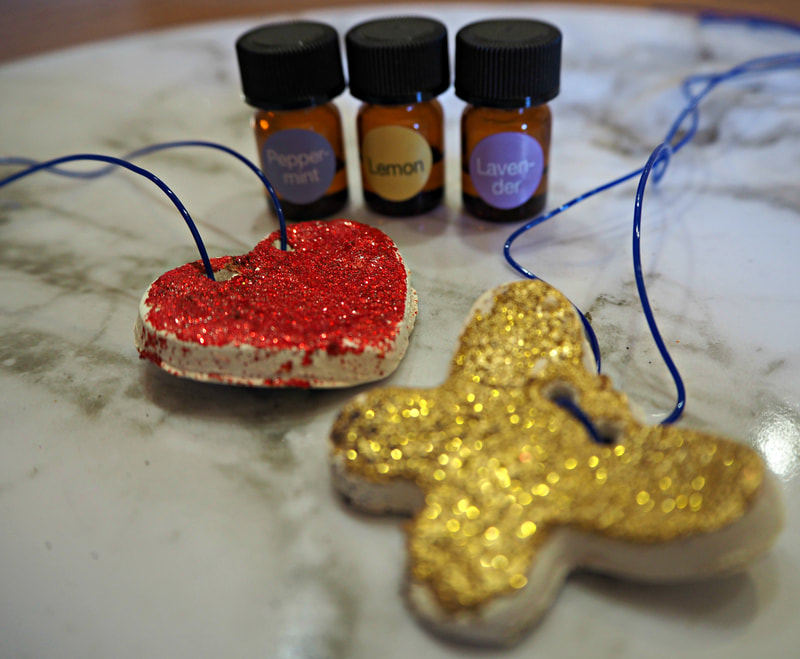
So, in my stash of oils I already owned Lavender, Lemon, Sweet Orange and Peppermint. We started with those, but I'm pretty sure that I will be ordering the Rosemary and Basil as well. How We Made the Charms:
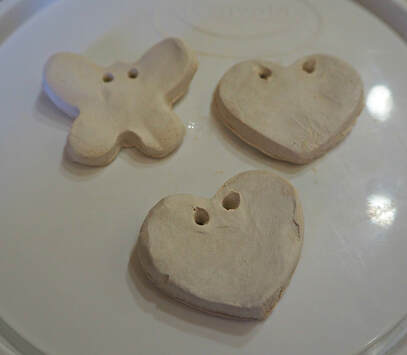
Decorating the Charms: When my granddaughter and I made these, I let her do the rolling out and cutting of the shapes. I did the next part. It is important that when you decorate the charms that you leave one side plain so that you have a place to put the essential oils and the clay will be able to absorb them. We chose to use embossing powder to make the outside of the charms glittery. I talked about using embossing powder and a heat gun on this post. For these clay charms, I spread on a light coating of glue, sprinkled on the embossing powder and shook off the excess. Then you heat the powder with the heat gun to melt it. I suggest using a medium heat because if the clay gets too hot, it may crack. (Trust me.) After the powder is melted, don't touch the charm for awhile because it will be HOT! When they have cooled a bit, push the pencil through the holes again to make sure the embossing powder didn't clog them up. Measure the length of thread you need and put it through the holes. We used an elastic cord for jewelry. You could use jute, baker's twine or whatever you have. Just be sure that it will fit over the child's head and tie a good knot to hold it together. You could also use paint or glitter on your charms or even small beads or buttons or whatever you would like. Just leave the back part plain. Applying the Oil: Okay, this part was totally trial and error. I turned the charm over to the bare side and put on drops of oil and let them soak in.
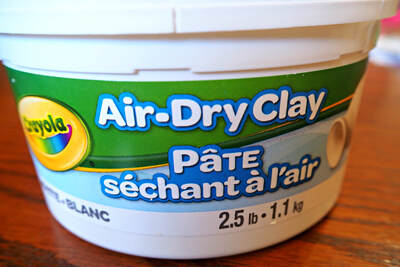
Now for the test to see how she does during summer school, especially during silent reading and reading comprehension. My Observations: As we began to do our school work the first morning, I had my granddaughter inhale the aroma on her charm. At first I didn't notice a big difference as she started to settle into her work. I reminded her that if she felt distracted from her work, she should take a good sniff of the charm's aromatic oils. She soon settled in and got to work. I purposely gave her an assignment that was unfamiliar to her to see how she handled it. I had to explain it to her twice, but then she completed it very insightfully. I then put her on the computer to complete an online reading comprehension assignment. She struggled at one point and I reminded her to take a breath of the scent and to go back and reread. After that she completed the assignment with a 100% score, which isn't unusual when she stays focused. We did reading fluency and she made zero errors. Finally, I sent her off to do silent reading in a chapter book. This is usually where she struggles and gets distracted and doesn't want to read. But, this time she read and came to me to tell me about what she had read without me even asking her! I am calling day 1 with essential oils a success. I will update later as time progresses. I will also let you know how often I need to reapply the oils to keep them fresh and effective. I came up with this idea because I had seen air-dry clay Christmas ornaments that are scented with pine essential oils. I decided that if they work for that, they should surly work for a little girl's necklace.
Let me know if you give this simple project a try. Just having a necklace with the sweet orange alone will perk anyone's spirits! I am coming up with a design for my grandson now. He would rather have a dinosaur than a butterfly!
This recipe was originally posted in July of 2017. We're bringing it back up to remind you that it is a great time for pie!
This post contains affiliate links. We will be compensated for purchases made through those links at no additional cost to you. All views expressed are our own. Thanks for your support!
With the Fourth of July just around the corner I wanted to reshare one of my favorite pie recipes, this delicious Strawberry Rhubarb pie! I really hope you're all planning a special Fourth of July celebration. I feel like we need it this year more than ever. Many people are hurting, but I feel like a Fourth of July celebration can be a symbol of hope. The beauty of America is we are allowed to express what we think and feel and try to change for the better. That is what we should celebrate, the freedom that allows us to do that!
I hope you make this pie as part of your celebration, and don't forget that you can buy our pie e-book for lots of other delicious pie recipes. (Linked in side bar.) Happy Fourth of July!
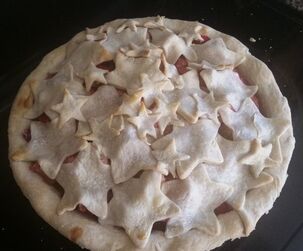
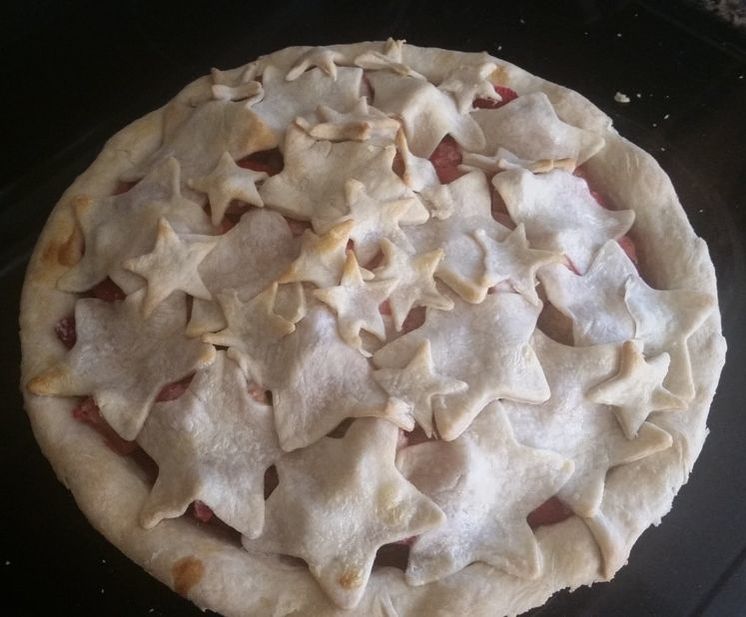
Hello everyone! I hope you had a lovely and wonderful fourth of July! We had the family over yesterday for a barbecue and swimming. It was a great time and I am really thankful that PH and I were able to buy this house where we can have family over and celebrate together. We had great food because PH is a master barbecuer. Also, I set to work yesterday to make a strawberry rhubarb pie. As you may remember from this Friday Faves post, Madalynn's favorite pie is strawberry rhubarb. I love making strawberry rhubarb pie, and I decided that I wanted to fancy it up for the fourth. So I did a crust topping of stars, as pictured above.
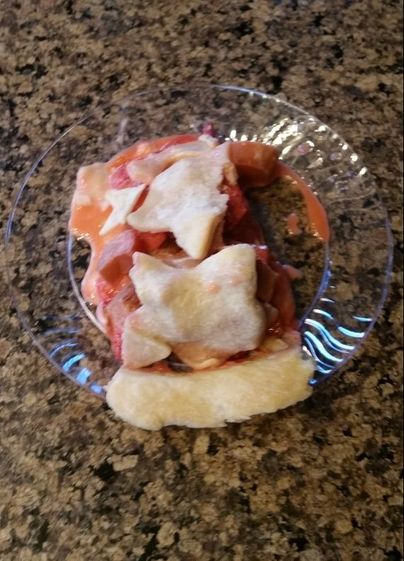
I tried to get a nice shot of it sliced, but I am not the best pie slicer. Don't worry though, that doesn't affect the taste. We ate it with a side of ice cream. So now I am going to give you my recipe for this delicious pie. Don't forget to check out all the rest of our pie recipes here. We love making pie in this family, and we want you to love making it too!
Strawberry Rhubarb Pie
For the pie crust: Use our recipe here For the filling: 3 1/2 cups sliced strawberries 2 1/2 cups sliced rhubarb (it's okay to use frozen, especially if you live in a place like Phoenix 1/2 cup granulated sugar 1/2 cup honey 1 TBSP lemon juice 1 tsp vanilla 1/2 tsp cinnamon 1/2 cup cornstarch 3 pats of butter 1 TBSP heavy cream Directions: Preheat oven to 400 degrees Fahrenheit. After putting the bottom crust in your pie pan (9 inches) mix together all of the filling ingredients except the butter and cream. Stir together and pour into pie pan. Top with the pats of butter.For the top crust roll out the dough. Using two different sizes of star cookie cutters cut out stars. Starting at the outer edge place larger stars around in a ring and moving in to the center. Fill in large gaps with the smaller stars. Brush the top with the heavy cream. Place in the oven for 20 minutes. Then reset the oven to 350 degrees Fahrenheit and continue baking for another 25 minutes. Remove from oven and allow to cool before eating. |
Creators of Hot Cocoa Bombs! (copyrighted)
Author
Helen Reynolds: Mother of six children , grandmother to eleven! I love to cook, craft and create things and I especially love doing that with my family, So, when my lawyer daughter, Lindsey, my artist daughter, Madalynn, and I came up with the idea of Hot Cocoa Bombs, this blog was born. Then, one more daughter, with her technical and science skills, plus creativity has joined in to round us out! Read more about us here! Archives
July 2024
|



 RSS Feed