|
This post contains affiliate links. I will be compensated for purchases made through those links at no additional cost to you. We do not share your information with other sites. All views expressed are our own. Thank you for your support!
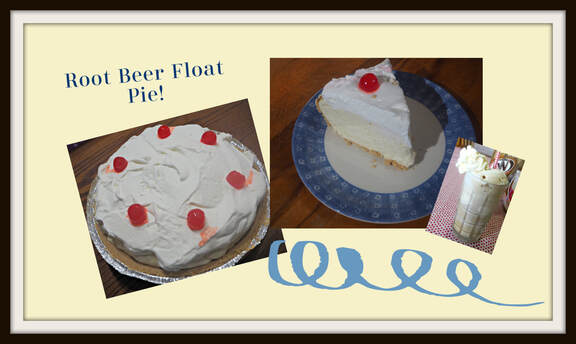
Whoo Hoo! This is a 2 pie week on the blog! On Wednesday, Alicia showed you her beautiful Vanilla Apple Galette. She lives in the Bay Area of California where it isn't too hot to bake. But, if you live in Phoenix, this Root Beer Float Pie is the way to go.
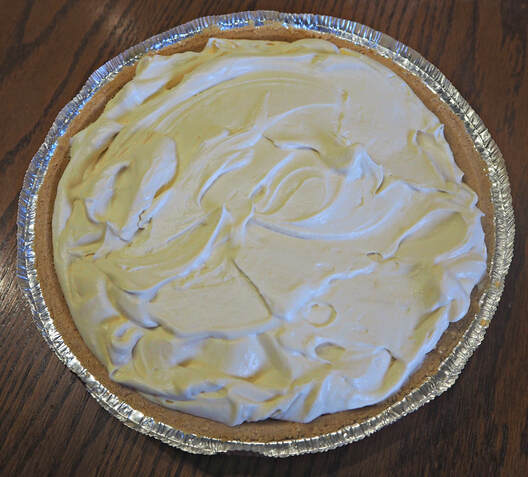
It is not secret that I absolutely love root beer and root beer floats. I did an entire post about how make the perfect on here. My favorite part of a root beer float is when the ice cream gets all melted into the root beer leaving creamy deliciousness. That is the part of the float that this pie reminds me of. To make it extra creamy, I use half and half in the recipe. To make the root beer flavor really come through, I use root beer extract along with real high quality root beer.
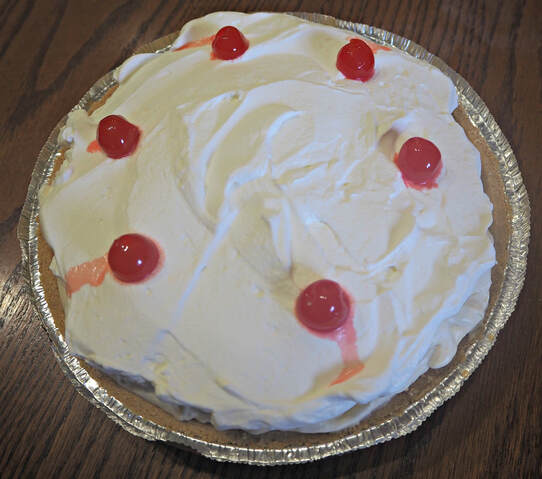
To top the root beer filling, I refuse to use a non-dairy frozen topping. Only the real stuff for me, real whipped cream! And don't forget the cherries, even though the juice gives a blood like appearance, the kids will love that! The cherry flavor really gives some authentic root beer float taste.
I hope you love it! Let me know if you give it a try!
Here are a couple other root beer recipes:
1 Comment
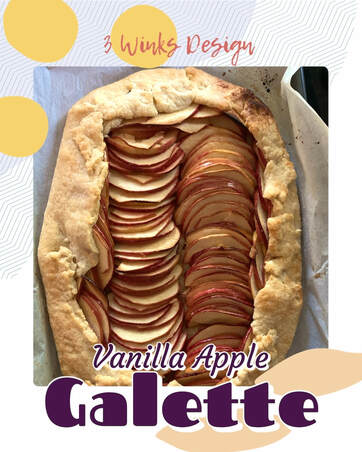
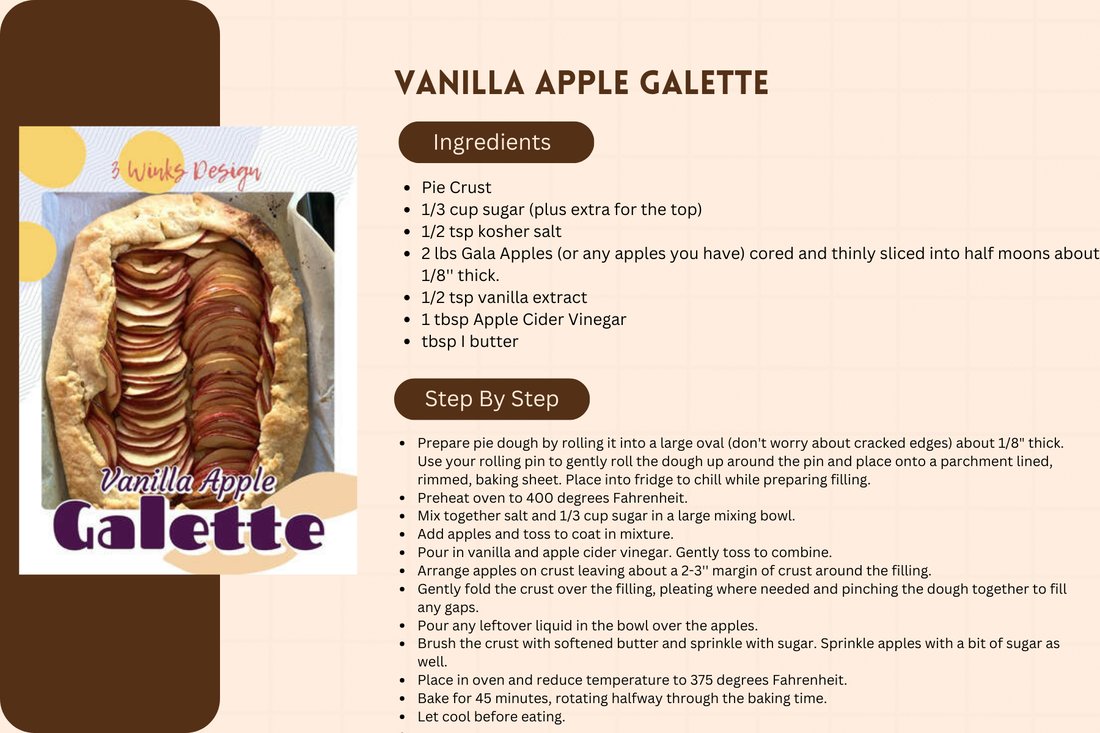
This post contains affiliate links. I will be compensated for purchases made through those links at no additional cost to you. All views expressed are my own. Thanks for your support! Are you intimidated by pie, specifically the crust? I think the crust is the scariest part of the pie for many people. But it doesn’t have to be. We have a few resources to help you with your pie making skills such as numerous blog posts and , of course, our pie recipe book “For the Love of Pie.” Today I present you with a recipe that will help you get you comfortable with the crust; Vanilla Apple Galette. To make this you will want our pie crust recipe! Vanilla Apple GaletteA galette is a rustic, free-form pie. It is also delicious. It’s also a great last minute dessert (for instance if you find out an hour or two before you have to leave for dinner that you’re bringing dessert). I had everything I needed for this recipe in my pantry already. The prep from start to finish was probably 15-20 minutes and that includes making the crust, coring, and slicing the apples. Even arranging them in an appealing way didn’t take too long. This is a deceptively simple recipe that makes you look like a master baker and will help you get the hang of pie crust. Because the pie is free-form it’s ok to have raggedy edges and cracks around the edge of your crust. There more you make galettes the more you will get the feel of how pie crust works and likes to be handled. Let us know how your galette turns out!
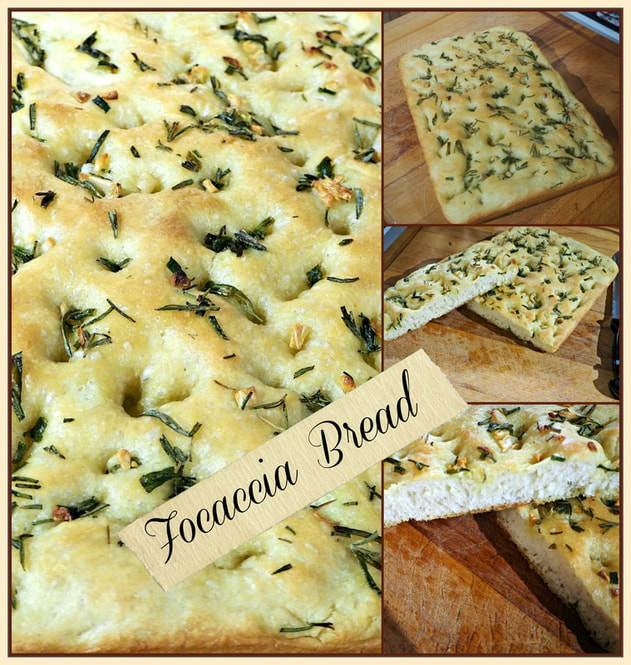
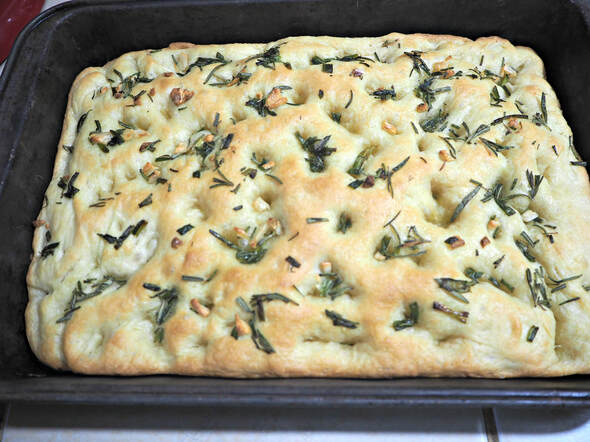
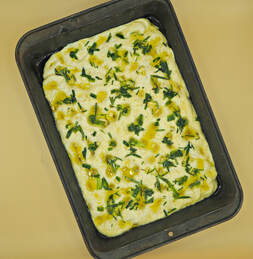
This post contains affiliate links. I will be compensated for purchases made through those links at no additional cost to you. All views expressed are my own. Thanks for your support! My son baked some focaccia Bread, and then his SIL did as well. The pictures looked so delicious. I had never made focaccia bread myself and decided to give it a try. I have a number of herbs that I have been growing and this was the perfect opportunity to use them in a new way. Focaccia Bread is very easy to make and is a lot of fun! You really get to put your hands in the dough. The outcome is so delicious because the olive oil is definitely the star of the show. In addition, there are so many topping choices that a variety of flavors are possible if you are making more than one loaf. Wouldn’t that be nice on a luncheon table? Many people use focaccia for sandwiches or for pizza, and of course, just to eat all by itself. As I mentioned, focaccia bread is very easy to make. My first attempt came out so good! I was nervous because there was so much olive oil! But, when it came out of the oven that was all incorporated into a bread that was crispy on the outside and soft on the inside. The olive oil and the herbs with that sprinkle of salt were an explosion of flavor in my mouth. One tip to get the most flavor from the herbs is to make sure that they are coated with the olive oil. I watched some Italian You Tubers who gave that suggestion. I guess the oil helps to bring out the flavor and convey it to the bread dough. So, you will notice in the recipe that I soaked my herbs in the olive oil that I used in the bread dough and also drizzled over the bread. Another tip is about the kneading technique for this bread. Not everyone does this method, but a number of bakers do and I decided to try it. It is the stretching and pulling method. I like it because the dough is pretty sticky and needs to be in order to get the texture that you want in focaccia bread. With the stretch and pull method of kneading, you are elongating the gluten without adding too much flour to the mix as you would with a regular kneading method. Here is how you do it:
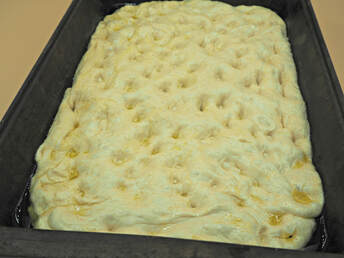
My final tip pertains to dimpling the top of the bread. Focaccia is supposed to have lots of lumps, bumps and crannies where the oil and toppings can gather. Adding the dimples also keeps the bread from rising too quickly. Focaccia is a flat bread and this is a way of keeping it that way! Putting water on your fingers helps them not to stick in the dough. Then, use those fingers to push into the dough to form the dimples. It is the fun part of making this bread! Don’t be afraid to push in until you feel the bottom of the pan. My recipe is a conglomeration of various recipes and videos that I watched as I tried to glean information about making focaccia. Some of the videos weren’t even in English! But, my main source was probably from Immaculate Bites who also gave me the instruction to infuse the oil with the herb flavor, although she did it differently than I did. You may want to go to her site to see how she did it. She used her machine to do the kneading and didn’t do the stretching and pulling method, so you can choose to do it whichever way you prefer. Focaccia seems to be a hands on bread though. Many people mixed all of it by hand from start to finish! But, here is the recipe that I ended up adapting to my preferences. I hope you enjoy it! One last tip! Focaccia Bread tastes the very best when it is still warm on the first day it is made, so have some friends over or get all of your kids to the table and eat it all up! You can warm up the leftovers in the microwave, but I still think the first moments after it cools slightly out of the oven is the best time to gobble it down! Other Bread Recipes you may enjoy!
This post contains affiliate links. I will be compensated for purchases made through those links at no additional cost to you. All views expressed are my own. Thanks for your support!
Hey everyone! Remember a couple weeks ago when my mom did this post about beets? She gave you lots of different ideas for how to eat your beets. Well, my SIL's mom's garden was still exploding with beets, so when we went to our nephew's social distancing birthday party at her house, she was giving away beets, and we took one. She also had some beet chips she had made in her air fryer. Veggie chips are all the rage these days, and they're really so easy to make! If you remember from posts like this one, we also own an air fryer. So I decided to try my hand at making my own beet chips! It was really so easy! For this recipe there are a few kitchen gadgets you will need. I've linked to them at the bottom of this post so you can get everything you need to make your own beet chips. You'll need a mandolin to slice the beets nice and thin. Then, mix together the following ingredients: 2 TBSP oil (I used olive oil) 1 tsp salt 1 tsp black pepper Toss your beet slices in the oil mix. Place in your air Fryer and cook at 320 degrees for 25 to 30 minutes. Stop every five minutes to toss the beets to make sure they're evenly cooked and they don't get burned. That's all you need! You can store your beet chips in an air tight container. Mine have kept for about a week and a half now, and they're a nice, fresh treat whenever you want something crunchy and delicious! Follow the links below to make sure you have everything you need to make your own beet chips and start enjoying them today! |
Creators of Hot Cocoa Bombs! (copyrighted)
Author
Helen Reynolds: Mother of six children , grandmother to eleven! I love to cook, craft and create things and I especially love doing that with my family, So, when my lawyer daughter, Lindsey, my artist daughter, Madalynn, and I came up with the idea of Hot Cocoa Bombs, this blog was born. Then, one more daughter, with her technical and science skills, plus creativity has joined in to round us out! Read more about us here! Archives
July 2024
|



 RSS Feed