|
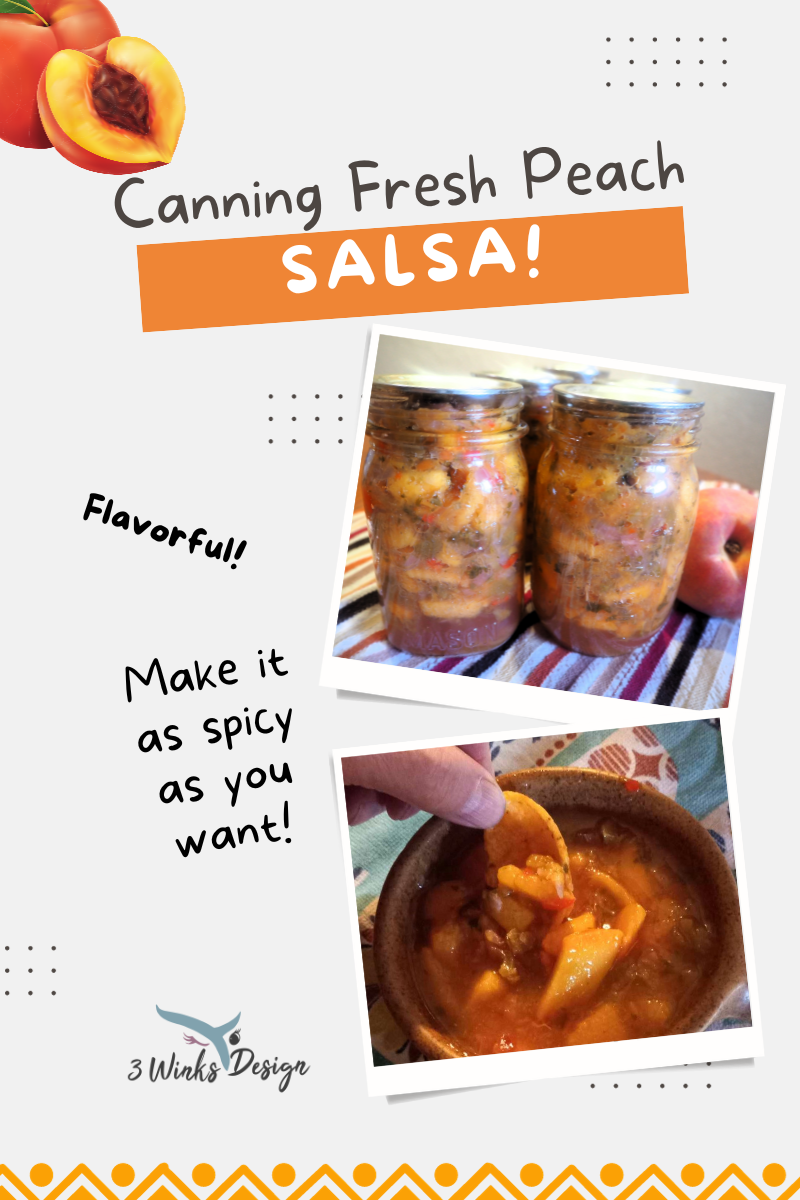
This post contains affiliate links. If you make a purchase after clicking them, we will be compensated, but there is no additional cost to you. All opinions expressed are our own. Thank you for your support. After canning 21 jars of peaches, (that is 3 canner loads), I thought I had finished with the peaches and was feeling quite accomplished when I came home on Saturday afternoon to a new box of peaches that my husband had been gifted! My first thought was, "Wait! I thought I had finished canning peaches this year!" But nope, there was another box! Not one to look a gift horse in the mouth, I set about deciding what to do with these! I thought about making peach butter, but my cupboard of jams, jellies and butters is so full now that when I give jam away, it still seems to multiply! (I know, I do have a habit of coming up with new jam and marmalade recipes, so it is my own fault.) Plus, I still have apples to finish processing, so I still see apple butter in my future. So, peach butter was right out.
Then I spied a recipe for peach salsa and I knew right away that was the right decision!
2 Comments
This post contains affiliate links. I will be compensated for purchases made through those links at no additional cost to you. All views expressed are my own. Thank you for your support! Isn't it funny how sometimes you get a new gadget for your kitchen and you fall in love with it and use it constantly for awhile? At least until you get your next new thing! Trying out a new gadget can keep your time spent in the kitchen fresh and more enjoyable than just doing the same old things over and over again. Sometimes I don't like to break away from my old ways, but then I discover a new kitchen gadget and I fall in love with it.
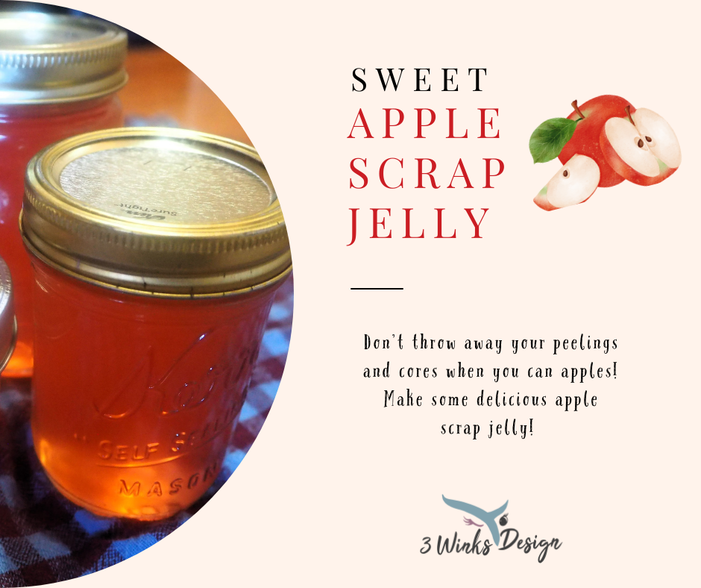
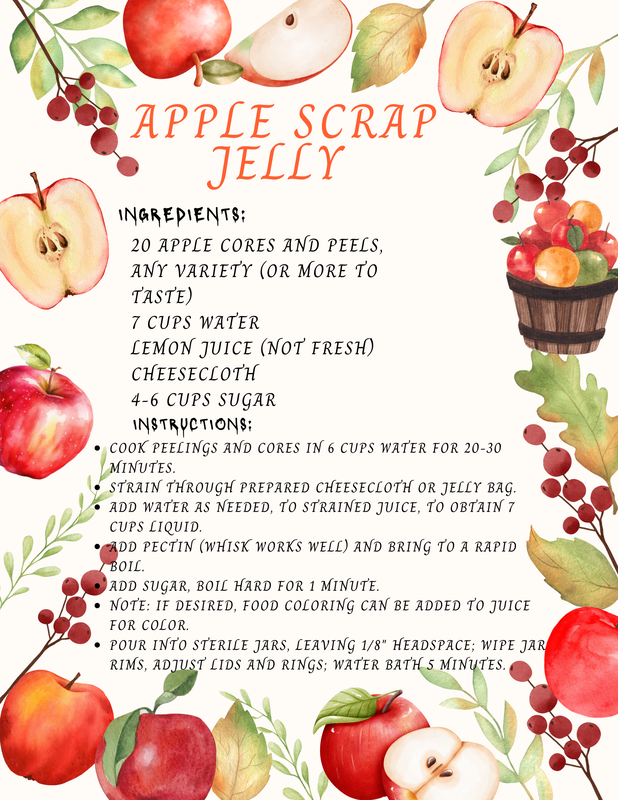
I recently purchased a new gadget from my sister's Pampered Chef party that I've had fun with and thought I would tell you about it. Then I thought it would be fun to hear what my girls are enjoying right now as well! This post contains affiliate links. I will be compensated for purchases made through those links at no additional cost to you. All views expressed are my own. Thank you for your support! I recently was able to get half a bushel of gigantic Honey Crisp Apples, grown in Utah. I decided to can Red Hot Cinnamon Apple Rings but the apples were so big they wouldn't fit into my jars as a ring and I had to half them. But, they still look beautiful. When I can apples or make pies, I always feel a little bit bad about throwing away the peels and scraps. We hate to waste things around here. Then, I found out that you can make apple jelly out of them! Of course, I had to give it a try! As I researched recipes, I found that some recipes used pectin and others did not because apples are naturally high in pectin you may be able to boil the jelly long enough to thicken it without adding additional pectin. I opted to use pectin because since it was the first time I was making it, I didn't want to take the chance of not getting a set. Well, the jelly still didn't set as firmly as I had hoped even though i also boiled it much longer than I normally would, so it is a good thing I did add the pectin. At first I thought it wasn't going to gel at all, but jelly, unlike jam, will set up as it gets colder and I was happy to get a bit of a gel by the next morning. There could be a few reasons why my gel was softer and I need to experiment with these reasons the next time I try it:
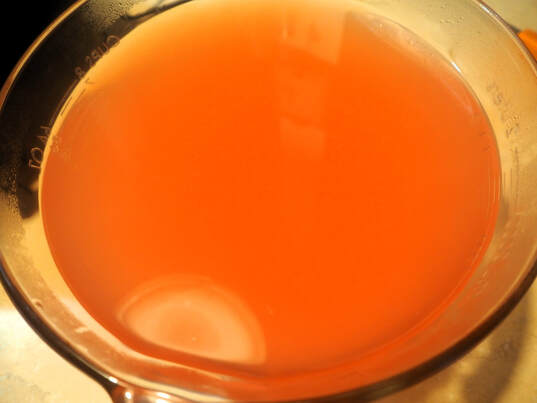
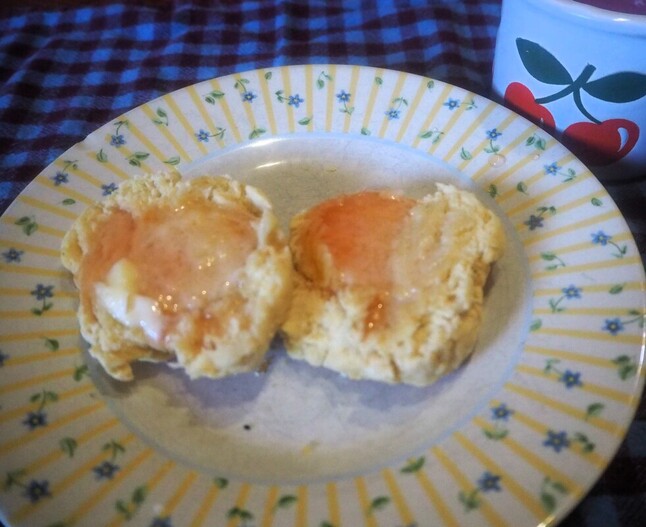
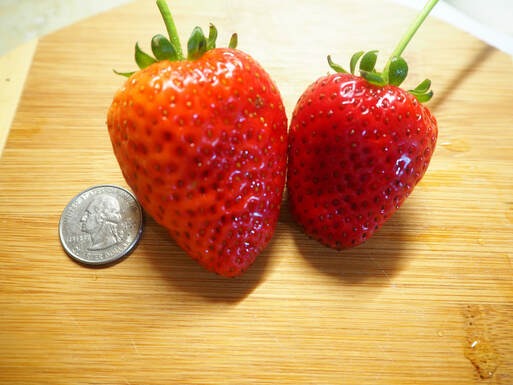
When I make updates to the recipe, I'll let you know. Additionally, if you would like to replace the water with apple juice, that is an option! On the bright side, even if the jelly is thin, it will still be great on pancakes or to glaze meat or to add to apple pie filling. And look what a pretty color it has! Because I had a bit of the Red Hot liquid in mine, that definitely helped with the color. But I also read that depending on the variety of apple you are using, the color will vary. One recipe I read said that Jonathan apples are great for adding the red color to the jelly. After cooking the peels, you will see that the color is all out of the peels and transferred into the juice. This is what my juice looked like after straining out the juice from the pulp: The color of this jelly is so pretty, it would make a really beautiful gift this Christmas! When I woke up this morning and found a bit of a gel, I was so happy! So, I made some Bannock to try it out on, which made my husband very happy! The Bannock was warm, so of course, the jelly melted right away, but you can still see the beautiful color and the taste was terrific! My husband went back for seconds! Oh! And one more great thing about this recipe for Apple Scrap Jelly is that it makes a lot of jelly jars full of jelly! I was able to get 10 jars! (That number includes the jelly crock you can see in the above photo! It was full to the top! ) I love the satisfaction of using every bit of my apple purchase without waste. It makes me feel like I am getting my money's worth and I feel so accomplished to be able to feed my family by preserving produce by canning! Be sure to let me know if you have ever tried to make Apple Scrap Jelly and if you have any tips for me to get a little stiffer gel. I'd love to hear your comments! You can click on the recipe below to print! This post contains affiliate links. I will be compensated for purchases made through those links at no additional cost to you. All views expressed are my own. Thank you for your support! We've lived in Phoenix a long time now, and whenever I've gardened, it has been in the Early Spring (before the end of February) and into the Early Summer. I've known that a Fall garden is very possible to do in Phoenix, but I didn't try it until last year! But now, I am a convert and because of that I have had something growing in my garden all year long this year. It has been so much fun and so rewarding! The thing that got me to finally try the Fall Garden was that I had a pretty nice bunch of strawberries growing and I didn't want them to just die off. Strawberries love to self propagate, so I decided to try and Winter them over and see how they did. Wow! My crop has doubled and I harvested more strawberries than I ever have before! I'm still getting a few small ones daily. In order to winter them over, I simply pruned them back quite a bit, kept my watering spikes watering them and when the weather got really cold, or there was going to be a freeze, my husband helped me to cover them with a sheet. They started blossoming in about April and I was soon after harvesting Strawberries! Since I was outside taking care of my strawberries, I figured it was a good time to give a few other Fall plants a try. I put in Beets and Spinach. Here are the advantages I found to Fall gardening:
In Phoenix, there are so many things we can grow in the Fall. Here is a non-comprehensive list of things you might like to try:
If you live in a colder climate than Phoenix, don't give up! There are still things that you can put out in your garden in the Fall! The main thing is to check when your first frost date usually is and check out some sources for your area. Also, look for dates on your seeds that are quicker to harvest crops. But here are some more cool weather tolerant crops you can try:
What are we waiting for? It's time to get out there and plant! And, if you would like some recipes that use your harvest, check out some of these: |
Creators of Hot Cocoa Bombs! (copyrighted)
Author
Helen Reynolds: Mother of six children , grandmother to eleven! I love to cook, craft and create things and I especially love doing that with my family, So, when my lawyer daughter, Lindsey, my artist daughter, Madalynn, and I came up with the idea of Hot Cocoa Bombs, this blog was born. Then, one more daughter, with her technical and science skills, plus creativity has joined in to round us out! Read more about us here! Archives
July 2024
|



 RSS Feed