|
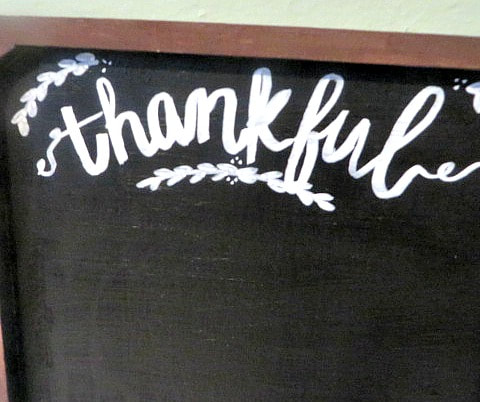
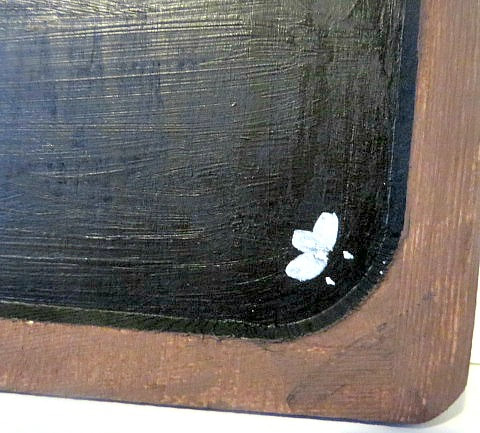
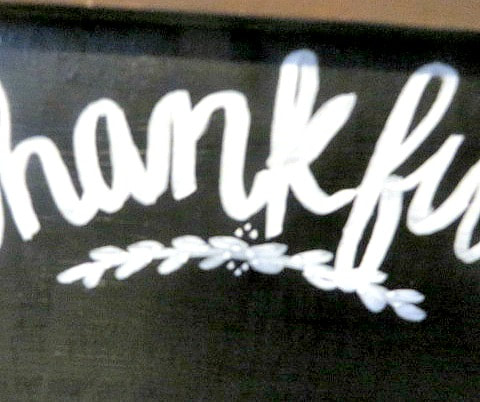
This post contains affiliate links. I will be compensated for purchased made through those links at no additional cost to you. All views expressed are my own. Thank you for your support! 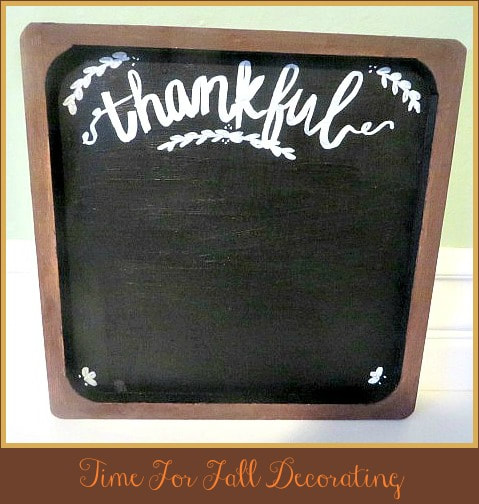 With Labor Day Weekend upon us, it is the perfect time to break out the Fall decorations and perhaps add a few new items to the mix. I love getting into the chest where my Fall items are stored and finding things I didn't remember that I owned! But, I also love going into the stores and seeing new ideas and getting inspiration there. Maddy and I went on a little Fall shopping spree and we came back with some great stuff that is pretty inexpensive! First of all, look at the adorable Thankful Chalk board that Maddy decorated. We found the plaque at Michael's for about $2.50. Maddy had a great idea to turn it into a chalkboard that family members can write things that they are thankful for everyday or every week throughout the season, whatever your pleasure. Of course, I already owned the chalkboard paint. I painted the base coat and did a thin wash of brown acrylic paint around the frame. Then I was nervous about writing "thankful," so I made Maddy do it! Ha ha! Look how cute it came out! She always thinks of the cute details like the little leaves and dots. She did it all with one chalk marker! Free hand! I would have written thankful and left it at that! Here are a few close-ups: Michael's had a lot of their Fall decor on sale for 40% off or more. This weekend would be a great time to check it out before it is all gone! Another great place we found to shop was at Dollar Tree! We found so many things to craft with and decorate with that we can't wait to show you some of our creations in up coming posts! In the meantime, here are some of the things you are going to love! (But I'm not going to tell you all of our secrets yet! Use your imagination and see what you come up with!)
My goodness you guys! There is so much fun stuff that I can't even list it all! You have to click the links and see for yourself! Just remember, at Dollar Tree, you have to shop fast because everything goes fast! Especially if you want stuff for Halloween! Decorating for the seasons and holidays is so much fun to do with kids because they get so excited. I was glad that my daughter and my granddaughter have been here to help at my house! (Even though my granddaughter is not quite 2, she sure gets excited about the stuff!) So, have a FUN Labor Day weekend and get in the Fall mood! If you are still have high heat and humidity like we are, it may even help you feel a little cooler! Click on our Halloween category to see past ideas! Also our Fall category has great ideas and recipes! PS: How do you like our new look? Let us know in the comments!
5 Comments
Hey guys! I know it's been awhile! I was working on a few recipes and trying to find a way to sleep in the middle of everything else in life and so the blog took the hit. But I'm BACK today with a DELICIOUS recipe! If you follow us on social media (DO you follow us on Social Media? Because... ahem, you should) you'll remember that I posted this picture:
And told you I had something delicious brewing. So here it is, blueberry hand pies! We've talked about hand pies before. They are fun, tasty, and "handy" (hahahahaha.) I was talking to my mom about making them and wanted to do it in a fast and efficient way. So, I experimented a little bit and here is what I came up with to make a lot of hand pies all at once!
So, I came up with this idea of rolling out the pie crust dough and filling the hand pies so it wouldn't take so long to get each individual pie done. My mom thought about using a ravioli slicer. That would be a great idea, except I don't have one.
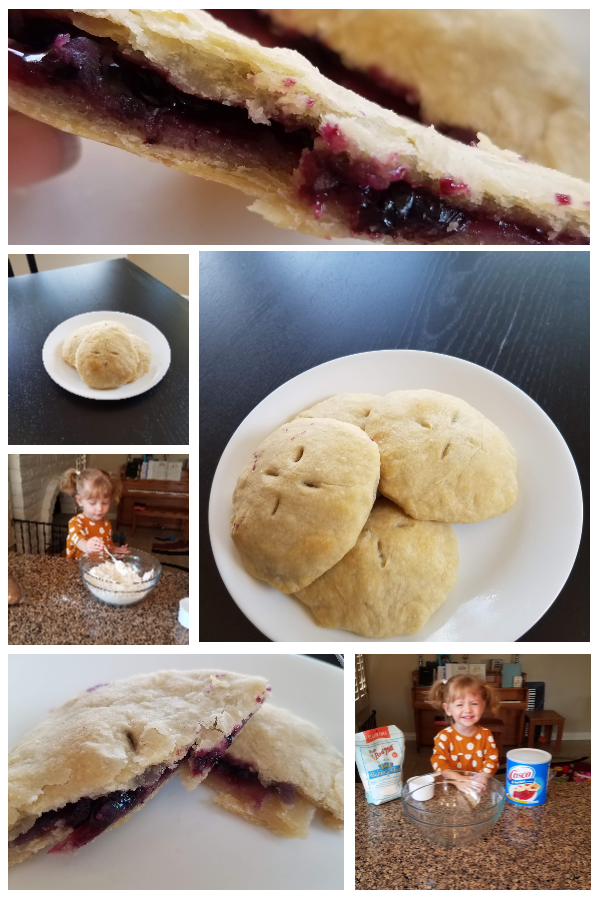
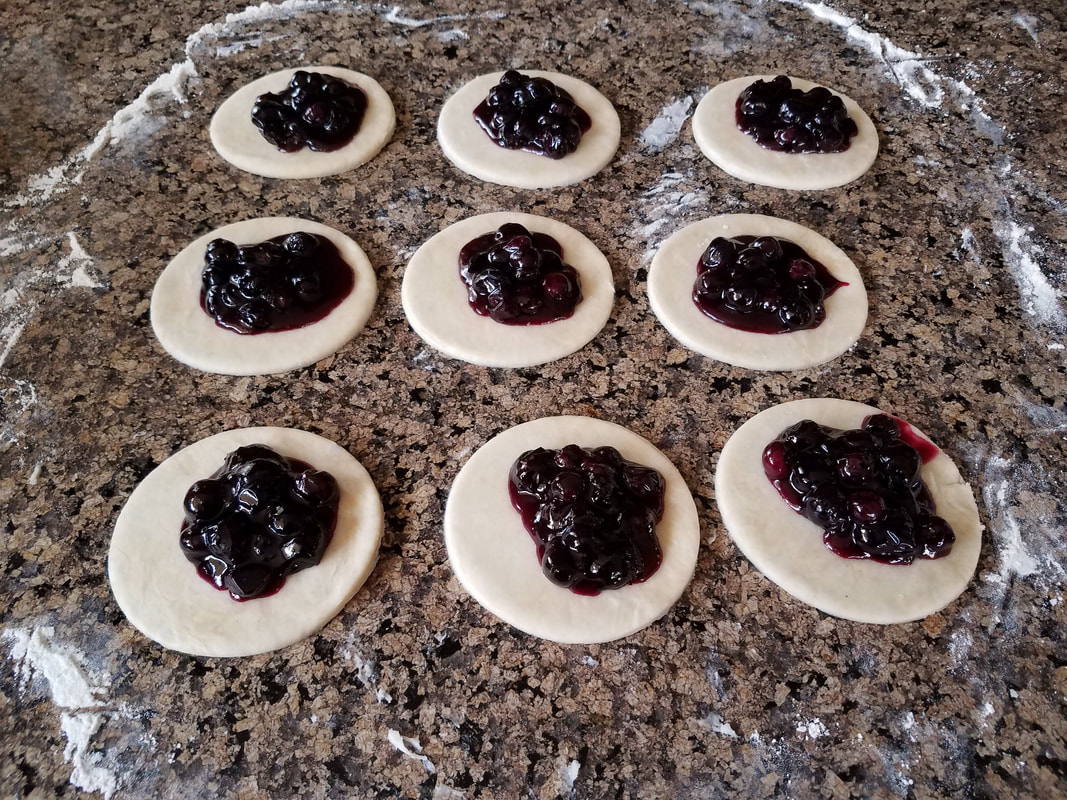
I toyed with cutting the dough to a perfect square and making hash marks, but in the end, I liked the method I came up with. You roll out your pie dough, and then use a big round cookie cutter to mark the spot for each one. In this photo I cut each one out individually, but you don't have to. Just use the cookie cutter to make a mark in the dough so you can see where the center of your hand pie is. You can wait until you put the top crust on before cutting it out completely. 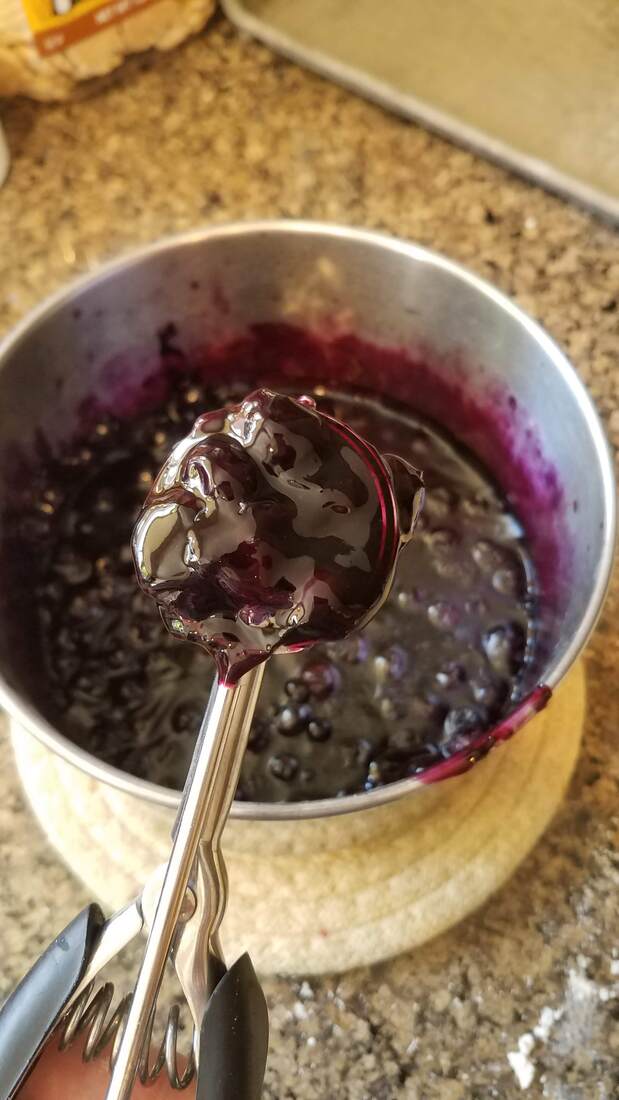
I used a cookie scoop to get the blueberry filling on the center of each circle. Once each circle had a dollop of filling I rolled out the top crust and laid it over everything. Then I was able to center my cookie cutter over the blueberry filling lump to cut out each hand pie.
Then, if you want to get fancy, you can use a fork to press down the edges to make them look pretty, but you don't have to. You can press them together with your finger. I would recommend using a knife to cut slices in the top however. Place the hand pies on a cookie sheet. Then you put your hand pies in a pre-heated oven (to 400 degrees Fahrenheit) and bake for 15-20 minutes, depending on how dark you like them. 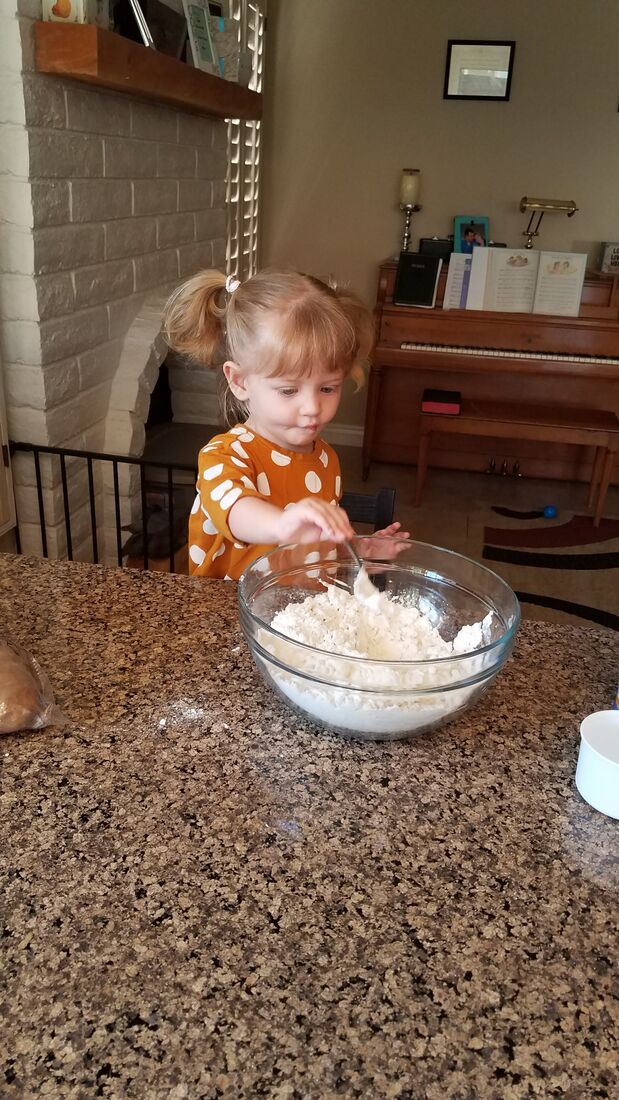
My little one loves to help me bake, and she LOVES blueberries, so she really enjoyed the filling while she helped me make these hand pies.
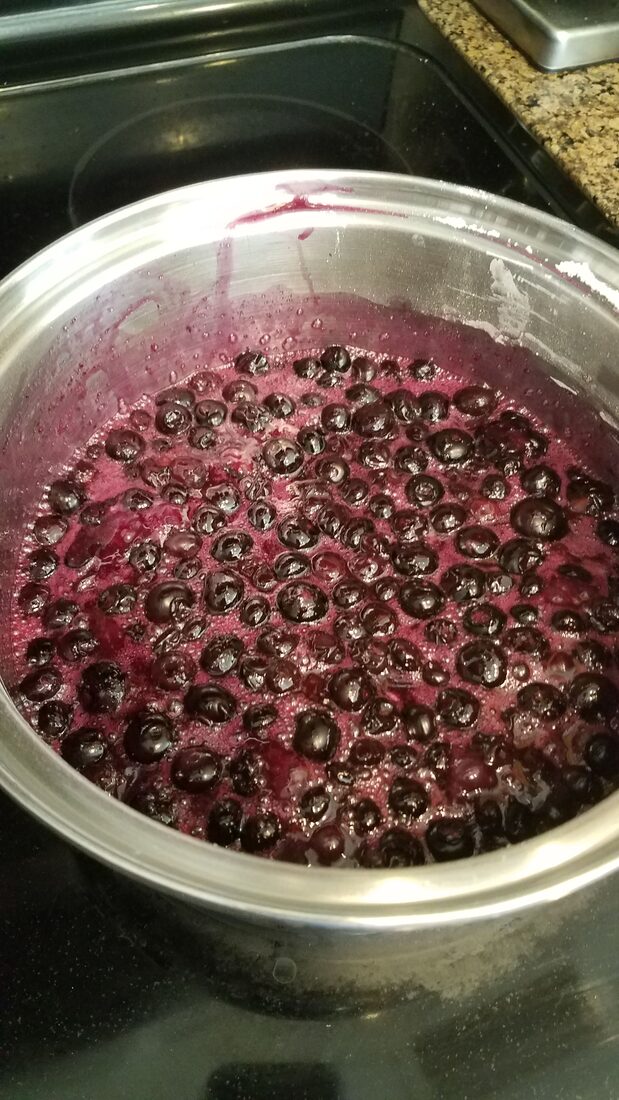
This filling is amazing guys! Here is the recipe! Blueberry Pie Filling
You can add more sugar if you like it more sweet, but to me, this had the perfect level of sweetness. I could not stop eating this blueberry filling! After making our blueberry hand pies I had a little extra leftover. I enjoyed it atop some ice cream! 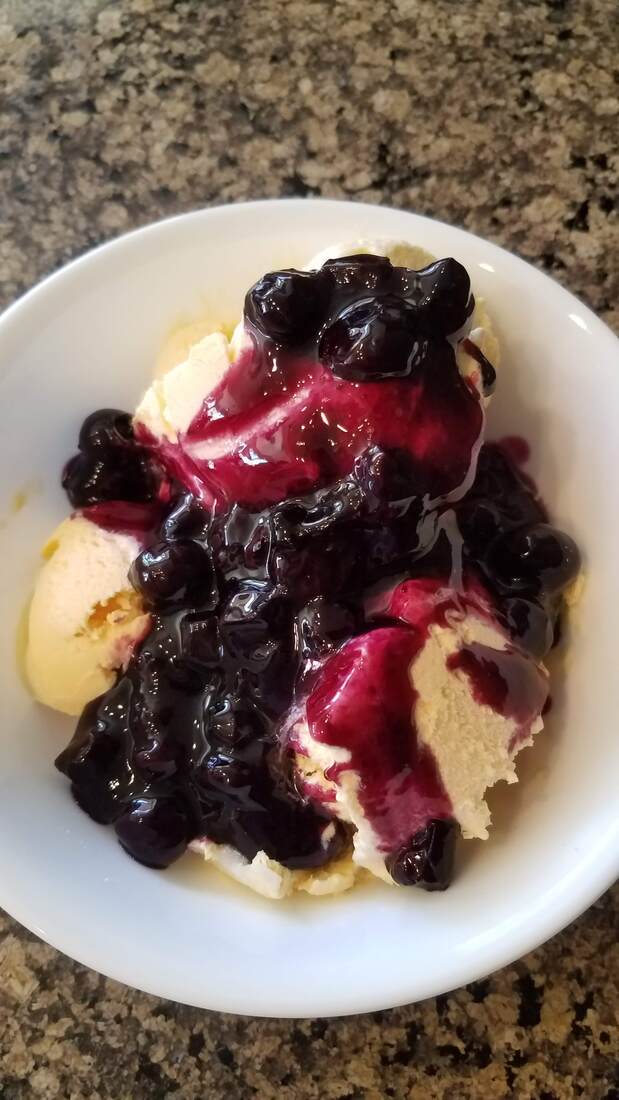
These hand pies are fun and easy to make! If you recall, we have our pie e-book, For the Love of Pie, which you can buy in our Etsyshop!
Also, if you subscribe to get our emails (why wouldn't you?) check your emails out today for a special surprise!
This post contains affiliate links. I will be compensated for purchased made through those links at no additional cost to you. All views expressed are my own. Thank you for your support! 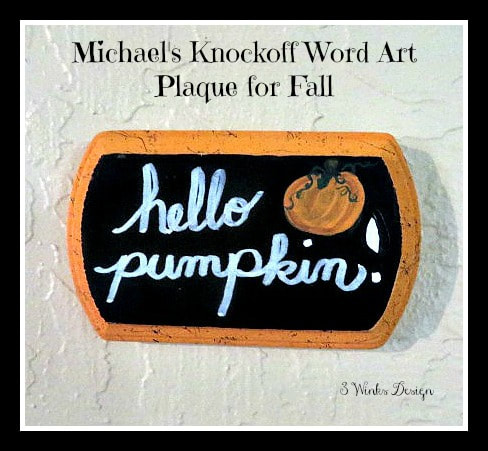 It's that time of year! School is back in and before you know it, Halloween will be here. Time to get out the Fall decor and start eating things made with pumpkin pie spice! I was thinking about a little strip of wall that I have between my family room and kitchen when I went to look around Michael's the other day. Michael's has a ton of really cute fall items for the home right now and I saw a bunch of really cute plaques for about $5.00 that I thought would be perfect for my wall. Then, I found these little unfinished wooden plaques for 99 cents! I knew that I could paint a whole slew of word signs at a much lower price! (.99!) I already owned the paint and brushes, etc. I am going to paint 2 more, which I will share with you later, but today I will share the basics for this cute little "Hello Pumpkin" plaque. Supplies:
As I said, I already owned all of these supplies except for the .99 plaques. If you have to buy it all just for this project, if will be cheaper to just buy the pre-made plaques! Instructions: 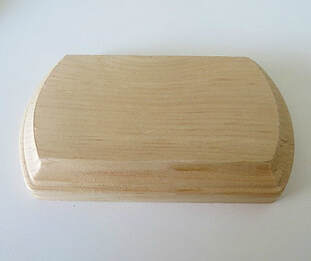
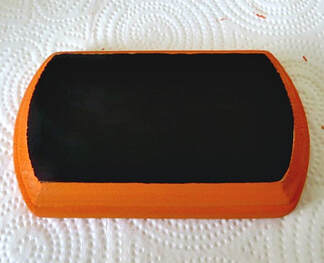 3. Use blackboard paint to cover the flat surface on top. 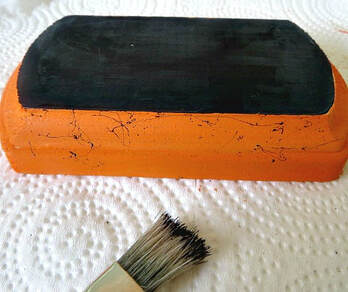 4. Use a stiff bristle brush or toothbrush to flick paint around the edge of the plaque. 5. Practice how you want to do your lettering on a piece of paper before you attempt it on your plaque. You could use white graphite or a stylus to give yourself a pattern to follow. 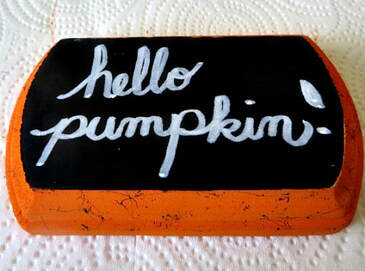 6. Use the white chalk marker to write on the plaque. 7. I decided it needed a little something extra, so I made a pumpkin in the corner. Use plenty of coats to fill it in and hide the black. Then use your brush strokes to add to the texture of the pumpkin. 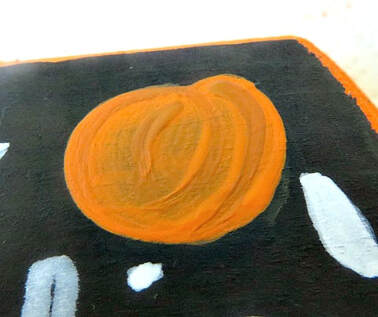 I used a little brown to add shadow along the creases of the pumpkin and at the bottom. 8. Finally use green to add leaves, vines and stem. 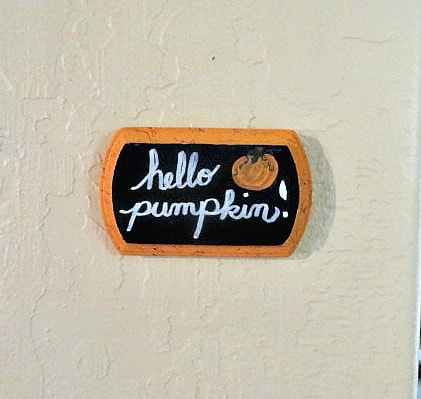 Et, voila! I am converted to Command Strip picture hangers for all of my picture hanging needs! No more pictures getting crooked with the slam of a door or big truck driving by! And, Command Strips make it so much easier to hang them straight the first time!
I'll show you the next plaques I do later on! Let me know if you have any good Fall sayings I can use.
This post contains affiliate links. I will be compensated for purchased made through those links at no additional cost to you. All views expressed are my own. Thank you for your support!
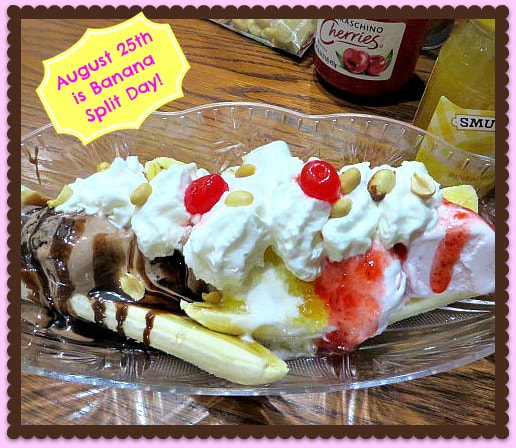
, The Banana Split was created back in the early 1900's by a soda fountain worker in a Pharmacy in Pennsylvania. I'll be that young worker had no idea that it would still be a thing that people associate with decadent ice cream treats even today, in the 21st century. Nor could he have known that there would be an actual day to celebrate this delicious concoction! Thank you David Stickler for your creativity!
A banana split seems like a perfect way to have some fun this weekend, especially in the boiling hot weather that we have been having here in Phoenix. Originally, since I was have a few of my grandchildren over, I thought I would try to find some banana split bowls. You know, the oblong shaped ones that will accommodate the long banana. But, I had no luck with the stores that I went to. Then, I found this overly large one at Dollar Tree, and I thought to myself that sharing a big banana split would be even more fun! Besides, since my grandchildren are very small, I figured it was better to get them small, cute cups for ice cream and my husband and I could share the big banana split together! It worked out perfectly. As a matter of fact, you could have more than 2 people sharing out of this bowl!
Today it seems like people might put any flavor or ice cream and toppings on top of a banana and call it a banana split. But, there really is a traditionally "correct" way to build one. Watch the slide show as I show you how we built ours! Don't forget that a really good ice cream scoop is a wonder to use. I love mine from Pampered Chef.
Even if the kids don't want an entire banana split, (mine didn't), they loved choosing their ice cream and toppings! Maybe you would rather go less traditional and come up with your own version of this classic treat. What flavors do you love putting together? There are sure a lot more choices than there were when the banana split was invented! How ever you do it, enjoy banana split day this weekend!
Look! I found these cute banana split bowls on Amazon!
 |
Creators of Hot Cocoa Bombs! (copyrighted)

Author
Helen Reynolds: Mother of six children , grandmother to eleven! I love to cook, craft and create things and I especially love doing that with my family, So, when my lawyer daughter, Lindsey, my artist daughter, Madalynn, and I came up with the idea of Hot Cocoa Bombs, this blog was born. Then, one more daughter, with her technical and science skills, plus creativity has joined in to round us out! Read more about us here! 
Click this link and visit 3WinksDesignShop on Etsy. Find our Hot Cocoa Bomb Idea Book, our For the Love of PIe e-book and more of our creations!

Amazon Gift Cards are the Perfect Gift!
    Archives
July 2024
|
 RSS Feed