|
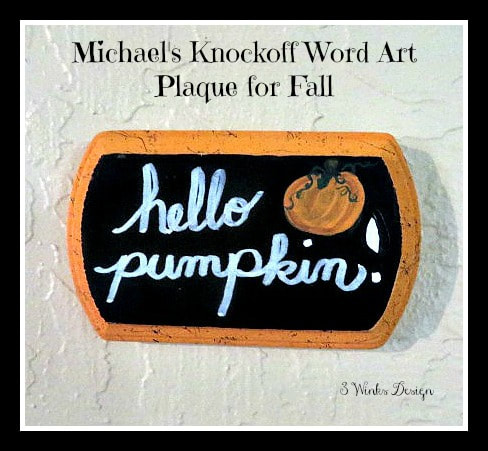
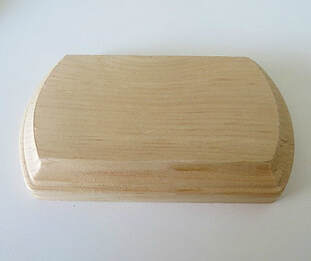
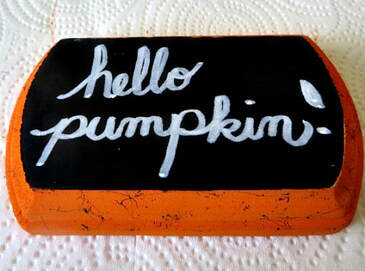
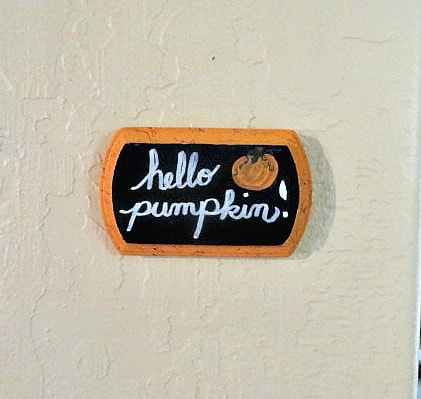
This post contains affiliate links. I will be compensated for purchased made through those links at no additional cost to you. All views expressed are my own. Thank you for your support! It's that time of year! School is back in and before you know it, Halloween will be here. Time to get out the Fall decor and start eating things made with pumpkin pie spice! I was thinking about a little strip of wall that I have between my family room and kitchen when I went to look around Michael's the other day. Michael's has a ton of really cute fall items for the home right now and I saw a bunch of really cute plaques for about $5.00 that I thought would be perfect for my wall. Then, I found these little unfinished wooden plaques for 99 cents! I knew that I could paint a whole slew of word signs at a much lower price! (.99!) I already owned the paint and brushes, etc. I am going to paint 2 more, which I will share with you later, but today I will share the basics for this cute little "Hello Pumpkin" plaque. Supplies:
As I said, I already owned all of these supplies except for the .99 plaques. If you have to buy it all just for this project, if will be cheaper to just buy the pre-made plaques! Instructions:
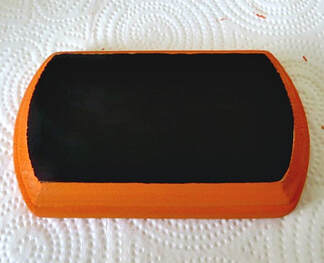
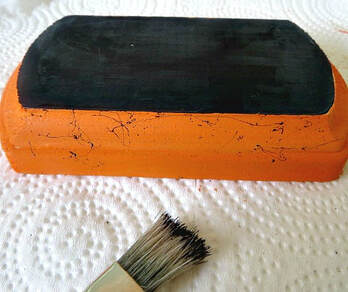
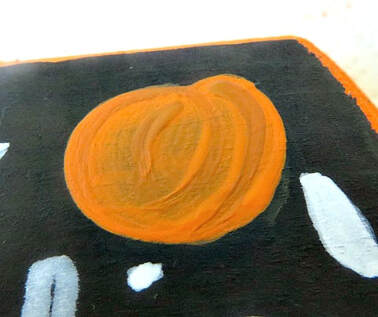
3. Use blackboard paint to cover the flat surface on top. 4. Use a stiff bristle brush or toothbrush to flick paint around the edge of the plaque. 5. Practice how you want to do your lettering on a piece of paper before you attempt it on your plaque. You could use white graphite or a stylus to give yourself a pattern to follow. 6. Use the white chalk marker to write on the plaque. 7. I decided it needed a little something extra, so I made a pumpkin in the corner. Use plenty of coats to fill it in and hide the black. Then use your brush strokes to add to the texture of the pumpkin. 8. Finally use green to add leaves, vines and stem. I am converted to Command Strip picture hangers for all of my picture hanging needs! No more pictures getting crooked with the slam of a door or big truck driving by! And, Command Strips make it so much easier to hang them straight the first time!
I'll show you the next plaques I do later on! Let me know if you have any good Fall sayings I can use.
5 Comments
9/3/2019 04:10:01 am
How cute! Thanks so much for linking up at the #BloggingGrandmothersLinkParty 41.
Reply
9/4/2019 07:49:41 pm
Thank you for linking up this darling project with us for the #blogginggrandmothers link up party. Your directions are so clear and easy to follow. Love the way you use blackboard paint!
Reply
9/19/2019 10:32:32 am
Looks great! Thanks so much for linking up at #AThemedLinkup 1 for Crafts and DIY. Shared.
Reply
10/1/2020 09:34:25 am
How cute! Thanks so much for linking up with me at #AThemedLinkup 29 for Pumpkin Crafts and Decor. Shared.
Reply
10/7/2023 10:05:19 pm
Visiting again to say thanks so much for linking up at #AThemedLinkup 166 for Pumpkin Crafts and Décor. Pinned.
Reply
Your comment will be posted after it is approved.
Leave a Reply. |
Creators of Hot Cocoa Bombs! (copyrighted)
Author
Helen Reynolds: Mother of six children , grandmother to eleven! I love to cook, craft and create things and I especially love doing that with my family, So, when my lawyer daughter, Lindsey, my artist daughter, Madalynn, and I came up with the idea of Hot Cocoa Bombs, this blog was born. Then, one more daughter, with her technical and science skills, plus creativity has joined in to round us out! Read more about us here! Archives
July 2024
|


 RSS Feed