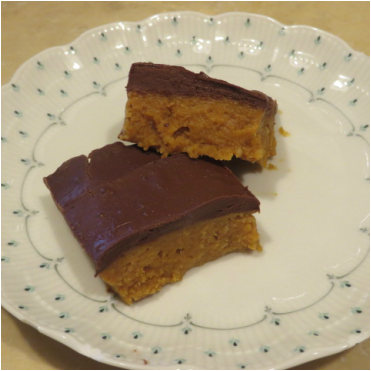
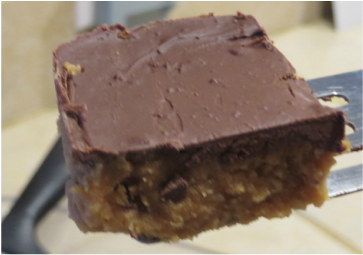
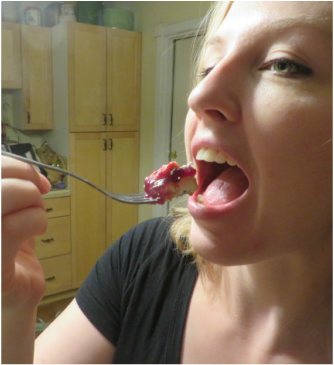
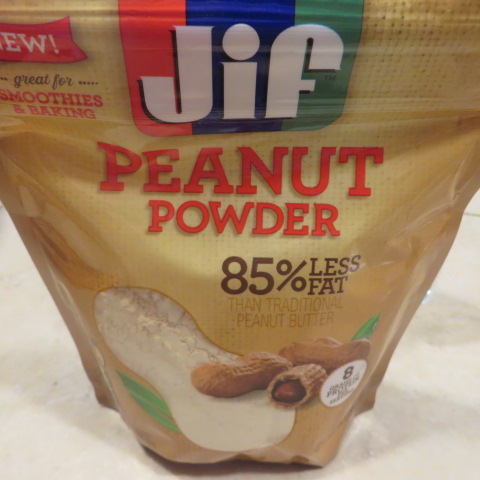
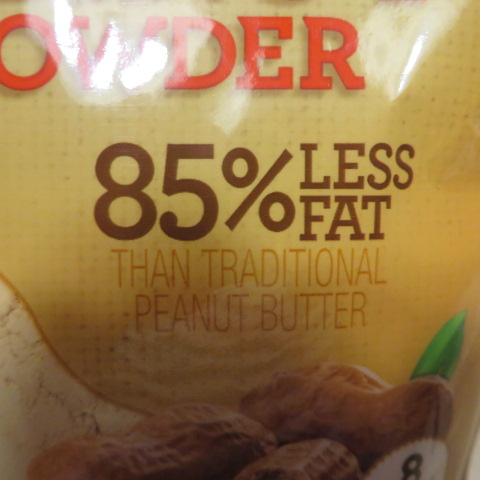
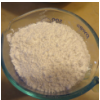
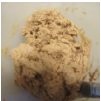
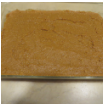
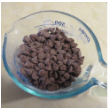
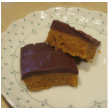
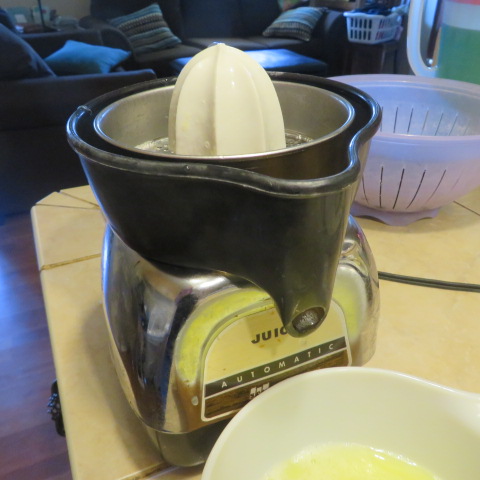
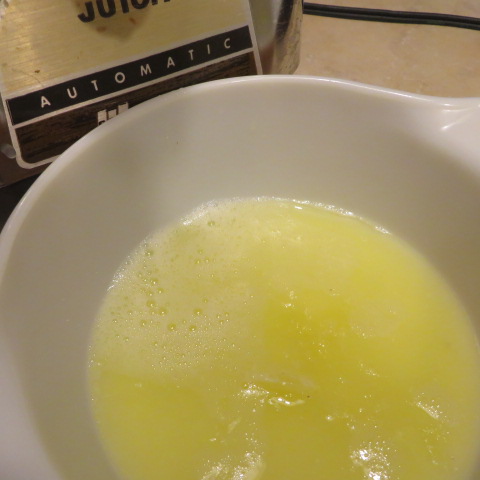
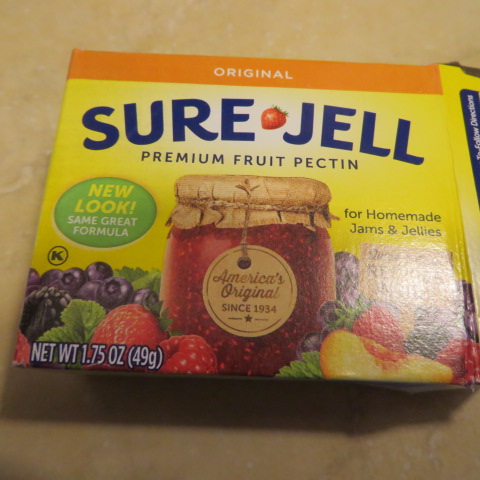
  A few weeks ago, my daughter did a guest post for me about peanut butter powder. It was a thought provoking post for me and I have come up with a lot of ideas where this product could really be useful. The other day, I was at our local Fry's grocery store where I found Jiff Peanut Butter Powder! I decided to give it a try because it is 85% less fat and full of protein! It is also very accessible for the regular home shopper. Back when I was in college, my friend and roommate, Debbie VanWagenen, gave me a recipe for peanut butter cups. I have made it many times for my kids over the years, especially during the summer when I don't want to bake. They are delicious, but also full of fat! They have a cup of butter and all of that peanut butter and not to mention the chocolate chips melted on top. So, I decided it would be great to make them with a lot less fat and maybe we wouldn't have to feel quite so guilty about eating them as an occasional treat. For some reason, I couldn't find Debbie's recipe in my stash! But, here is what seems like a similar one, only I added reconstituted Peanut Butter Powder instead of the regular peanut butter.
While I realize the butter and the chocolate keep these bars from being really low in fat, the peanut butter powder does save on a lot of the fat calories. The flavor met with my families approval! I can hardly wait far the weather to get cooler so I can bake again and use this product in a lot of other applications I have up my sleeve! In the meantime, enjoy these no-bake tidbits!
1 Comment
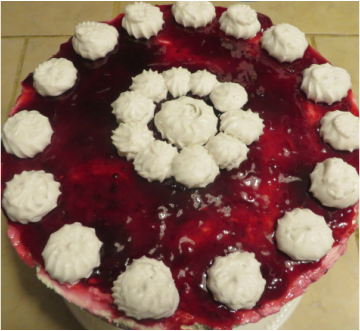
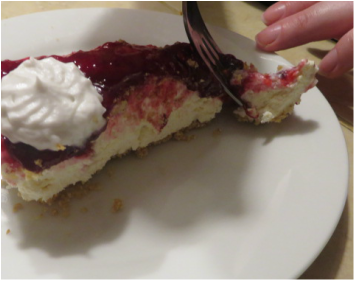

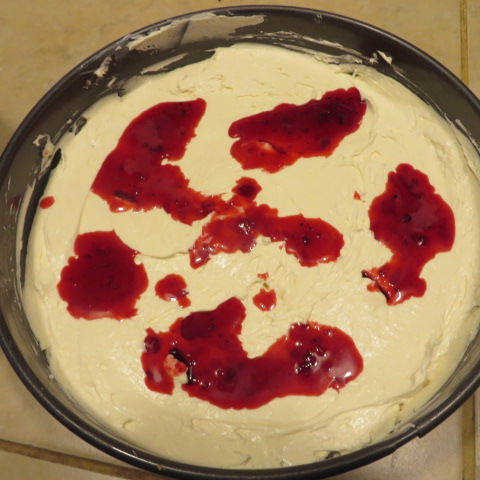
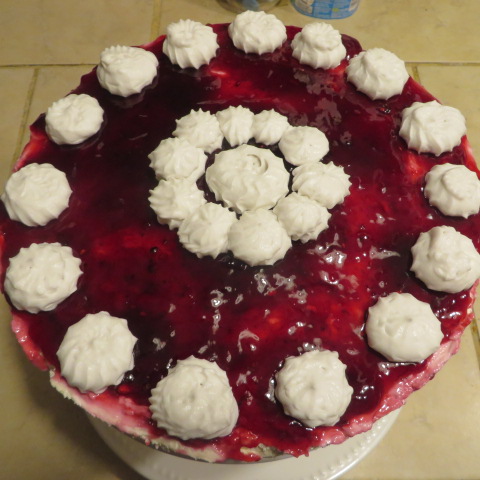
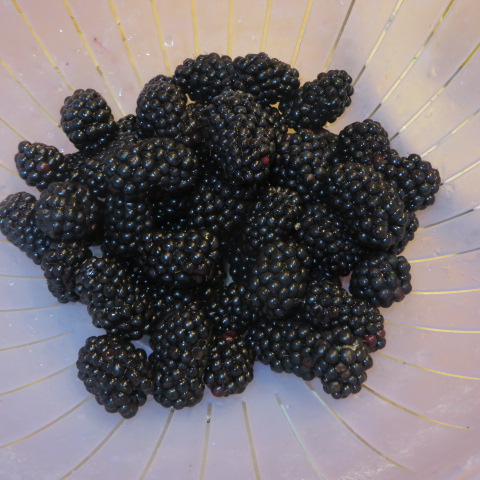
I decided that it was possible to work on wedding ideas and cook with delicious blackberries at the same time! I came up with a delicious no-bake blackberry cheesecake that will be one of the varieties that we will serve at the wedding reception! As you can see, Engaged Daughter gives it her approval! (Notice her beautiful ring!) Here is how I did it:
No-Bake Blackberry Cheesecake 16 Graham Crackers 2 T. sugar 3 8oz. packages cream cheese 3 T. butter, melted 3/4 c.. sugar 2 tsp. vanilla 1 8oz container Cool Whip 2 6oz boxes blackberries 1/2 c. sugar 1 lemon Whipped Cream for garnish
Make a graham cracker crust with the crackers and 2 T. sugar like I explained here. Put in in the bottom of a spring-form pan. Chill in the fridge until needed.
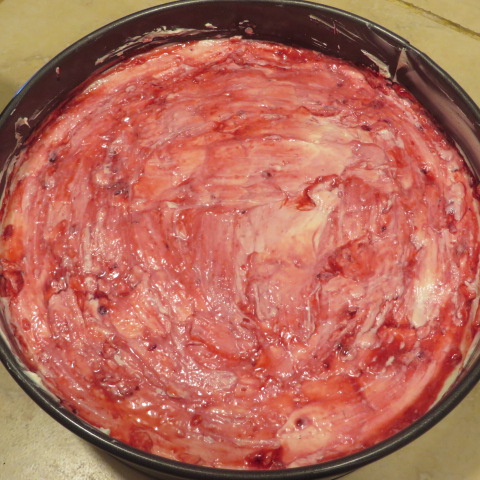
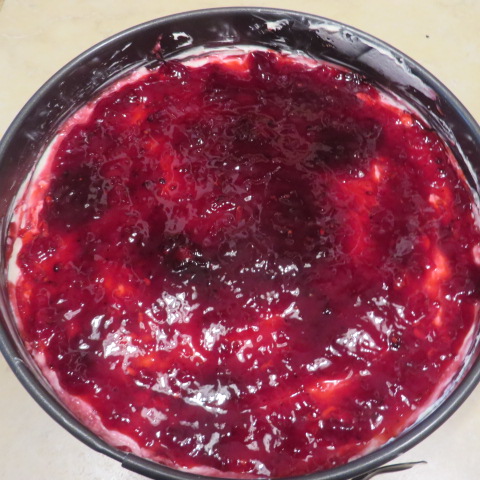
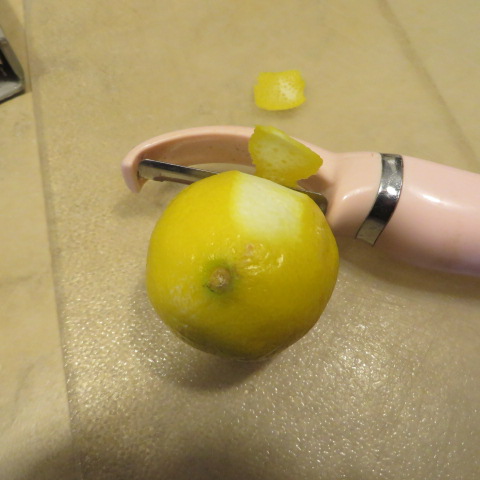
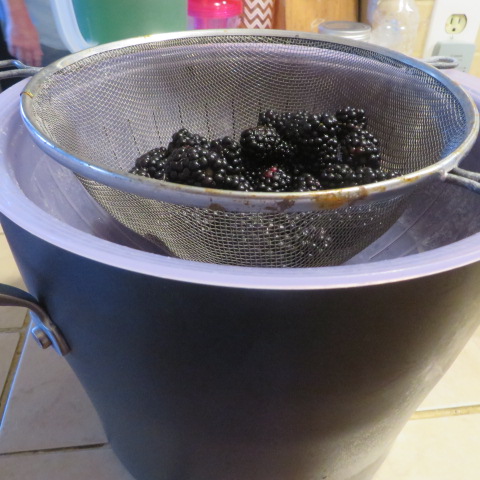
Whip the cream cheese, butter, sugar and vanilla all together until fluffy. Grate the zest from the lemon and blend into the mixture. Juice the lemon for later. Fold in the Cool Whip until blended, then spread it on top of the crust. Chill for a while as you make the blackberry syrup. Smash the blackberries through a sieve to remove most of the seeds. You can reserve a few blackberries for garnish later. I did that, but then forgot to use them for the photos! Sorry! Put the blackberries into a small pot and blend in about 1/2 c. sugar. Bring to a boil, stirring occasionally, then let simmer at a low boil. Add the lemon juice to the mix. Continue to simmer about 10 min. Then, turn off and cool slightly. Take the cheesecake out of the fridge and poke a few holes in the mixture. Then, dot some of the syrup, a few tablespoons over the cheesecake, letting it go into the holes. Use a knife and swirl it through the cheesecake in a couple of directions. Smooth it out again and put it back in the fridge. Save the rest of the blackberry syrup for later. In about an hour or so, the blackberry mixture will be like a jelly! Spread that mixture over the top of the cheesecake and then chill until ready to serve. Just before you want to serve, use whipped cream to decorate the top and don't forget your reserved blackberries.
So easy and delicious! I hope you try it!
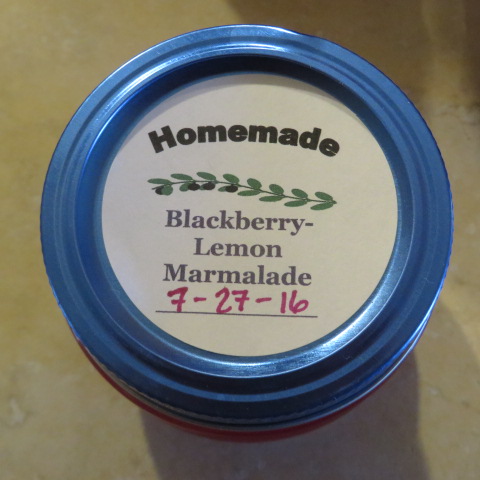
Also, remember theblackberry-lemon marmalade? I made labels for the tops of my jars. Can anyone tell me a program I can use to make these available to you to print?
The labels on the lids are great because they get thrown away with the lid after you are finished with the jam and there is no sticky residue to clean off of the jar to reuse it! Leave me a comment if you have any suggestions please!
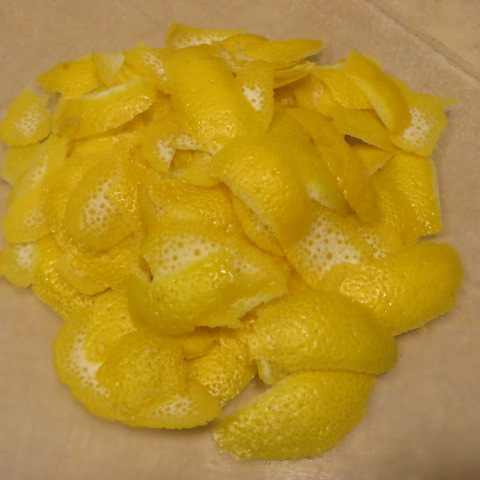
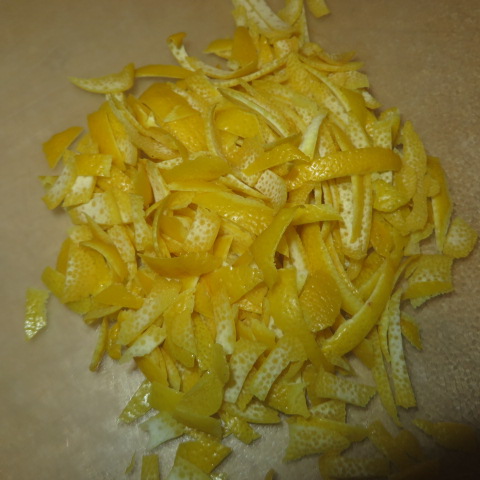
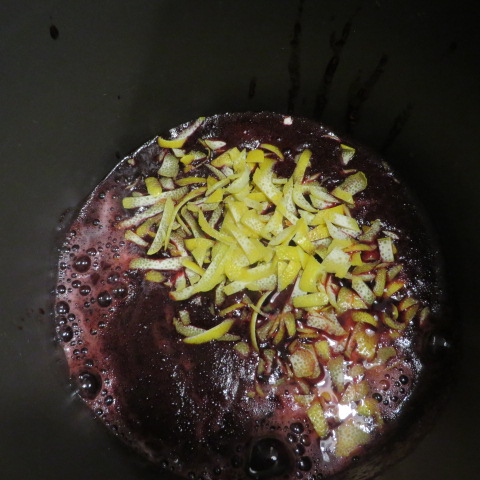
This post contains affiliate links. I will be compensated for purchases made through those links at no additional cost to you. All views expressed are my own. Thank you for your support!  I am really slow getting my blogging done. All of the wedding projects are keeping me busy. But, when I went to our local Fry's grocery store yesterday and saw blackberries on sale for .97, I couldn't resist! I don't know why blackberries are so expensive because they grow as weeds in most parts of the country. Something else that grows in abundance here in AZ is lemons. One year, some friends who have a lemon tree gave us an abundance of them and I had also found blackberries at a good price. Desperate to find a great way to use lemons, besides lemonade and juicing them to freeze, I invented this recipe for Blackberry-Lemon Marmalade! You already know I love to can and to make jam from these posts. This recipe is a little more work, but it is worth it because the result is so delicious! Here is how you start:  Just look at those colors together! 6 lemons and a dry pint of blackberries. (I use two 6 oz. containers of blackberries.) Click on these images for directions. Next, add 3 cups of sugar all at once. Stir in and bring to a boil and boil for 10 more minutes. It will be very runny, but will jell as it cools. But, if it doesn't, it makes delicious syrup anyway! Ladle into your jars, flip upside down to seal. They look so pretty!  I couldn't wait until it was totally set to try it on my bagel. When there is a little bit left in the pan I always put a partial jar in the fridge to eat right away. You won't believe how delicious this is! So, here is the entire recipe.  Click the recipe for the printable copy. I hope you give this recipe a try and love it as much as I do! I just checked and all of my jars are sealed! I have more blackberries left! Hmm, what else can I make?
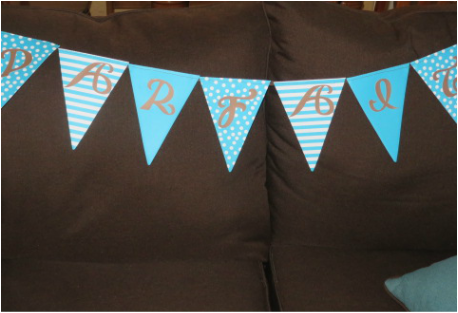
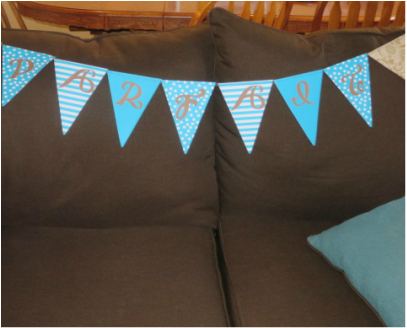
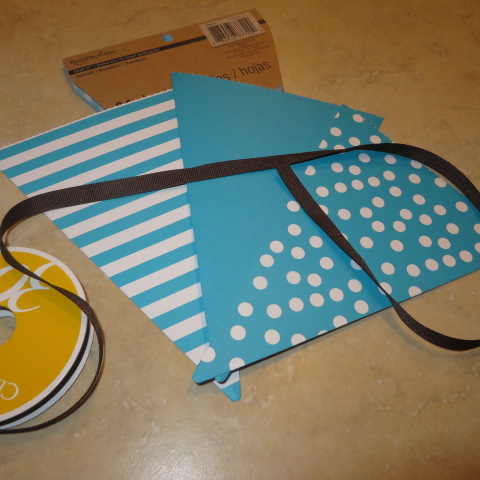
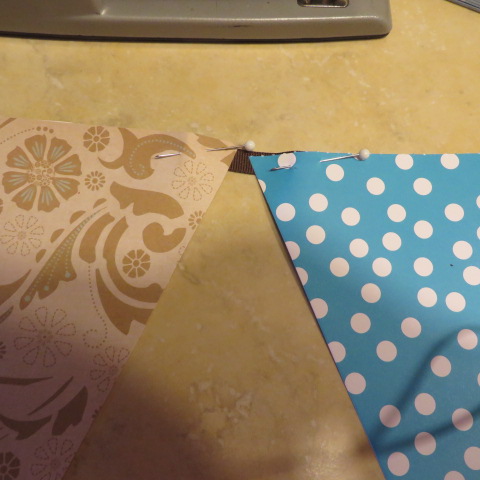
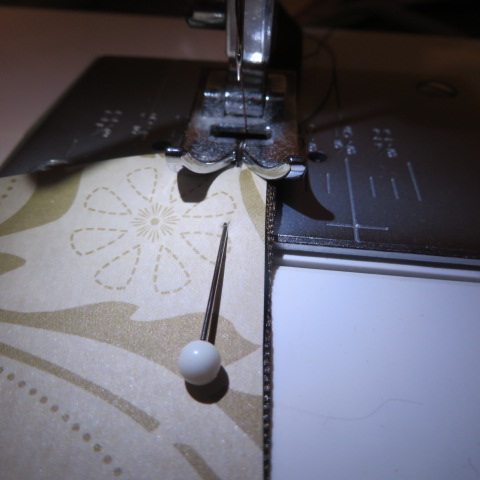
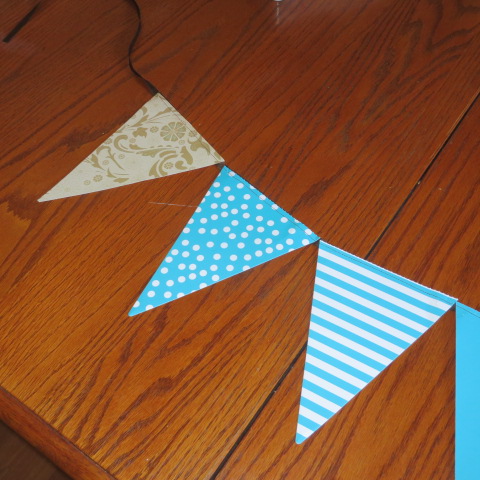
Here is another fun and easy wedding project that will add some real punch to the decor at the reception. I am making banners to hang along the front of the food tables. Since the wedding is in the evening, the food is going to be snacks of a french nature. One of the tables will have a parfait bar! Another will have the cake (gateau) and a third will have other finger foods. I am going to hang the banners with the french words to show which table has what! Above, you see the parfait banner. Parfait means "perfect" in french, so I love the double entendre! (tee hee, also french!)
I foundthese already cut paper banner papers at Michael's in just the right size and color. I also purchased some brown ribbon on sale there. Once again, just like in mytablecloth project, I had to use math. The papers are 5.5 " wide, the tables are 6' long. So for each word, plus two blanks at the beginning and end, I had to multiply 5.5 by that number of papers, leave about an 18 " length of ribbon for attaching (or less, it is up to you) and cut my ribbon that long. Here is how I did it:
This is a quick project that I can finish in a few hours! You could make birthday banners, congrats banners, and all sorts of things! So cute!
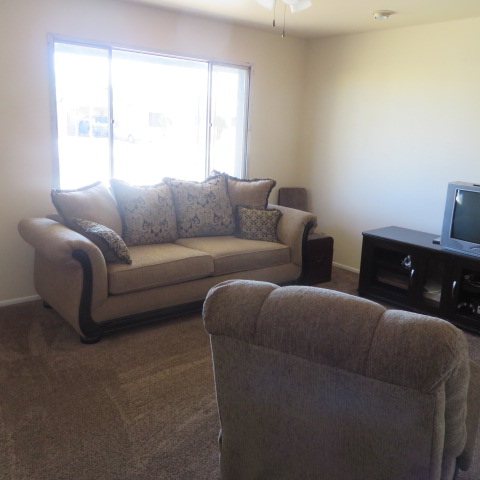
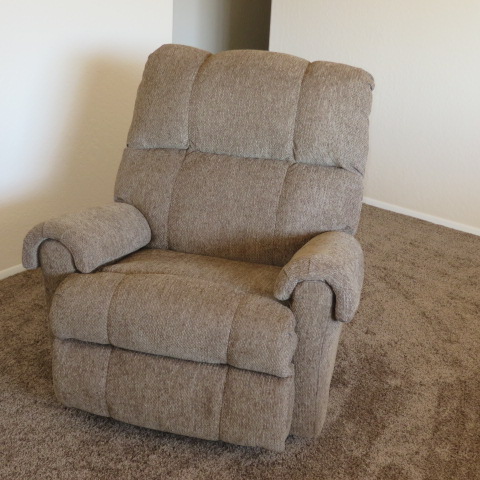
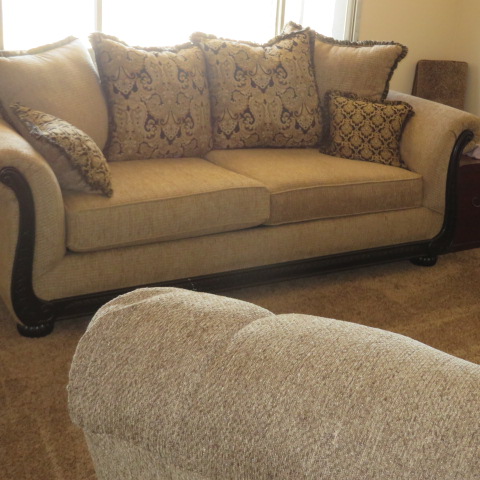
PS: This was a busy weekend! Our AC went out! We spent one miserable night here in Phoenix without it! I was so happy with the repairman came that I totally forgot that our living room furniture was also being delivered that day! Whoo Hoo! Here are a few photos! Just 1 week until company starts coming. Now we have a place for them to sit!
|
Creators of Hot Cocoa Bombs! (copyrighted)

Author
Helen Reynolds: Mother of six children , grandmother to eleven! I love to cook, craft and create things and I especially love doing that with my family, So, when my lawyer daughter, Lindsey, my artist daughter, Madalynn, and I came up with the idea of Hot Cocoa Bombs, this blog was born. Then, one more daughter, with her technical and science skills, plus creativity has joined in to round us out! Read more about us here! 
Click this link and visit 3WinksDesignShop on Etsy. Find our Hot Cocoa Bomb Idea Book, our For the Love of PIe e-book and more of our creations!

Amazon Gift Cards are the Perfect Gift!
    Archives
July 2024
|


 RSS Feed