|
This post contains affiliate links. If you make a purchase after clicking them, we will be compensated, but there is no additional cost to you. All opinions expressed are our own. Thank you for your support 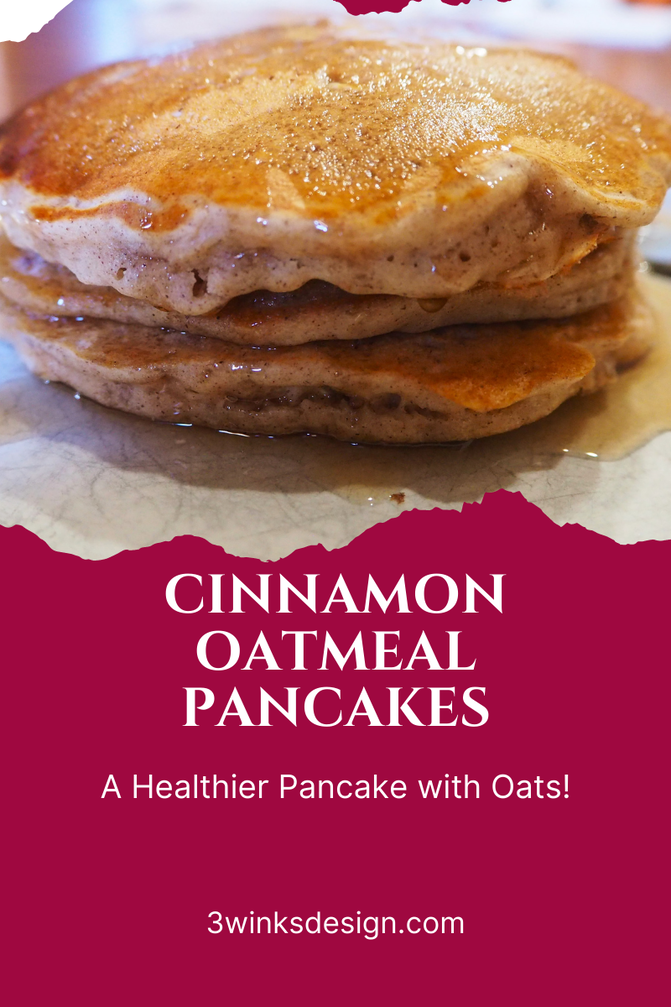 Sometimes you just crave pancakes, right? I know that I do! I decided to make them a little healthier by adding some oats to this recipe, as well as some cinnamon because to me, oatmeal and cinnamon go hand in hand. This is a super easy recipe and I was very happy with the result. Of course, it is a little heavier than a regular pancake, but not too heavy. Because I soaked the oats at the beginning, they blend in very well and these pancakes ended up being a little reminiscent of a muffin flavor. 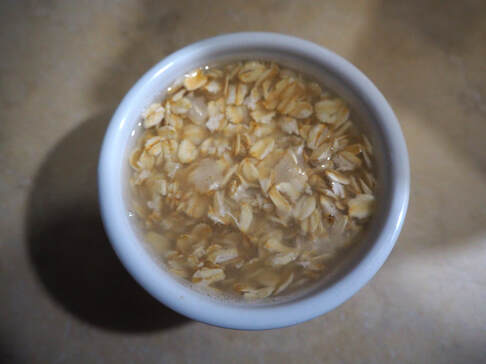 The first thing you do is soak the oats to soften them up for this recipe. I know if I threw raisins into this recipe, my husband would think he was eating an oatmeal cookie. I hope you enjoy them as much as I did! They really filled my craving! 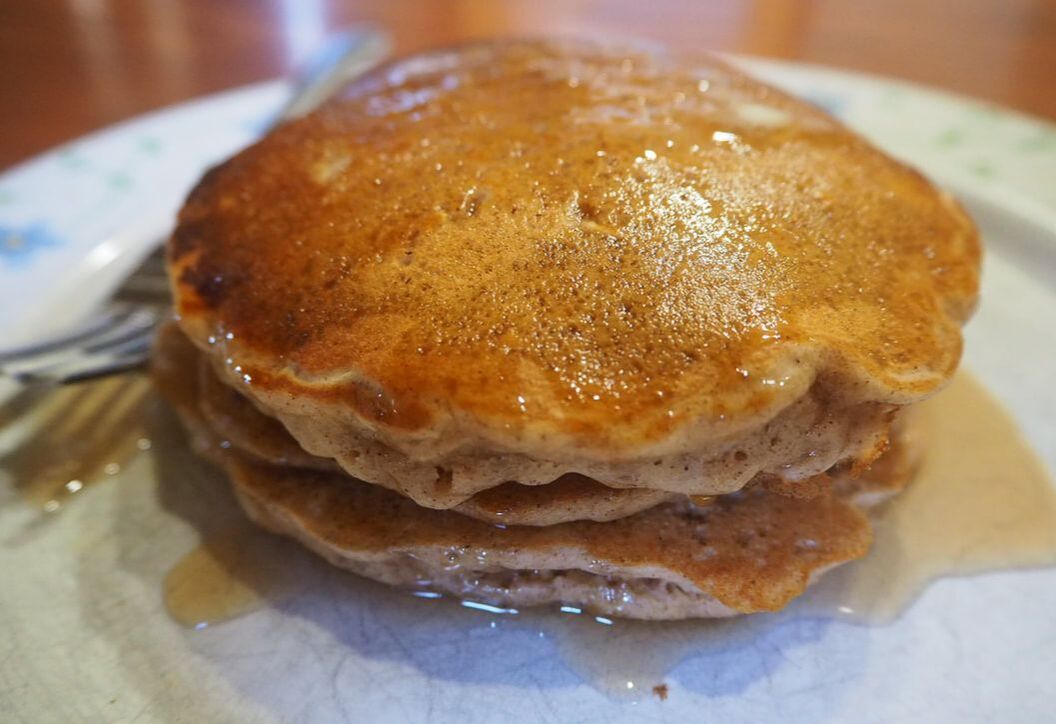 Cinnamon butter would be great on these things! If you don't want to make homemade butter, you can use store bought. YUM! Other Favorite Pancake Recipes:
1 Comment
This post contains affiliate links. If you make a purchase after clicking them, we will be compensated, but there is no additional cost to you. All opinions expressed are our own. Thank you for your support  Easter is late this year, so there is still time to whip up some of these bow ties that I told you about a couple of years ago! I almost forgot how cute they came out! I thought I would repost them today so you can get started. It seems like it is so much easier to do sewing for my granddaughters than for my grandsons. So, this year for Easter, I decided to make my grandsons bow ties! I found a cute, easy pattern on House of Ideas. Seriously, I whipped these up in one short afternoon! Of course, the fun part is finding the fabric to make them out of. I was able to get 3 ties out of 1 fat quarter. I didn't realize that would happen, so of course I purchased way too much fabric! Oh well!  I made 3 of these bow ties out of the Dios de los Muertos fabric. Since my Son In Law, Adrian, worked on the Movie Coco, I knew I had to use this fabric for his son. Then I made two more from the same fabric for grandsons who love the movie!
Walmart has some adorable fat quarters to choose from that are only under $1.00! That makes these ties pretty reasonable. Add your thread and a package of Velcro and you are ready to go. When I was picking out fabric, I kept scrunching it into a bow shape to get the idea of how it would look as a tie. It was fun. No wonder I now have enough fabric for 10 more ties! *One tip, when you are cutting our your ties, be sure of the direction of the fabric. I kept struggling with the shark fabric to get those sharks swimming in the right direction. It isn't really that hard, you just need to be mindful.  We didn't have a chance to dress up for Sunday yet because we stayed home on Sunday and watched our church's General Conference on a televised broadcast. I can't wait to see the boys wear them next Sunday! So, if you are looking for something quick, simple and adorable to make for your grandsons, (or sons) I hope you like this idea!
This post contains affiliate links. If you make a purchase after clicking them, we will be compensated, but there is no additional cost to you. All opinions expressed are our own. Thank you for your support
This is my second post admitting a mistake this week. I'm on a roll, so I might as well get it over with.
A couple of months ago,I made yogurt using my crock pot. I had intended to try making it in my Instant Pot, but my Instant Pot doesn't have a yogurt button. I searched the web a bit and found people saying that the Instant Pot Lux doesn't have a yogurt button and so you cannot make yogurt in it.
Flash forward to March and I want to make yogurt again. I just happened to be making dinner in my Instant Pot one evening and I was flipping through the little recipe book that comes with the Instant Pot. Guess what is in there? That's right, a recipe for yogurt! I was dumbfounded! Of course, me, being me, I had to try it but do things a little differently.
Actually, the only thing the Instant Pot was used for in this recipe was to keep the yogurt mixture warm for the 9-10 hours that it has to sit. You simply put 4 cups of water in the pot, close the lid and heat it up with the Keep Warm setting. Let it heat for about 15 minutes. When you are ready to pour in the yogurt, you pour out the water, then add the yogurt. Close the lid and then come back 9 or 10 hours later to find yogurt. I don't understand what the big deal is about having a yogurt button! This is pretty much just how I did it with my crock pot, except I wrapped it in a towel to keep the heat in. When all is said and done, I think I prefer using my crock pot because,
So, I was wrong, you can make yogurt in your Instant Pot Lux. But, don't rely on the recipe in the little cookbook. Go to my recipe for using the crock pot here and adapt it to your Instant Pot. If you don't want to make a large batch, the Instant Pot might be the way to go. Either way, make your yogurt making life easier by getting yourself a yogurt strainer! You will love it, and the yogurt!
This post contains affiliate links. If you make a purchase after clicking them, we will be compensated, but there is no additional cost to you. All opinions expressed are our own. Thank you for your support. 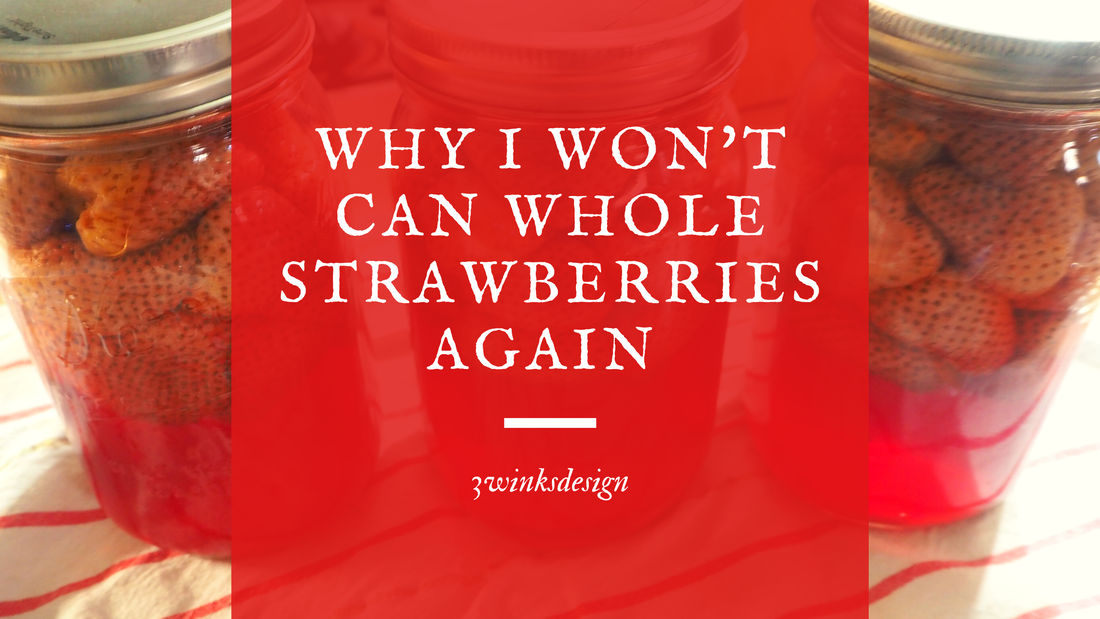 When I am able to get strawberries at a good price, I am always happy because I love strawberries. This past week, surprisingly, our local Kroger grocery store had strawberries for .47 per 1 pound basket. Of course I bought some. There was a limit of 5 baskets, which would be plenty for a good batch of jam, or to freeze some. I have so much jam that I need to use before I add more to the mix and I toyed with freezing them for smoothies, but then I saw a few posts from people about canning them. I thought it seemed like a good idea because If my freezer or electricity were to go out, I would lose frozen strawberries or have to use them up really quickly. Besides, I've canned blackberries before and they turned out great! Well.... I went ahead and canned my 5 lbs of strawberries and sadly the result wasn't as good as I had hoped. 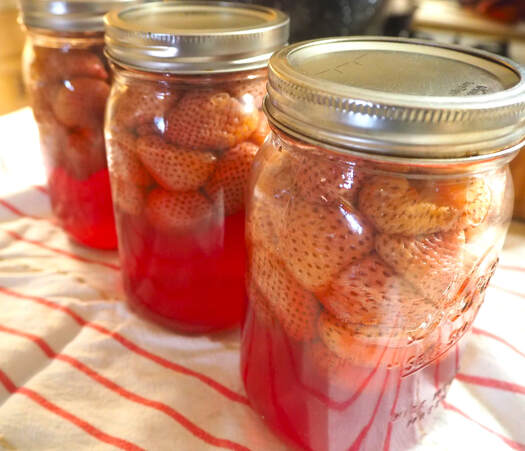 The color washes out of them during the canning process and they are pretty mushy. Here is the process that I used to can them. If you are more successful at canning strawberries than I have been, please tell me your secrets after you read what I did.
My jars sealed perfectly. From 5 pounds of strawberries, I canned 3 quarts and 1 pint. Immediately, I saw the strawberry color had gone a mushy looking white. I was sad. But, I thought that maybe they would taste better than they would look. So, I opened a jar. They seemed mushy, so I didn't want to eat one plain. I'm weird like that. I decided to make a smoothie. Here is what I put in it: Canned Strawberry Smoothie 4 Ice cubes 5 spinach leaves 1 banana 1/2 quart bottle of canned strawberries, juice and all. 1/2 cup vanilla homemade yogurt Honey or sugar to taste, or just leave it out. Whirr it all up in the blender! Normally, when I make a smoothie with strawberries, it looks red in the end. This time, the spinach overtook the strawberries, and even the 1 banana flavor was more prominent. It tasted pretty good, just not like I was hoping. 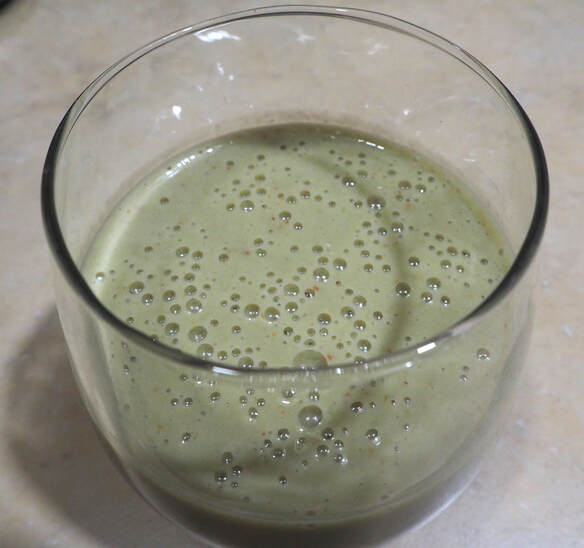 Kind of a St. Patrick's Day look. The other half of the jar of strawberries is sitting in my fridge. I'd better make another smoothie because I don't think anyone else will look at them and chose to eat them. Luckily there will be only 2 jars to go after this jar is gone. I gave the quart jar to my granddaughter, Emily, because she helped me can them. Lindsey says that maybe they will make a good pancake topping. I am dubious because of the color thing. Maybe if they are blended up with the juice they will be more appetizing. Well, it was worth a try and I won't let them go to waste. It just goes to show that some foods are better fresh, frozen or turned into jam! Also, dehydrated and freeze dries strawberries are great. Like I said earlier, if you have had a better experience with canning them and know of a better method, please let me know and maybe I will try it again! Meanwhile, here are some more successful canning stories! |
Creators of Hot Cocoa Bombs! (copyrighted)

Author
Helen Reynolds: Mother of six children , grandmother to eleven! I love to cook, craft and create things and I especially love doing that with my family, So, when my lawyer daughter, Lindsey, my artist daughter, Madalynn, and I came up with the idea of Hot Cocoa Bombs, this blog was born. Then, one more daughter, with her technical and science skills, plus creativity has joined in to round us out! Read more about us here! 
Click this link and visit 3WinksDesignShop on Etsy. Find our Hot Cocoa Bomb Idea Book, our For the Love of PIe e-book and more of our creations!

Amazon Gift Cards are the Perfect Gift!
    Archives
July 2024
|


 RSS Feed