|
This post contains affiliate links and I will be compensated if you make a purchase after clicking on my links. Thanks for your support!
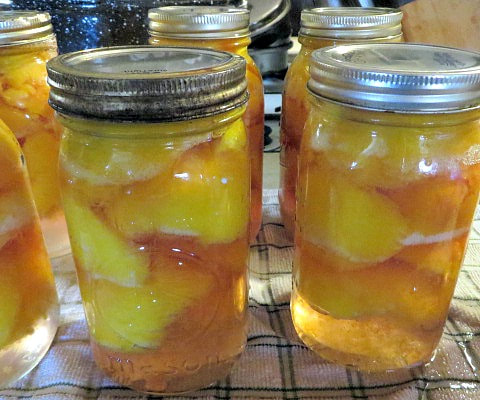
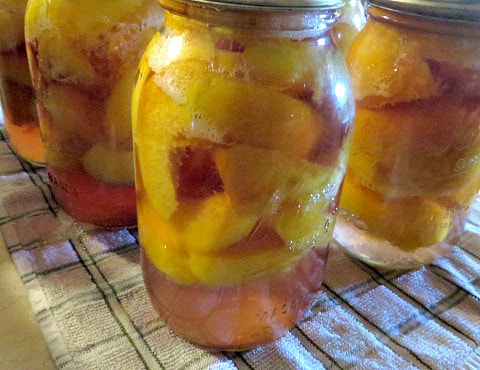
There are those who think canning peaches is time consuming and messy. I am here to show you that doesn't have to be true. I love to can! And peaches are so delicious when you can them yourself. Home canned peaches are a staple in my pantry. I found a fairly good buy on peaches the other day, so I bought a bunch. I thought I would show you my canning process.
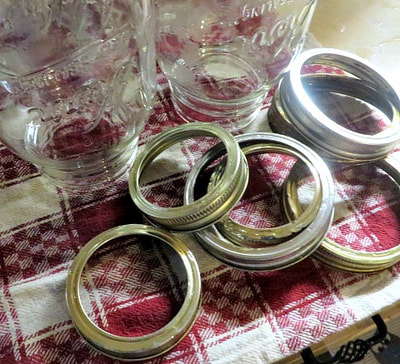
To begin with, you need some basic canning supplies:
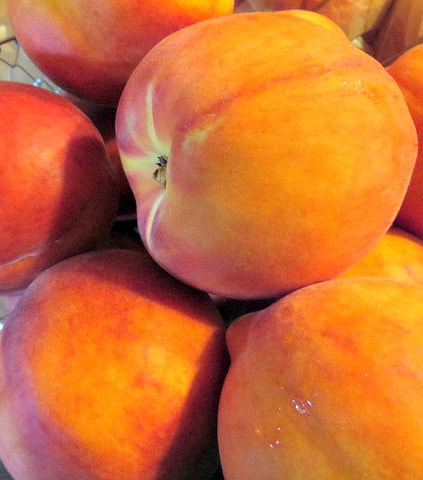
Now you need to find a really good price on peaches, or have a peach tree or have someone give you peaches off of their tree. I like to can freestone peaches, because that means the pit comes out really easily. If you are canning cling, that is okay, but I would do slices because it is easier to slice them off of the pit that way.
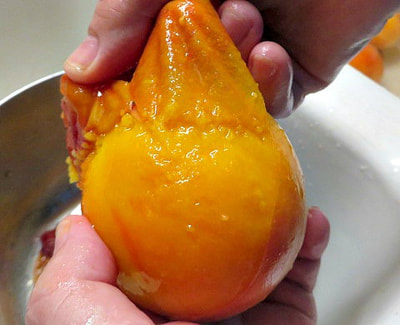
But, first, you have to peel them! The peeling process is much easier that you may think!
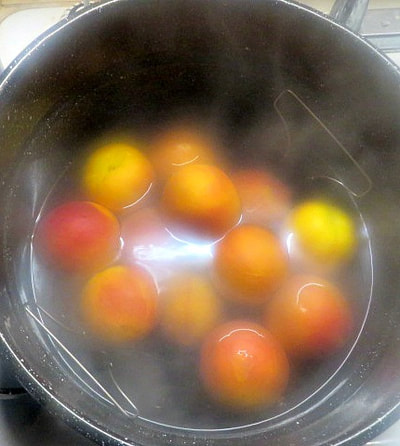
Here is my trick: When you start canning, you want to start the water boiling in the canner right away. It is a lot of water and it takes it awhile to get to boiling. And, before you ever start to put the jars in, there are other things that you can use the boiling water for. So, here is the step by step after you start the water on the stove:
All of this time, the water in the canner will still be heating up to boiling hot. When I have peeled all of the peaches, I set my empty jars on the rack to sterilize and heat them. This prevents breakage! In all of the years that I have been canning, I have only had one jar break.
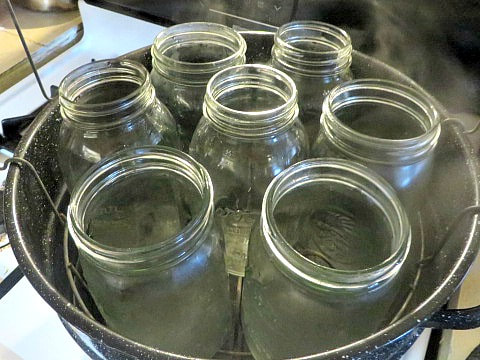
While the jars are heating, I make the simple syrup for the peaches. The ratio for the syrup is 1 cup sugar to 2 cups of water. Plus, 2 tsp. ascorbic acid per 2 cups of water. I made my recipe with 6 c. water and 3 c. sugar and 6 tsp. ascorbic acid. Heat it all in a sauce pan and stir until the sugar is dissolved. Leave on the heat until you are ready to use it.
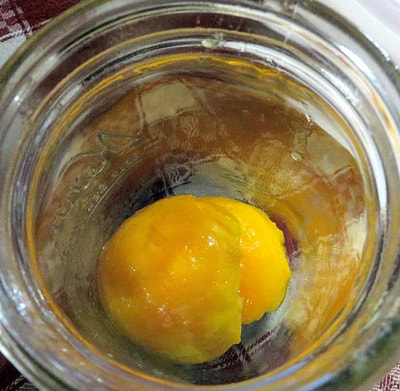
Now, your jars should be ready and you are ready to fill them!
This step is very important! Use a damp paper towel and wipe off the rim of your jars before you put on the lid and ring. Any residue left on the jar rim could keep your jars from sealing.
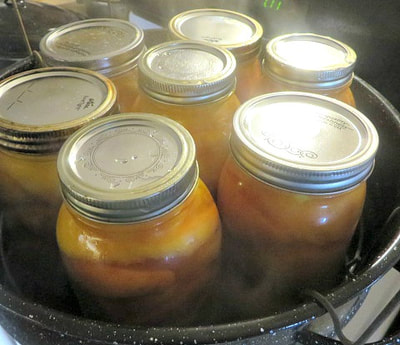
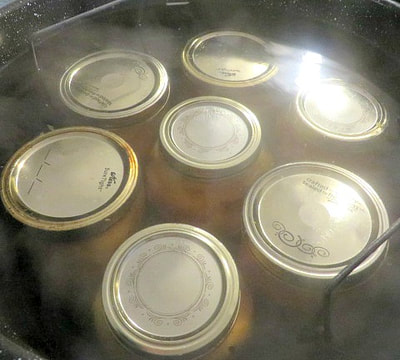
Now, put the lid on the canner and wait for the water to start to boil again before you start timing the canning process. For quarts, they must boil for 30 min. For pints, 25. So, once you hear the water boiling a good rolling boil, set the timer!
When the timer goes off, lift the jars out with the canning tongs! I usually lift the rack first, but that can be difficult, so you can just lift them with the tongs without lifting the rack if you want. There will be more water dripping if you do, just to warn you. Now, wait to see if all of your jars seal! Let them do that on their own, no fair pushing the middle of the lid.
I was going to make a printable label for the tops of the lids, but I didn't get to it. Before you put them away, wipe your jars off well, and then write with a Sharpie on the lids what you have in the jar and the date you canned it!
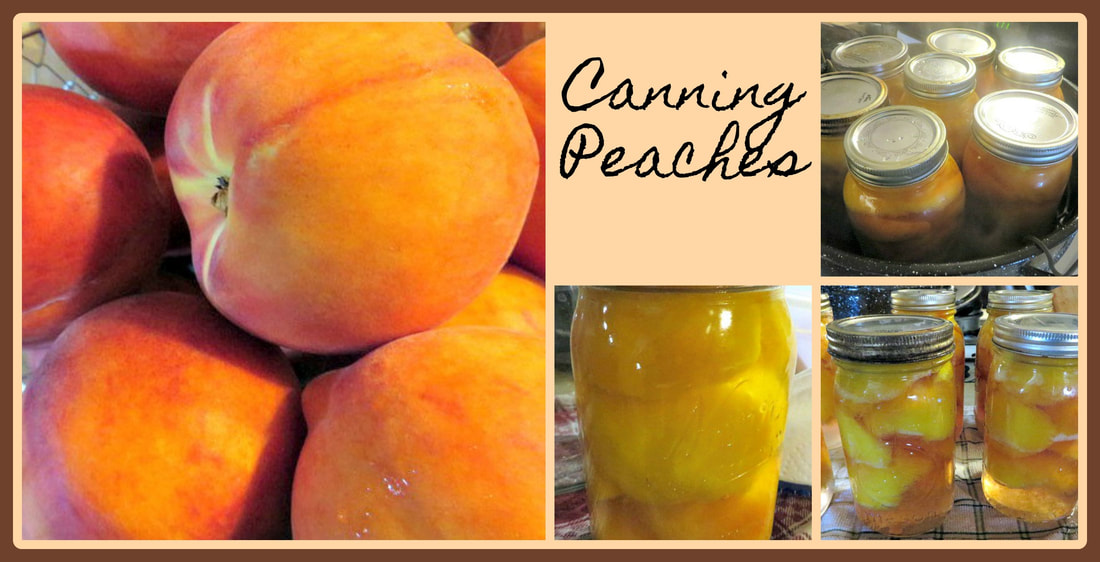
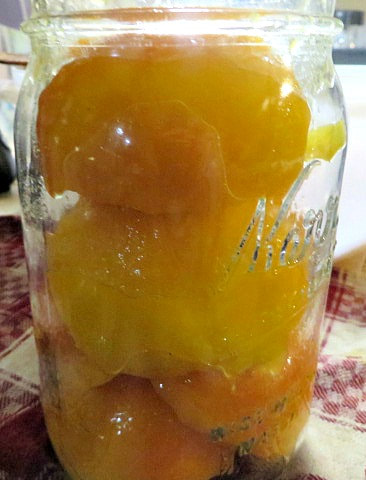
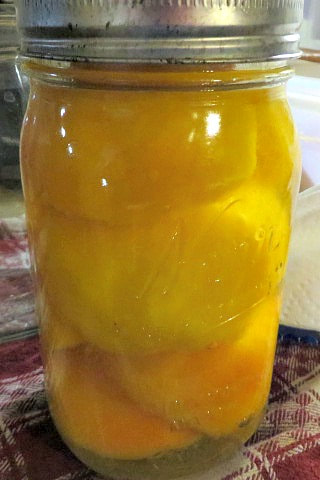
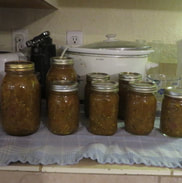
For a reference, when I canned these peaches, my 8 jars held about 24 peaches. So, that is around 3 peaches per jar. Even though I did some halved and some sliced, it came out to be about the same amount of peaches per jar.
The best part about canning is the satisfaction of seeing those jars all lined up in your pantry! You really feel like you've accomplished something! What do you like to can? I hope that you will give peaches a try!
Here are some past canning posts you might enjoy:
Shop this post!
3 Comments
7/25/2017 05:55:41 pm
Great post! Reminds of the summers when I was little canning with my great-grandmother. Thanks for sharing at Traffic Jam Weekend.
Reply
Your comment will be posted after it is approved.
Leave a Reply. |
Creators of Hot Cocoa Bombs! (copyrighted)
Author
Helen Reynolds: Mother of six children , grandmother to eleven! I love to cook, craft and create things and I especially love doing that with my family, So, when my lawyer daughter, Lindsey, my artist daughter, Madalynn, and I came up with the idea of Hot Cocoa Bombs, this blog was born. Then, one more daughter, with her technical and science skills, plus creativity has joined in to round us out! Read more about us here! Archives
July 2024
|


 RSS Feed