|
This post contains affiliate links and we will be compensated for any purchases you make at no additional cost to you. Thanks for your support!
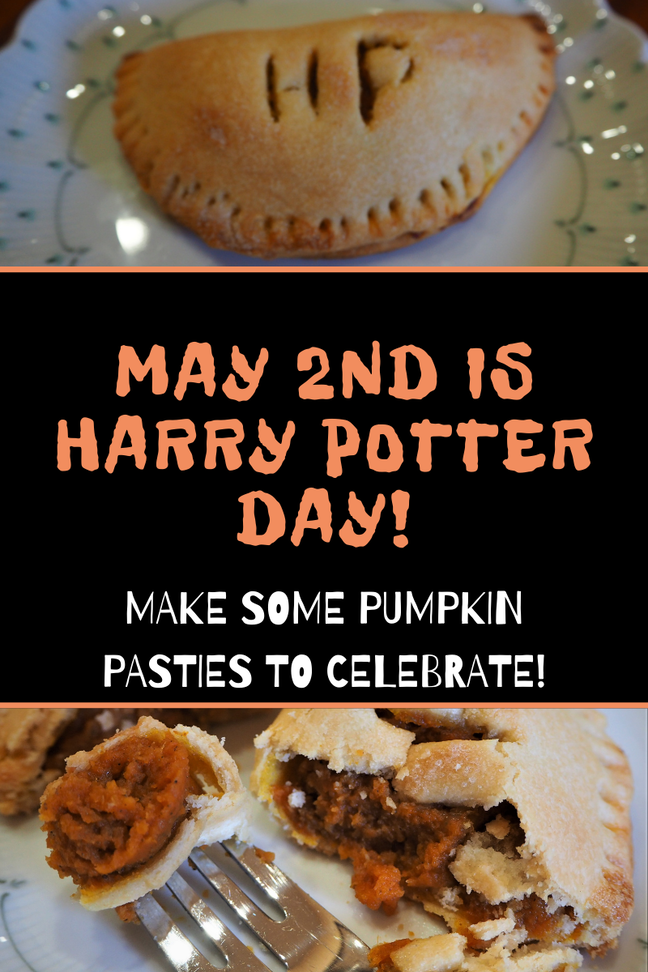
Sometimes I just feel the need to have a bit of Harry Potter in my life. So, I might watch one of the movies or reread one of the books. Then, I heard that May 2nd is International Harry Potter Day, so that excited me because I knew exactly what I wanted to do!
1 Comment
This post contains affiliate links and we will be compensated for any purchases you make at no additional cost to you. Thanks for your support!

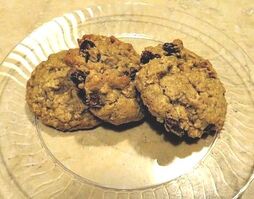
Most of you have already eaten Double Stuff Oreos, right? Have you tried the Mega Stuff ones? Well, I guess that those ultra creamy filled sandwich cookies spoiled me a bit because recently when my husband and I were on a road trip, we took along some of the famous peanut butter sandwich cookies (that are usually over priced, but that peanut butter flavor tempted us). The amount of filling in them was disappointing. So, of course I got to thinking that I could make a version of my own and add as much filling as I would like!
To my husband's delight, my experiment was successful! The peanut butter filling is so good because I added honey to the recipe. The cookies start out tender and crunchy, but after a day with the filling on them, they soften up a bit and take on a whole new level of deliciousness.
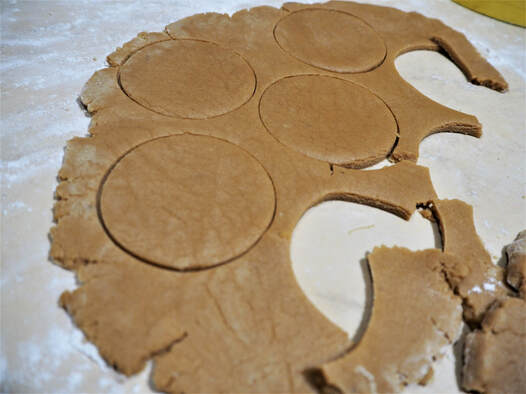
The dough for these cookies is stiff enough to roll out to make a sandwich cookie. I don't have a peanut shaped cookie cutter, so I used a round one. You can make these any size or shape that you would like, of course.
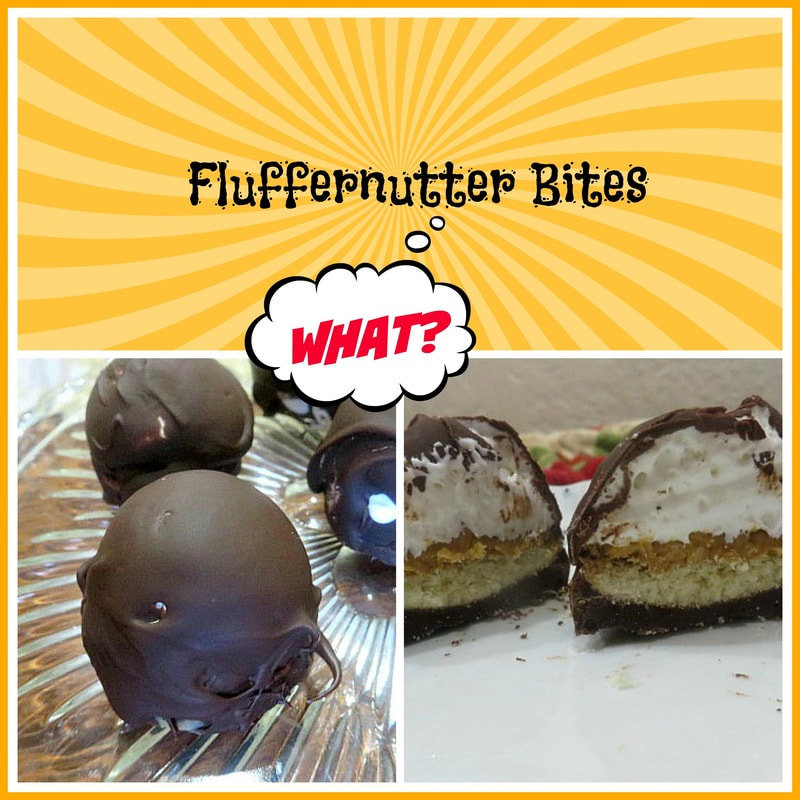
After I made my first batch, Maddy had the idea that Marshmallow Fluff or Nutella would be great to add as another layer of filling to these cookies! I am going to have to try that next! The cookie version of a FlufferNutter Sandwich!
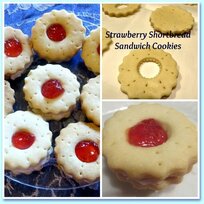
To make these a little more special to look at, I simply stenciled a heart with powdered sugar. You could do a drizzle with chocolate or a thinner version of the filling if you wanted. If you are in the mood for a delicious peanut butter cookie, give this recipe a try! Then, pack them up and take them on a road trip! 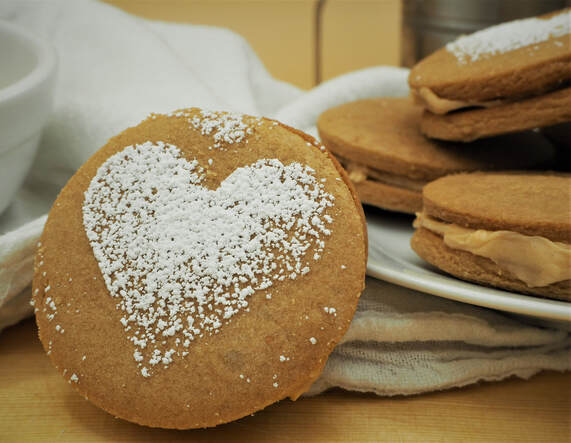
Can't eat peanut butter? Try some of these cookie recipes:
Look what I found!
This post contains affiliate links and we will be compensated for any purchases you make at no additional cost to you. Thanks for your support!
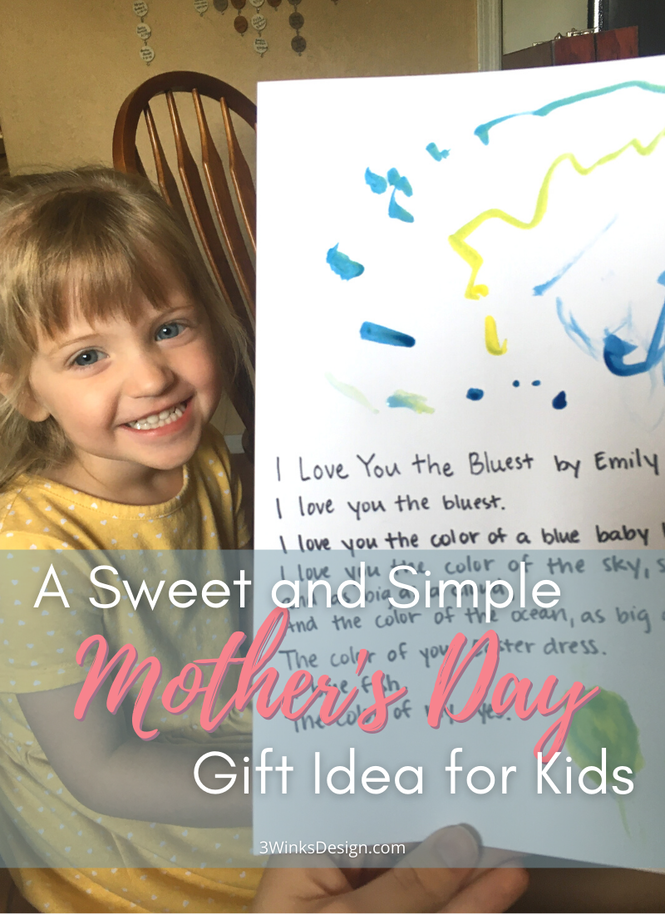
Many years ago, when I was in elementary school, we made a Mother’s Day gift one year based on the book I Love You the Purplest by Barbara M. Joosse. Despite the simplicity of it, my mother loved it and even now, roughly 15 years later, still has it. Whether this is to make for your child’s own mother or you are making it with a class of students, it is sure to be a gift that will be remembered and treasured for years to come.
This post contains affiliate links. If you make a purchase after clicking them, we will be compensated, but there is no additional cost to you. All opinions expressed are our own. Thank you for your support.
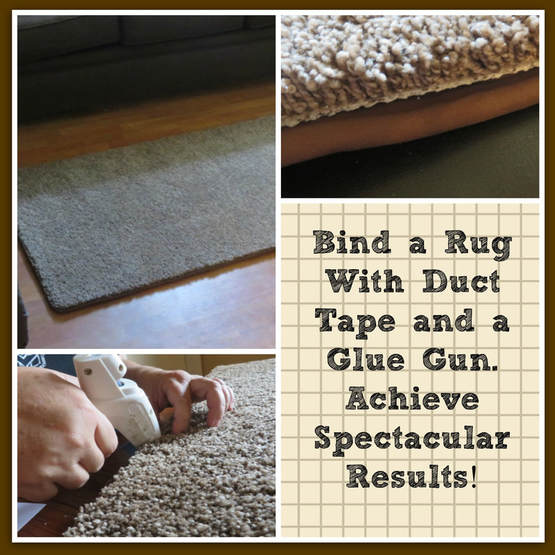
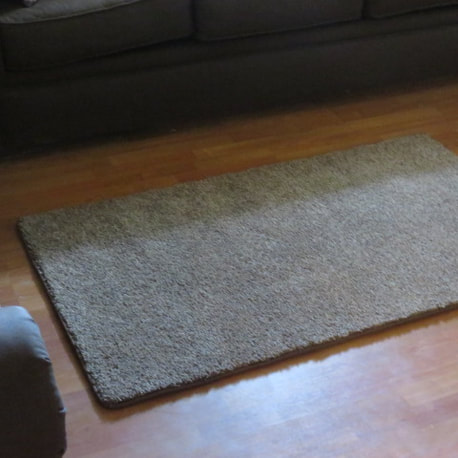
Back in 2016, We removed most of the carpet out of our house and put down wood laminate flooring. I love it! My son was not thrilled though because he like stepping out of his bed onto nice soft carpeting in the morning. So, I did some research and came up with my own way of binding a carpet remnant and making a bedside rug. Now it is 2021, and that little rug still looks great and my son still steps on it everyday! (He is in college now!)
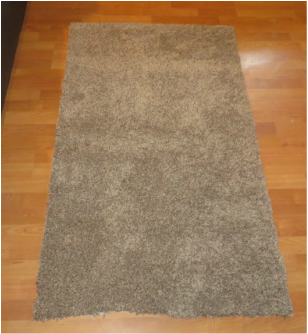
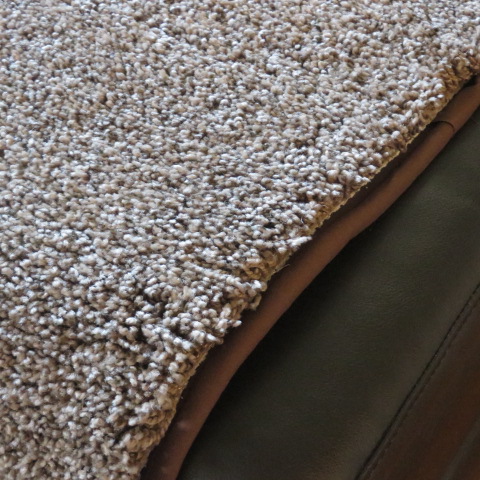
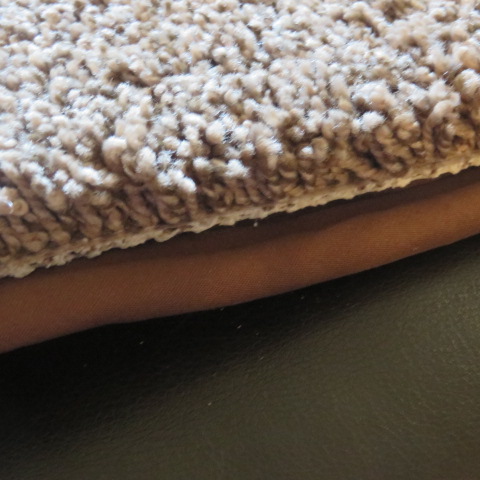
This is the scrap I used from the carpet we did have installed in our living room, Our only carpeted room.
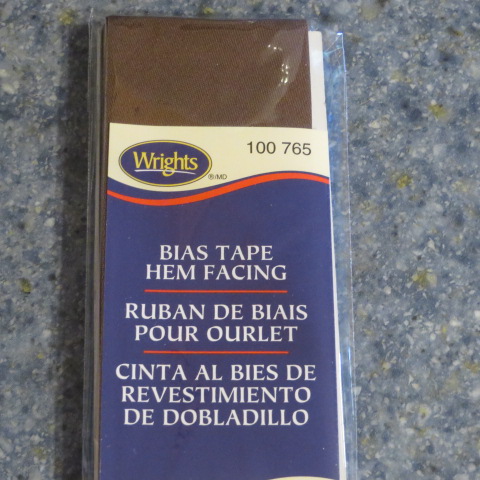
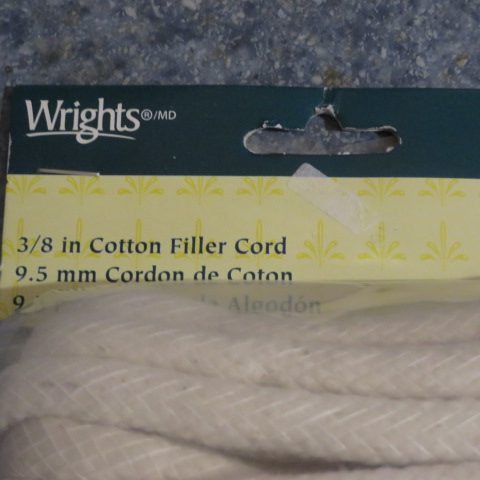
I watched numerous YouTube videos looking for a good way to bind a carpet. There were products that I was sure would cost more than I wanted to spend, so I devised my own way to get the job done. Here are the supplies you will need to do a project like this. Click on the pictures for an explanation.
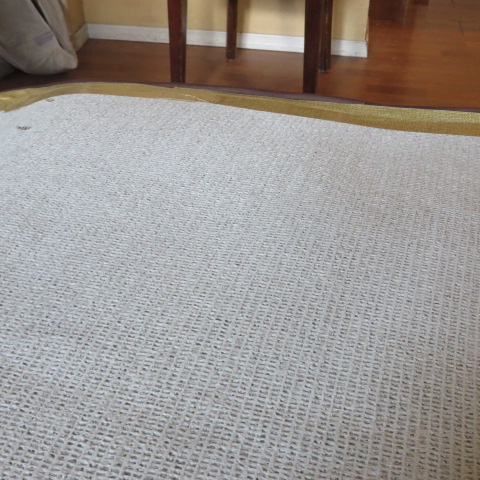
To begin, lay your rug out and make sure it is cut in the shape or size that you want. My sides were pretty straight except for one of them. So, use a sharp razor knife or some sturdy scissors to even it out. Then, measure the perimeter of your rug so you will know how many yards of materials you will need to go all the way around it.
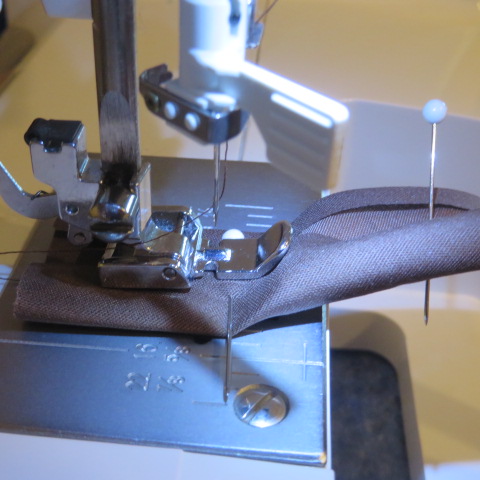
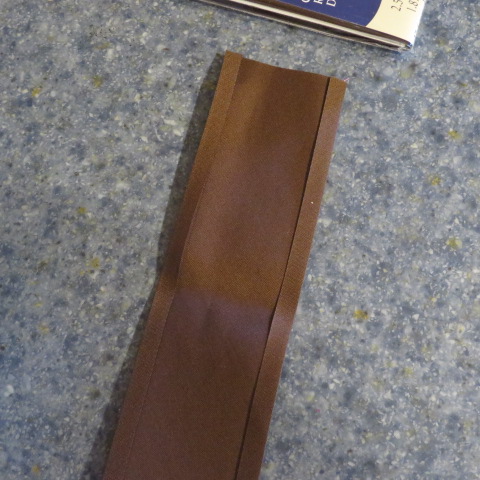
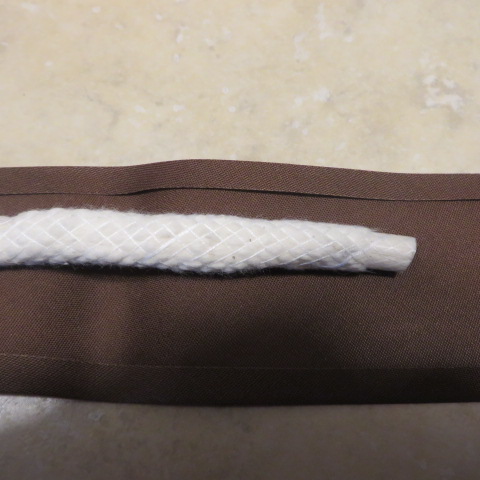
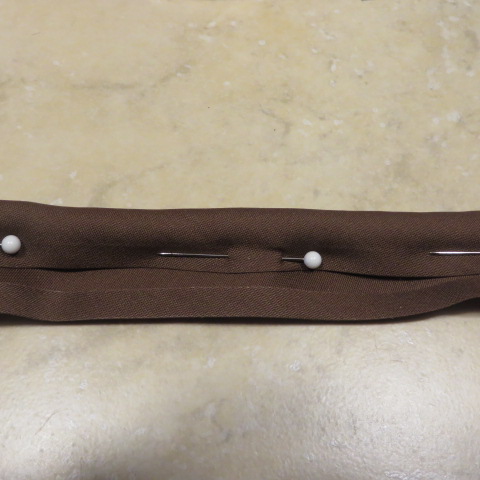
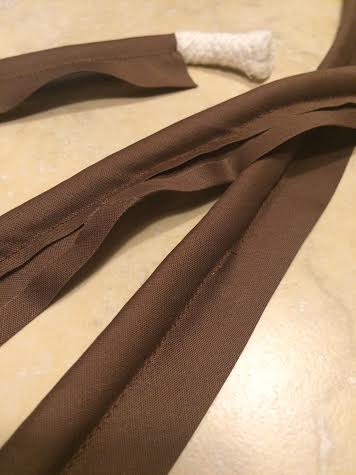
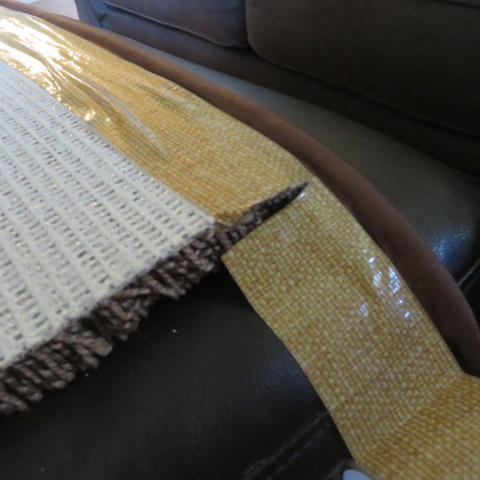
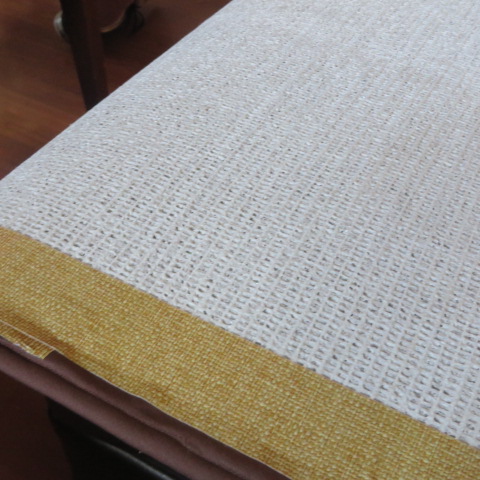
I used the bias tape and the cording to make the piping that goes around the rug. This takes the longest, but really isn't very hard to do. Click on these pictures to see the process.
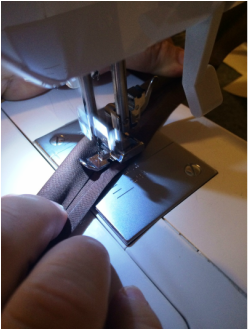
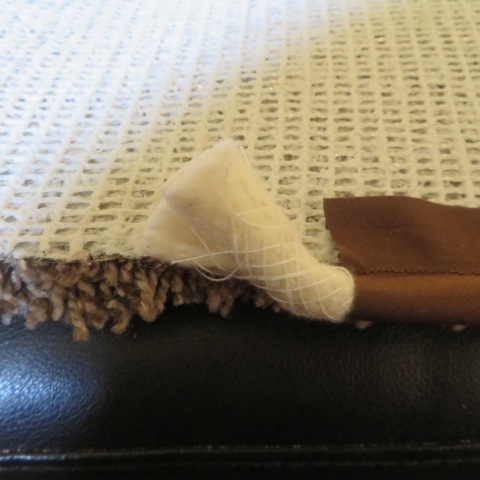
Notice that I am sewing forward, but at a slight angle into the cord, in order to make it a tight tube. When finished, you will have ropes of piping like this. You can use this technique to make piping for pillows, too! Click on these photos for more info.
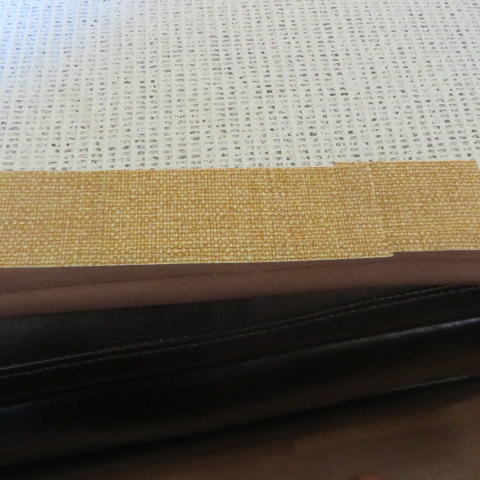
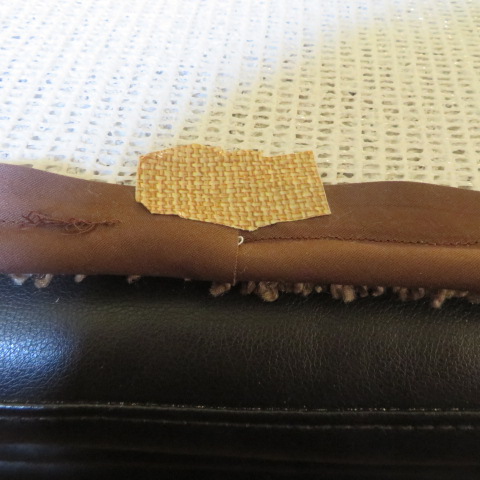
I found it easier to lay the rug on my ottoman upside down to begin applying the piping with with the Duct tape (I used the Duck Tape brand). Start with the end of the piping that has the empty section at the middle of one side of the rug.
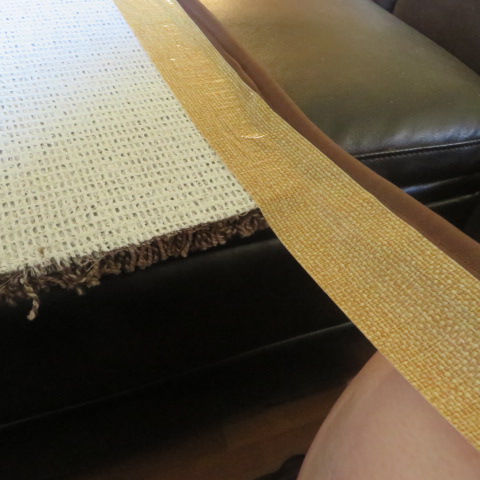
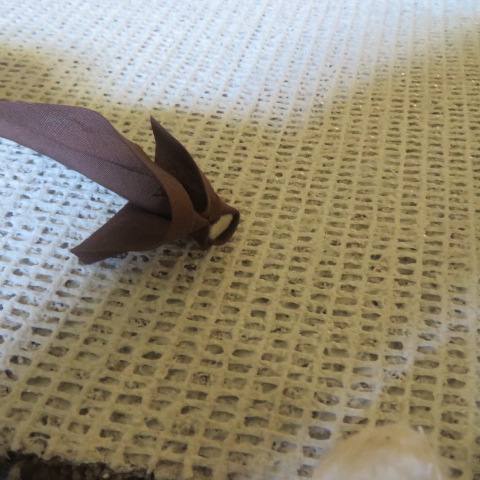
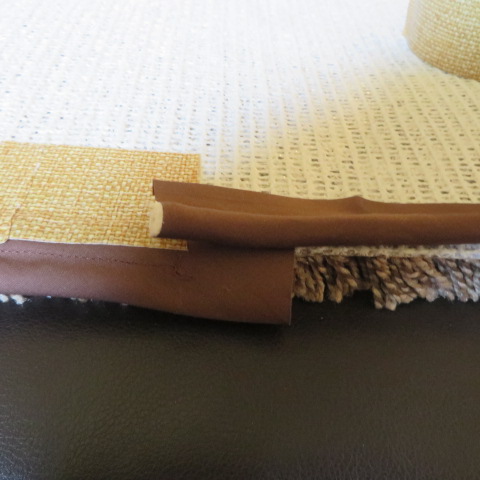
Continue the taping process all around the rug. If you come to the end of one strip of piping, add another as follows:
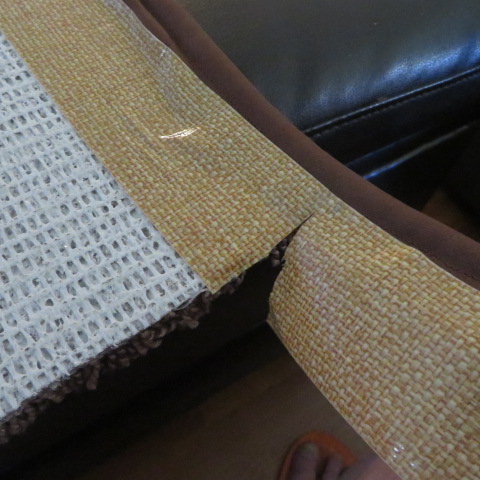
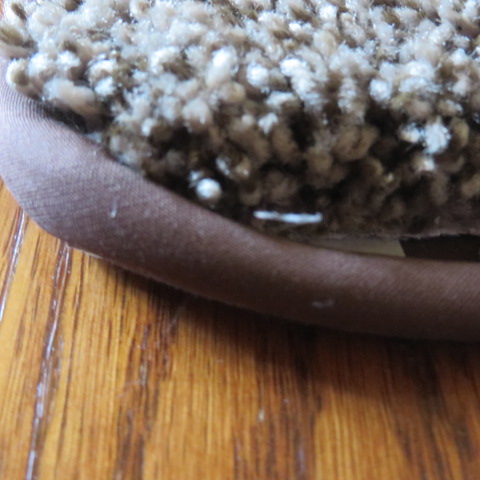
Once it is all taped, it should look like this:
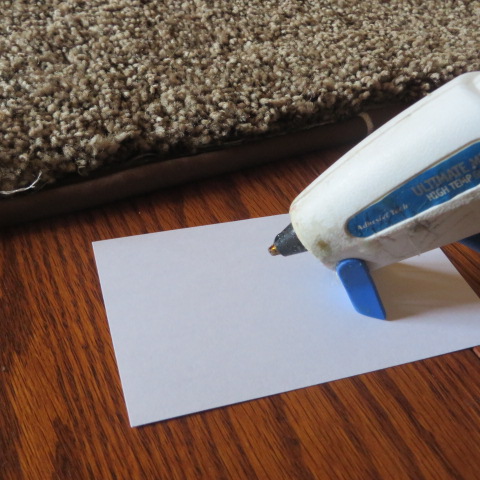
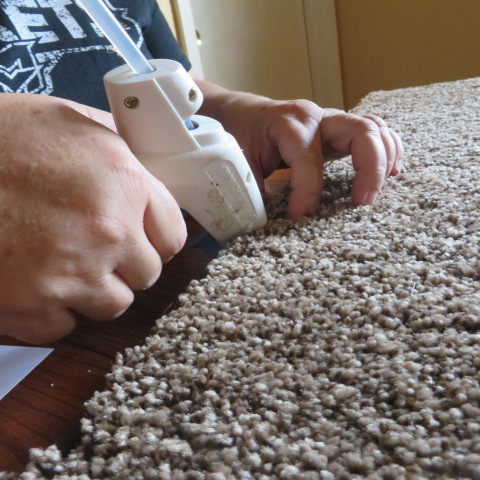
Now it is time to flip the rug over and do the gluing. I moved it to a table so my glue gun would be easier to use.
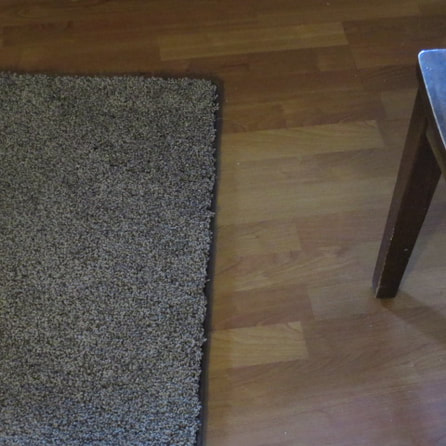
Finally, when you are finished, you will have a nice rug to use wherever you like. This one has been keeping my son's feet happy for quite some time now! If you have any carpet samples or scraps, some nice area rugs could make nice gifts or accents in your home. Hope you find this method useful!

*It makes us so happy that this post was featured on the To Grandma's House We Go linky party!

|
Creators of Hot Cocoa Bombs! (copyrighted)

Author
Helen Reynolds: Mother of six children , grandmother to eleven! I love to cook, craft and create things and I especially love doing that with my family, So, when my lawyer daughter, Lindsey, my artist daughter, Madalynn, and I came up with the idea of Hot Cocoa Bombs, this blog was born. Then, one more daughter, with her technical and science skills, plus creativity has joined in to round us out! Read more about us here! 
Click this link and visit 3WinksDesignShop on Etsy. Find our Hot Cocoa Bomb Idea Book, our For the Love of PIe e-book and more of our creations!

Amazon Gift Cards are the Perfect Gift!
    Archives
July 2024
|


 RSS Feed