|
This post contains affiliate links. I will be compensated for purchases made through those links at no additional cost to you. All views expressed are my own. Thank you for your support!
Last week I gave you some ideas for Mother's Day gifts. One of the items was a harvest apron that you can order from Amazon. But, I knew that I could easily make one and it would look a lot cuter! So, I dug into my fabric stash and found some fabric that I thought would be perfect for my apron. Then, I figured out what I needed to do to make it and now I am passing it on to you!
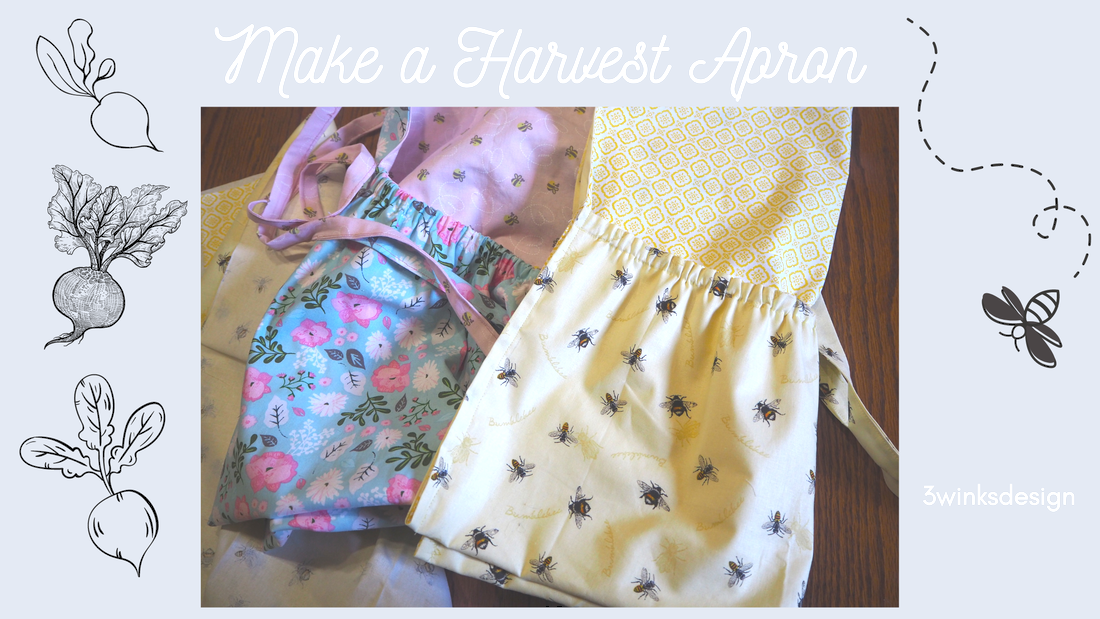
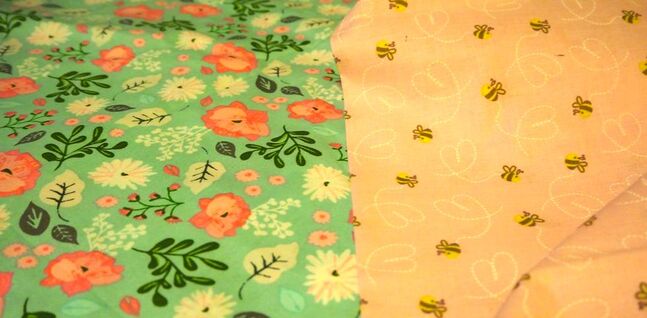
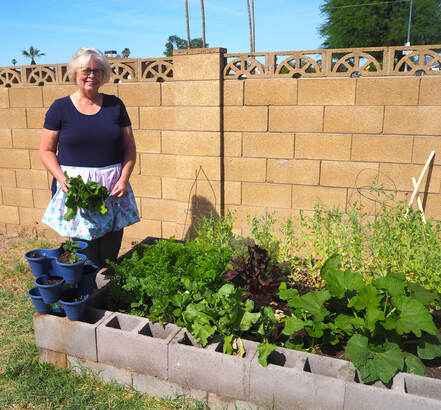
If you look at the picture above, the blue floral print and the pink with the tiny bees are the fabrics I chose. You can be matchy-matchy if you would like, but I thought for working out in my garden, these two fabrics would be perfect and it was going to be fun to break the rules. One fun thing about this apron is that it is reversible so you can switch it up when you want to, plus, of course, it is washable!
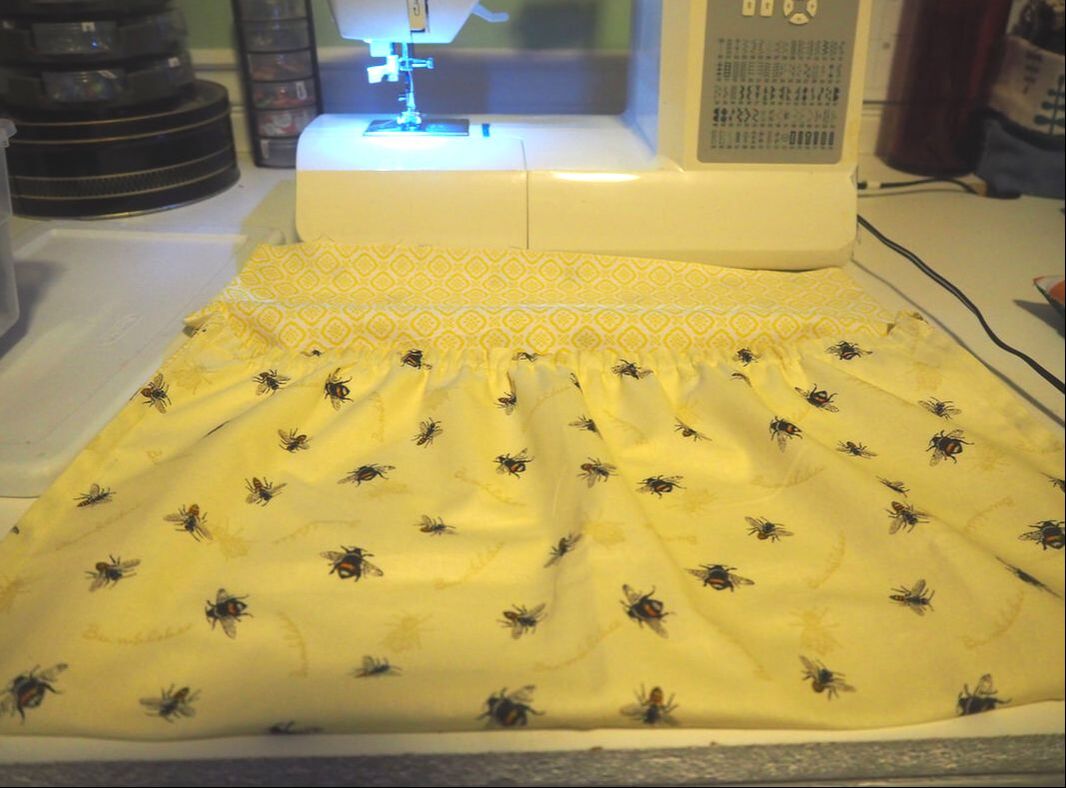
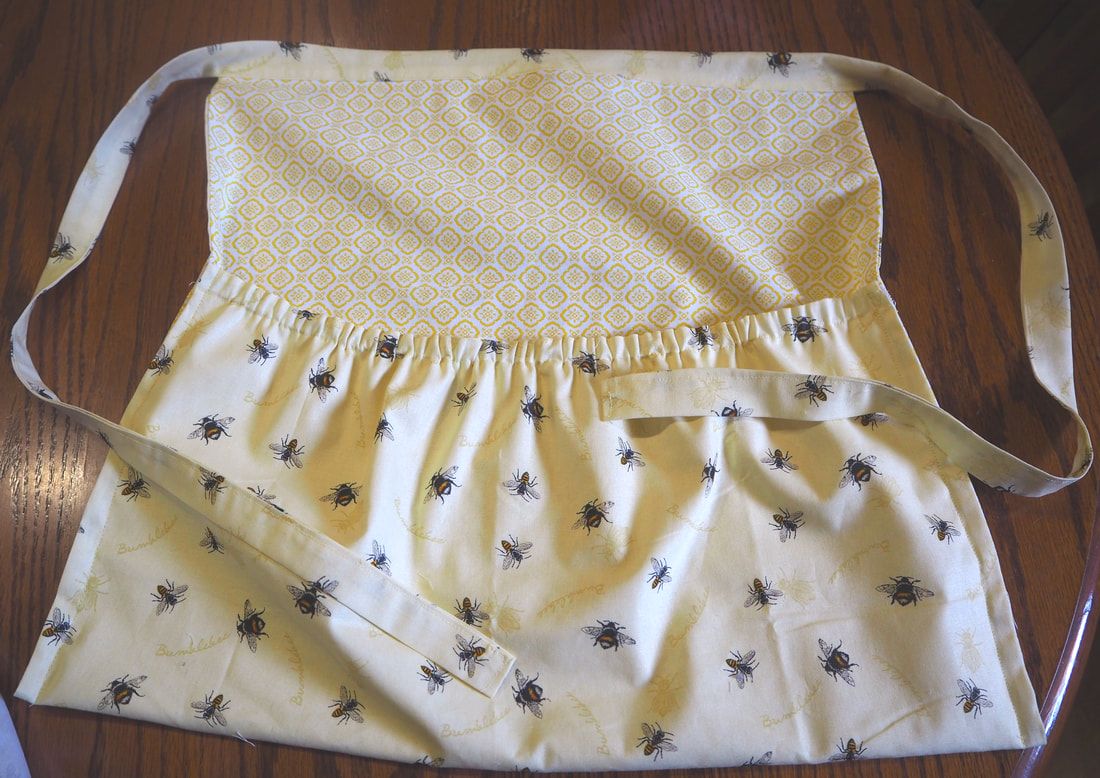
The yellow apron above is the one I made for Alicia after I figured out what I was doing on my first one. There were a few minor changes, and as I continue telling you how I did things, you may see pictures of my apron or hers.
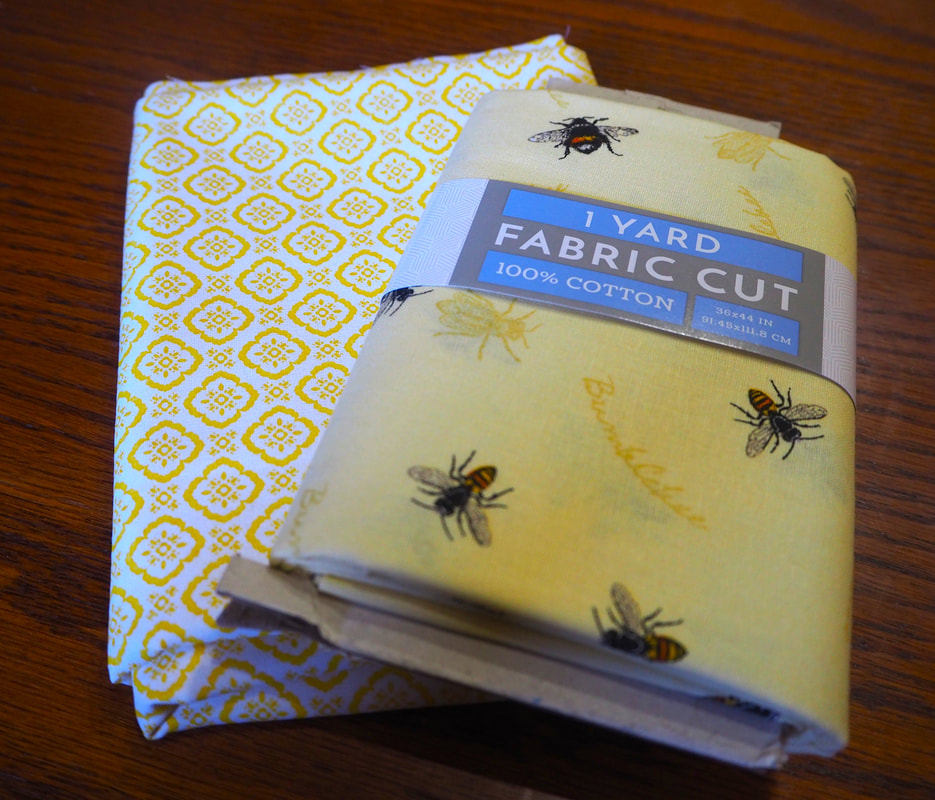
I purchased her yellow fabric at Walmart! I stayed with the bee theme and then decided on the coordinating fabric that reminded me of honeycomb. I couldn't find it on the website, but it is $4.44 per yard in the store. I bought 3/4 of a yard of the honeycomb fabric and the bee fabric came precut as a yard. I have enough left to make another apron, maybe just slightly shorter to give me enough fabric for the ties.
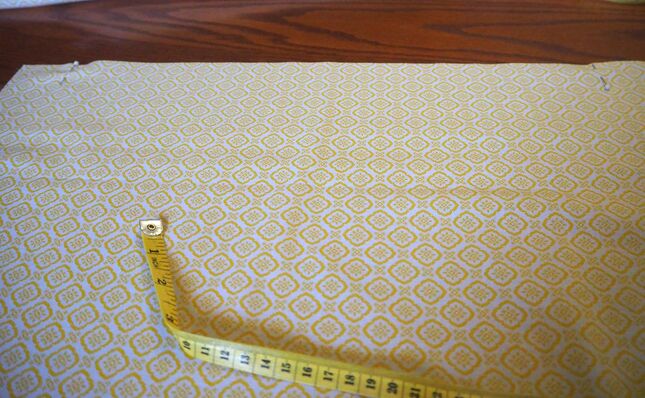
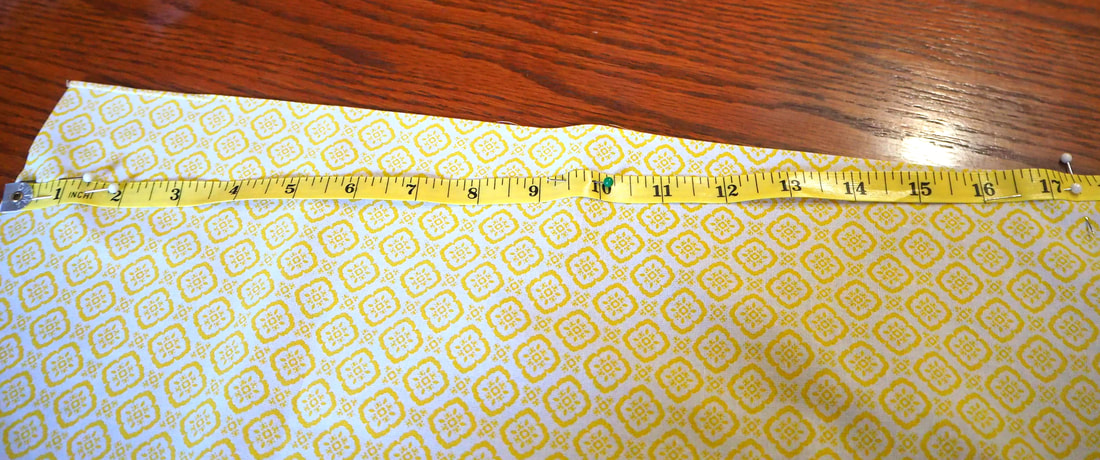
Begin by cutting both of your fabrics in half down the crease. Put one half of the fabric away for a future apron or other use. The length of the fabric should be about 27 inches if you bought 3/4ths of a yard. If you have a longer length of fabric, cut it to that length. The width at this point should be about 22 inches, especially if you cut away the salvage edge.
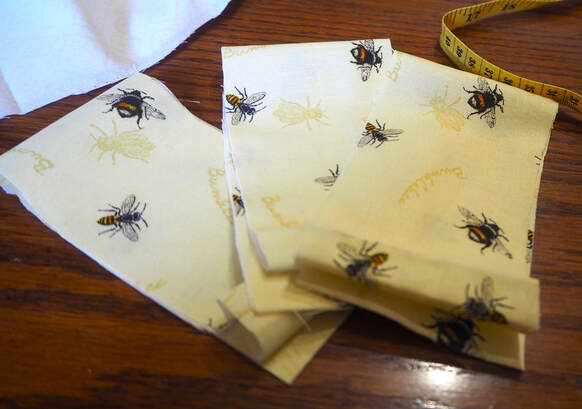
There are multiple ways that you can attach the ties. On my apron, I made the front a little wider and gathered it slightly to add the ties. Then, I used leftover fabric that I had cut away and pieced together the ties and waistband. On Alicia's apron, I decided that it was nicer to have a flat front apron, so I didn't gather it. I also simply cut three 3 inch pieces of fabric and put them together to form the waistband and ties. You could also just cut one long piece to form the waistband and ties all in one piece. I'm always trying to conserve fabric and use the last bits, that is why I cut the three pieces. You could also make your waistband wider that I did. It is all up to you, there are no rules.
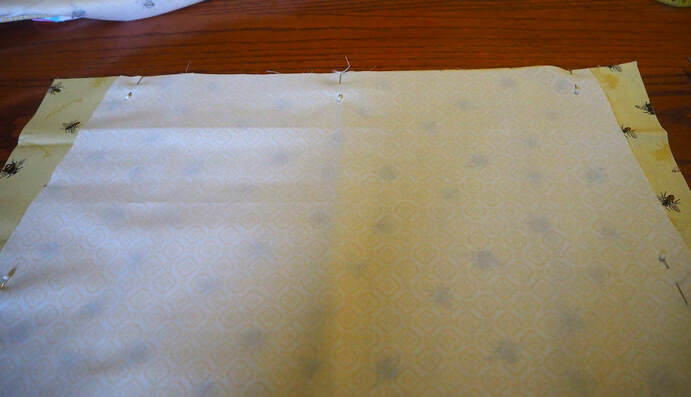
Now that your pieces are all cut and the main body of the apron is pinned together, begin stitching it around. Start at the top side, taking a 1/2 inch seam and sew down until 1-1/4 inches from the bottom. Stop and then turn the apron and sew the seam along the bottom. Turn, skip 3/4 of an inch and then sew all of the way back to the top. Do not stitch across the top. Trim your seam to 1/4 inch wide
The reason you left a gap at the bottom is because you will be making a casing down there for your elastic to go through.
Flip the apron right side out. Press the seams all around to make the apron flat.
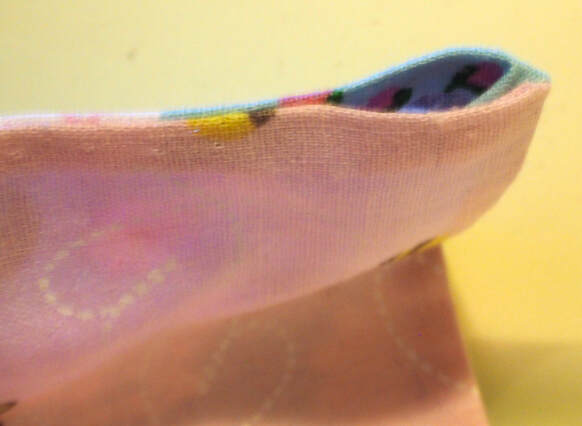
Find the holes that you left when you were sewing. Make sure that the seam is tucked in and that the opening is 3/4 of an inch. From the top of the first opening, sew straight across the apron, 3/4 of an inch from the bottom. This forms the casing.
Before we put in the elastic, let's put on the waistband. If you have cut your waistband in sections, first sew them together into a long piece. Next, iron down your seam. Now, whether you pieced your waistband or not, iron down 1/4 of an inch on one of the long sides and on the 2 ends.
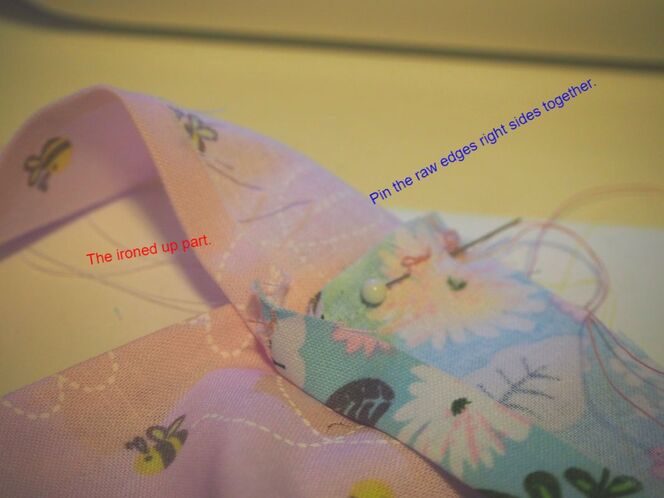
After you stitch on the waistband, fold it up and press it, the fold it over to cover the raw edges. This will also fold the tie ends over, hiding all raw edges. Stitch close to the edge of the fold from one end of a tie end, along the waistband to the other end of the tie end. This will work best if you press it all over first, pin and then stitch.
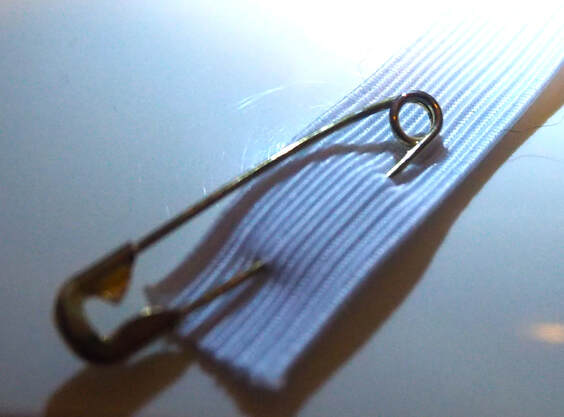
Cut a piece of 1/2 inch elastic about 20 inches long. Use a safety pin to thread the elastic through the casing. Leave a 1 inch tail sticking out at both ends and stitch the casing ends closed, sewing the elastic into the seam. Trim the elastic even with the apron fabric.
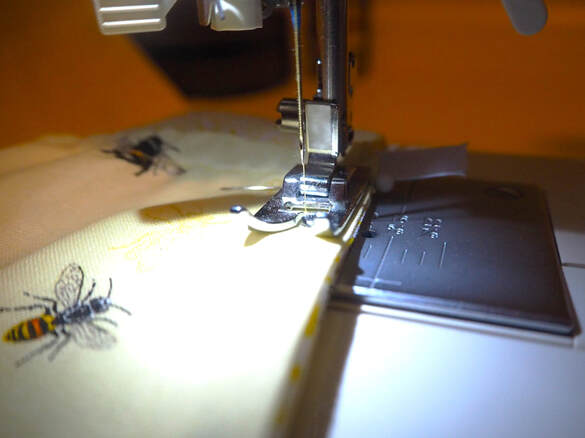
Fold up the fabric 10 inches to form the pocket. Pin it in place, stretching the elastic a bit if needed. Stitch in place close to the edge.
Other Really Cute Fabric Choices!
6 Comments
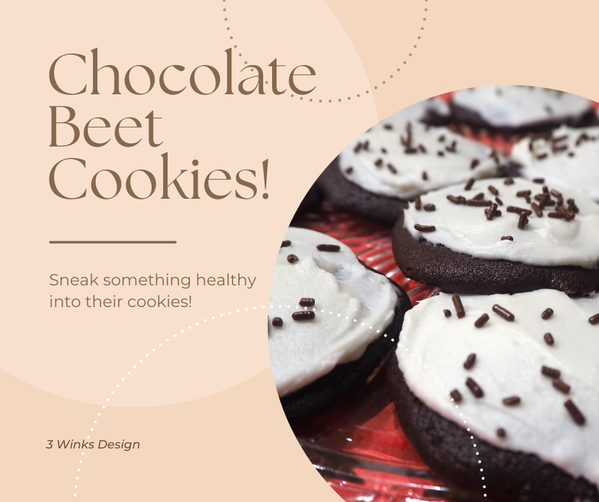
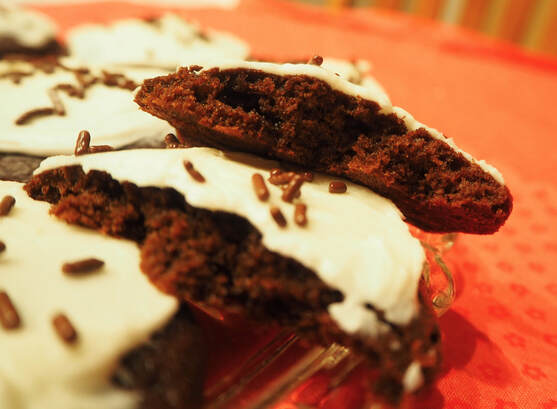
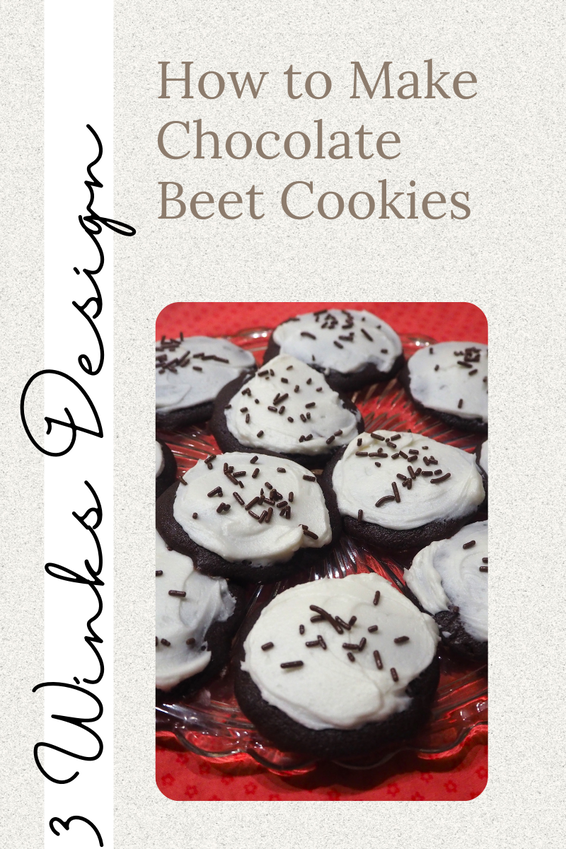
This post contains affiliate links. I will be compensated for purchases made through those links at no additional cost to you. All views expressed are my own. Thank you for your support! You may have noticed on my past posts, I've been having tons of fun in my garden this year. One of my best crops so far has been the beets! They are so beautiful when they are harvested! I've pickled some and I have to say that my Pickled Beets recipe is delicious. While delicious, you can only make so many pickled beets without wanting to branch out. You may remember that I do not love the taste of beets all by themselves, but they are so healthy, I find ways to eat them. (read about it here) So, today I'm sharing with you a great way to sneak these babies into your diet in a way that everyone will love! That's right, in cookies! Chocolate Beet Cookies to be exact! The beets in these cookies keep them moist and keep these cookies moist, the color is rich and dark and with a shmear of buttercream frosting they are the perfect snack and no one is the wiser that they contain the secret ingredient, beets! They are good without frosting as well, but I couldn't resist the frosting shmear and a few sprinkles. I based this recipe on our family favorite Fudge Mound Recipe. The batter comes out a bit thinner with the addition of the beets. I increased the flour by a bit, as well as the butter. Enjoy!
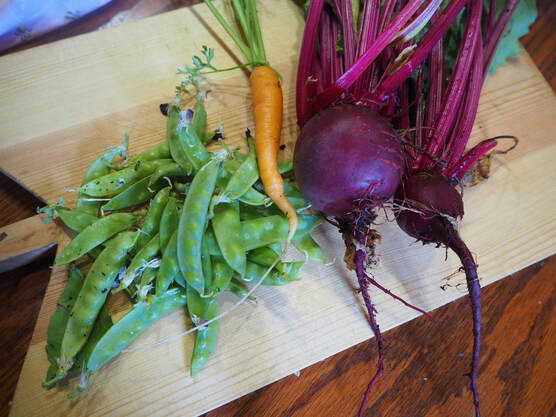
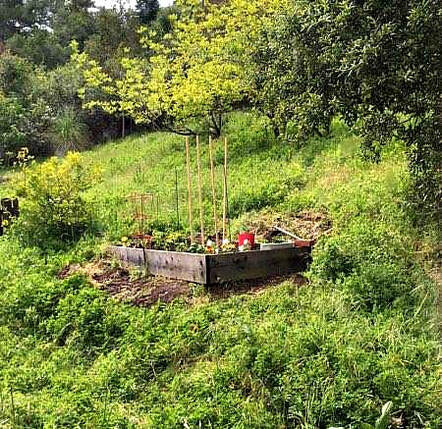
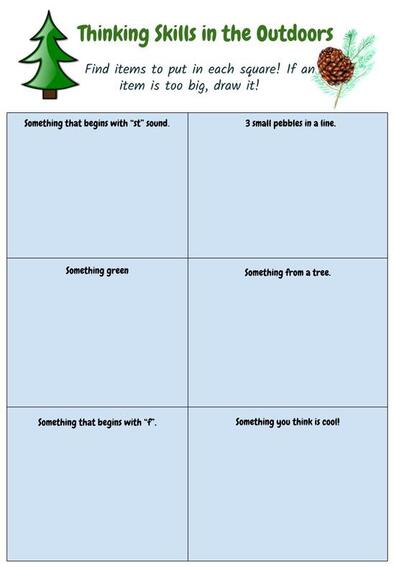
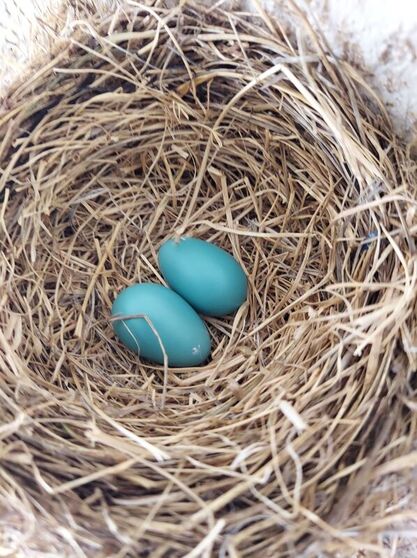
This post contains affiliate links. I will be compensated for purchases made through those links at no additional cost to you. All views expressed are my own. Thank you for your support! Did you know that in the USA, Earth Day has been observed since 1970? Whether you approve of the day or not and all that goes along with it, one thing we can all agree on is that the earth is a wonderful place and we should try to take care of it as we enjoy it. I decided that in honor of the day, I would share some of our past posts with you that encourage mindful use of the beauty around us as well as ways to teach our children to learn from the world around them and respect it, all while having a wonderful time! * The photo above is of Yosemite National Park, one of my favorite National Parks. You can read more about our Favorite National Parks in this post! Visiting one would be a great way to celebrate the Earth! Actually, Earth Day weekend is one of the free weekends to visit the National Parks of America. You can find a list of all of the free days in that post. *One of the great places to find great geologic sites to enjoy is Utah. We wrote an entire post about it here. *Gardening is a great way to celebrate Earth Day! I have really been getting into my garden this year. Even living in the city, it is possible to have a successful garden. I wrote about that here. If you want ideas about what to put in your garden, we shared our favorite things to harvest here. This year, I am going to add beets to that list! They are so easy to grow! Look at this recent post! *It is so important to teach kids about the outdoors and to encourage them to get off of their electronic devices and to get outside! Here is a list of books that we compiled to do just that! *I like to find ways to keep learning happening, even when we are out enjoying nature! You can get some ideas from this post. *If you can't go anywhere, you can always just go camping in your backyard! Kids love that and there is nature to see everywhere. Look at these eggs in a nest built right above my son's front door! They have been able to watch the entire process of the nest build because the nest is situated in front of one of their security cameras. That is how they got this awesome picture of the eggs. *We've also included some crafts for projects to use around the house that are small "green" ways that we can all use to care for the earth, as well as save money.
I realize that since today is actually Earth Day, you may need to do some of these things on a different day. But that's okay, because we should love Earth all year round!
**This post contains affiliate links and I will be compensated if you make a purchase after clicking on my links. But, all opinions expressed are my own.
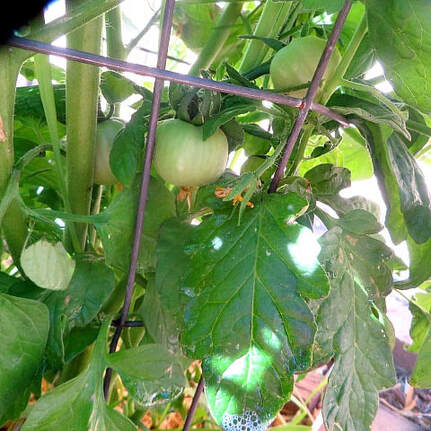
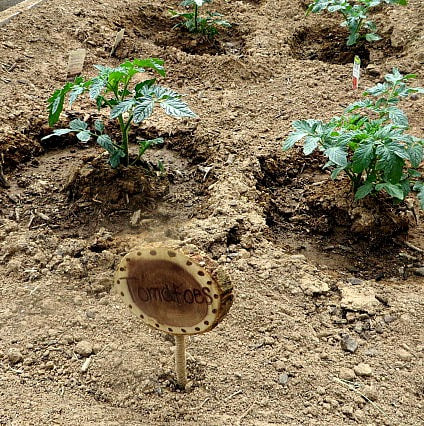
I was out watering my garden and I saw the blossoms of my zucchini coming on the plants and baby yellow squash already growing! It is so exciting! If you are a gardener, you already know that the excitement can quickly change to being overwhelmed with an over abundance of squash!
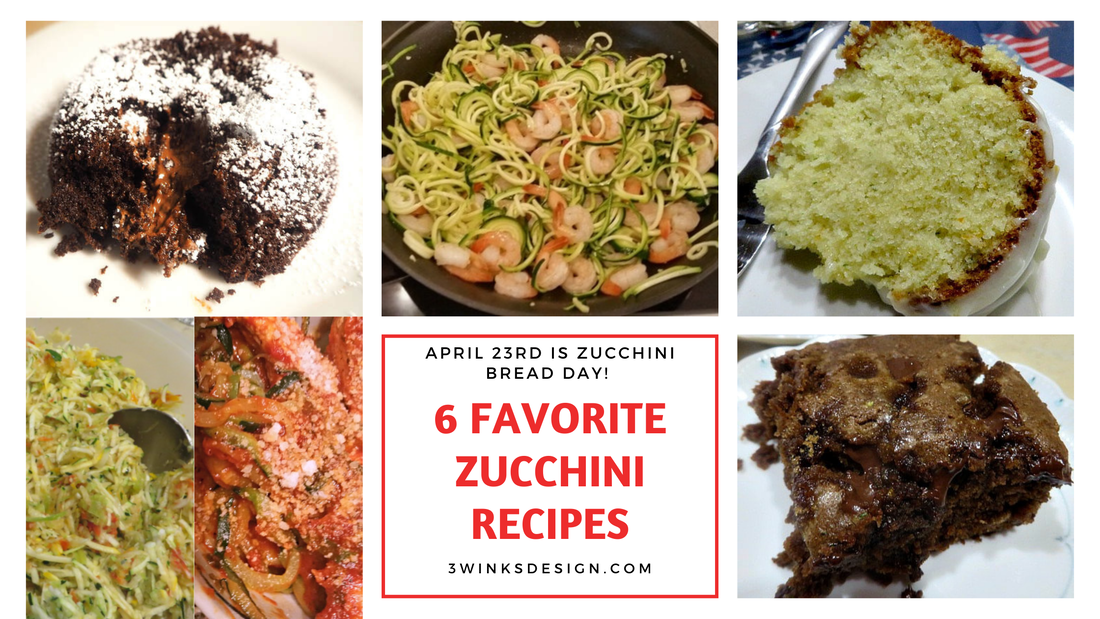
That feeling of being overwhelmed is probably why it was decided to have a National Zucchini Bread Day on April 23rd. Warmer climates will be harvesting by then, and it is a good time to start gathering recipes to use for not only bread, but for a variety of other foods that begin with the letter Z for zucchini!
We have a number of zucchini recipes on our site, so I thought I would give you a head start in the gathering of zucchini recipes for when your harvest is overly abundant, or for when your gardening neighbor secretly leaves you a bag of zucchini on your doorstep out of desperation.
Zucchini Orange Bundt Cake Zucchini has such a mild flavor that the citrus goes very well with it! This cake is moist and beautiful with the flecks of green from the zucchini and the orange zest. Use a bundt cake pan, like this one.
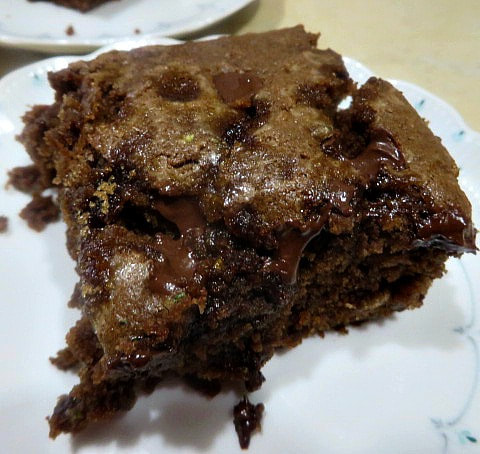
The Best Ever Chocolate Zucchini Cake Alicia describes this cake as fluffy, moist, soft, chocolatey and delicious.
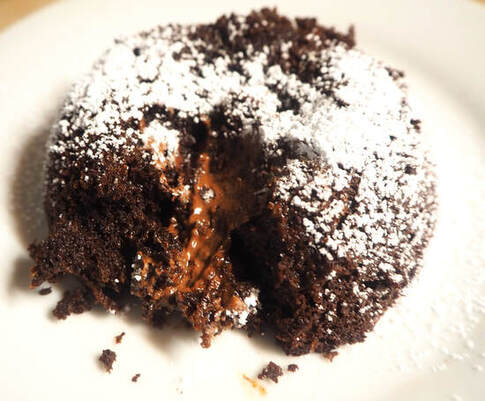
Molten Chocolate Zucchini Cake that is Gluten Free, but you can't even tell that you are not eating gluten or a vegetable for that matter! It is that good!
Okay, I did dessert first. But, here are some main courses.
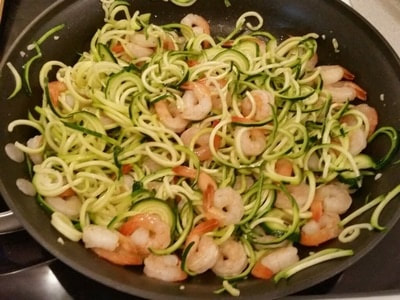
Shrimp Pesto with Zoodles Anything shrimp is fine by me! Lindsey make this dish as a romantic dinner for two. If you substitute zoodles for noodles, you can use up a lot of zucchini! A nice little spiralizer is all you need!
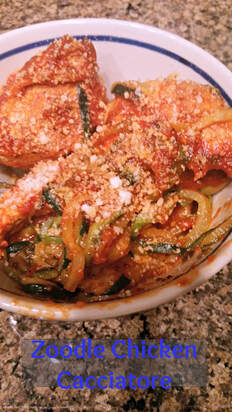
Chicken Cacciatore with Zoodles is also a great way to go!
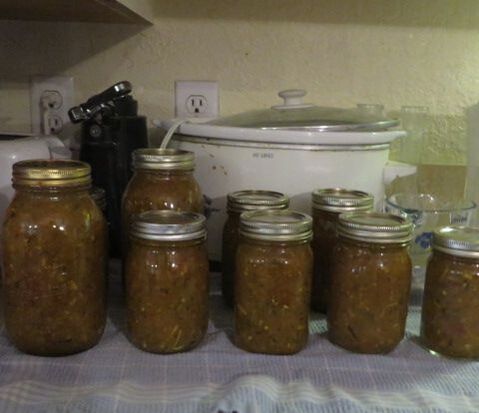
Finally, for those of us who love to can, don't forget to makeZucchini Relish! My family loves it!
I am sure that with the number of squash that I am seeing coming on my plants, I'll be finding more recipes! I'll let you know when I do! Share yours with me as well pretty please!
|
Creators of Hot Cocoa Bombs! (copyrighted)
Author
Helen Reynolds: Mother of six children , grandmother to eleven! I love to cook, craft and create things and I especially love doing that with my family, So, when my lawyer daughter, Lindsey, my artist daughter, Madalynn, and I came up with the idea of Hot Cocoa Bombs, this blog was born. Then, one more daughter, with her technical and science skills, plus creativity has joined in to round us out! Read more about us here! Archives
July 2024
|







 RSS Feed