|
**This post contains affiliate links and I will be compensated if you make a purchase after clicking on my links. But, all opinions expressed are my own.
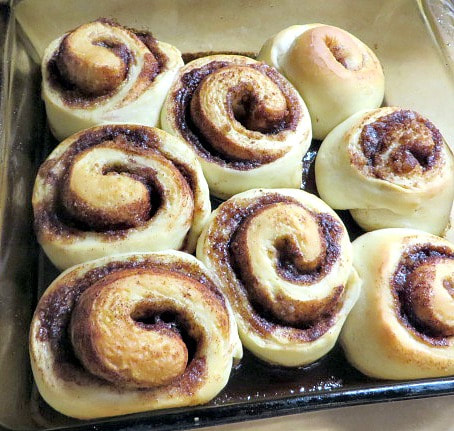
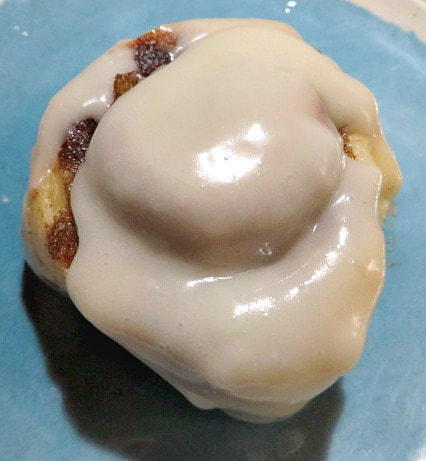
I'm making cinnamon rolls with this recipe right now! I'm so excited to bite into one when they are finished baking!
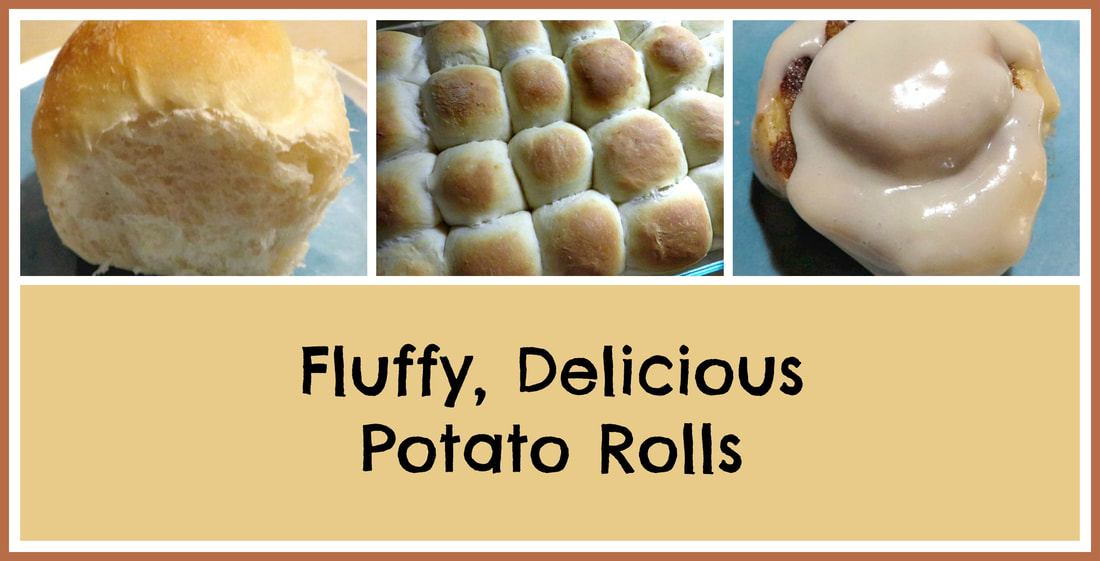
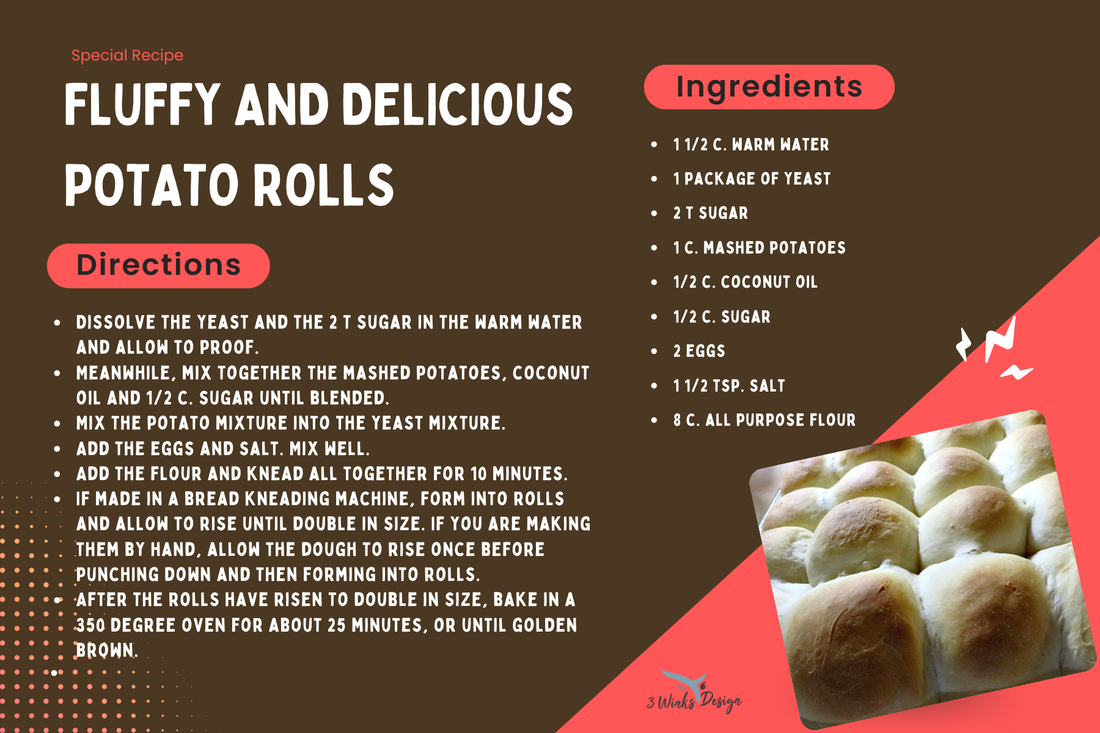
I love potato bread and it has always been a favorite with my family as well. It is always so moist and fluffy. I had never attempted to make it before this week. But, when I was looking through some old recipe books, I came across this recipe for Potato Rolls and I decided to make a few adaptations and give it a try. The original recipe called for butter, but I substituted coconut oil. When I mashed the potatoes, I used a little almond milk in them instead of regular milk. I wasn't sure if the mashed potatoes had to have milk or anything in them, but I put some in just to make sure that they were smooth and well mashed.
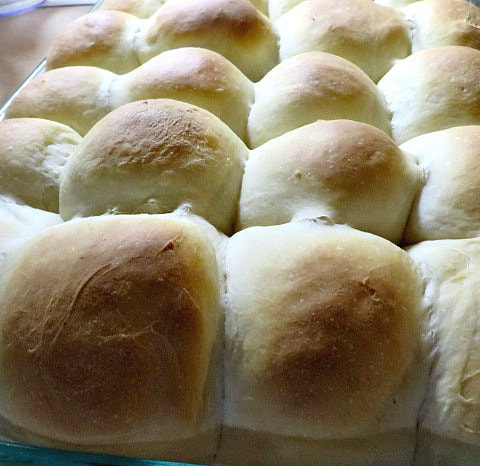
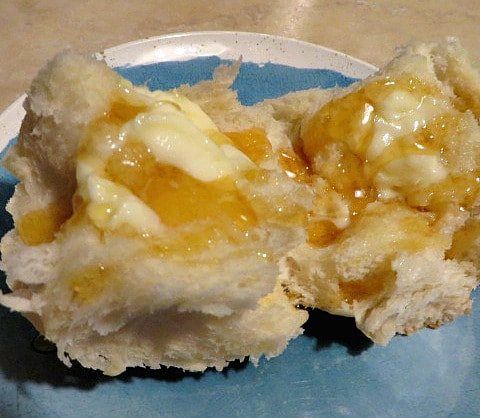
The result was perfect! The rolls are so tall, light, fluffy and moist! My husband and I ate them warm from the oven with butter and honey.
You may remember that a while ago I was able to get a bunch of potatoes and can them. That made it super easy to make my mashed potatoes for this recipe this time around!
I used the Bosch to mix my dough. It is still super hot here in Phoenix, so I waited until evening to make these so my house wouldn't get to hot during the daytime. The Bosch helps to speed up the process of bread making so that I wasn't up all night finishing these.
I was able to put 24 rolls in my extra long Pyrex baking pan. Then, there was a little dough left over, so I turned that dough into about 8 cinnamon rolls!
This recipe is very simple to make and I am sure this is going to become my new go to roll recipe! I hope you will give them a try and you will see why!
The recipe calls for 8 cups of flour. I have found that flour amounts in bread can vary up to 2 cups! Today I only used 6-1/2 cups and the dough was perfect! So, the lesson is, don't add the flour all at once. Put in about half and start mixing it in and then add more as needed a cup or two at a time.
5 Comments
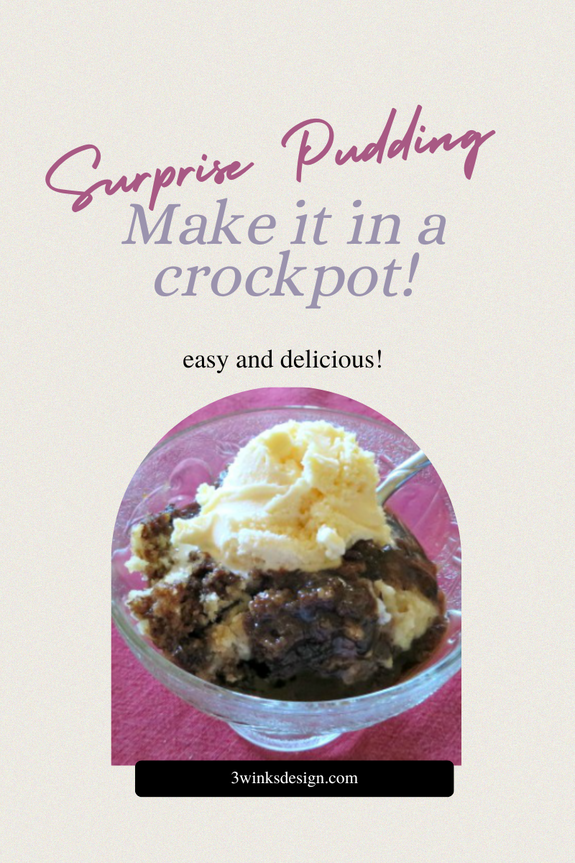
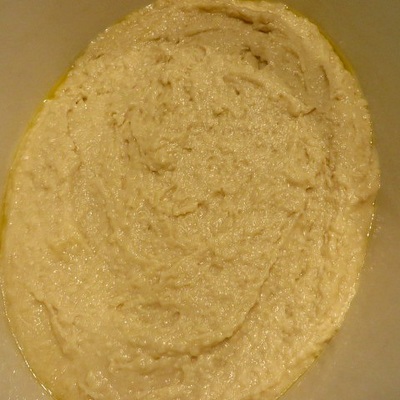
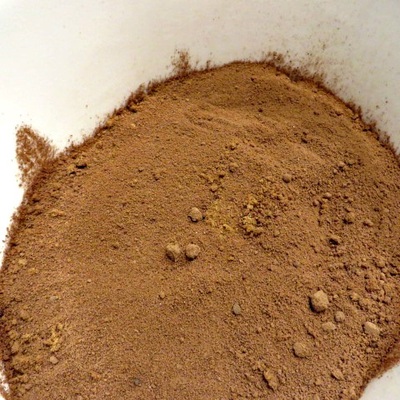
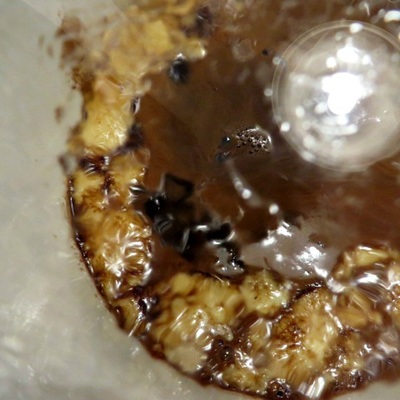
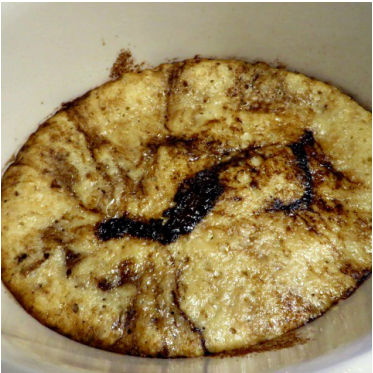
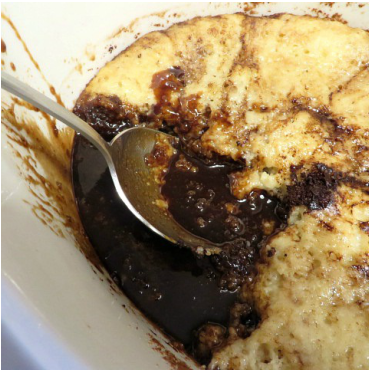
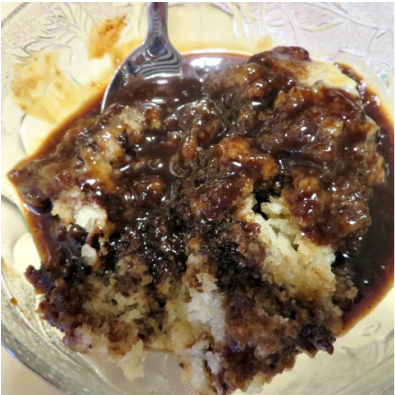
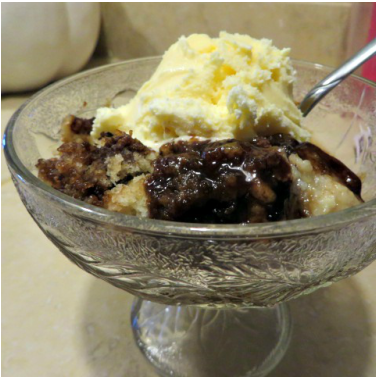
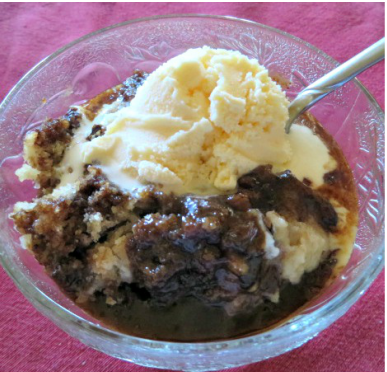
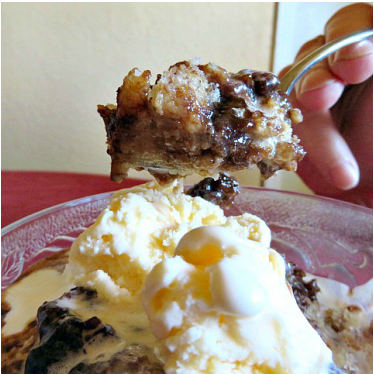
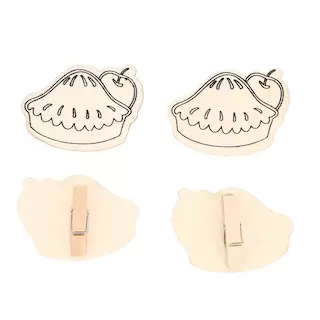
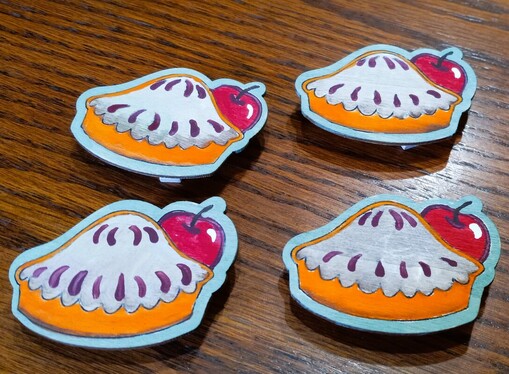
This post contains affiliate links. If you make a purchase after clicking them, we will be compensated, but there is no additional cost to you. All opinions expressed are our own. Thank you for your support. When I was growing up, sometimes on cold evenings, my mom would turn on the oven and make this incredible, tasty dish called "Surprise Fudge Pudding". I loved it because it had this wonderful fudgy sauce with a super moist cake and it was a surprise! I love surprises! It is a surprise because when you put the cake together, the cake batter goes on the bottom and the fudge ingredients go on the top in a powdered form. You add boiling hot water and stick the whole thing in the over and when it is finished, the fudge sauce is on the bottom and the cake is on the top! Magic! Well, I was thinking about this dish the other night because it has been a little cooler in the evenings. (Just under 80 degrees, that is cool for Phoenix). In the daytime, it is still hitting 100. But the idea of this recipe caught hold of me and I wondered if I could do it in the Crock-pot? Guess what! I could and I did! Here is how I did it. First, I sprayed my Crock-pot for easy clean-up! I preheated the pot to the low setting. Then I mixed up the batter (I will post the recipe below). Click on the pictures here to see what I am doing. I let it cook for 1 and 1./2 hours. In the regular oven, it cooks for 40 min. The top will still be moist, but the mixture will be set. Things in the Crock-pot won't really brown remember. I got so excited about the pictures, I almost forgot to give you the recipe! Here it is, I will give you both oven and Crock-pot versions. Surprise Fudge Pudding Spray the inside of the crock and preheat to the low setting while you mix the batter. Cream 1/4 c. butter and 3/4 c. sugar in a mixing bowl. In a different bowl, sift together 1 and 1/2 c. flour, 2 and 1/2 tsp. baking powder, 1/2 tsp. salt. Add this to the butter mixture a little at a time alternately with 3/4 c. milk. Add 1 tsp. vanilla. You may also add 3/4 c. chopped nuts to the batter, but I never do that. I don't remember my mom doing that either. Spread this batter, which will be quite thick, into the bottom of your Crock-Pot. Blend together 1/4 c. unsweetened cocoa powder, 1/4 tsp. salt and 1 and 1/2 c. packed brown sugar. Sprinkle over the top of the batter. Pour 1 c. boiling water over all of this. Put on the lid of the Crock-Pot and let bake for approx. 1 and 1/2 hours. (I checked it after 40 min., then after 30 more and then gave it about 20 to 30 more min. and decided it seemed done, and it was perfect. Depending on the size of your pot, times may vary.) If baking in the oven, put into a 13 x 9 baking dish and bake for 40 min. at 375 degrees F. Serve topped with ice cream while warm! Serves 6 There is a little bit of this left in the fridge from last night. It is starting to look like breakfast this morning! :) This post contains affiliate links. If you make a purchase after clicking them, we will be compensated, but there is no additional cost to you. All opinions expressed are our own. Thank you for your support. I like to check out Dollar Tree when their new seasonal items come out. I recently went in to see their new Fall items and found some cute stuff! One of my favorite little items were these little pie shaped clips that I think would make great bookmarks for a cookbook. Back in the 80s, I used to do a lot of Tole Painting. I still get the bug to pull out my paints and do some decorative painting. This little project was perfect because it was small, quick and still let me practice my comma strokes and side-loading! Here are the paint colors I used:
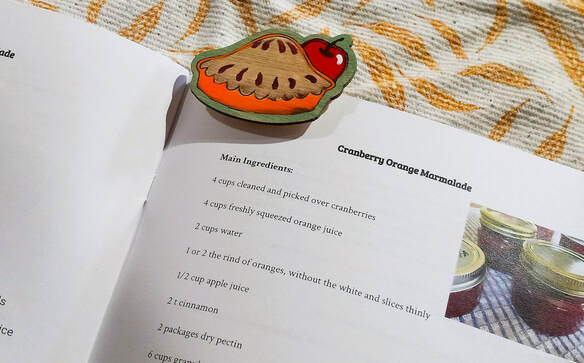
If you don't own a million bottles of acrylic paint already, like I do, Dollar Tree has a selection of paints as well. Or, you can order some on Amazon here. Why I Love These Little Clips When I use a recipe from a cookbook, I find myself always having to weigh the page open with something so I don't lose the page if the cookbook isn't spiral bound. A little clip like this can really help with that issue. Even if it isn't heavy enough to keep the book open constantly, you can clip the page so it is easy to open again. This picture shows the clip holding open the printed copy of our new eBook, Jam in 3 Winks! It would be even cuter with our eBook called For the Love of Pie! Combine it with a little pie, the cookbook and the bookmark. Or for the jam book, with a jar of jam and the cookbook! There you go! Christmas gifts complete. Except, you need to paint the bookmark clips. The handmade touch is always great when giving a gift. Besides the pies, Dollar Tree also has trucks full of pumpkins, leaves and pumpkin clips. All of them would be so much fun to paint. For a group activity, you can order them online in bulk, or go find them at your local Dollar Tree.
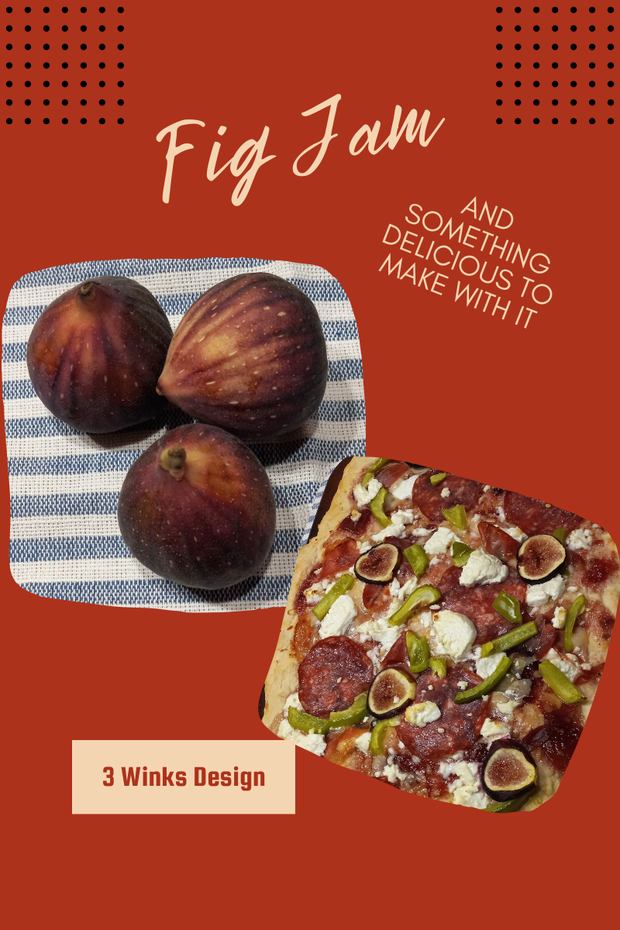
This post contains affiliate links. If you make a purchase after clicking them, we will be compensated, but there is no additional cost to you. All opinions expressed are our own. Thank you for your support. Here is a true story, when I was a kid, probably around 12 or 13 years old, I had a job picking figs.
I grew up in the central valley of California, and there were many people who had fig trees. One family that we knew needed to hire help to pick their figs, so my brother and I got jobs. If you don't know, figs are picked by harvesting them off of the ground. A tractor with a grabbing mechanism would go to the trees and grab them and shake them. The figs would fall to the ground and the pickers go and start throwing figs into their buckets. Well, at least that was how it was done when I was a kid back in the day. You had to crouch down and fill your bucket as fast as you could because you were paid by the bucket load of figs. About 10 cents per bucket back then, as a matter of fact! It was hard dusty work and by the end of my first day, I was sick. So, my employment didn't last very long. The funny thing about that story is, I don't remember eating a lot of figs as a kid. Sometimes we had Fig Newtons, and I think that once in awhile we had some dried figs, but they weren't a major part of our diet. That is why when I was able to order some figs from our local wholesale produce distributor, I was anxious to get some and see what I could do with this funny looking fruit, the fig! |
Creators of Hot Cocoa Bombs! (copyrighted)
Author
Helen Reynolds: Mother of six children , grandmother to eleven! I love to cook, craft and create things and I especially love doing that with my family, So, when my lawyer daughter, Lindsey, my artist daughter, Madalynn, and I came up with the idea of Hot Cocoa Bombs, this blog was born. Then, one more daughter, with her technical and science skills, plus creativity has joined in to round us out! Read more about us here! Archives
July 2024
|




 RSS Feed