|
This post contains affiliate links. If you make a purchase after clicking them, we will be compensated, but there is no additional cost to you. All opinions expressed are our own. Thank you for your support.
Since Thanksgiving, I've had a glass baking dish at my house that belongs to my daughter from another mother. She was coming by last night and since I wasn't sure if I would be seeing her again before Christmas, I wanted to give her a gift. I came up with an idea that would turn her baking dish into the vessel for her gift.
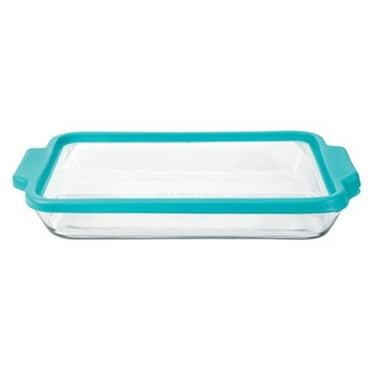
Her baking dish is really cute, with a silicone edged lid, clear in the middle, similar to this one that you can pick up at Walmart for about $10.
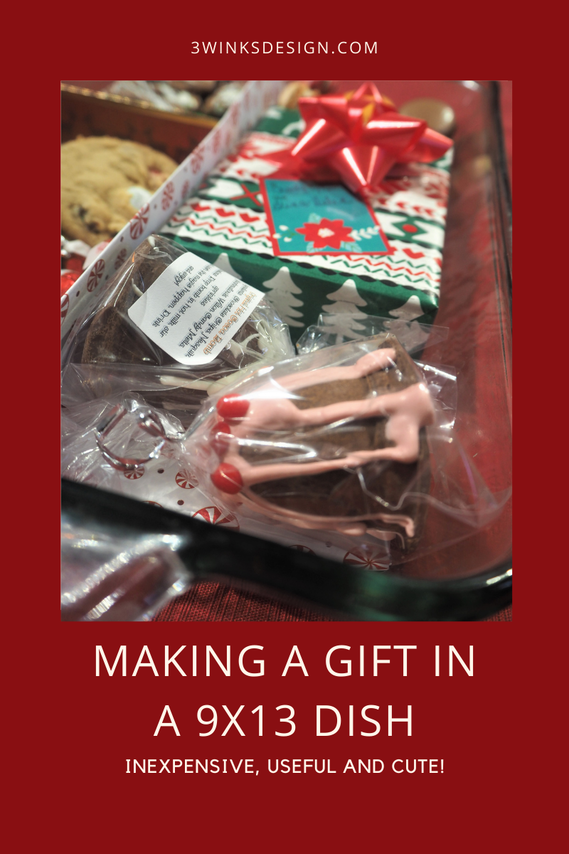
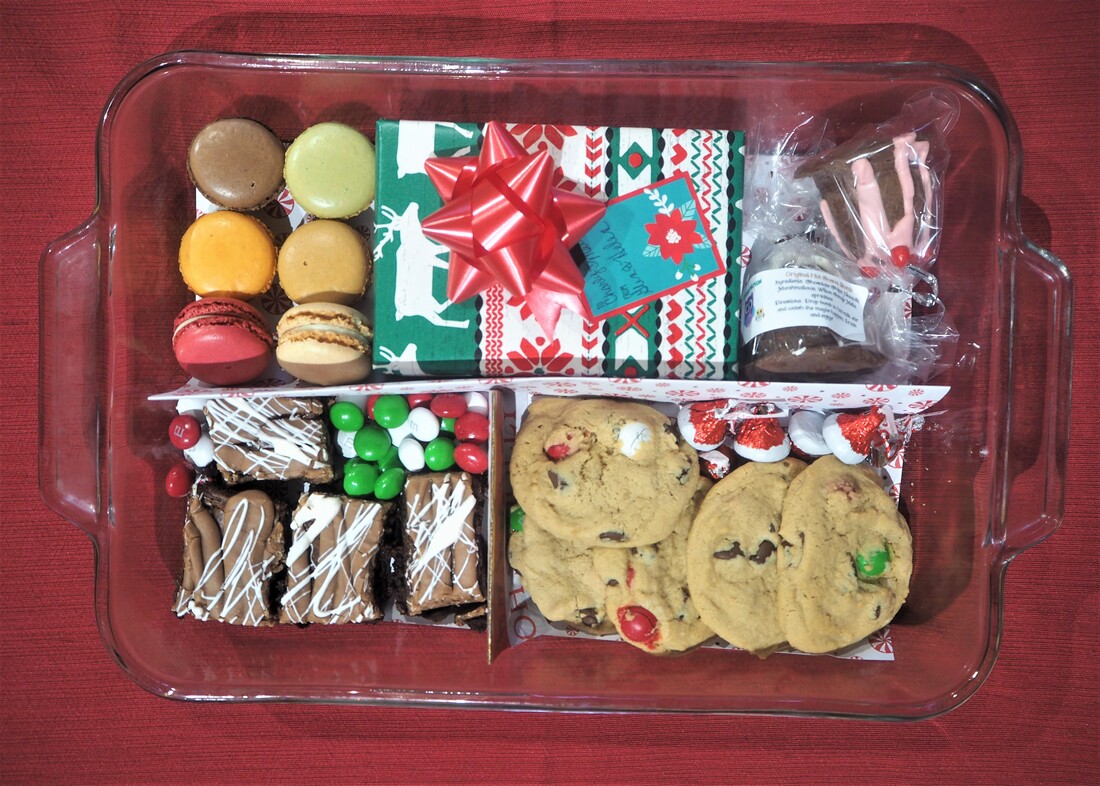
I decided to use Christmas cardstock to make divisions in the dish to hold home baked goods and treats neatly in the dish, surrounding her wrapped gift. It came out looking like this:
I put in macarons, Hot Cocoa Bombs, gluten free brownies, chocolate chip cookies with peppermint M&Ms, and her wrapped gift. I filled in with Hershey Kisses and M&Ms. It looks so cute in person, better that the picture for sure, and when you seal it up with the lid, it is a perfect gift.
I made the sections by folding the cardstock in half and then folding it back on itself so that the crease is raised up, making a wall. For the smaller wall, I simply folded some cardstock cut to the right length in half and folded feet at the bottom and taped them in place. The wrapped gift itself makes the divider between the 2 smaller slots, of course.
I was so pleased with the result and so was the recipient. I got to thinking that a 9x13 baking dish makes a wonderful shower gift and you could fill it in a similar way, except not Christmasy! Then I started brain storming other ways this idea could work. Here are a couple of ideas:
Even when simply returning a borrowed dish, this method of filling it can be a great way to say thank you. Dividing the pan into sections keeps everything neat and lets the receiver know that you put some thought and effort into the gift. If you have some last minute gifts that you need to give or if you need something for an office party, this idea could also come in handy, even if you only use a foil pan, just to keep everything contained!
Let me know if you can think of other uses for this technique! Happy Gifting! You may also love these ideas:
0 Comments
This post contains affiliate links. If you make a purchase after clicking them, we will be compensated, but there is no additional cost to you. All opinions expressed are our own. Thank you for your support.
I recently have seen ads for Cracker Barrel restaurant advertising their Cinnamon Roll Pie. That sounded intriguing to me, so I got on line and checked out just what this thing is. Surprisingly, it turns out that their pie is actually cinnamon rolls baked in a pie crust. Interesting and probably good but it sounds very starchy to me. The idea got my wheels turning though and I thought, "What if the Cinnamon Rolls were the crust of the pie?"
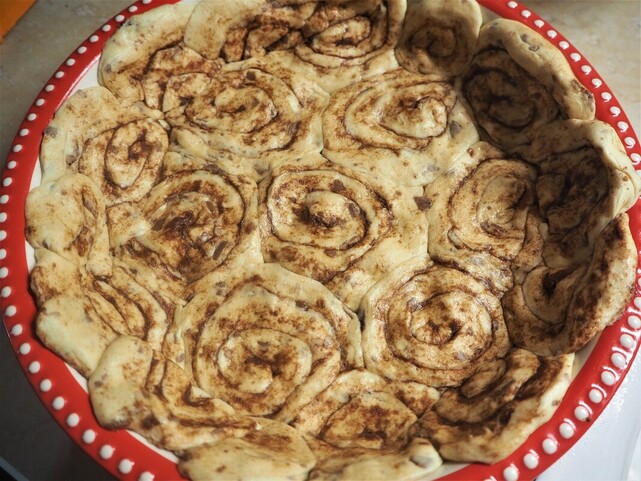
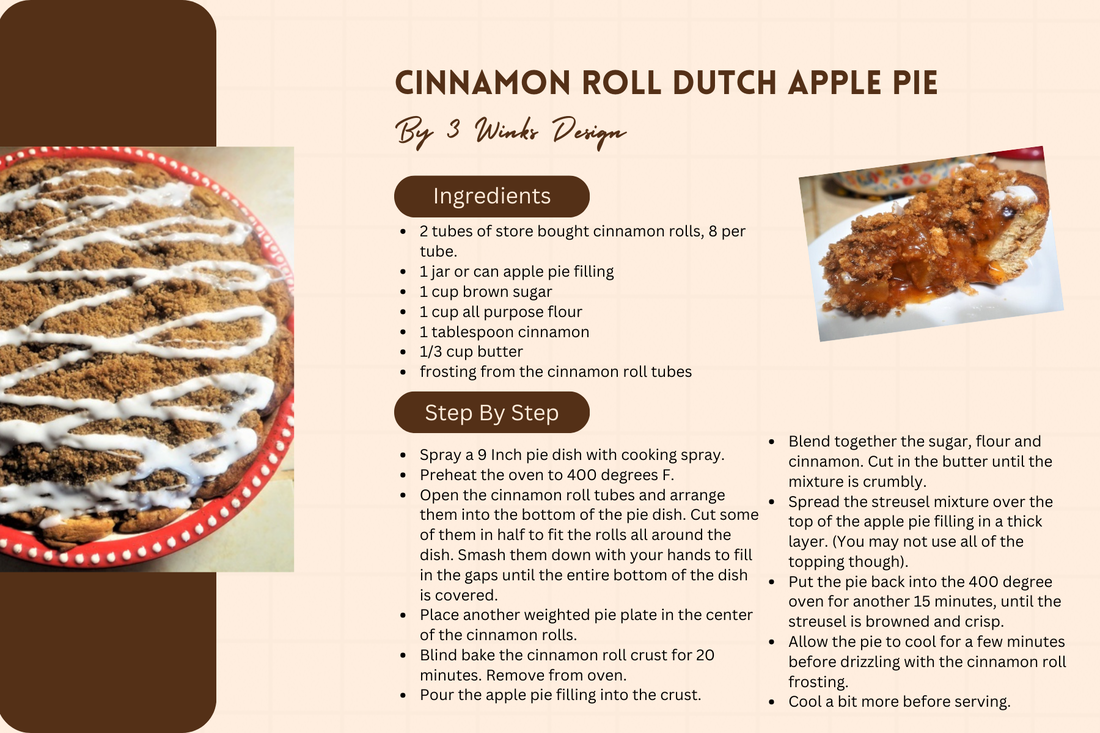
Well, obviously, I didn't want to go to all of the trouble of baking a batch of cinnamon rolls just to mash them into a pie crust. I went to the store and bought some canned cinnamon rolls and smooshed them into the bottom of my pie dish. It took 2 tubes of them to cover the bottom and the sides. Sometimes you have to cut the cinnamon rolls in half to fit them around the sides of the dish.
I prebaked my cinnamon roll crust by placing another pie dish in the center and adding weight. You a can get pie weights, or use beans or something. I didn't want my cinnamon rolls to rise up and get puffy. They did puff a bit, but that was okay, they still had the crust shape with room to add a filling. I baked it at 400 degrees for 20 minutes.
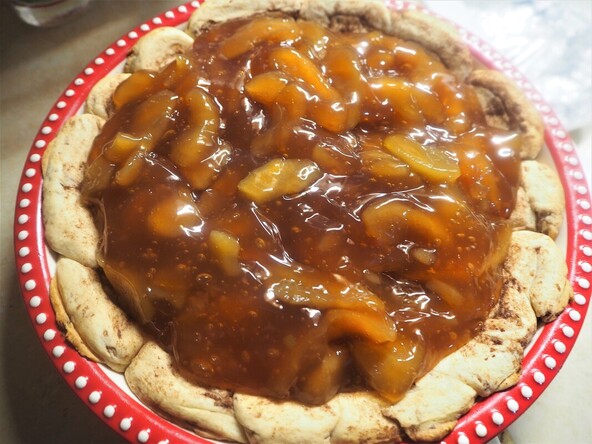
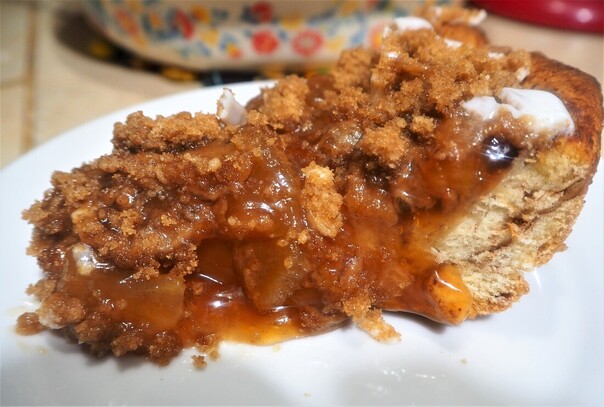
When the crust was out of the oven, I filled it with some of my home canned pie filling, just one jar.
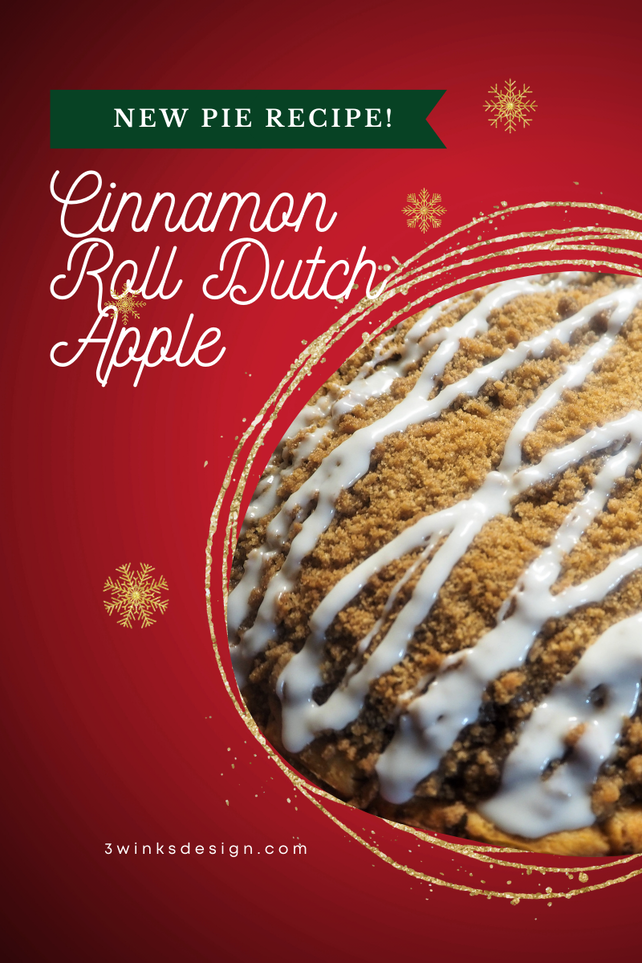
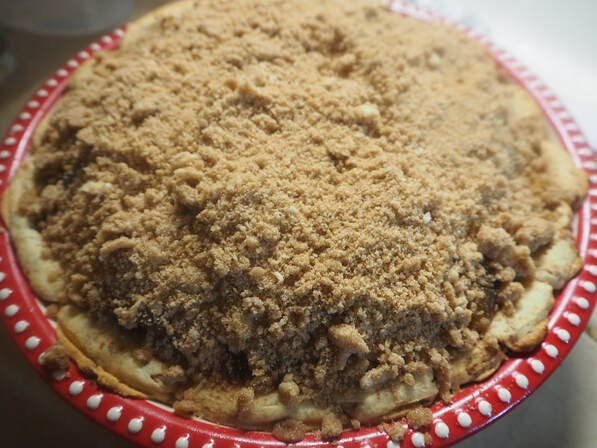
Then, I topped the pie filling with a cinnamon streusel topping!
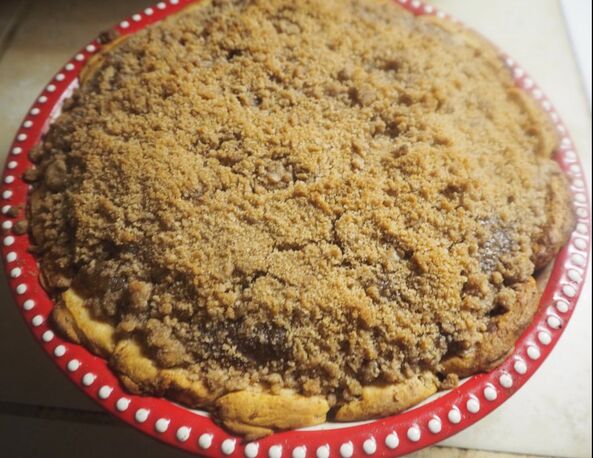
Next, I popped the pie back into the 400 degree oven for another 15 minutes until the streusel was brown and toasty.
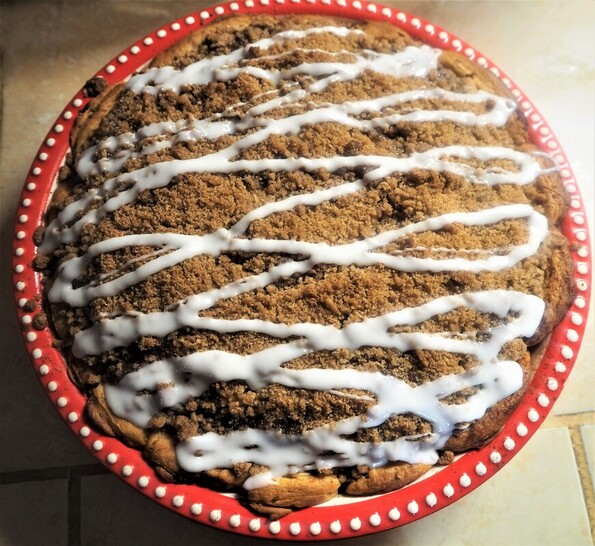
But, there was one thing missing! You can't have cinnamon rolls without the ooey, gooey frosting! So, I used the frosting from the cinnamon roll tubes to drizzle on top of the pie!
Finally, we ate it for dessert after a great chicken dinner with roasted vegetables! This seems like such an All American Meal to me and the pie was the perfect ending. Everyone pronounced the pie a success! I think it will be a terrific breakfast pie as well! It is kind of like a breakfast apple streusel or coffee cake. it would be perfect on Christmas morning.
Let me know if you give this pie a try! I hope you love it!
This post contains affiliate links. If you make a purchase after clicking them, we will be compensated, but there is no additional cost to you. All opinions expressed are our own. Thank you for your support.
I found this old post from and gave it a little update because I still love this idea!
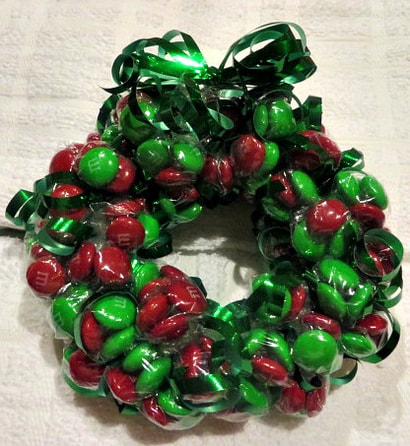
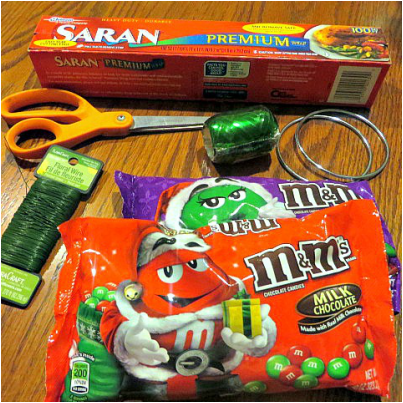
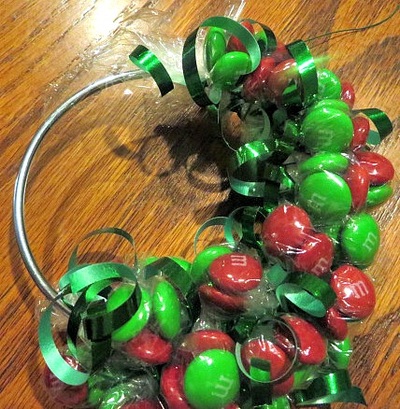
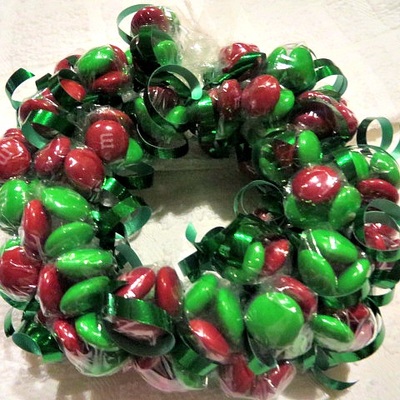
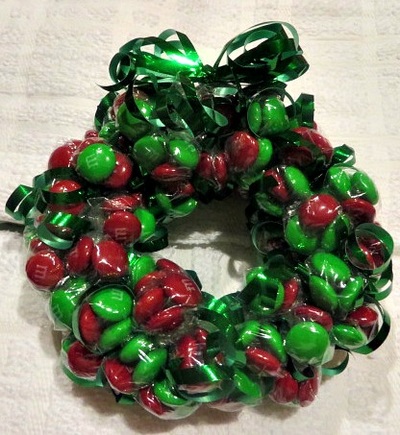
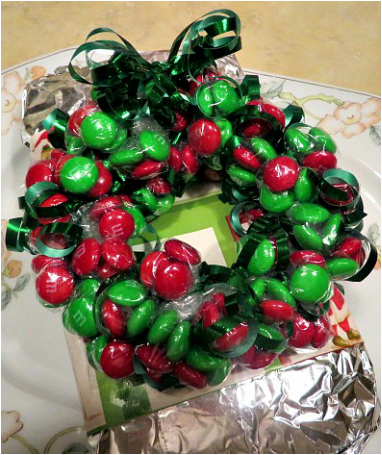
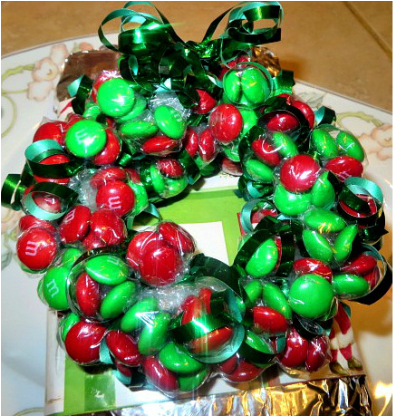
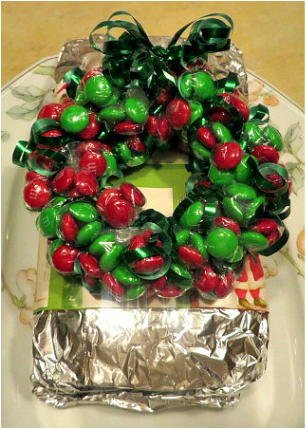
Once, many years ago, I made an M&M wreath by forming a wire coat hanger into a circle and then wiring little cellophane wrapped packs of M&Ms onto it. It was really pretty, but very time consuming and it took a lot of M&Ms. I have never forgotten it though and I sometimes consider making another one. Because of another project I am working on, I found myself with some extra 4" metal rings and I decided that maybe a mini-wreath would be an awesome little gift. I gathered my supplies to try it out.
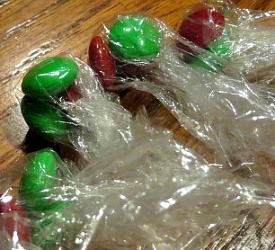
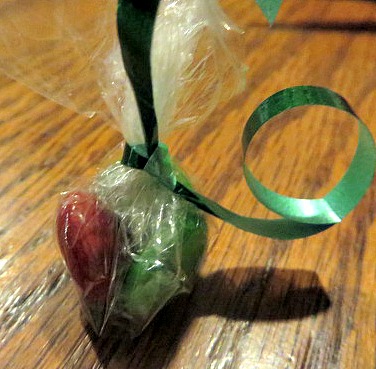
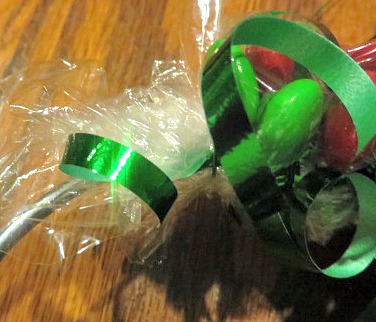
Click on the pictures below to learn the steps.
I baked banana bread the other day and decided to share some with a friend. I wrapped the bread in foil, put a band of gift wrap around it, then used the wreath on top as an extra treat! I think this is will be an appreciated gift, don't you? I hope so.
This is a project that would definitely lend itself to working with a group or at least a partner. Someone could cut the plastic, someone could fill them, someone could tie them Once you have a bunch of bundles, everyone could start wrapping. It sounds like a good family project to me!
You could make a large one the same way. (Just put more candies in a bundle to make them bigger). But, I really like the small ones because the large ones start looking terribly shabby when you start cutting off the candy to eat! These little ones won't matter so much. Plus, they take less than a full 12 oz. bag to make so you can share the fun with more people. They are super easy to make, so go ahead! Give it a try.
Other Christmas Crafts You Will Love:
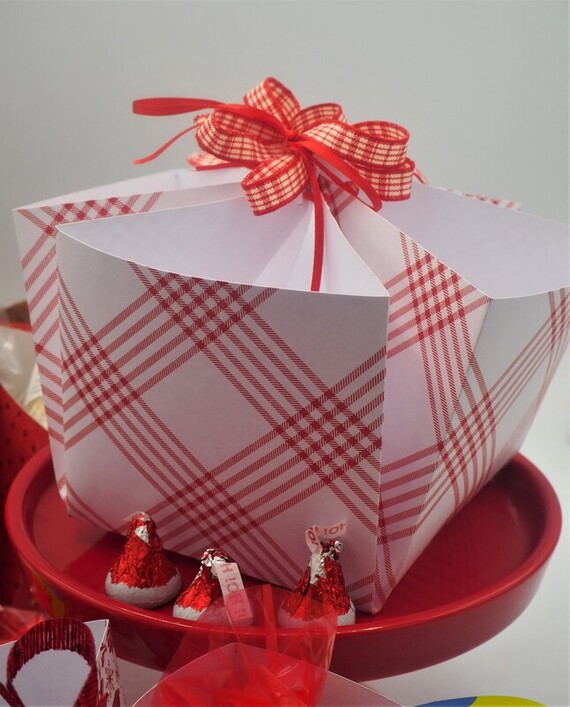
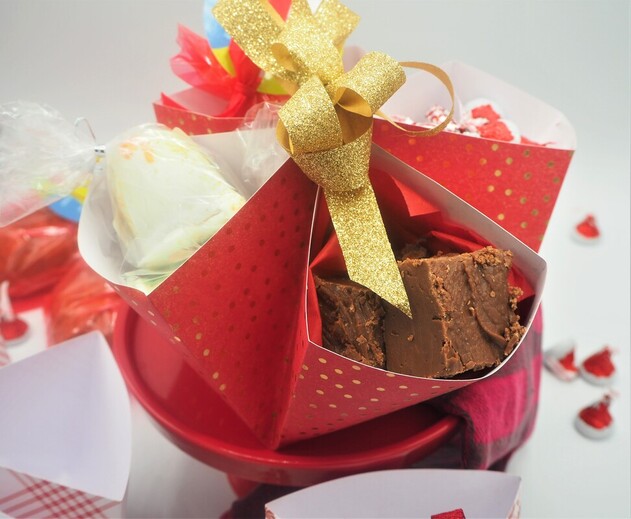
This post contains affiliate links. If you make a purchase after clicking them, we will be compensated, but there is no additional cost to you. All opinions expressed are our own. Thank you for your support. On my calendar of obscure holidays, I noticed that Friday is Make a Gift Day! Well, I've already been making gifts, but I took this as a challenge and decided to come up with something different to make. I perused Pinterest and as I looked through my own board of gift ideas, I saw this adorable treat basket that I had almost forgotten about! The directions for this basket made from 1 sheet of paper can be found on downhomeinspiration.com. This basket is made so simply and inexpensively with 1 sheet of 12 x 12 decorative paper and some ribbon! You can use paper, or in my case I used decorative cardstock. And, because it is the holidays, I added a larger bow at the top! I love how these paper baskets turned out, and you can fill them with any treats that you would like! Kristen filled hers with mini-muffins. I thought that the 4 slots would be perfect for mini loaves of bread or different candies or cookies. In the end, I ended up filling mine with fudge, a Pumpkin Gingerbread mini-loaf, Hot Cocoa Bombs and some Hershey's Kisses! (I feel like I copped out with the Kisses, but I didn't have time to bake the cookies that I had planned on.) But, who wouldn't love to receive a cute little basket filled with treats like this? Here are a few tips that I found when making the basket:
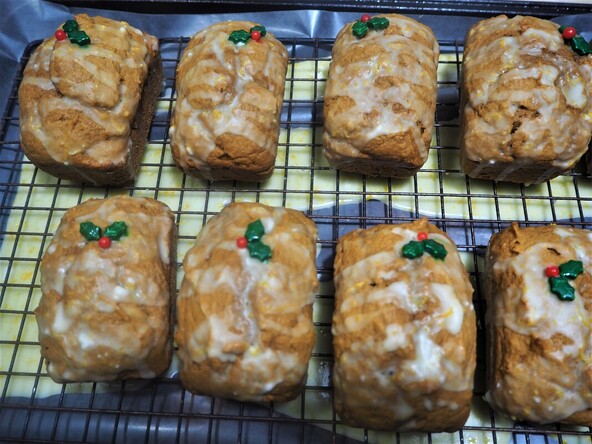
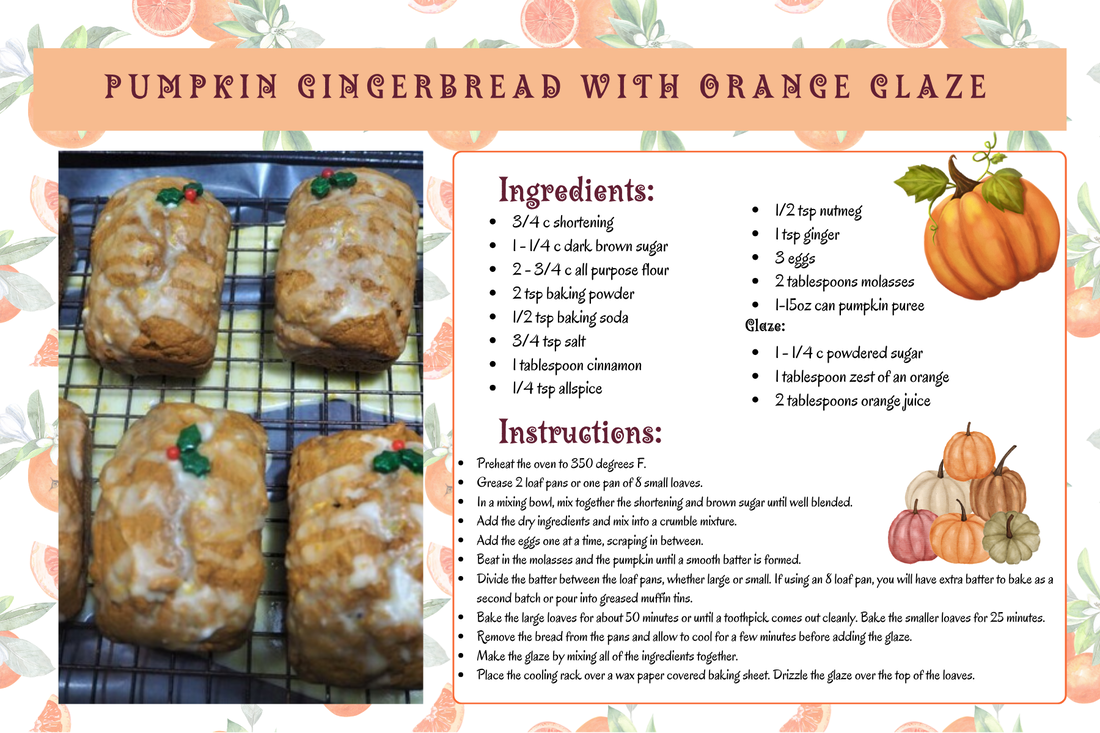
And one more idea, these would make adorable Easter Baskets in the Spring with pastel papers! Oh! I almost forgot! I wanted to share the Pumpkin Gingerbread Recipe with you! It is delicious! I baked these in the 8 cavity mini loaf pan that I have. You can purchase it here. Here is the recipe: We wrapped them in little cellophane bags that came with to-from tags that will be great to write the recipients name on, plus the name of the bread! (I still think that 4 different mini loaves would be adorable.) I picked up my bags and tags after Christmas last year. But here is a sweet set on Amazon. I hope that you will try your hand at this cute little basket to fill with treats this year! What will you fill yours with? Here are some more ideas:
|
Creators of Hot Cocoa Bombs! (copyrighted)
Author
Helen Reynolds: Mother of six children , grandmother to eleven! I love to cook, craft and create things and I especially love doing that with my family, So, when my lawyer daughter, Lindsey, my artist daughter, Madalynn, and I came up with the idea of Hot Cocoa Bombs, this blog was born. Then, one more daughter, with her technical and science skills, plus creativity has joined in to round us out! Read more about us here! Archives
July 2024
|



 RSS Feed