|
This post contains affiliate links. We will be compensated for purchases made through those links at no extra cost to you. All views expressed are our own.
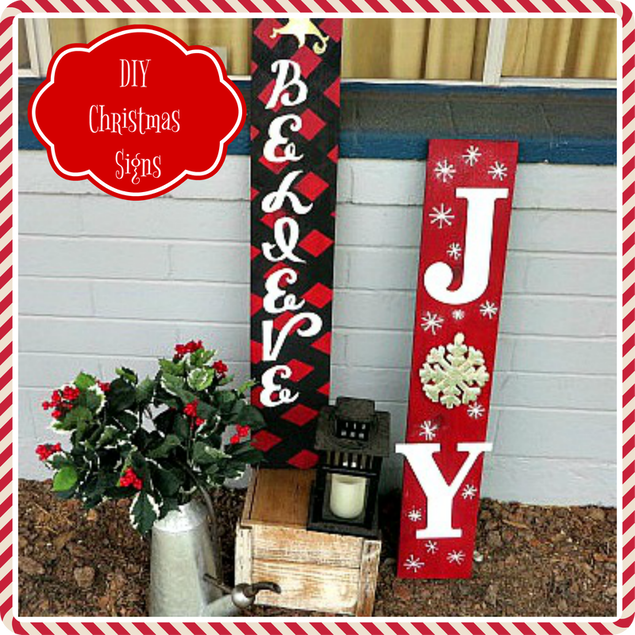
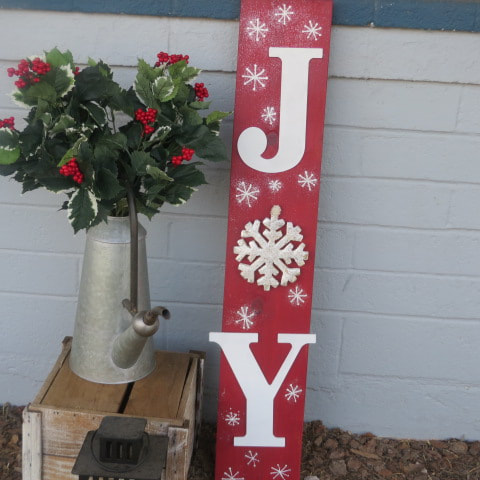
I love all of the word art signs that spell out Christmas messages and I really wanted some for the front of my house. I found one similar to the JOY sign at a retailer, but it was in excess of $17 and of course I thought, I can make that for much less! So, I did!
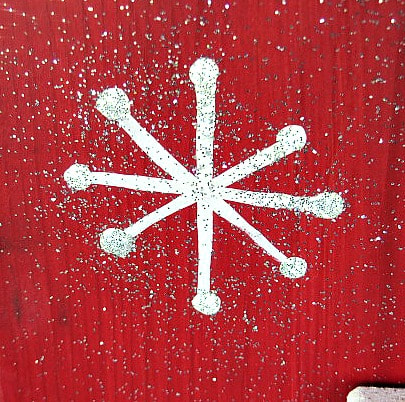
The JOY Sign: Step 1: Go to your husband and tell him how good you were about not spending that much money on a sign you can probably make yourself. Ask him if he happens to have some scrap wood that you can use to make your own signs. He is so proud of you for not spending the money, he goes right out and finds you a board that he cuts in half so that you can make 2 signs! (If he doesn't have a board, you could always go to Home Depot or Lowe's and look in their reject pile for an inexpensive board. They are pretty cheap and you don't want a perfect board for this anyway). Step 2: Find some leftover red paint and paint your boards your base color. If you don't have leftover paint, you can use a bottle of acrylic craft paint, but it will take a lot. Step 3: Go to Hobby Lobby or Michael's and find wooden letters in the size you want for your board. For the "O" in Joy, I found a snowflake ornament at Hobby Lobby that worked great. I was a little worried about the fact that may "Y" extended over the sides of my board, but now I love the interest it adds to the board. Step 4: Paint the letters white. Glue them on with 2 kinds of glue. Gorilla glue or E6000 will hold them for the long haul and a glue gun will keep them in place until the stronger glue dries. Step 5: Use white paint to make snowflakes and sprinkle them with glitter! Now you're ready to put your sign it its festive place!
The Believe Sign
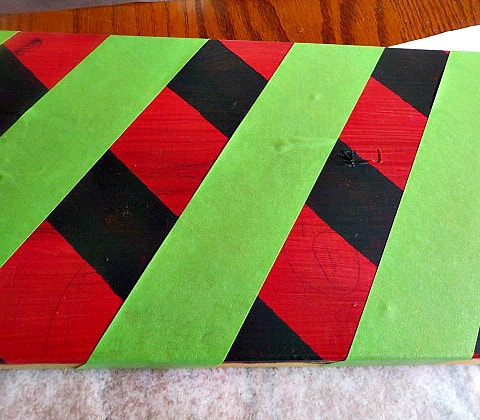
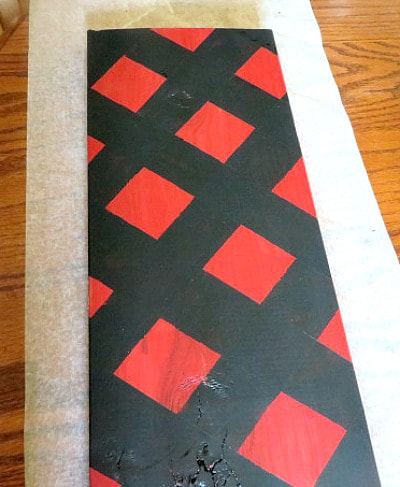
Repeat steps 1 & 2 above. Step 3: Use painter's tape to create a diagonal buffalo plaid design. Use left over black interior house paint or acrylic paint. I used house paint for the red and acrylic for the black.
Step 4: Use your Cricut machine to cut out letters and a star in a size that looks pleasing on your board. I used 4.5 inches.
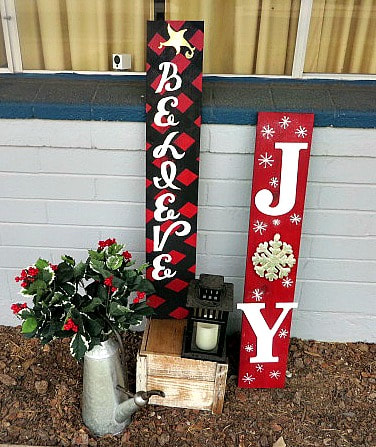
Step 5: Place your letters and star. Then decide that you don't want the letters to be gold like the star and paint over them with white acrylic paint. Step 6: Arrange your signs where you want them and add some Christmas foliage to set them off, as well as a few other accessories! Take a picture and admire your work! Easy Peasy! 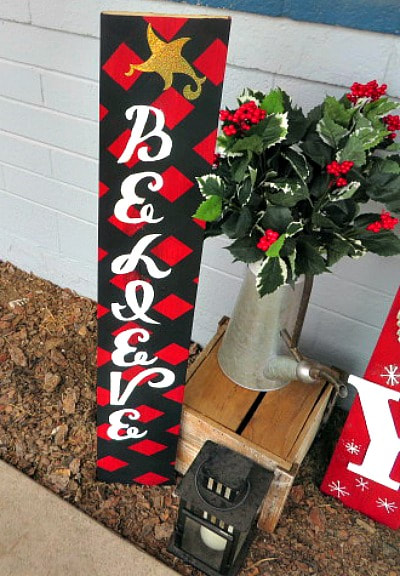

3 Comments
Joanne
12/11/2019 05:59:09 pm
These turned out great! I made a reversible sign a few years ago using my Cricut but my winter & snow side really needs to be replaced. Pinned. 12/15/2019 06:30:37 pm
Very festive signs! I had to pin them to my Christmas craft board. I'm visiting from Wow Me Wednesday - Ginger Snap Crafts. 11/4/2023 01:57:39 am
Looks great, I like them! Thanks so much for linking up at #AThemedLinkup 170 for Winter Crafts and Décor. Pinned. Your comment will be posted after it is approved.
Leave a Reply. |
Creators of Hot Cocoa Bombs! (copyrighted)

Author
Helen Reynolds: Mother of six children , grandmother to eleven! I love to cook, craft and create things and I especially love doing that with my family, So, when my lawyer daughter, Lindsey, my artist daughter, Madalynn, and I came up with the idea of Hot Cocoa Bombs, this blog was born. Then, one more daughter, with her technical and science skills, plus creativity has joined in to round us out! Read more about us here! 
Click this link and visit 3WinksDesignShop on Etsy. Find our Hot Cocoa Bomb Idea Book, our For the Love of PIe e-book and more of our creations!

Amazon Gift Cards are the Perfect Gift!
    Archives
July 2024
|

 RSS Feed