|
This post contains affiliate links.
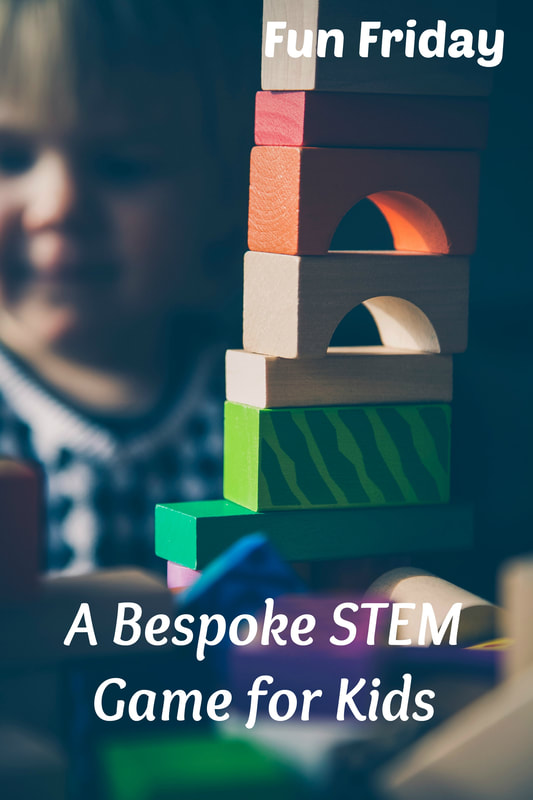
When I was a kid, my brother and I would play a plethora of different made up games together. Imaginative play is always a great exercise for a child’s mind, but being able to work in STEM exercises will increase the benefits of play time. I didn’t realize it at the time, but one of our favorite games to play did just that! I’m pretty sure Alicia actually helped us create this game, so thanks Alicia.
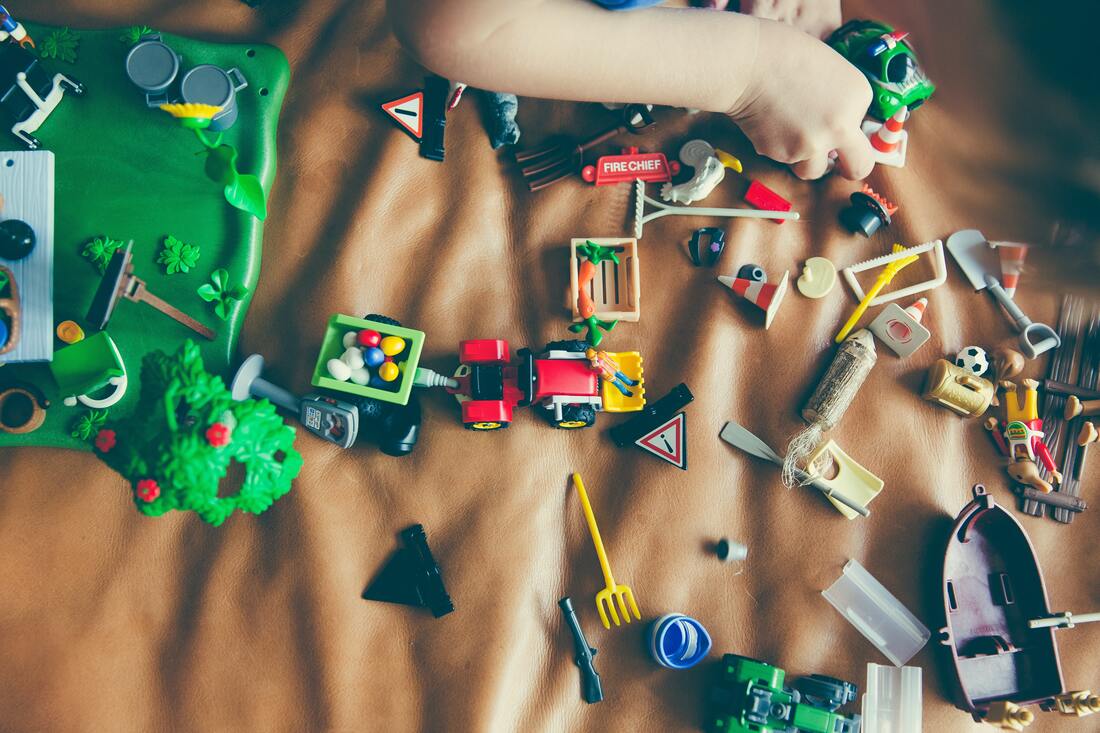
Now, before I tell you what this game is called, please keep in mind we were small children when we named it; however it fits so well we’ve never renamed it. It’s c(lovingly) referred to as “Grab Grab Grab, Make Make Make”. It is played much like you’re probably thinking it is. Essentially, your pour a giant pile of buildable toys between yourself and the other players (our favorite to use was Lincoln Logs). When everyone is sat down around the toys and ready, one player will scream “GO” and all the players will try to take as much building material as they can. Once the pieces are all taken, everyone will start working on building the most impressive scene they can- the most impressive and structurally sound wins! After a winner is determined, you can either play with the scene that was created or knock it all down and play GGG,MMM again.
This game kept us occupied for hours and exercised our brains at the same time. We were able to practice quick thinking and puzzle solving. We never knew what pieces we would get, or how many, until they were in front of us and we had to build- fast! The best part is how SIMPLE it is. You probably already have everything you need to play already. If not, I will have some packs linked for you to check out. We used Lincoln Logs, but you can also use Legos, Kinects, etc. We would also throw in some other toys like dolls and Hot Wheels, just to spice things up. Try out this easy, fun game with your kids and let us know how your family enjoys it!
Photos courtesy of Markus Spiske temporausch.com from Pexels
3 Comments
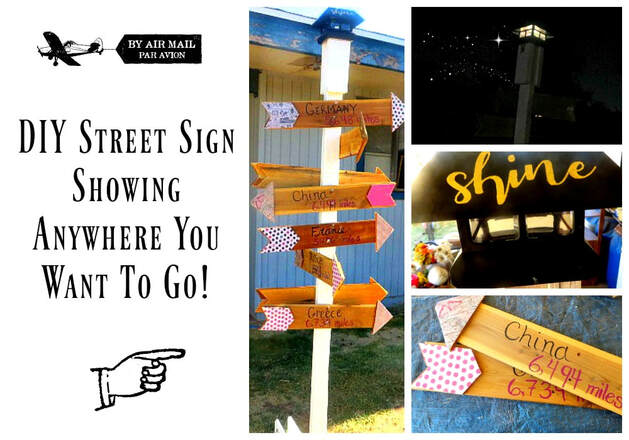
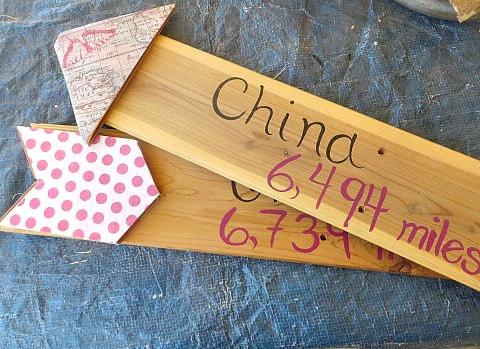
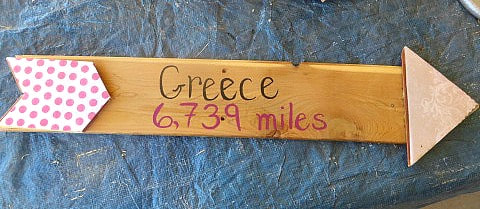
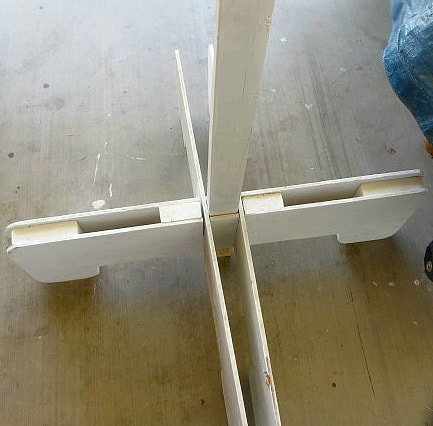
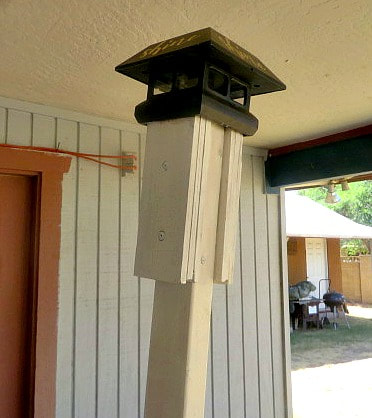
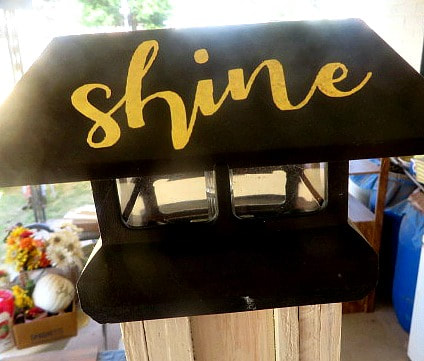
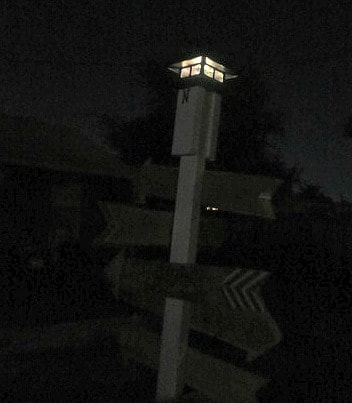
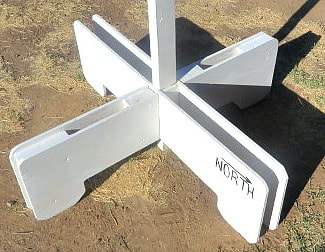
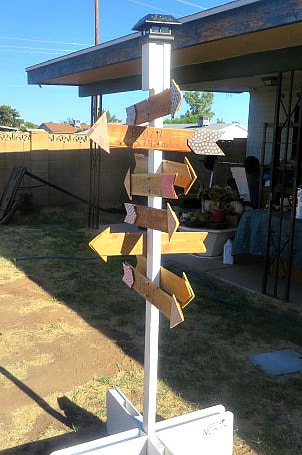
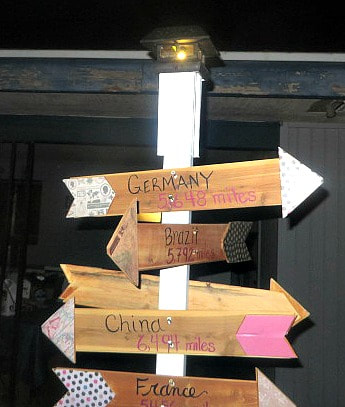
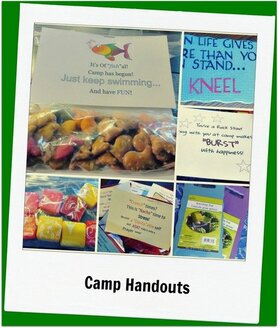
This post contains affiliate links. We will be compensated for purchases made through those links at no additional cost to you. All views expressed are our own. Thank you for your support. Once again, this summer I am going to our church Girl's Camp! I actually will be gone by the time this post goes up. This year I am one of the adult overall leaders, but in reality, the girls get to choose their theme and the things that they want to do at camp. As adults, we just help guide them and get things to happen. So, that means that the girls chose the theme and they chose a really good one. It is "Shine in the World and Not Of the World." I love that theme because the girls are thinking about ways that they can be themselves and shine, doing good things and not succumbing to the temptations of the world around them. They are trying to make the world a better place, recognizing that their strengths and talents come from God and that they can use those blessings to do good. The girls decided that each cabin of girls would be a different country of the world, so, of course, we turned to Pinterest for ideas. One of the things we found were a variety of different types of sign posts or street signs like the one I am going to show you today. There were ones that pointed to imaginary places from books, like Hogwarts or Narnia. There were ones that pointed to fun places like Disneyland or Magic Mountain. Then there were the ones that pointed to real places. Many of the posts were links to shops that sold the posts for a pretty penny! I decided that my dear, nice and talented husband and I could make our own! (I hope you can tell by my description of him that my husband did most of the work!) When camp is over, I am going to put this sign post in our backyard and change some of the countries or add countries to represent places that have meaning to our family! How to Make Your Own Street Sign or Sign Post The Arrows We had some scrap 1/4 " thick wood hanging around our house that my husband cut these cute wooden arrows out of. If you don't have many wood scraps, you can always check out the marked down wood cart at Home Depot for some really good prices. We got really creative with what we had to make this sign post project come to pass! Using the 1/4" would, you can see how DH made the point and the feather parts and then we glued them onto the top of the main shaft. They don't have to be perfect, that adds to the rustic charm of the sign. I googled the distance from our city of Phoenix to the capitol city of the country. Then I hand painted the country name and distance. On the arrowhead and on the feather part I used various scrapbook papers and decoupaged them with Modpodge. The Post and Stand We can't dig the post into the ground at camp, so DH made this slotted stand to hold up the 2"x 3" post that will hold the arrows. He had to make a sturdy stand because with the arrows on it, the stand will be fairly heavy and off balance. He used plywood and sandwiched blocks of wood between the E and W part to make it very stable. Then he cut slots, measuring to make sure the post would fit in the center space securely, with corresponding slots on the N and S legs. He painted the entire sign post and stand white so the wooden arrows would pop. The Lighted Post Top Most of the supplies that we used for this project was stuff that we already had on hand. But, for the top of the post, we spent a little over $5 to add a lighted post topper! We found it at Lowe's. Then, my DIL Jessica used her silhouette to cut out the word "Shine" for me to stick on each side of the top. The light is a solar LED light that shines nicely in the dark! To make the topper fit on the top of the post, my husband layered some plywood at the top to the correct dimensions to fit the topper onto the sign post and then screwed it in place. The Finishing Touches
I love the wooden base because I will be able to place this wherever I want up at camp or in my yard later! This turned out to be such a fun project with so many possibilities. I may just add Disneyland on there when I bring it home! Let me know what you think in the comments below! I've worked on a bunch of other things for camp this year that I will post about when I get back! (I didn't want to give anything away to the girls!) There are a lot of printables and fun ideas, I can't wait to share them. Here are some past camp ideas:
This post contains affiliate links. We will be compensated for purchases made through those links at no additional cost to you. All views expressed are our own. Thank you for your support.
Have you ever stayed up all night reading a book. I've done this twice in my life, the second time was last night. Admittedly, it was a foolish decision as I have two children to take care of during the day. But this book was so good I couldn't put it down.
You may have heard of Educated by Tara Westover and for a good reason. It's the memoir of a girl who grew up with fundamentalist parents, and 6 siblings, on a farm in rural Idaho. The kids didn't go to school, nor did they really homeschool. So it's amazing when 2 of their kids (including the author, Tara) make it into college. It's in college that Tara realizes her father likely has some kind of mental issues. Vogue described the book as "Beautiful and propulsive...Despite the singularity of Westover's childhood, the questions her book poses are universal: How much of ourselves should we give to those we love? And how much must we betray them to grow up?" I share the quote because it describes the book perfectly without giving too much away which I am always worried about. If you're wondering how extreme the circumstances of her home life were, when she went to college she didn't know what the Holocaust was. She thought it was perfectly fine to let her food rot in the fridge without taking it out. Anyone wearing clothing that showed any kind of skin was trying to lead her down the path to Satan. She was like a baby sea turtle hatched into the real world without any real knowledge of what she was getting into. A lesson I'm taking from this is to be more understanding of people's differences. We never know their backgrounds and how that has affected their personalities. And although you can tell her life was difficult and scary at times, she doesn't write out of anger it seems. She does write with compassion and strength. Her retelling of stories from her childhood, doesn't fill me with anger but a compulsion to help those around me to not be trapped in her same circumstances. This book is really sticking with me and I hope you will read it. It's really good.
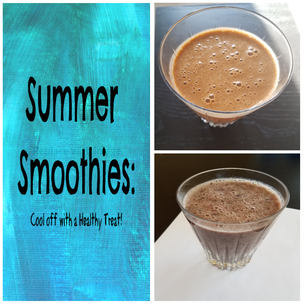
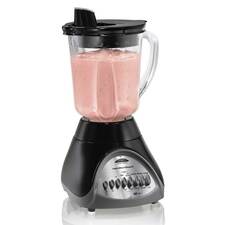
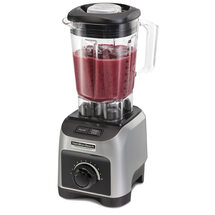
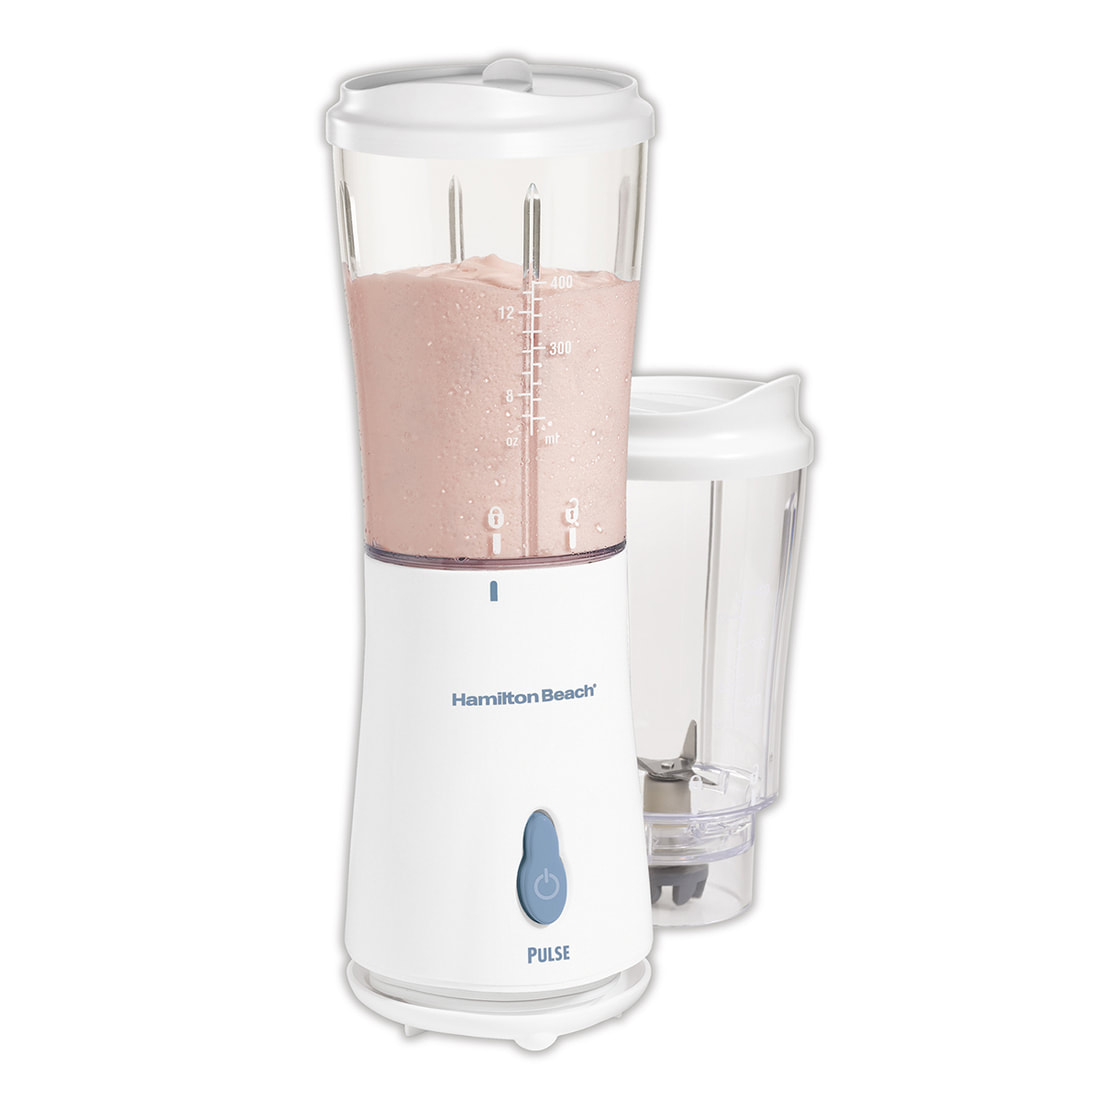
This post contains affiliate links. We will be compensated for purchases made through those links at no additional cost to you. All views expressed are our own. Thank you for your support. I will admit that summer is not my favorite season. We live in a desert, so summer is really hot. Although I grew up here so I am used to it, I'm not going to lie, I wouldn't mind a more mild summer that didn't last nine months out of the year. However, I try to make the best of things (which is why we have a pool) and these summer smoothie recipes are definitely part of the summer equation! Summer time is a great time for smoothies, especially these smoothies. You can toss these ingredients into your Hamilton Beach Blender and have a tasty summer smoothie treat in a snap. Bonus? These are dairy free and vegan, so, there is nothing holding you back. (Although, if you wanted to toss a scoop of vanilla ice cream in to make these more like a shake I'd say, go right ahead!) Who doesn't love a good blender? Hamilton Beach Blenders work great, and they don't break the bank! So, if you don't already have a Hamilton Beach Blender on hand, click on the link to buy one. Once it arrives, make yourself some smoothies! 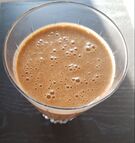 Smoothie #1: Peachie Keen 2 yellow peaches 1 banana 1/2 cup carrot juice 1 cup almondmilk bonus: 1 serving of your favorite protein powder (I use Orgain Organic Creamy Chocolate Powder) Throw in your Hamilton Beach Blender and blend on high for 1 minute. 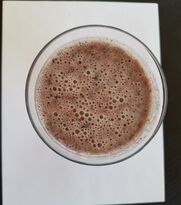 Smoothie #2: Blue Strawberry Dream 1/2 cup strawberries 1/2 cup blueberries 1 banana 1/4 cup spinach 1 and 1/2 cups almondmilk Throw into your Hamilton Beach Blender and blend on high for 1 minute. For thicker smoothies, add 1/4 cup crushed ice. You can also add 1/2 cup vanilla ice cream for more of a milkshake.
|
Creators of Hot Cocoa Bombs! (copyrighted)
Author
Helen Reynolds: Mother of six children , grandmother to eleven! I love to cook, craft and create things and I especially love doing that with my family, So, when my lawyer daughter, Lindsey, my artist daughter, Madalynn, and I came up with the idea of Hot Cocoa Bombs, this blog was born. Then, one more daughter, with her technical and science skills, plus creativity has joined in to round us out! Read more about us here! Archives
July 2024
|





 RSS Feed