3 Winks Design
  • Home
  • About Us
    • Contact Us
  • Printables
  • Where I Party
    • Places Featured
  • Contests
    • Writing Challenge
  • From Cover to Reel
    • Show Notes

One Strap drawstring Tote Tutorial

4/7/2021

13 Comments

 
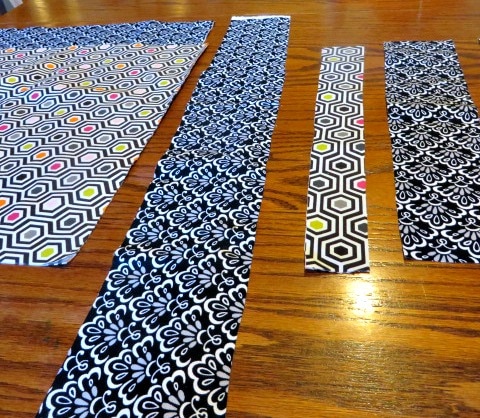
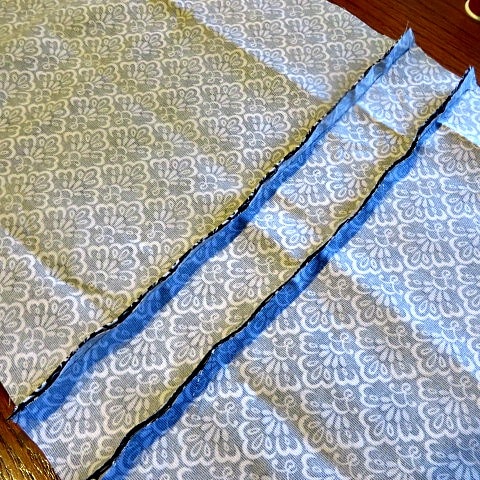
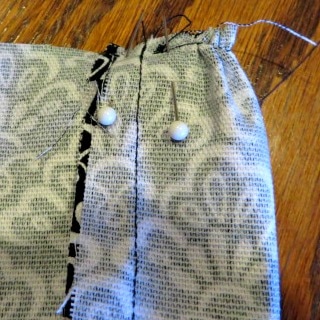
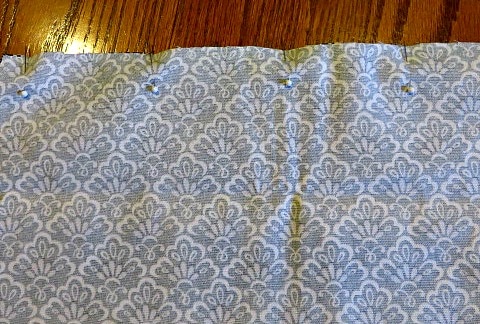
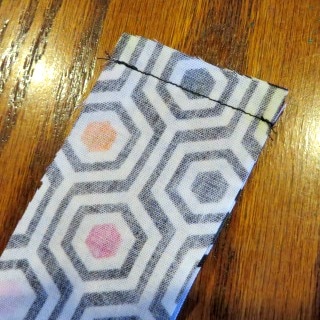
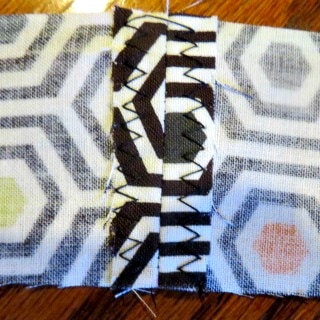
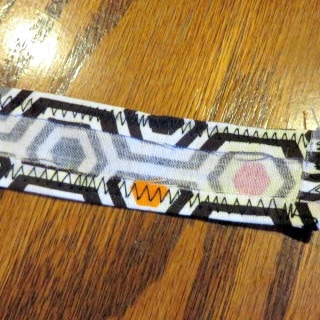
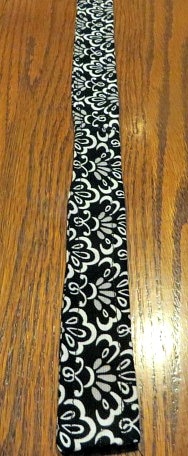
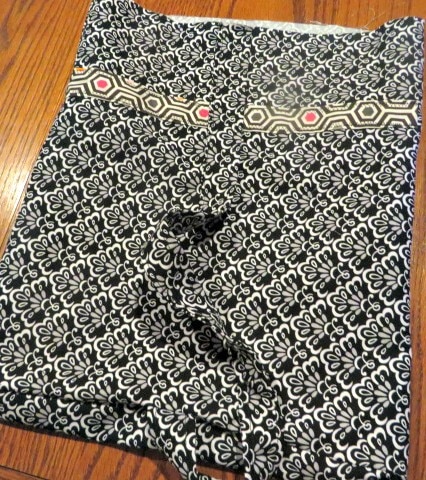
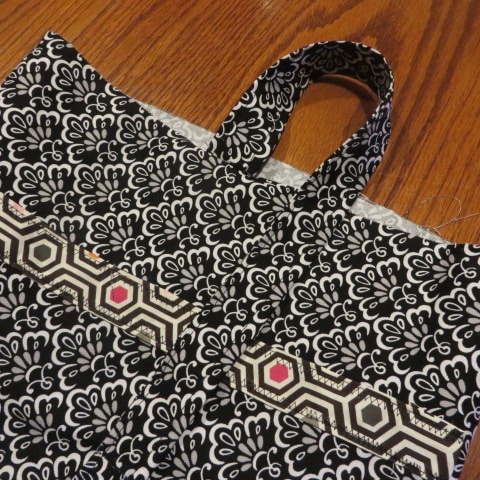
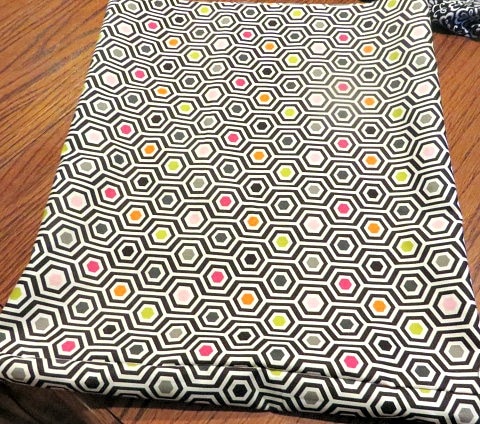
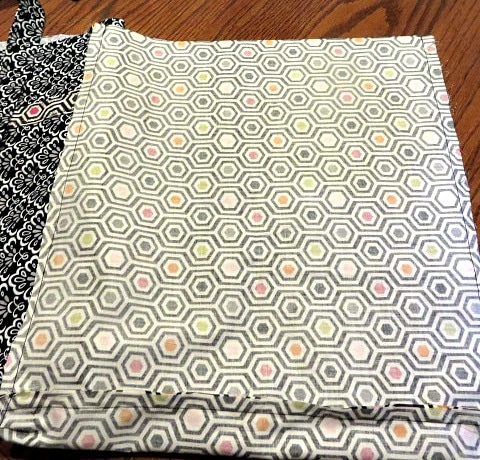
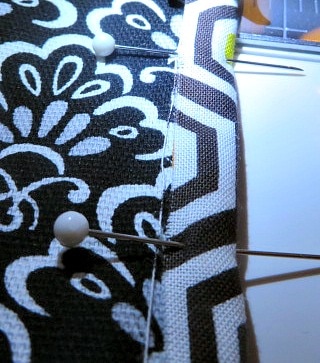
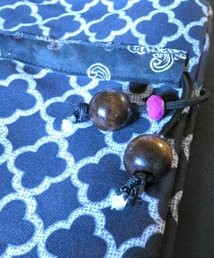
​This post contains affiliate links and I will be compensated if you make a purchase after clicking on my links.  Thanks for your support!
​

    Back in 2017, I made this tote bag as a gift for my Girls Camp Youth Leaders.  Of course I created one for myself as well!  Since then it has stood the test of time as I have used it often to carry my hair supplies and other sundry things when I travel.  It has proven to be useful and sturdy.  So, today I'm reposting the tutorial just in case you've missed it.  It is a great sewing craft for the Spring or Summer and if you have kids going off to camp, they will put it to good use! 
one strap drawstring tote
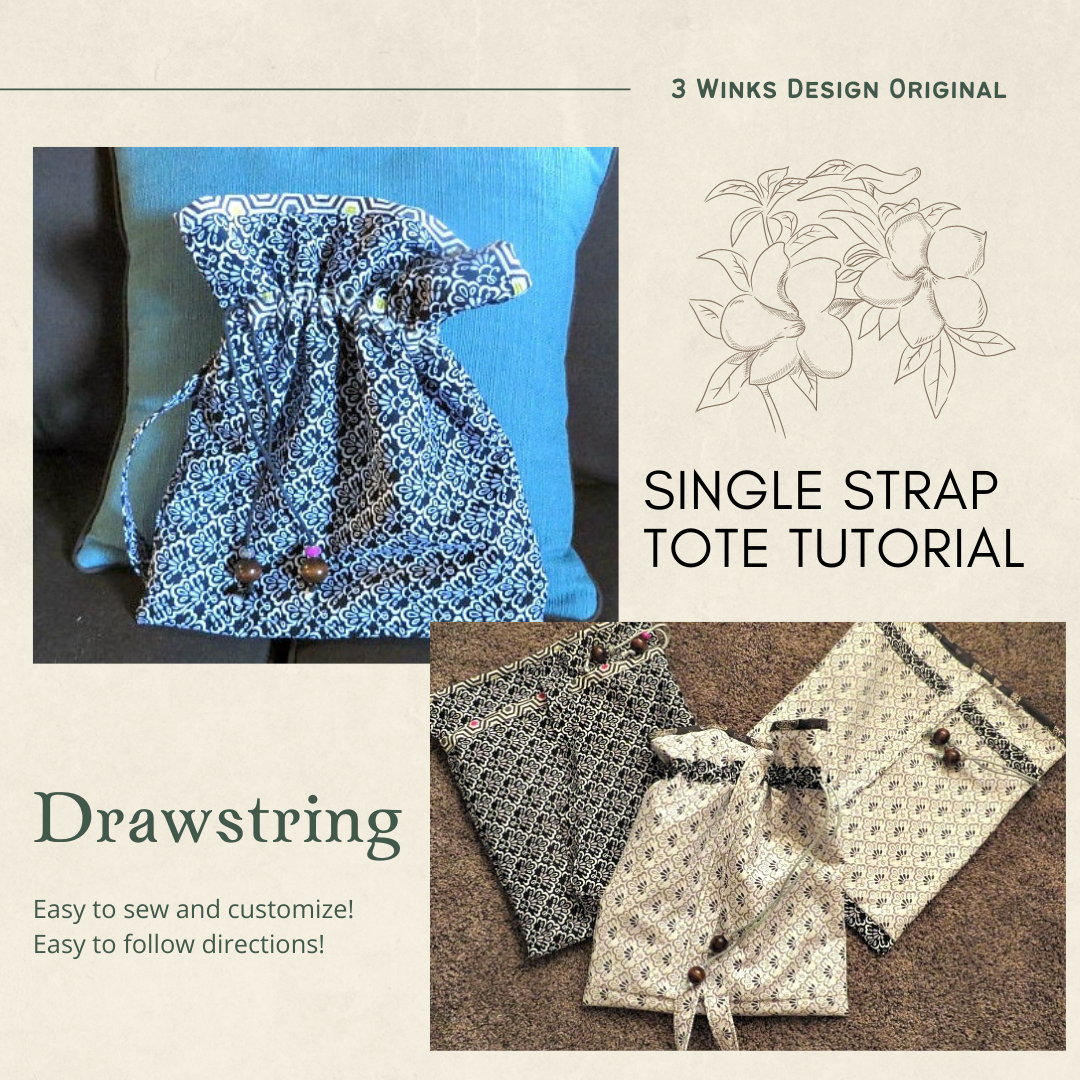
      I mentioned in this post that I am going to Girls Camp again this year as the Youth Camp Leader cabin mom.  This year we are going for 5 days to a camp area that will be very primitive as far as using tents instead of cabins. (But, there will be showers and flush toilets! Thank Heavens!)  It will be so much fun.  I wanted to do something fun for my girls.  Last year I made the girls I was over pillowcases.  This year, because these girls have so much responsibility at camp and need to bring more little extra things, I thought some tote bags would be nice.  I know that I could order some perfectly good totes from Oriental Trading or Dollar Tree, but, I saw in my brain what I wanted these totes to look like.  The girls said that they liked black, a few wanted a little color and I had found some really good prices on fabric, so of course I had to come up with my own design.  By the 5th bag, (or 2nd) I realized how crazy I was, but by then I was committed to the project.  I needed to make 14 of them, because I couldn't leave out my cabin mom partner and myself! I have to confess that they are so cute! They would make great gifts for any occasion besides camp and if you only have to make one or a couple, you can totally whip one tote out in about an hour and a half. I got even faster as time went on.  Here is the tutorial:
Here is some of the fabric I used. I wanted a little color and cute contrast with the lining. Yes, I did lining. I felt like it would hide any raw edges and make the whole bag sturdier. I used a heavier duck type decorator fabric on the outside, and a lighter cotton on the inside. For my bag, the body measures 15"x 17". 2 pieces of each fabric.
Here you see all of the pieces that you need to cut. These are the dimensions I used. Body-17" x 15" Bottom of bag- 3 1/2" x 15" (one piece of each color) Strap-4" x 26" (1 piece) Casing- 17" x 2" (2 pieces of lining fabric.)
     You can really make this bag any size that you want.  Just remember to make the lining pieces the same size as the outer pieces.  The bottom of the bag needs to be the same width as the bag pieces.  The strap needs to be 1 and 1/2 times the length of the bag.  The casing needs to equal the diameter of the bag.
​     I wanted to make this a one strap tote so the girls can easily sling it over one shoulder as they are on the go around camp.
     Begin sewing the outer bag in the following way:
​
Sew the bottom of the bag to each side of the bag sides. I used 1/2" seams.
Gather the edges of the bottom of the bag, or simply fold it in half and make a tuck. Pin in place. Then, sew 1 side of the bag from the bottom to the top.
Here is the bag pinned up the side. Sew only one side because next you need to add the casing.
     Next, prepare the casing and apply in the following manner:
With wrong sides together, stitch the casing pieces together at a short end.
Open up the casing and stitch open the seam. This will really help you when you are threading in the drawstring later.
Now fold over a 1/4" or so edge and finish all around.
Pin the casing about 3-4 inches down from the top of the bag. I start with the seam and match that up then pin towards each side. Make sure to leave a space for the side bag seam that you still need to sew.
You can see that I left a good seam allowance ahead of the casing. Stitch it into place. On future totes that I made, I didn't always zig-zag finish the edges, but used a straight stitch for a neater look.
I wanted my girls to be able to keep their camp folders in the bags, so that is what I used as a determination of where to put the casing.
     Once you sew the casing on, sew up the side seam.  Now you are ready to attach the strap.
Turn the strap piece right sides together and stitch into a tube and on end closed. Turn the tube right side out. Top stitch around the strap. That really strengthens the strap, so don't skip it.
Find the center of the bag and attach the unfinished end of the strap to the top of the bag and sew securely. Pin the finished end of the strap at the base of the bag just above the seam where the bottom is attached. Slip the bag onto the sewing machine so as not to catch the other side, and securely sew on the strap. I usually sewed it and back sewed it across in 2 spots about 1/2 inch apart.
Here is the strap attached. The top will be stitched even more when you add the lining.
    Now the outside is finished and you simply have to make the lining.
With the lining fabric, attach the bottom and sew up the side seams.
Make sure the lining is inside out and slip it inside the outer bag. Match the seams and reach in and fit the lining into the bag well.
Fold about 1/2" over to the outside and pin all around. If you stitch close to the edge of the unfinished edge, you will be able to use the stitch line as a guide for your second fold.
Fold the top over a second time and stitch all around again. Now you can see the inner accent fabric around the top edge. Plus, the strap has been stitched on two more times.
All that is left to do now is to add the drawstring.
For a sturdy drawstring that would not slip back through the casing, I used para-cord and beads.
Picture
Picture
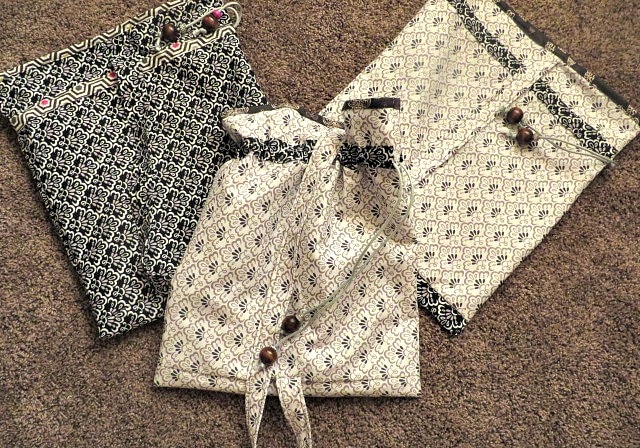
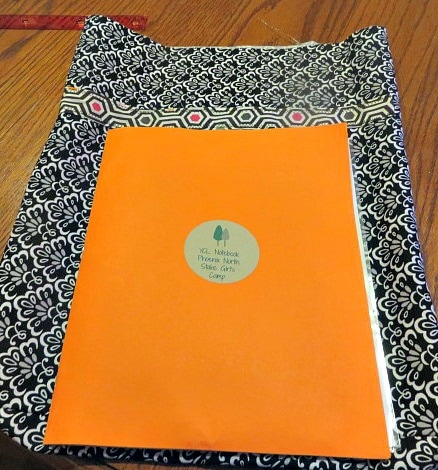
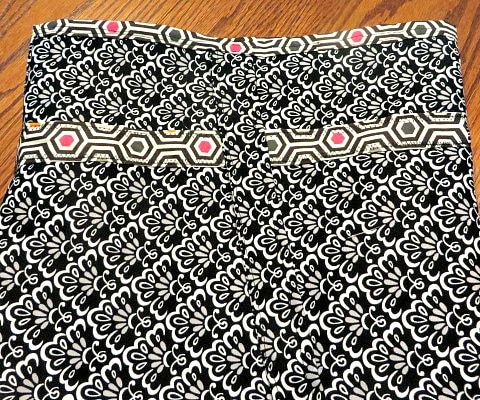
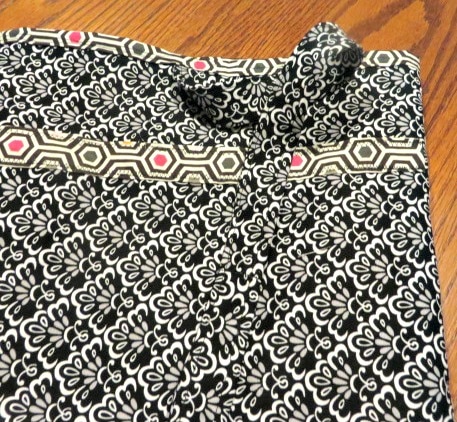
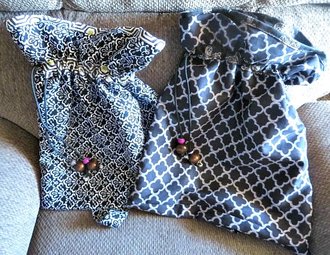
     You have to find beads with a big enough hole for the para-cord to slip through.  I added the colored beads above the wooden ones for just a little accent.
one strap drawstring tote
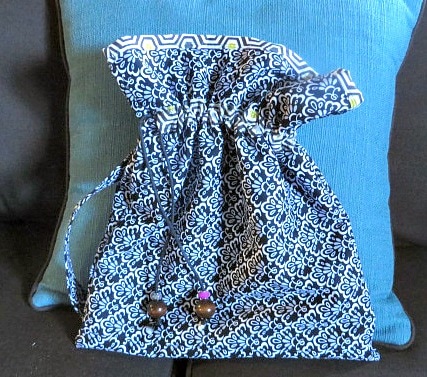
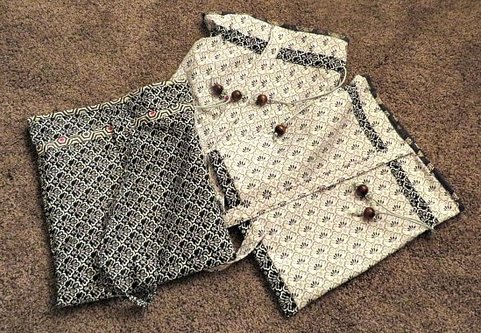
Here are some of the various fabric combos I used. Aren't they fun?
    Here are a few additional tips:
  • I was making 14 of these totes.  I didn't use my iron. (Don't tell my mother.)  I just finger pressed, eyeballed and sewed.  If you are making just one and want to press and measure better than I did, you will get a cleaner, less flawed product.  But, I think these came out pretty cute and sturdy.
  • As I made a bunch of these bags,  I realized that the things that took the longest to make were the casing and the straps.  I started making those first, then I could just whip up the bags and add them quickly.
  • Sometimes the casing was too long.  I would just fold it under another time to the length it needed to be.  When I threaded in the drawstring, I just had to be careful not to catch it in the end of the casing.  
  • I used a pencil to turn the straps right-side out.
  • I used a large safety pin to thread the drawstring.
  • My newish Brilliance Singer Sewing Machine did a brilliant job!
one strap drawstring tote
I hope you enjoy this pattern! Have a great day!
13 Comments
Emily @ The Mommyhood Moments link
6/1/2017 09:19:34 am

This turned out so cute! I love it. Thanks for sharing! (:

Reply
Helen link
6/1/2017 01:23:50 pm

Thanks! I gave them to the girls today, they loved them.

Reply
Donna Connolly link
6/2/2017 04:09:01 pm

Soooo cute!!! Thank you for sharing this at: #blogginggrandmotherslinkparty .

Reply
Christie Hawkes link
6/3/2017 09:09:23 am

Very nice. Thanks for sharing on #BloggingGrandmothersLinkParty.

Reply
STEPHANIE ABBOTT link
6/6/2017 04:23:01 am

Very cute tote. Scheduled to Pinterest. Thanks for sharing at the To Grandma's House We Go link party.

Reply
Clearissa Coward link
6/6/2017 05:19:57 pm

What cute craft idea. Would be great at Vacation Bible School for the little girls. Thank you for sharing with #blogginggrandmotherslinkparty. We greatly appreciate your participation and I have shared on social media.

Reply
Lori Hill-Smith link
6/6/2017 08:17:35 pm

Great project! Thank you for sharing at #BloggingGrandmothersLinkParty

Reply
Grammy Dee from GrammysGrid.com link
6/8/2017 10:53:30 am

Very nice, love them! Great project for the grandbabies :) Thanks Helen for linking up at the #BloggingGrandmothersLinkParty. I shared this post.

Reply
Sue from Sizzling Towards 60 & Beyond link
6/9/2017 10:39:14 pm

I'm sure the girls loved them and they are so cute! Thanks so much for sharing with us at #blogginggrandmotherslinkparty. I've pinned and shared on social media. Catch you at the link up next month!
Sue from Sizzling Towards 60 & Beyond.

Reply
Teresa link
6/10/2017 11:51:04 am

These are so cute and what a special person you are to take the time to make one for each girl! Thank you for sharing with us at the #BloggingGrandmothersLinkParty!

Reply
Erin @ burdenfreecaregiving.com link
6/15/2017 05:52:53 am

Hello, from a fellow blogger at Inspire Me Monday. Love this. You have a good eye for detail. These are too cute.

Erin @ burdenfreecaregiving.com

Reply
Helen link
6/15/2017 08:34:16 am

Thanks, Erin!

Reply
Carol link
4/22/2021 08:31:07 am

These are perfect for so many things, especially my increased fabric stash from mask making! Featuring when my party opens up tonight.

Reply

Your comment will be posted after it is approved.


Leave a Reply.

    Picture
    Creators of Hot Cocoa Bombs!  (copyrighted)
    Subscribe to Our Email!
    Picture

    Author

    Helen Reynolds: Mother of six children , grandmother to eleven!  I love to cook, craft and create things and I especially love doing that with my family, So, when my lawyer daughter, Lindsey, my artist daughter, Madalynn, and I came up with the idea of Hot Cocoa Bombs, this blog was born.  Then, one more daughter, with her technical and science skills, plus creativity has joined in to round us out!  Read more about us here!
        

    Picture
    Click this link and visit 3WinksDesignShop on Etsy. Find our Hot Cocoa Bomb Idea Book, our For the Love of PIe e-book and more of our creations!
    gluten free gifts
    Shop Party Favors @ Beau-coup.com


    Weebly - Websites, eCommerce & Marketing in one place.

    RSS Feed

    Archives

    March 2023
    February 2023
    January 2023
    December 2022
    November 2022
    October 2022
    September 2022
    August 2022
    July 2022
    June 2022
    May 2022
    April 2022
    March 2022
    February 2022
    January 2022
    December 2021
    November 2021
    October 2021
    September 2021
    August 2021
    July 2021
    June 2021
    May 2021
    April 2021
    March 2021
    February 2021
    January 2021
    December 2020
    November 2020
    October 2020
    September 2020
    August 2020
    July 2020
    June 2020
    May 2020
    April 2020
    March 2020
    February 2020
    January 2020
    December 2019
    November 2019
    October 2019
    September 2019
    August 2019
    July 2019
    June 2019
    May 2019
    April 2019
    March 2019
    February 2019
    January 2019
    December 2018
    November 2018
    October 2018
    September 2018
    August 2018
    July 2018
    June 2018
    May 2018
    April 2018
    March 2018
    February 2018
    January 2018
    December 2017
    November 2017
    October 2017
    September 2017
    August 2017
    July 2017
    June 2017
    May 2017
    April 2017
    March 2017
    February 2017
    January 2017
    December 2016
    November 2016
    October 2016
    September 2016
    August 2016
    July 2016
    June 2016
    April 2016
    March 2016
    February 2016
    January 2016
    December 2015
    November 2015
    October 2015
    September 2015
    August 2015
    July 2015
    June 2015
    May 2015
    April 2015
    March 2015
    February 2015
    January 2015
    December 2014
    November 2014

Proudly powered by Weebly
  • Home
  • About Us
    • Contact Us
  • Printables
  • Where I Party
    • Places Featured
  • Contests
    • Writing Challenge
  • From Cover to Reel
    • Show Notes