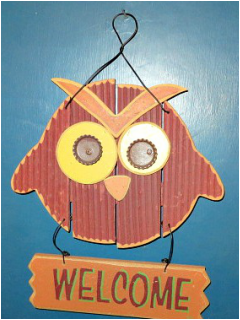
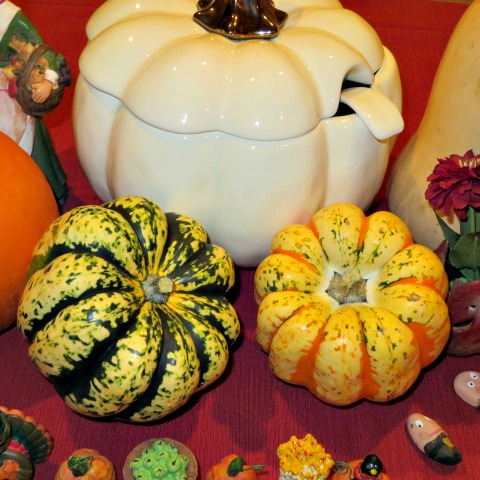
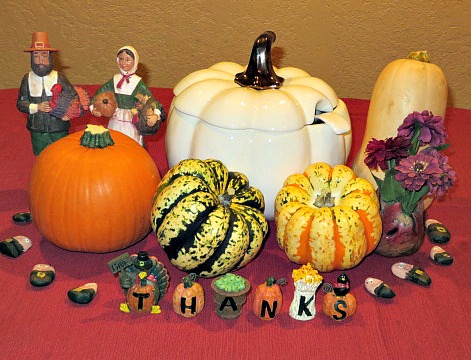
Cloudy weather and cooler temperatures are certainly getting me into the fall spirit. I picked up this little owl welcome sign last year, I can't remember where, but he seems very appropriate for our house. After purchasing my pumpkin soup tureen at Walmart the other day, I have been thinking I should get out a few more Autumnal decorations! Last night, I did just that!
My family room, slash dining area already has kind of a year round fall look going for it. The walls are a golden tan color and the pictures, etc give that look. 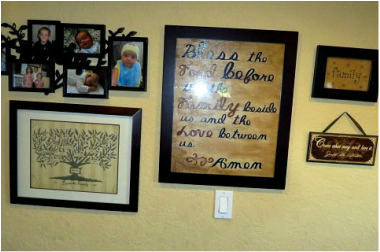
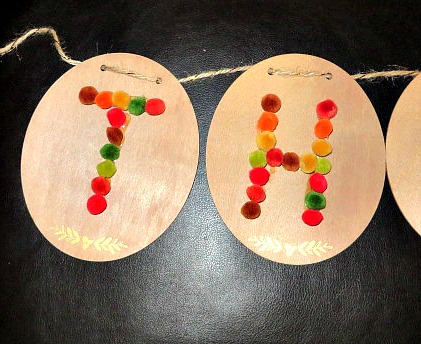
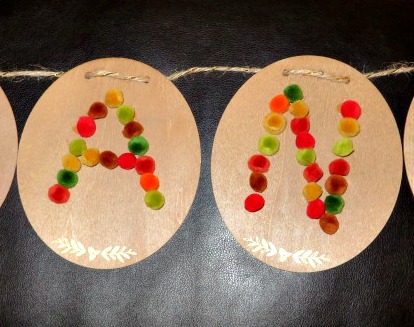
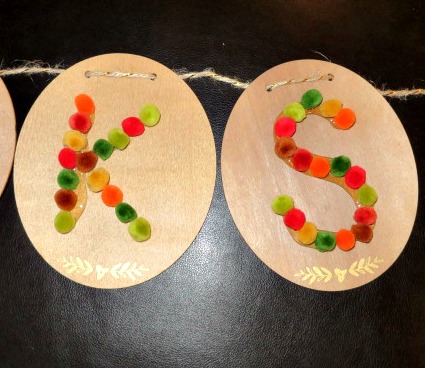
One day, while at Michael's, just shopping around, I found a couple of bags of little fall colored pom-poms on clearance and I was sure I could do something with them, so I picked them up. I loved the fall colors. Then, in the One Spot at Target, I found some blank wooden banners and the idea to form the letters with the pom-poms came to my mind. I thought I would just add a fall touch to my wall.
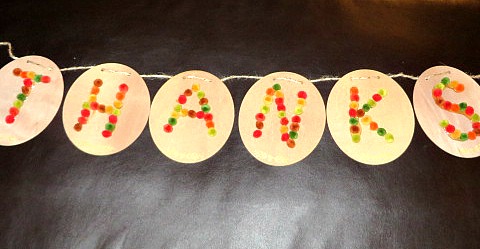
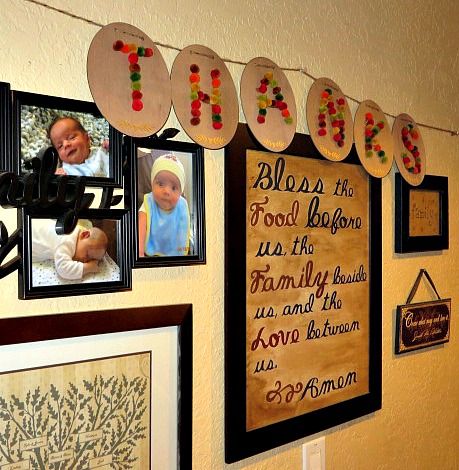
Just a little Autumn touch!
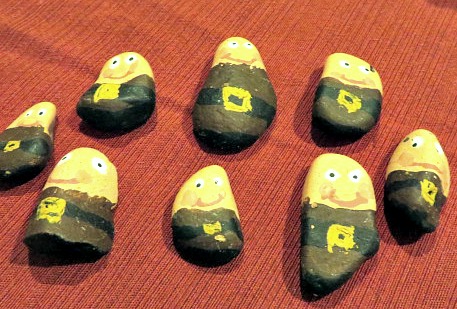
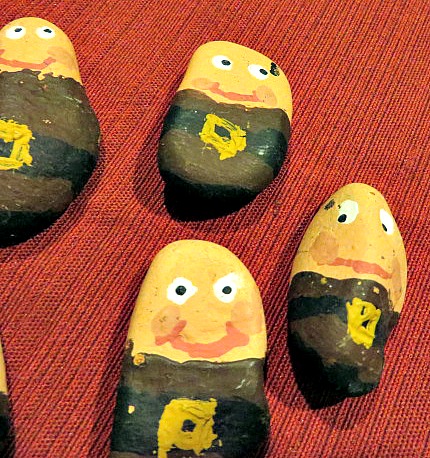
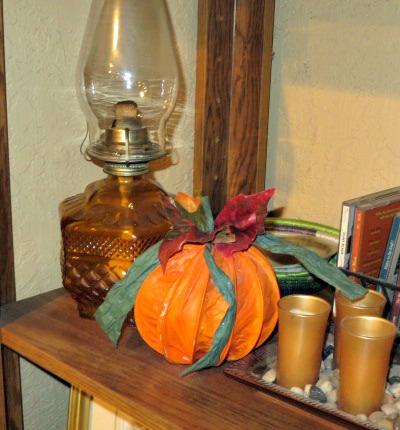
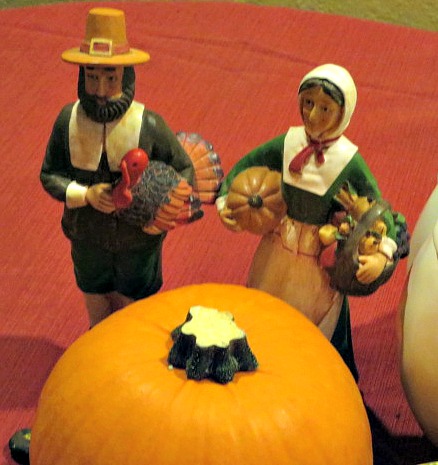
Here are just a few more little ideas for Fall:
Well, I am off to make Hot Cocoa Bombs and to work on other fun projects! What is this fall weather inspiring you to do? Leave a comment and let me know!

I have pinned this posy here
3 Comments
I have posted a number of times about my love of canning. Here I talked about canning jam, Here I taught zucchini relish and here I came up with my own version of Blackberry-Lemon Marmalade. I also do pressure canning of vegetables and meat. I just submitted a guest post to rurallivingonline.com that is all about canning meat. I will let you know when it is published. In the meantime, I wanted to share with you a favorite stew that we love around here that uses many of the home canned products from my pantry. One of the nice things about canning is that no matter if I forgot to defrost something, or if I have no money to go to the store that week, or if there is a blizzard that keeps me from getting out of the house, (in Phoenix, no less), or if there is a truck strike and the store shelves are bare, I have food in my pantry to feed my family. This recipe is particularly delicious, and no one ever complains when I serve it. There are two versions of this recipe. One for canned meat that I make in the Crock Pot, and one using fresh meat that you bake in the oven. My mother sent me the oven version when I was a poor, starving college student. I later adapted it to the Crock Pot version when I needed a good recipe to use with canned food for a canning class I was teaching. A great thing about using canned ingredients is that the cooking time is much shorter than other stews that are made with all fresh ingredients. So, when you are shorter on time, this is a good go to recipe. 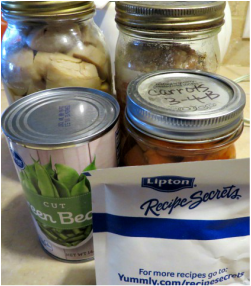
Here are the ingredients I used: A can of pork chunks, (You may use beef or chicken as well. I usually prefer beef, but I needed to use pork in the rotation of my food storage.) A can of potatoes, a can of green beans (store can) A can of carrots, a package of Lipton Onion Soup (a great staple for the pantry) and not shown, a can of Cream of Mushroom soup.
Crock Pot Pantry Stew
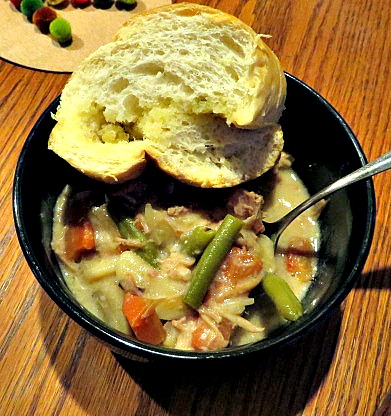
1 quart jar of stew meat, beef, pork or chicken 1 pint jar of carrots, drained 1 quart jar of potatoes 1 pkg. dry onion soup mix 1 can string beans or whole kernel corn, not drained 1 can cream of mushroom soup 1/2 can water Spray theCrock Pot with cooking spray and set it on the low temp. setting. Put the meat in the bottom of the crock and sprinkle the onion mix over it. Add the carrots, potatoes and green beans with liquid. Top that with the condensed soup. Kind of spread the soup over the top of the beans. Pour the water over everything. Do not stir, leave it in layers and set on low to cook for about 2 hours. If you want it to go faster, set it on high. When the stew is nice and bubbly hot, stir it all together and serve it with a slice of crusty bread. 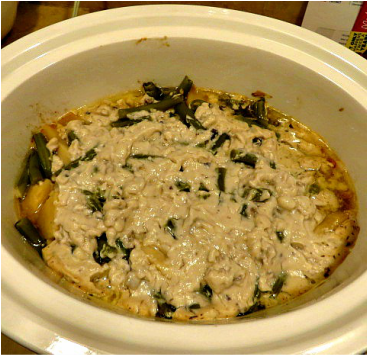
This is how the stew looks when it is layered in the Crock Pot.

This is how the stew looks after it is stirred and it is ready to serve.
Oven Stew Version
You can layer it the same way in a dutch oven or casserole dish, except instead of canned meat you can use 1 lb. of fresh, uncooked stew meat, 3 to 4 fresh carrots, sliced and 3 to 4 potatoes, cut in cubes. Cover with the lid or with foil and put in a 275 degree oven for 4 hours, or a 350 degree oven for 3 hours. Take it out and stir all together as described above. You can use raw meat in the Crock Pot version as well, but you will need to cook it longer, probably about 6 to 7 hours if using fresh ingredients.
The great thing about this recipe is that it makes a bunch of stew! If a lot of people are coming over, you can add more potatoes or carrots to extend it.
Many people ask why I don't just can the stew already made. There are a couple of reasons. First, each of the ingredients needs to be processed under pressure for different lengths of time. Meat in a quart jar needs to be processed for 90 minutes. That means the other ingredients, which have a shorter processing time, would become too mushy. Second, I like to have the individual ingredients available for many different recipes. By canning them separately, I can have more versatility with my ingredients. I hope you enjoy this recipe! 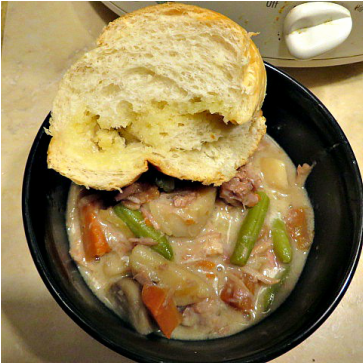


In today's world, it is very difficult for families to make ends meet on just one income. My husband and I have always believed that the best place for our children to be cared for and taught right from wrong is in our home. But, since we are the parents of 6 children, finances have always been a challenge. Thankfully, my husband has a good job that he has worked at for many years. Because I was blessed to go to a wonderful university, (BYU, rah), and earn my BA, I was able to substitute teach to help supplement our income. I do not have a degree in education. I have a degree in humanities. It is not necessary to have a degree in education to sub. So, you too can try subbing as an option if you meet some of the following criteria:
Criteria:
1- In many cases you need a bachelor's degree in any field to substitute. Sometimes there is such a great need for subs that a state may allow people with at least 90 credit hours of college to sub. You must apply to your State Board of Education and get a Substitute Certificate. There is a fee for this and it must be renewed every few years. Of course, if you already have a degree in Education and have a teaching certificate, then you do not need the Substitute Certification. 2- You must apply to a school district and be hired as a substitute. Each district may have different expectations for their subs. You will be able to read about them on their websites. They will also require a fingerprint clearance. If you have a criminal record of any kind, that will probably disqualify you from working with children. 3- You must love children, and be able to be patient and kind, yet firm and confident with a classroom full of children. 4- You must be able to read and follow the directions a teacher will leave you, as well as have some of your own tricks up your sleeve for when the directions are sketchy or not there at all. (That only happened to me once or twice, and usually because the teacher had to leave in an emergency. Most teachers leave more than enough material. Benefits: As I said, being able to substitute was a blessing to our family. Even when I still had preschoolers at home, I was able to teach because my husband worked nights, so he was there to take care of our children in the daytime while I was teaching. I got home early enough for him to sleep before he had to go to work. He also napped when the children napped. This was a great bonding time for our kids and their dad. He would often take them for walks to the park or they would watch favorite shows together. We never had to pay for daycare, which saved us a lot of money! Here are a few more of the benefits: 1- I was able to have a flexible schedule. If my children were sick and couldn't go to school, I could stay home with them. If they had a field trip, I could still go with them. (Sometimes I went as a teacher! So, I was paid to go on my child's field trip!) Also, the hours are good. If school ends at 2:30, you can be on your way home by 3:00 or 3:30. And, of course, I had all of the same holidays as my children, including summers off! 2- You can usually choose what schools you want to work for. I almost always worked at my children's school. When school was out, they just came to the room I was working in and they could do homework or help me as I finished up the end of day stuff. (I usually graded some of the classwork, left everything in neat piles for the teacher to see, made sure the room was straightened, left a note to the teacher about the day, etc.) 3- The pay is pretty decent as far as teacher pay goes. Every district has a different pay scale that is usually per diem. Sometimes you can get long term positions that pay better, but the work is more difficult because you are the acting teacher who must make plans and take grades. Also, some districts only allow teachers with regular certificates, rather than sub certificates, to take long term positions. 4- The work environment is usually so friendly and a lot of fun. Not only because you are working with the kids, which can be so much fun, but also difficult at times, but getting to know the other teachers and staff is wonderful. I have made some wonderful friends among the teachers and staff members that I worked with and they taught me so many good ideas about teaching. It was great to have a strong support group as I learned and grew into a better teacher over the years. 
Is Subbing For You? If you feel a little unsure about whether subbing is the job for you, here are a couple of ways to find out if you would enjoy it and be good at it: 1- Volunteer to help in your kids' classrooms. Watch what the teacher does and see if you could help out by running a small group for the teacher. This will quickly show you if you can deal with the minor (or major) problems students will throw at you. Watch how the teacher deals with behavior issues or struggling students. Get a feel for the flow of the classroom and watch for ideas about how to get the class's attention. 2- Try teaching children at your church. I had taught young children at church for many years and had taken a teacher development class that the church offers before I ever started substituting. It may sound surprising, but I have used ideas and activities that I learned from those experiences many times while subbing. Not religious ideas, but just things that work with children. Remember, if you are afraid that you don't know everything about everything that there is to teach, or that you can't remember how to do Algebra, you will have the Teacher's Manuel and when you review that, things will come back to you. Also, sometimes you learn right along with the students! I have come home with some fascinating science and history tidbits that I hadn't learned before I was teaching! If you decide to go ahead and give subbing a try, my best advice is to remember that kids can tell if you care about them. You must be firm and have a structured day, for your sanity and their's, but you must also show them that you care. Smile at them, reward them with stickers, compliment good behavior, be patient, laugh at their jokes and don't stress over the small stuff. Once you get over your nervousness, subbing will become an enjoyable job and a great way to supplement your family's income. 
Good morning everyone! It is the beginning of a new week and time to do the Grandma Test on another Oatmeal Raisin Cookie Recipe. Once again, we found another delicious test subject!
This week, I began with a recipe by Baked by an Introvert. You can find her full recipe by clicking on the above link to her site. The thing that is different about this recipe is #1: It uses 1/2 butter and 1/2 shortening. #2: It bakes at 375 degrees, while the others all baked at 350. #3: She puts a tablespoon of light corn syrup in the mix. Unfortunately, I didn't realize that I was all out of corn syrup until I had started making the batch. Then, I remembered another recipe that I had looked at that called for a tablespoon of molasses. I did have molasses! (Go figure) So, I used that instead. 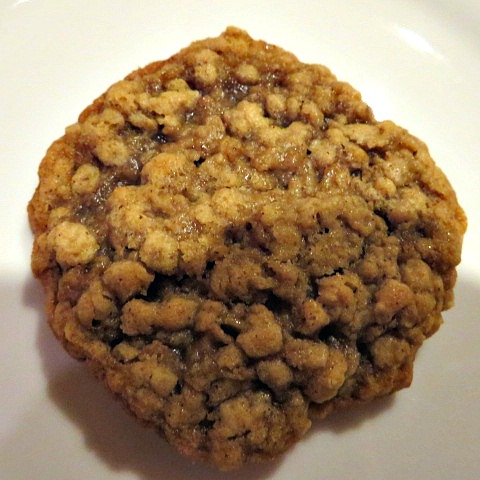

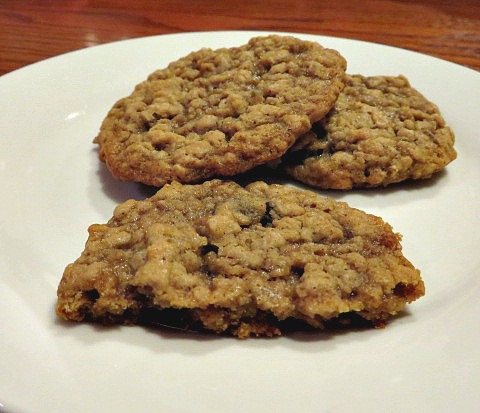
The result is that the cookies came out super moist and flavorful! As a matter of fact, they came out so moist, they almost didn't pass the milk test, one of my husband's criteria. So, if you love a super chewy, soft oatmeal cookie, (like I do) then these are the ones for you. We had extra people of over for Sunday Dinner, and these cookies almost didn't last long enough for photos, so they were very popular! But, since there was no outer crispness, and then chewiness in the middle, I do not think they have passed the Grandma Bonnell test. (It is hard to tell though because my husband eats all of the cookies with equal gusto!) To be fair to this recipe, I am going to get some corn syrup and make it again just to see if the molasses vs the corn syrup makes a difference. I do like the addition of the molasses though. Even though it was only a tablespoon, I believe it made a difference in the richness of the flavor and probably in the moistness of the cookie as well.
This weekend, we went up north to the mountains for the day with some family members. It was so nice and relaxing. While we were there, we got to talking about Oatmeal Raisin Cookies. (I told you, this is a frequent topic!) My sister-in-law has her grandma's recipe! She has promised to share it with me! Then, we shall see if I can duplicate the iconic cookie! No pressure.
I hope your week is great. I am off to work on a guest blog about canning meat! I will tell you when it posts, and I will share recipes to use with all of that canned stuff. Keep reading and sharing please! If you sign up on our email list and leave a comment, I can keep you posted. Also, here is a link to my middle daughter's blog, which is very insightful! Go over and read it when you get the chance. *Here is an update! I just heard about some great deals from Dollar Tree you might want to check out! Some great Fall savings with cheaper shipping rates! Also, they are starting to get ready for Christmas as well, so look through their entire catalogue! |
Creators of Hot Cocoa Bombs! (copyrighted)

Author
Helen Reynolds: Mother of six children , grandmother to eleven! I love to cook, craft and create things and I especially love doing that with my family, So, when my lawyer daughter, Lindsey, my artist daughter, Madalynn, and I came up with the idea of Hot Cocoa Bombs, this blog was born. Then, one more daughter, with her technical and science skills, plus creativity has joined in to round us out! Read more about us here! 
Click this link and visit 3WinksDesignShop on Etsy. Find our Hot Cocoa Bomb Idea Book, our For the Love of PIe e-book and more of our creations!

Amazon Gift Cards are the Perfect Gift!
    Archives
July 2024
|


 RSS Feed