|
I was compensated for this post. This post also contains affiliate links and I will be compensated if you make a purchase after clicking on my links 
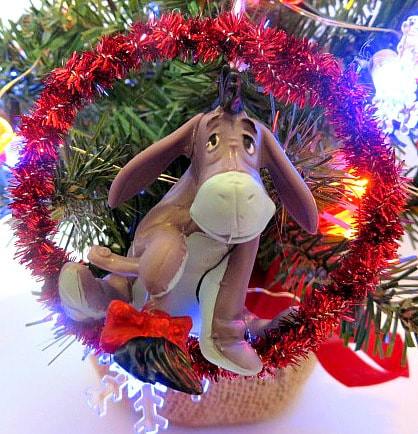
One of our favorite affiliate partners is Dollar Tree! Who doesn't love to go to Dollar Tree and find cute little things for decorating, baby showers and weddings, all for just a dollar? Well, now that the holidays are upon us,Dollar Tree has you everything you need to make special, personalized Christmas ornaments. I was looking at their online site and in the toy section and I was inspired to make some ornaments and/or package tie-ons for my family's Christmas packages this year! We decided it would be great to make a video showing just how I made them. They are easy and super cute. Here are a few photos of what I started with. Clicking the pictures will take you to the link. Remember, if you want to buy in bulk, you can have your order shipped for free to the store nearest you. 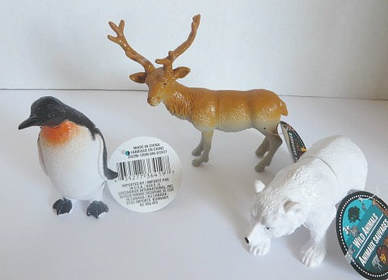
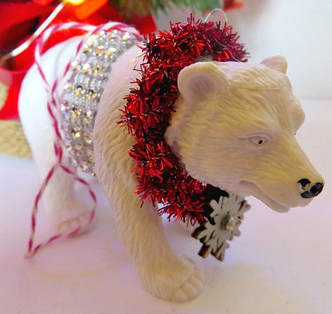
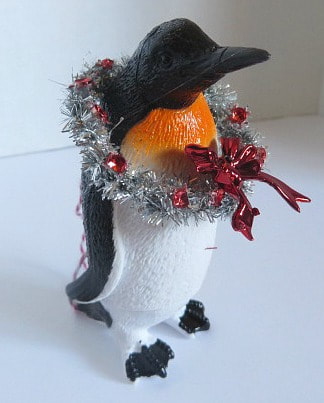
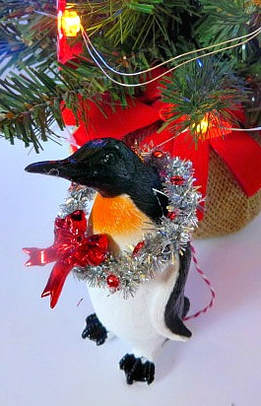
They have some really cool, largish arctic animals. I chose the reindeer, polar bear and penguin. You can buy them one at a time in the store or a case of 36 online.
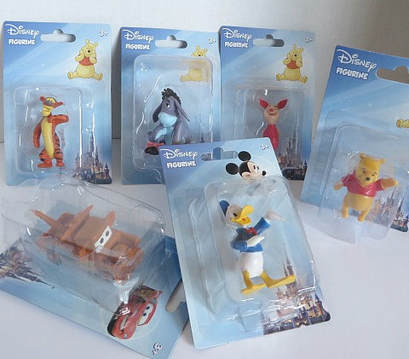
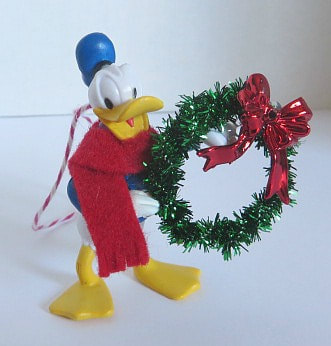
Dollar Tree also has these fun Disney figurines! You can get these individually in the store or a case of 24 online.
Now, here is the video showing you what I did with them. I hope you enjoy it and please like our YouTube Channel when you get the chance!
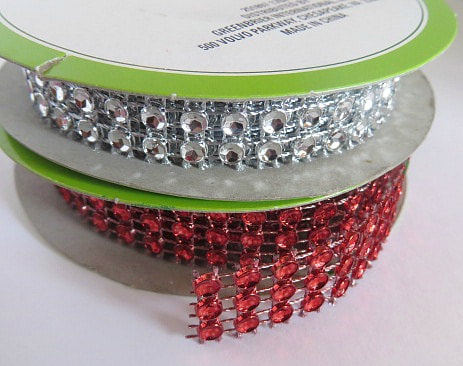
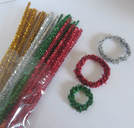
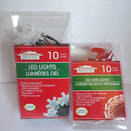
Here is a list of other products, besides the figurines, that I purchased from Dollar Tree to make these ornaments:
Of course, I also used a glue gun, a little paint, and other supplies I have in my stash. For example, I had little wooden snowflakes already, but if you don't have any, Dollar Tree does have some little cute, stick on snowflakes or Christmas stickers that you could substitute that would work great! Just look around the store or online site and you are bound to find just what you need to personalize your ornaments.
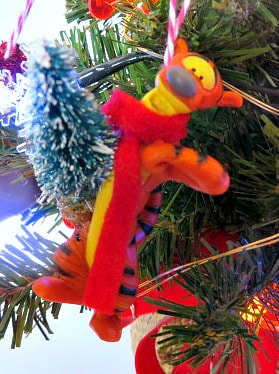
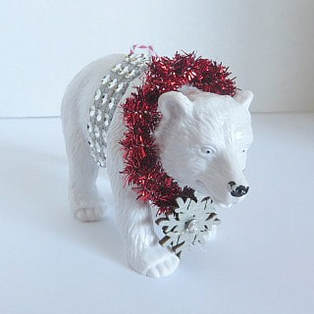
Here is kind of a funny personal story. I told my son that I was teaming up with Dollar Tree and making Ornaments out of toys. He looked at me with skepticism, but when I pulled out the Polar Bear ornament and showed it to him, his eyes got wide and he said, "Oh wow! I want that one!" Then I pulled out the reindeer and he said, "Wait, I want that one, or Spencer does (my grandson)." Soon, he had decided which ornaments should be for himself, his wife and son. I call that a stamp of approval! I have to say that the polar bear is my personal favorite! I'll end with a few more photos of the finished products. I hope that you enjoy them and head over to Dollar Tree and give them a try yourself. Or, if you have a lot of ornaments to make, order online! These would be great at a Christmas Craft sale! Have Fun!
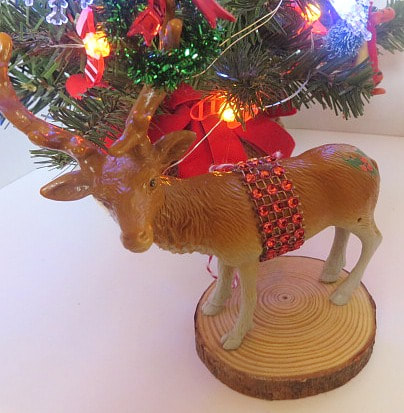
You will notice that I used paint to help decorate some of these ornaments. On the reindeer, I painted holly on the rump!

16 Comments
This post contains affiliate links. I will be compensated for any purchases made through those links at no additional cost to you. Thank you for your support!
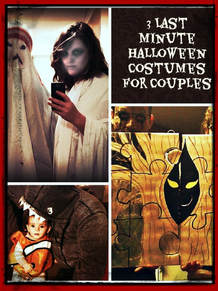
I was never one to spend a lot of money on some store bought costumes for my kids. If there were clearance items or sales, I would occasionally purchase those, but usually we just tried to be creative with my fabric stash and by re-purposing past costumes. Every year we would pull out our Halloween box and think about what we could do with what we had and I would make a few new items to please the kids and their big ideas. We came up with some fun ones over the years, so today we are going to give you a few more costume ideas as we talk about past faves on our 38th Friday Faves!
What Was Your Favorite Halloween Costume?
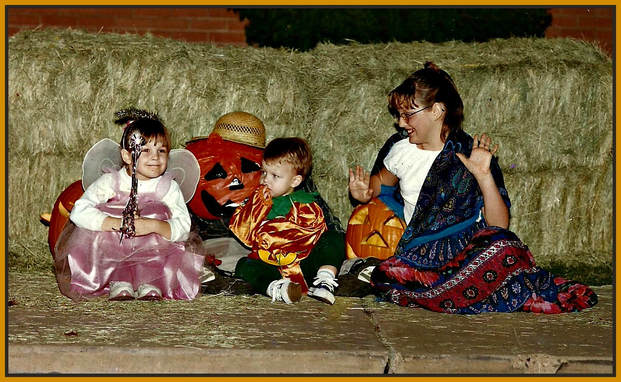
If you look at the photo above, you are looking at my 3 youngest children. That is Maddy being a fairy, Little Jake in the pumpkin costume and 4th grader Alicia dressed as a gypsy! None of those costumes were picked as favorites, but Maddy said that she loved all of her costumes and could hardly choose. She did look pretty cute, didn't she?
Alicia says that her favorite costume was when I made her up to be Esmeralda from the Hunchback of Notre Dame. She was in the 2nd grade. I had sewn a bunch of little coin-like bangles on her skirt and she loved those jingly things. She said that there were a couple of other girls in Esmeralda Costumes, but they were purchased from the store and their coins were printed on. She liked her's better.
You can still purchase that movie on DVD, here. 
One year, when Lindsey was very small, I made here a Tinkerbell costume! She looked adorable in it and I think she wore it 2 years in a row, she loved it that much.
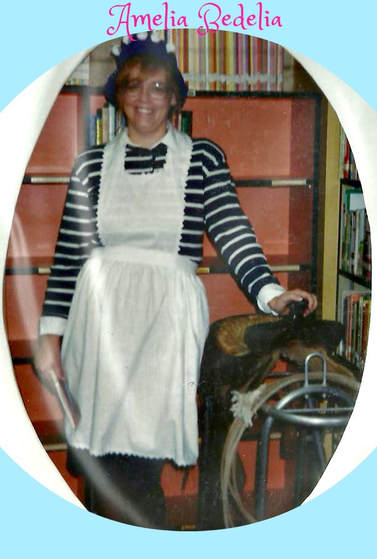
Yes, that is me, many years ago, dressed as Amelia Bedelia. I was reading to classes at my kid's school. I also dressed up as Viola Swamp one year, but I don't have any pictures of that that I can find.
The fun thing is that now my granddaughter just told me that she loves Amelia Bedelia books, so I will have to show her this picture of me acting the part.
Here are a few other costumes our family has done:
You will see a lot of posts about last minute costume ideas. I feel like ours were always last minute, but they were pretty fun! What do you remember about costumes you loved? Share them with us in the comments!
Have a Happy Halloween!
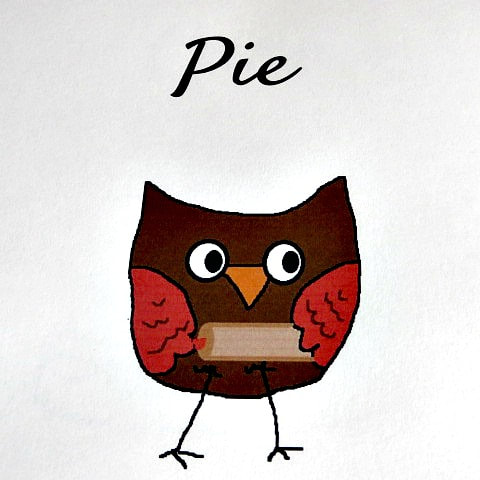
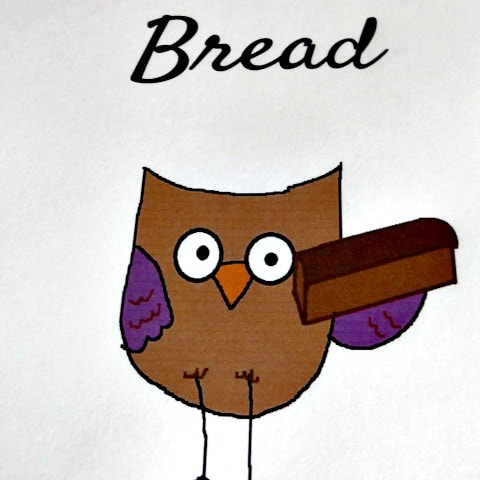
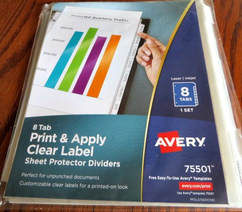
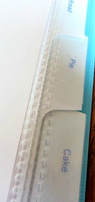
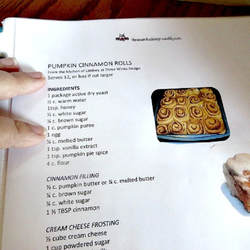
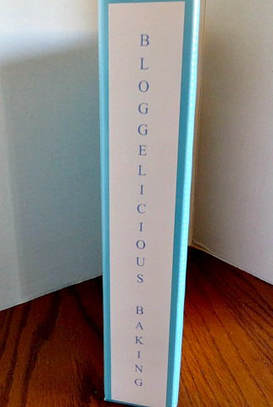
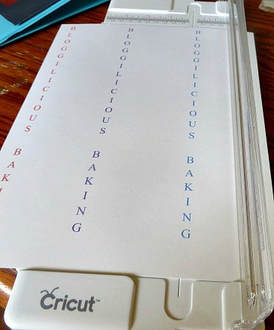
This post contains affiliate links. I will be compensated for any purchases made through those links at no additional cost to you. Thank you for your support! Hey guys, Alicia here. I wanted to share with you guys my first contribution to our Etsy shop, 3WinksDesignShop! I belong to a book club, and during one of our meetings they threw me a surprise baby shower. Another woman from my church made baby blankets, burp rags, and embroidered Sofía’s name on a little blanket for her. Other families from my church brought us a huge bag of baby clothes. One is letting us use their bassinet. I had two other baby showers and countless acts of kindness shown to my family by the people in my life. I was feeling so grateful and I wanted to give “Thank You” cards out to all those who helped us. I also wanted them to have a personal touch. 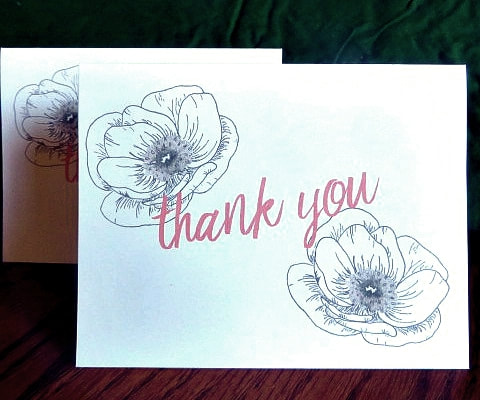 That’s why I designed these cards. And I want to share them with you guys, our readers. 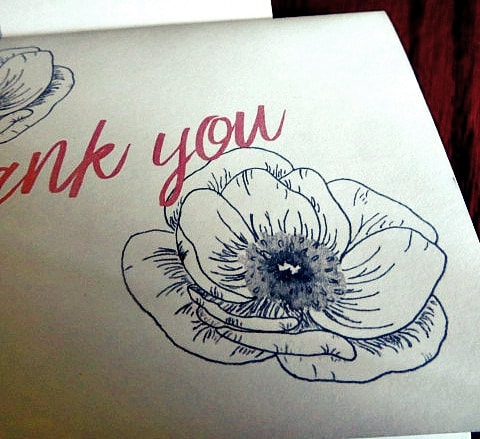 They’re blank inside to provide ample room for writing your sentiments. They’ll look great printed in color or black and white. They also fit two to a page, so you can save paper when you print them. Right now they are on sale for $2.50 as our grand opening price. For that price you will get a PDF file that you can download and print as many times as you’d like. Check them out in our Etsy shop! 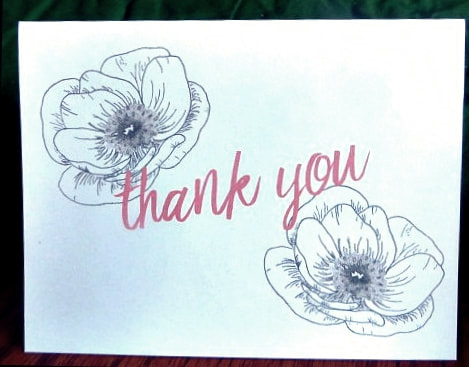 This post contains affiliate links. I will be compensated for any purchases made through those links at no additional cost to you. Thank you for your support! 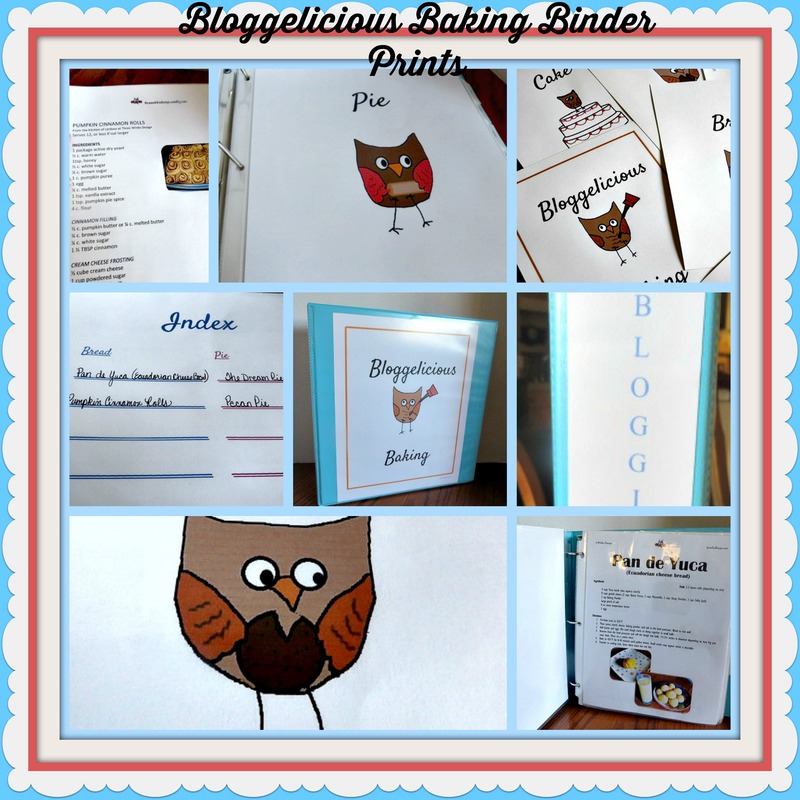 I had a problem, and maybe you've had it as well. I love to peruse Pinterest and blogs for those yummy new recipes that are so available out there online. But the problem was that I would find and make a great recipe and forget to pin it and then when I wanted to make it again I had to remember where I found it and search for it again, sometimes ending up disappointed because I couldn't find it. Or, I would pin the recipe and then I would have to search through my myriad of pinned recipes to find it again. Sometimes, the link would be broken or something. Finally, I would often print out the recipe, which seemed the best solution to save my favorite new recipes and pretty soon I had pages stuffed into random books or stacked, disorganized in my kitchen. Well, guess what! I don't have that problem any longer because I finally took matters in hand and designed an adorable binder to hold and organize my recipes from blogs! I call it Bloggelicious Baking! And guess what else? We are using this new product to launch our new Etsy shop, 3WinksDesignShop! WE ARE SO EXCITED! First, let me tell you more about the binder.  Of course, I used the owl theme when I drew these pages. I used my computer to do the art work, and it was a challenge for me, but a lot of fun. The great thing about the pages is that they are cute without taking too much ink to print. This binder is specifically for baking. We will soon come out with one for cooking. The Bloggelicious Baking pages include 9 prints: The Cover, Bread, Pies, Cakes, Cookies, Other Desserts, the Spine label and 2 Index pages for you fill in yourself. Here are a few examples, (click on them for a clear view). : All you need to get yourself organized is a 3 ring binder. I used this one from Avery. I wanted something durable. Also, It has the clear slip in area on the outside for the front cover and the spine. 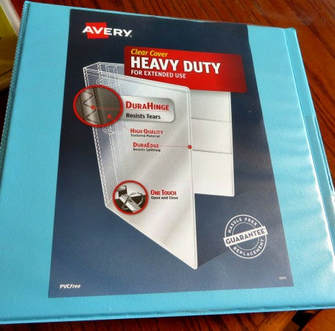 I also used these indexed divider sheets from Avery to slip the divider pages into. These are nice and heavy and the package comes with printable tab labels that you can easily print on for free at the Avery website.
Then, I don't know about you, but I spill things on my recipes and the pages tend to stick together. So, I ordered these inexpensive sheet protectors on Amazon to slip my recipes into. Now my recipes can easily be wiped off and kept clean. The sheets also eliminate the need to punch holes in all of the recipe sheets. And, the pages won't tear out so easily as I use the binder.
I just printed off my prints, slipped them into place and organized my book the way I wanted it. Then, I started filling it with recipes! 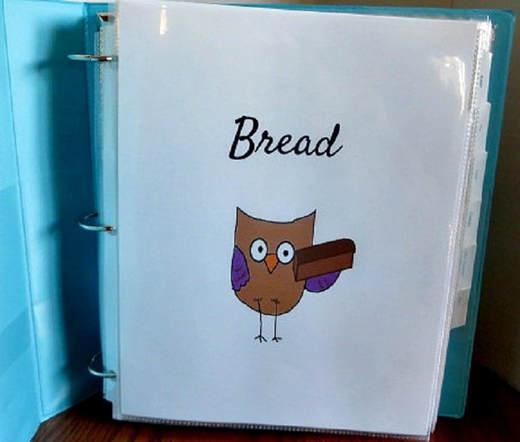 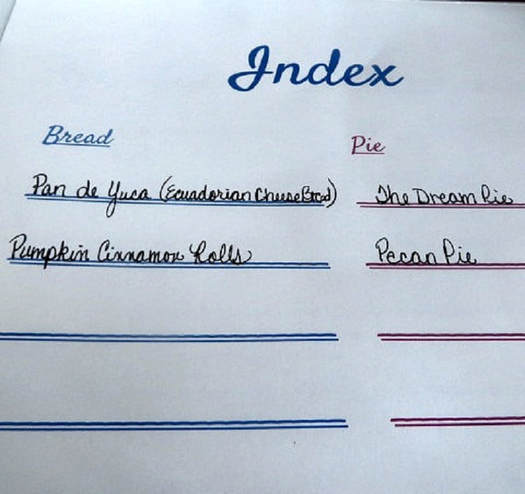 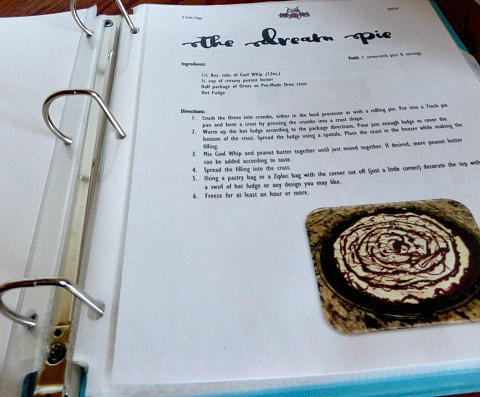 Click this picture to go to the post with this awesome recipe!
As I put my binder together, I thought about what a great gift this would be for people who love to bake and who are always finding new recipes online. Or for a new bride to start her off organized. You could slip a few good recipes in to get her started and then some empty sleeves for her to add to the book as she goes along. When you go to our shop (3WinksDesignShop) to order, you will be sent a pdf that you can print off as often as you like to make as many gifts as you like. And, the spine page will work for 3 different books, so that saves you time and ink! 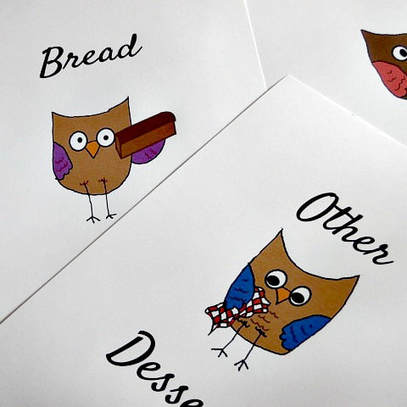 So, go ahead! Visit our new shop (3WinksDesignShop) and tell us what you think! And, don't forget to get your baking recipes organized by picking up our Bloggelicious Baking Binder Prints to make your binder beautiful! (Wow! Say that 3 times real fast!) One other thing, if you go to our printable page here on the blog, you will notice that the Hot Cocoa Bomb Idea Book is no longer there. We gave notice a while back that we were going to remove it. It is now in our Etsy shop, but if you procrastinated before printing it, it is on sale right now for just $3.00. Get it before it goes up!
Thanks for all of your support! |
Creators of Hot Cocoa Bombs! (copyrighted)

Author
Helen Reynolds: Mother of six children , grandmother to eleven! I love to cook, craft and create things and I especially love doing that with my family, So, when my lawyer daughter, Lindsey, my artist daughter, Madalynn, and I came up with the idea of Hot Cocoa Bombs, this blog was born. Then, one more daughter, with her technical and science skills, plus creativity has joined in to round us out! Read more about us here! 
Click this link and visit 3WinksDesignShop on Etsy. Find our Hot Cocoa Bomb Idea Book, our For the Love of PIe e-book and more of our creations!

Amazon Gift Cards are the Perfect Gift!
    Archives
July 2024
|


 RSS Feed