|
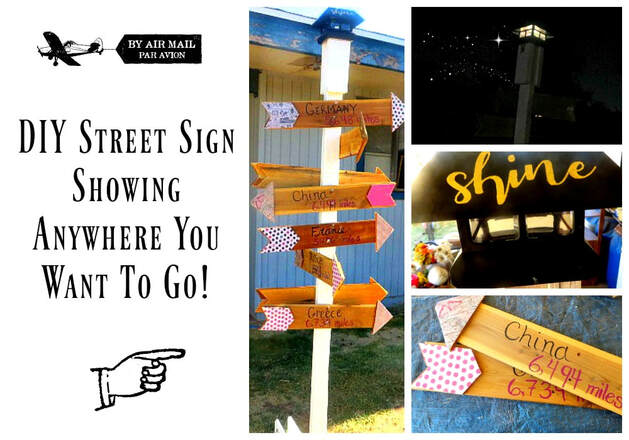
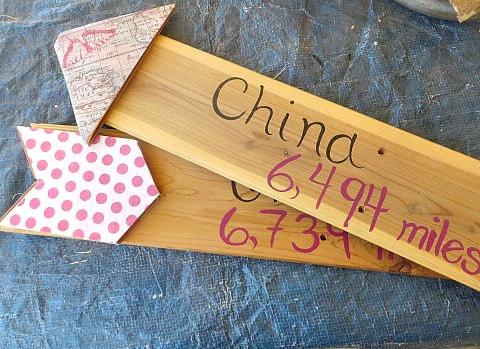
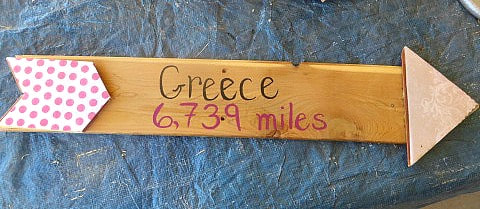
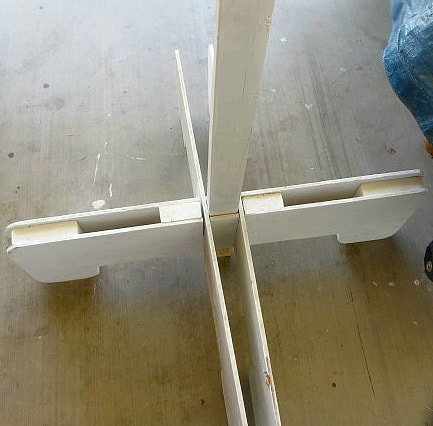
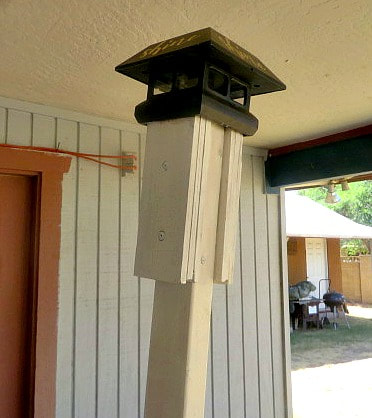
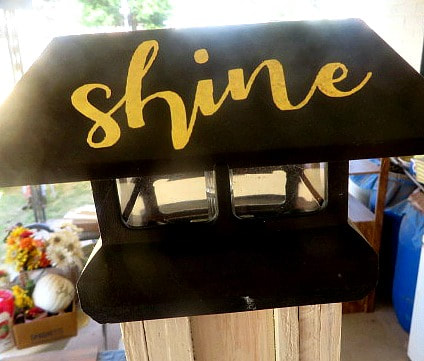
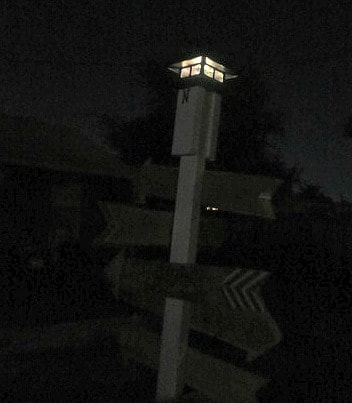
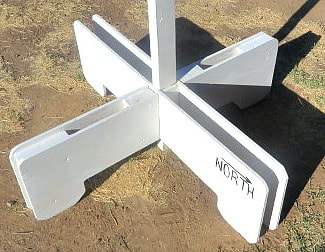
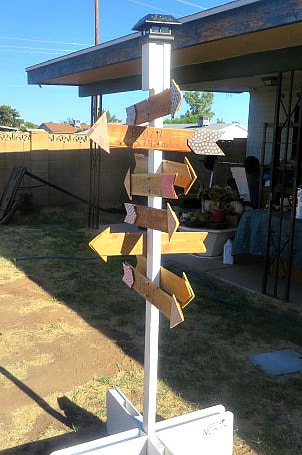
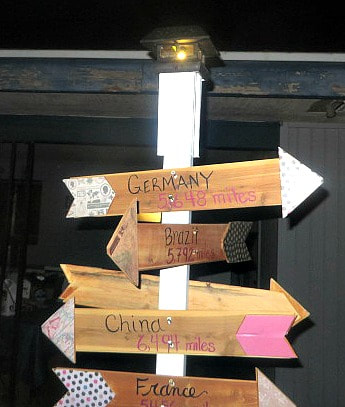
This post contains affiliate links. We will be compensated for purchases made through those links at no additional cost to you. All views expressed are our own. Thank you for your support. Once again, this summer I am going to our church Girl's Camp! I actually will be gone by the time this post goes up. This year I am one of the adult overall leaders, but in reality, the girls get to choose their theme and the things that they want to do at camp. As adults, we just help guide them and get things to happen. So, that means that the girls chose the theme and they chose a really good one. It is "Shine in the World and Not Of the World." I love that theme because the girls are thinking about ways that they can be themselves and shine, doing good things and not succumbing to the temptations of the world around them. They are trying to make the world a better place, recognizing that their strengths and talents come from God and that they can use those blessings to do good. The girls decided that each cabin of girls would be a different country of the world, so, of course, we turned to Pinterest for ideas. One of the things we found were a variety of different types of sign posts or street signs like the one I am going to show you today. There were ones that pointed to imaginary places from books, like Hogwarts or Narnia. There were ones that pointed to fun places like Disneyland or Magic Mountain. Then there were the ones that pointed to real places. Many of the posts were links to shops that sold the posts for a pretty penny! I decided that my dear, nice and talented husband and I could make our own! (I hope you can tell by my description of him that my husband did most of the work!) When camp is over, I am going to put this sign post in our backyard and change some of the countries or add countries to represent places that have meaning to our family! How to Make Your Own Street Sign or Sign Post The Arrows We had some scrap 1/4 " thick wood hanging around our house that my husband cut these cute wooden arrows out of. If you don't have many wood scraps, you can always check out the marked down wood cart at Home Depot for some really good prices. We got really creative with what we had to make this sign post project come to pass! Using the 1/4" would, you can see how DH made the point and the feather parts and then we glued them onto the top of the main shaft. They don't have to be perfect, that adds to the rustic charm of the sign. I googled the distance from our city of Phoenix to the capitol city of the country. Then I hand painted the country name and distance. On the arrowhead and on the feather part I used various scrapbook papers and decoupaged them with Modpodge. The Post and Stand We can't dig the post into the ground at camp, so DH made this slotted stand to hold up the 2"x 3" post that will hold the arrows. He had to make a sturdy stand because with the arrows on it, the stand will be fairly heavy and off balance. He used plywood and sandwiched blocks of wood between the E and W part to make it very stable. Then he cut slots, measuring to make sure the post would fit in the center space securely, with corresponding slots on the N and S legs. He painted the entire sign post and stand white so the wooden arrows would pop. The Lighted Post Top Most of the supplies that we used for this project was stuff that we already had on hand. But, for the top of the post, we spent a little over $5 to add a lighted post topper! We found it at Lowe's. Then, my DIL Jessica used her silhouette to cut out the word "Shine" for me to stick on each side of the top. The light is a solar LED light that shines nicely in the dark! To make the topper fit on the top of the post, my husband layered some plywood at the top to the correct dimensions to fit the topper onto the sign post and then screwed it in place. The Finishing Touches
I love the wooden base because I will be able to place this wherever I want up at camp or in my yard later! This turned out to be such a fun project with so many possibilities. I may just add Disneyland on there when I bring it home! Let me know what you think in the comments below! I've worked on a bunch of other things for camp this year that I will post about when I get back! (I didn't want to give anything away to the girls!) There are a lot of printables and fun ideas, I can't wait to share them. Here are some past camp ideas:
3 Comments
7/2/2019 07:18:26 pm
Thanks for linking up at the #BloggingGrandmothersLinkParty 39! Shared ♥ If you haven’t already, I’d like to invite you to linkup this post and more at the UNLIMITED Monthly Link Party (going on now) and the Wednesday AIM Link Party (starting tomorrow night).
Reply
7/3/2019 04:16:03 am
Thanks for linking up at the #UnlimitedMonthlyLinkParty 2! Shared ♥
Reply
7/8/2019 08:37:22 am
That is such a cool theme for Girl's Camp! Love this fun DIY Sign Post. It's such a great way to focus on fond memories, or even to dream of places we want to go. Thank you so much for sharing with the Hearth and Soul Link Party. I’m featuring this post at the party this week. Hope to ‘see’ you there! Have a wonderful week ahead!
Reply
Your comment will be posted after it is approved.
Leave a Reply. |
Creators of Hot Cocoa Bombs! (copyrighted)
Author
Helen Reynolds: Mother of six children , grandmother to eleven! I love to cook, craft and create things and I especially love doing that with my family, So, when my lawyer daughter, Lindsey, my artist daughter, Madalynn, and I came up with the idea of Hot Cocoa Bombs, this blog was born. Then, one more daughter, with her technical and science skills, plus creativity has joined in to round us out! Read more about us here! Archives
July 2024
|


 RSS Feed