|
This post contains affiliate links. I will be compensated for purchases made through those links at no additional cost to you. All views expressed are my own. Thank you for your support!
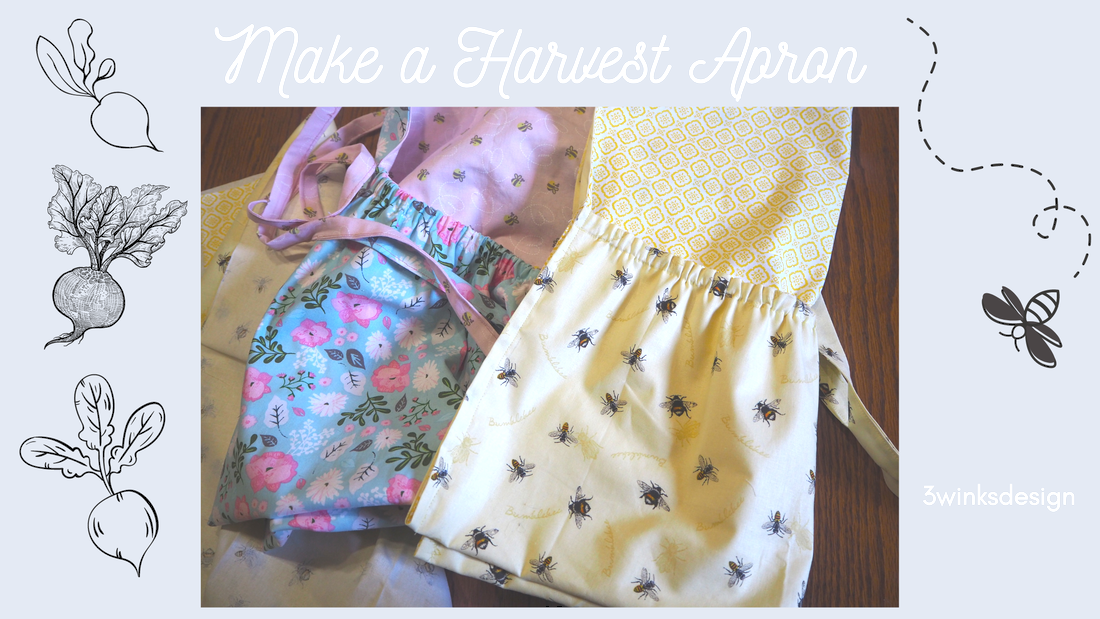
Last week I gave you some ideas for Mother's Day gifts. One of the items was a harvest apron that you can order from Amazon. But, I knew that I could easily make one and it would look a lot cuter! So, I dug into my fabric stash and found some fabric that I thought would be perfect for my apron. Then, I figured out what I needed to do to make it and now I am passing it on to you!
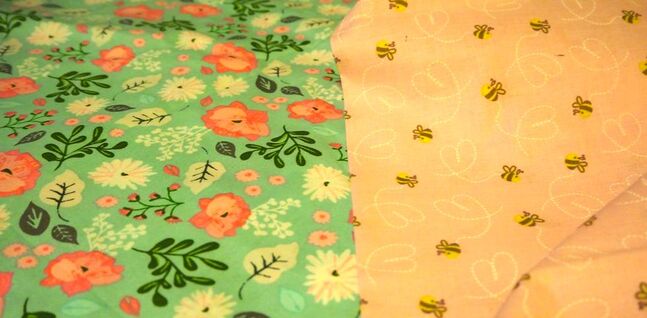
If you look at the picture above, the blue floral print and the pink with the tiny bees are the fabrics I chose. You can be matchy-matchy if you would like, but I thought for working out in my garden, these two fabrics would be perfect and it was going to be fun to break the rules. One fun thing about this apron is that it is reversible so you can switch it up when you want to, plus, of course, it is washable!
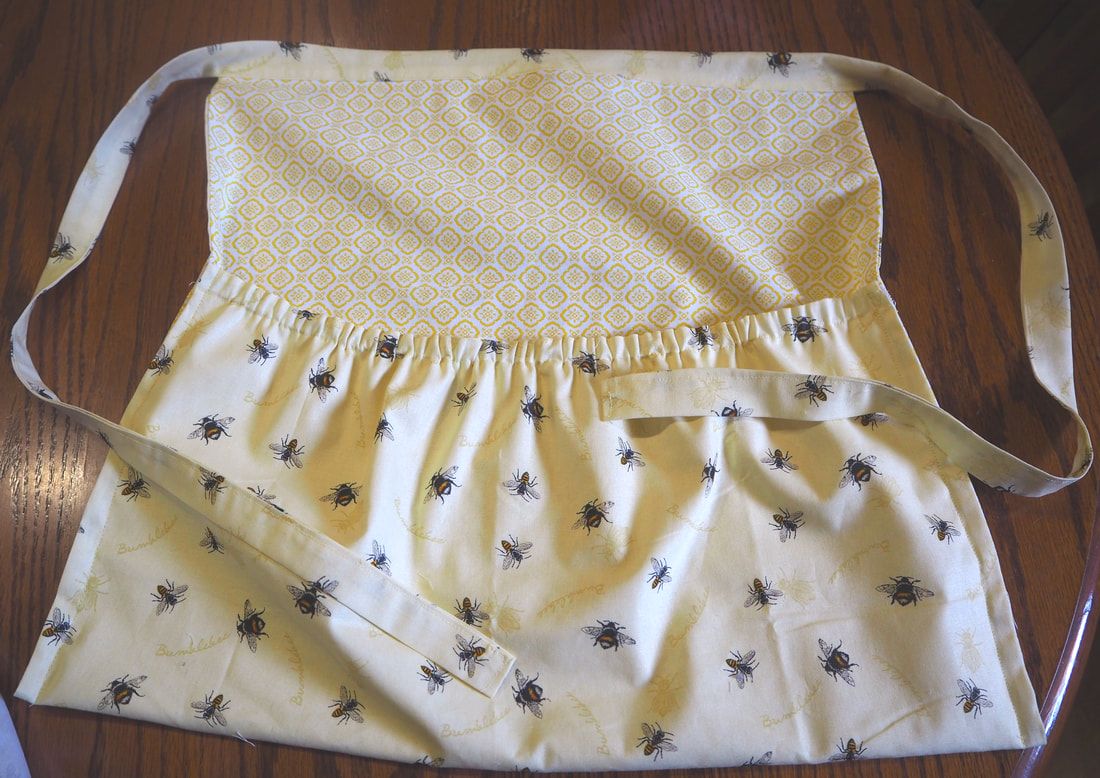
The yellow apron above is the one I made for Alicia after I figured out what I was doing on my first one. There were a few minor changes, and as I continue telling you how I did things, you may see pictures of my apron or hers.
I purchased her yellow fabric at Walmart! I stayed with the bee theme and then decided on the coordinating fabric that reminded me of honeycomb. I couldn't find it on the website, but it is $4.44 per yard in the store. I bought 3/4 of a yard of the honeycomb fabric and the bee fabric came precut as a yard. I have enough left to make another apron, maybe just slightly shorter to give me enough fabric for the ties. 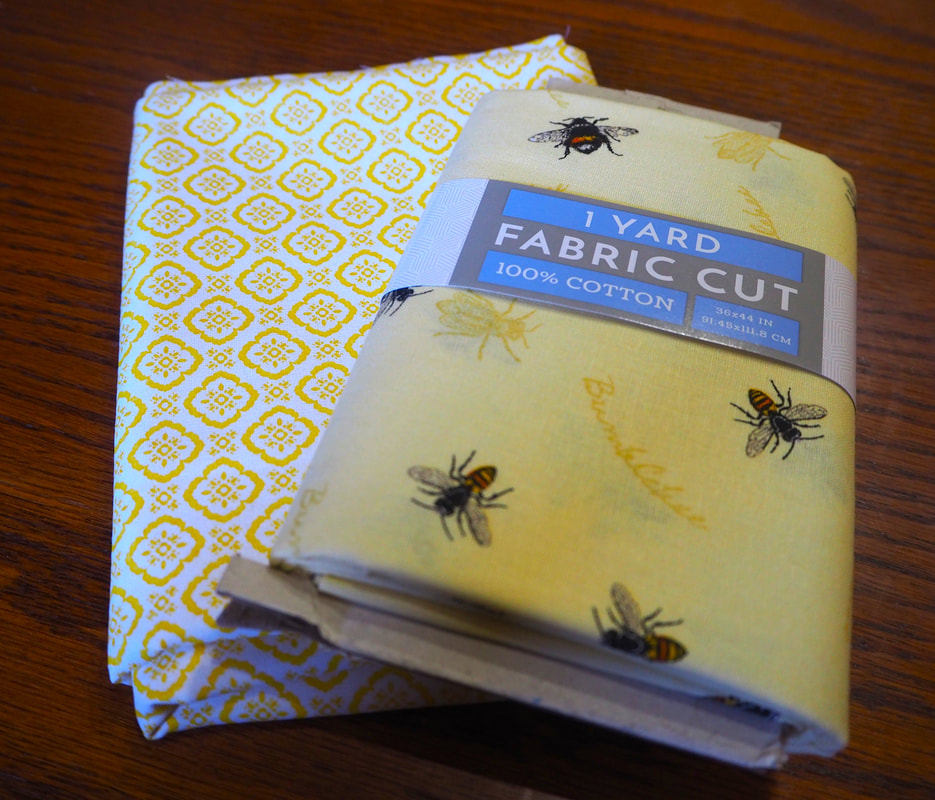
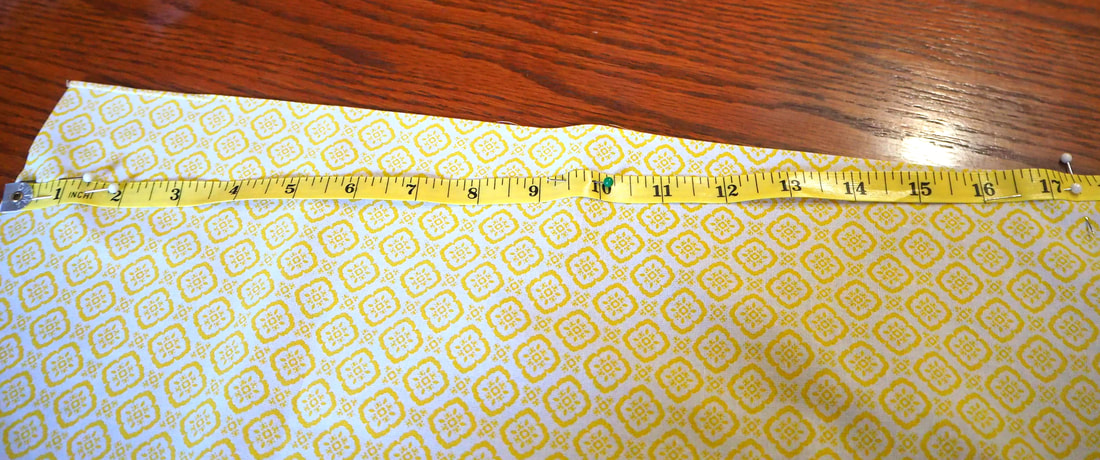
Begin by cutting both of your fabrics in half down the crease. Put one half of the fabric away for a future apron or other use. The length of the fabric should be about 27 inches if you bought 3/4ths of a yard. If you have a longer length of fabric, cut it to that length. The width at this point should be about 22 inches, especially if you cut away the salvage edge.
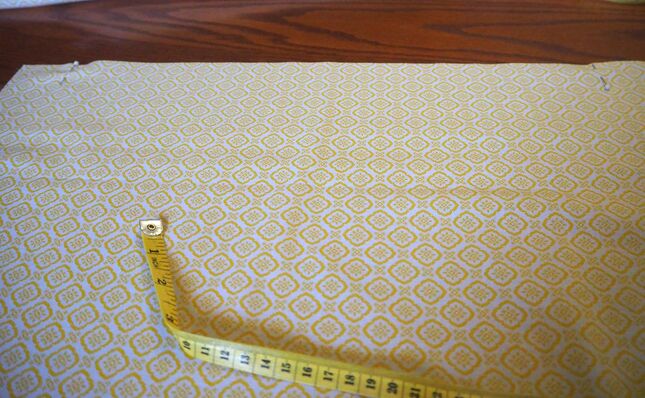
On the top of the fabric, where the width is 22 inches, measure over 2 inches from each side and mark it with a pin.
Measure up from the bottom 10 inches and put a pin there. Then, mark an angle from the top pin to the lower pin as shown. Use a straight edge and draw the angled line. Cut along the line on each side.
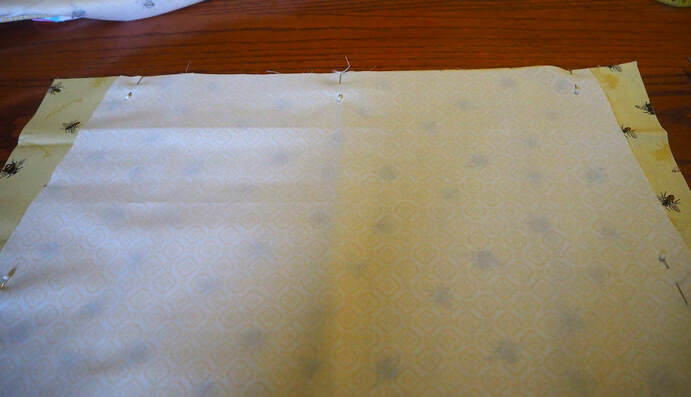
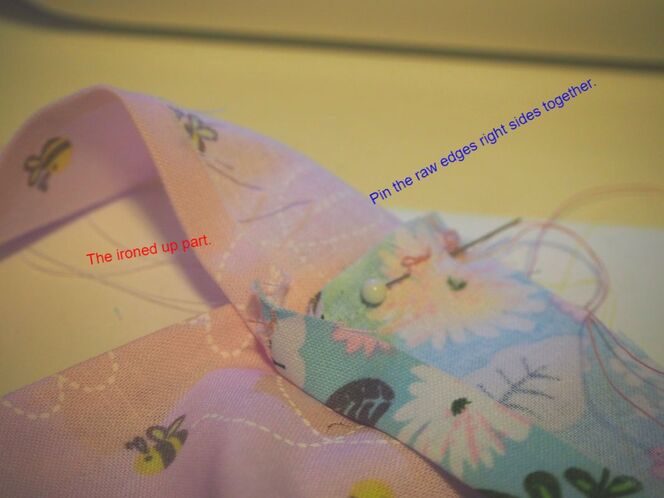
Pin the fabric that you just cut face down on top of the other fabric and cut that fabric to match. By pinning the fabric right sides together, you are ready to start sewing them!
There are multiple ways that you can attach the ties. On my apron, I made the front a little wider and gathered it slightly to add the ties. Then, I used leftover fabric that I had cut away and pieced together the ties and waistband. On Alicia's apron, I decided that it was nicer to have a flat front apron, so I didn't gather it. I also simply cut three 3 inch pieces of fabric and put them together to form the waistband and ties. You could also just cut one long piece to form the waistband and ties all in one piece. I'm always trying to conserve fabric and use the last bits, that is why I cut the three pieces. You could also make your waistband wider that I did. It is all up to you, there are no rules.
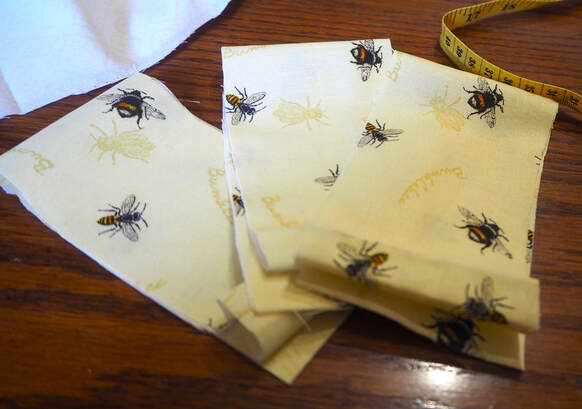
Since I had 1 yard of the bee fabric, I used the excess quarter of a yard to form the ties.
Now that your pieces are all cut and the main body of the apron is pinned together, begin stitching it around. Start at the top side, taking a 1/2 inch seam and sew down until 1-1/4 inches from the bottom. Stop and then turn the apron and sew the seam along the bottom. Turn, skip 3/4 of an inch and then sew all of the way back to the top. Do not stitch across the top. Trim your seam to 1/4 inch wide
The reason you left a gap at the bottom is because you will be making a casing down there for your elastic to go through.
Flip the apron right side out. Press the seams all around to make the apron flat.
Find the holes that you left when you were sewing. Make sure that the seam is tucked in and that the opening is 3/4 of an inch. From the top of the first opening, sew straight across the apron, 3/4 of an inch from the bottom. This forms the casing. 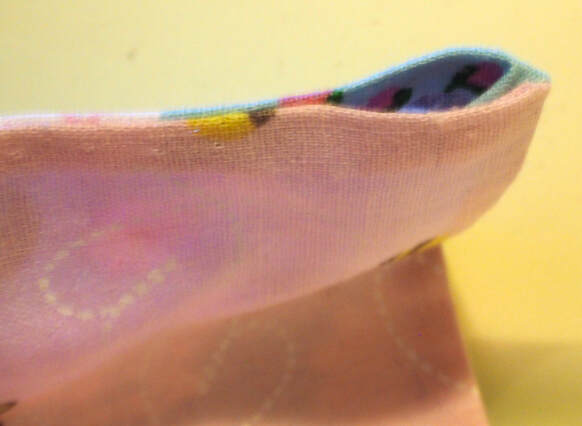
This is the opening to the casing.
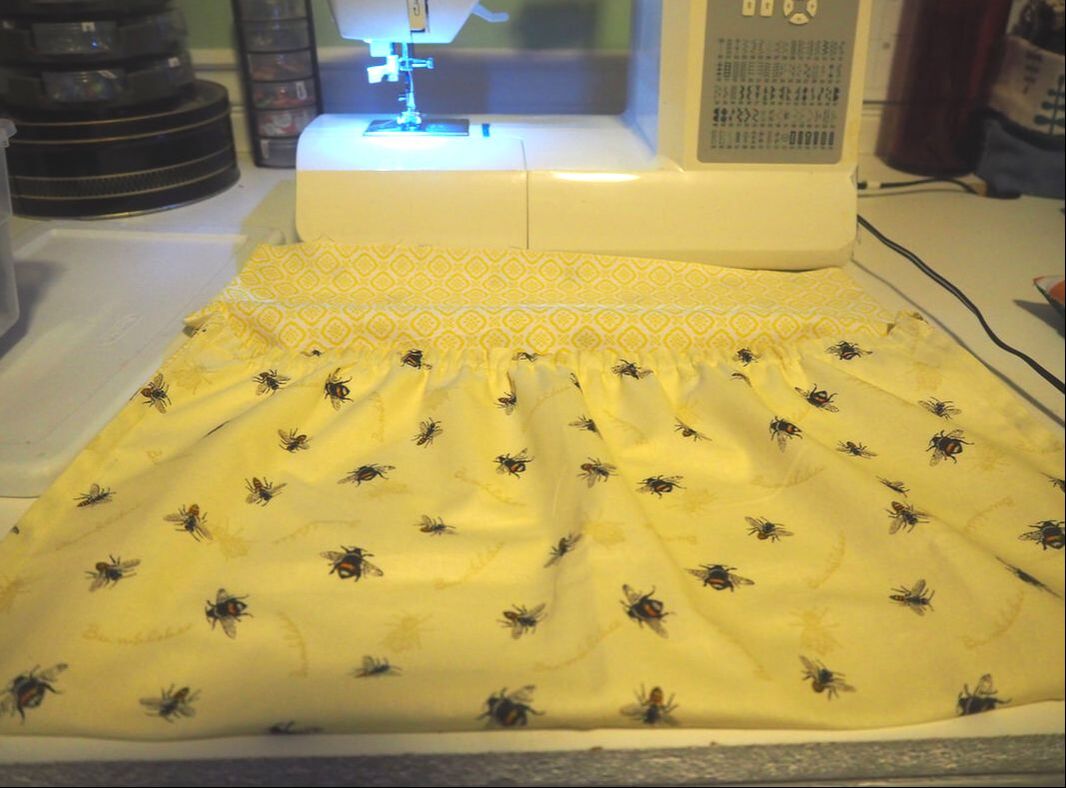
Before we put in the elastic, let's put on the waistband. If you have cut your waistband in sections, first sew them together into a long piece. Next, iron down your seam. Now, whether you pieced your waistband or not, iron down 1/4 of an inch on one of the long sides and on the 2 ends.
Center and pin on the waistband to the top of the apron. Then stitch it across the top.
After you stitch on the waistband, fold it up and press it, the fold it over to cover the raw edges. This will also fold the tie ends over, hiding all raw edges. Stitch close to the edge of the fold from one end of a tie end, along the waistband to the other end of the tie end. This will work best if you press it all over first, pin and then stitch.
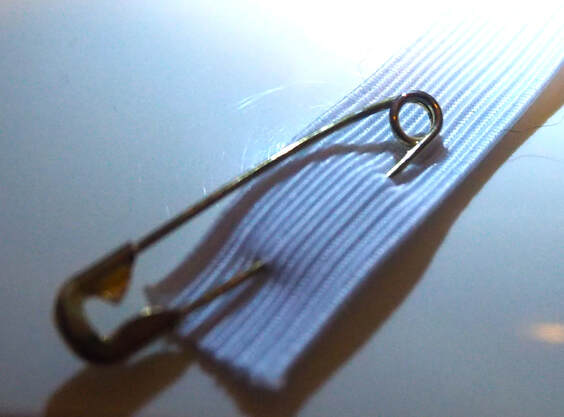
Now it is time to thread your elastic through.
Cut a piece of 1/2 inch elastic about 20 inches long. Use a safety pin to thread the elastic through the casing. Leave a 1 inch tail sticking out at both ends and stitch the casing ends closed, sewing the elastic into the seam. Trim the elastic even with the apron fabric.
I folded up the pocket and sewed it in place before I put on the waistband. You can do it either way.
Fold up the fabric 10 inches to form the pocket. Pin it in place, stretching the elastic a bit if needed. Stitch in place close to the edge.
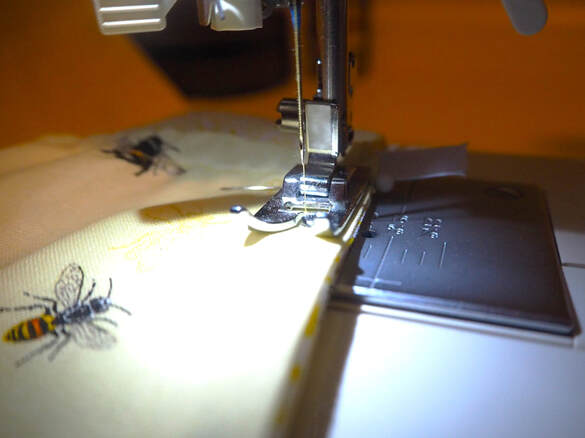
You can sew it closer than this if you want.
And now you are all ready to fill your pocket with your garden harvest! You will look adorable while you do it!

So proud of my beets!
Other Really Cute Fabric Choices!

6 Comments
5/2/2022 10:41:59 am
How cute!! Thanks so much for linking up at the Unlimited Link Party 76. Pinned. 3/31/2023 09:17:31 am
Visiting again to say thanks so much for linking up at #IMadeItMondayLinkParty 6. Shared. 4/24/2023 12:32:32 pm
OMGoodness! This is sooo cute *and* practical! I need to make one of these soon. Glad I spotted your link at Grammy's Grid. 4/25/2023 04:25:27 am
Visiting again to say thanks so much for linking up at #IMadeItMondayLinkParty 9. Shared. 4/30/2023 06:42:07 am
CONGRATS Helen! Your post is FEATURED at #IMadeItMondayLinkParty 10. Your comment will be posted after it is approved.
Leave a Reply. |
Creators of Hot Cocoa Bombs! (copyrighted)

Author
Helen Reynolds: Mother of six children , grandmother to eleven! I love to cook, craft and create things and I especially love doing that with my family, So, when my lawyer daughter, Lindsey, my artist daughter, Madalynn, and I came up with the idea of Hot Cocoa Bombs, this blog was born. Then, one more daughter, with her technical and science skills, plus creativity has joined in to round us out! Read more about us here! 
Click this link and visit 3WinksDesignShop on Etsy. Find our Hot Cocoa Bomb Idea Book, our For the Love of PIe e-book and more of our creations!

Amazon Gift Cards are the Perfect Gift!
    Archives
July 2024
|
 RSS Feed