3 Winks Design
  • Home
  • About Us
    • Contact Us
  • Printables
  • Where I Party
    • Places Featured
  • Contests
    • Writing Challenge
  • From Cover to Reel
    • Show Notes

Save Your Feet, Bind a Rug

4/21/2021

23 Comments

 
This post contains affiliate links.  If you make a purchase after clicking them, we will be compensated, but there is no additional cost to you.  All opinions expressed are our own.  Thank you for your support.
DIY rug binding a carpet scrap
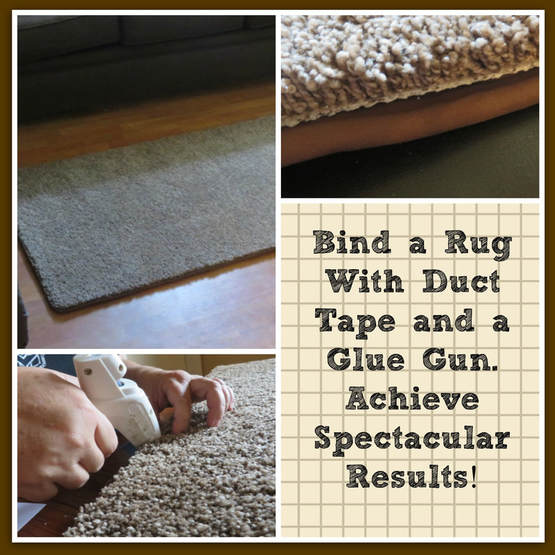
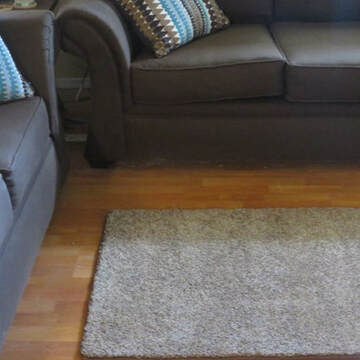
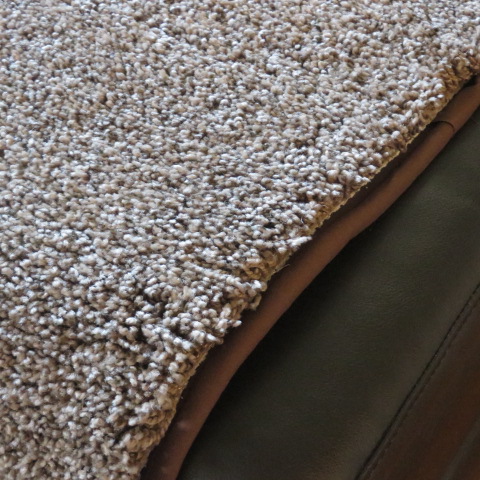
   Back in 2016, We removed most of the carpet out of our house and put down wood laminate flooring.  I love it!  My son was not thrilled though because he like stepping out of his bed onto nice soft carpeting in the morning.  So, I did some research and came up with my own way of binding a carpet remnant and making a bedside rug.  Now it is 2021, and that little rug still looks great and my son still steps on it everyday! (He is in college now!)  
DIY carpet scrap binding
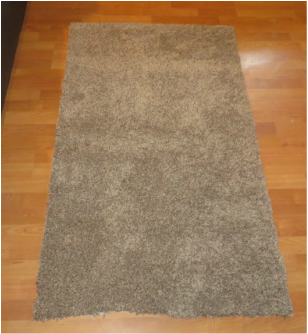
This is the scrap I used from the carpet we did have installed in our living room, Our only carpeted room.

      
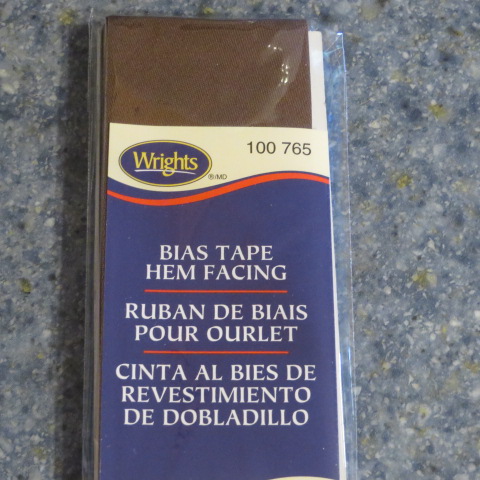
    ​ I watched numerous YouTube videos looking for a good way to bind a carpet.  There were products that I was sure would cost more than I wanted to spend, so I devised my own way to get the job done.
      Here are the supplies you will need to do a project like this.
​Click on the pictures for an explanation.
This is a wide, brown bias tape. Of course, find a color that will match your rug.
This is the cord you will use to make the piping.
You will need a sewing machine with a zipper foot, plus the matching thread.
Duct tape (or Duck Tape I guess) in a color you would like.
A glue gun and many glue sticks. I used about 8.5 sticks for this project.
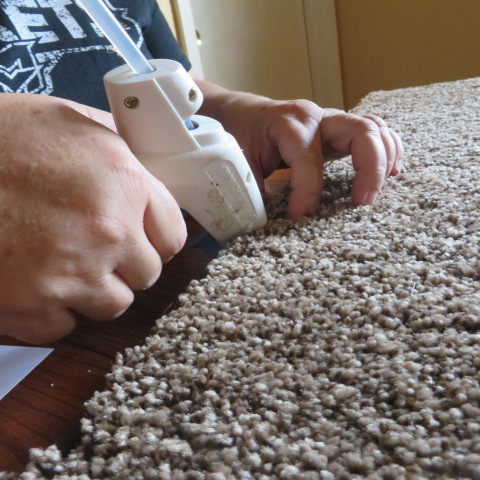
    To begin, lay your rug out and make sure it is cut in the shape or size that you want.  My sides were pretty straight except for one of them.  So, use a sharp razor knife or some sturdy scissors to even it out.  Then, measure the perimeter of your rug so you will know how many yards of materials you will need to go all the way around it.
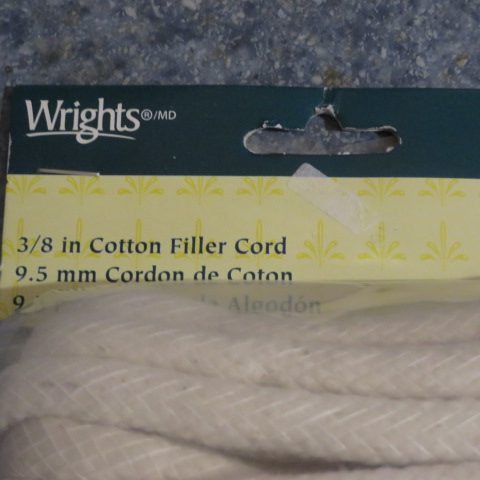
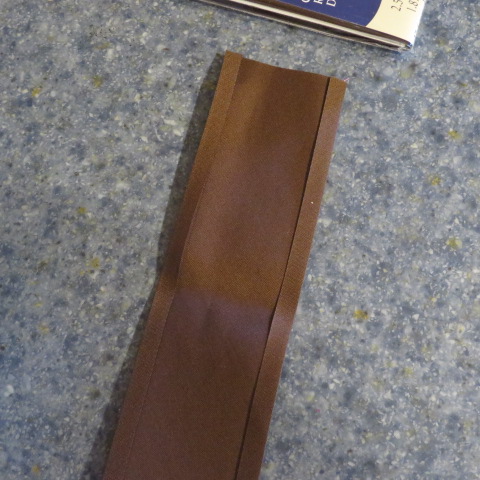
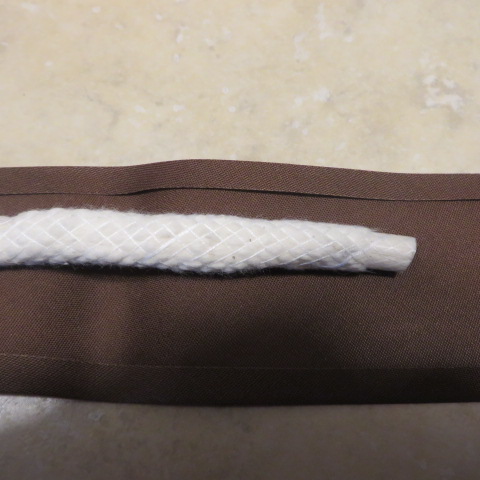
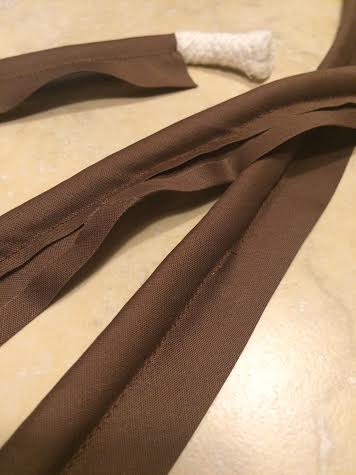
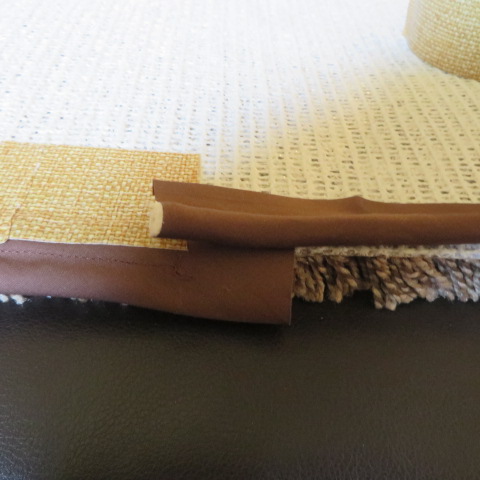
     I used the bias tape and the cording to make the piping that goes around the rug.  This takes the longest, but really isn't very hard to do.  Click on these pictures to see the process.
Lay the bias tape out flat like this.
Lay the cord on the tap, leaving a little room at one end for connecting ends later.
Fold the bias tape over the cording and pin into place. You want the cord to be on one side with a tab of fabric extending to the other side. This flat tab will lay along the back of the rug, the cording will fold up along the side of the rug.
Leave the beginning opening of the tube where there is no cord open for later. Use a zipper foot to be able to sew closely along the cording.
Picture
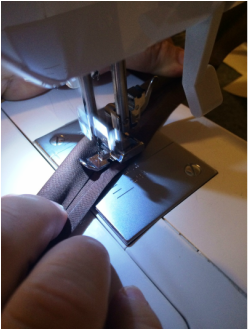
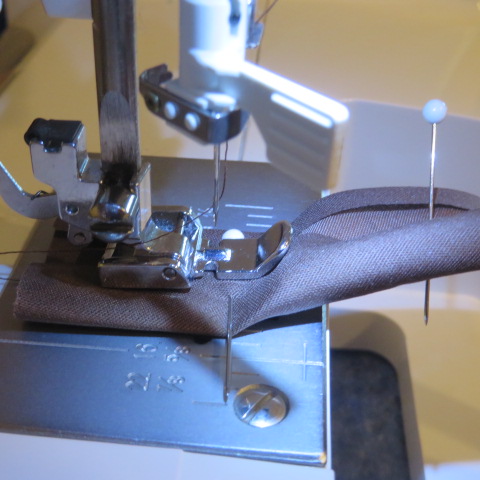
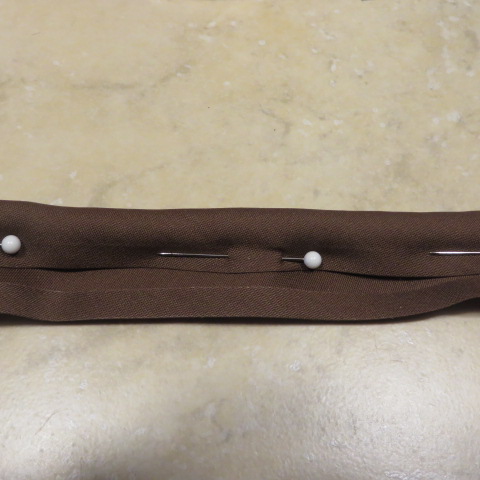
        Notice that I am sewing forward, but at a slight angle into the cord, in order to make it a tight tube. When finished, you will have ropes of piping like this.  You can use this technique to make piping for pillows, too!  Click on these photos for more info.
The flat extension will lay along the back of the rug.
At one end, you leave an empty part of the tube. At the other end, extend the cord out of the tube.
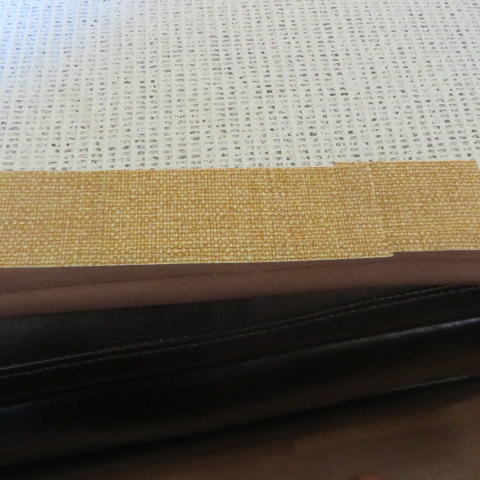
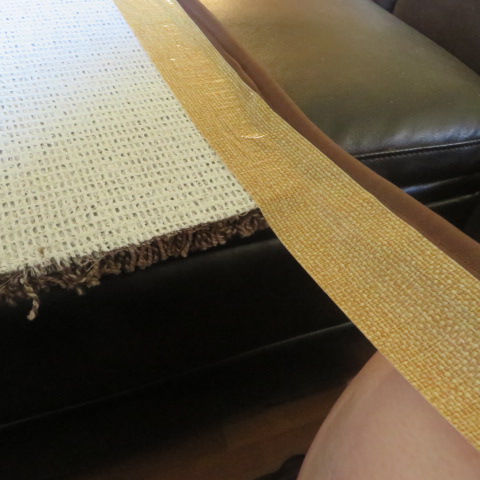
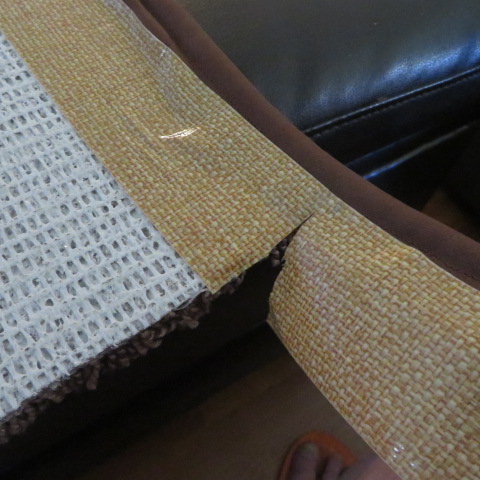
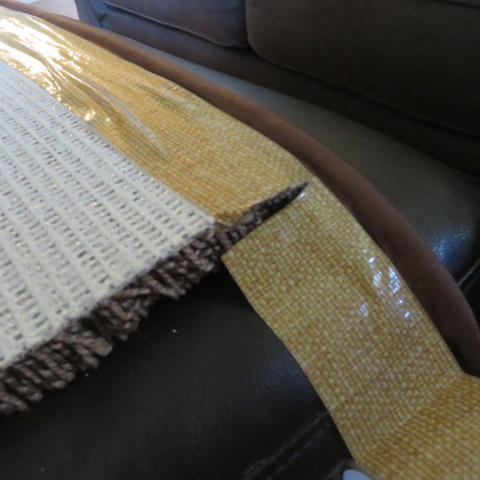
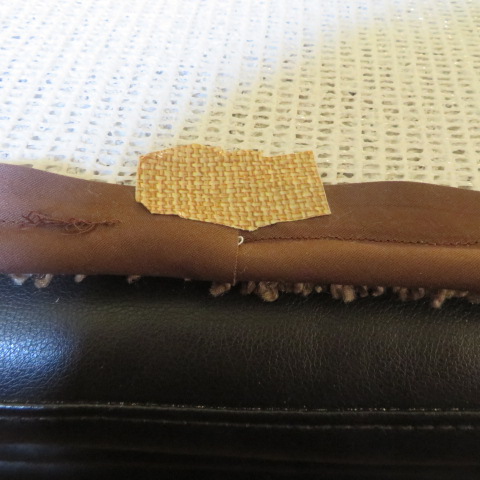
   I found it easier to lay the rug on my ottoman upside down to begin applying the piping with with the  Duct tape (I used the Duck Tape brand).  Start with the end of the piping that has the empty section at the middle of one side of the rug.
Lay the rug on an ottoman or table to work on it easier.
I chose this burlap looking Duck Tape.
The corded piping needs to extend over the edge of the rug. It will be folded over along the side of the rug later.
When you come to a corner, extend the tape and piping beyond the edge.
Cut a slit in the tape and piping up to the cording. This will help you bend it around the corner nicely.
Here is another view of that. Don't worry, I smoothed out the bumpy spots.
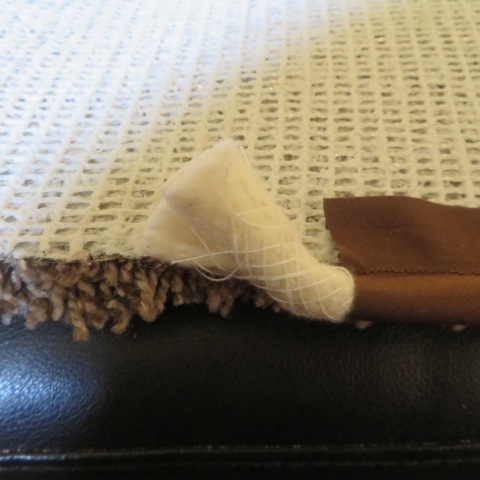
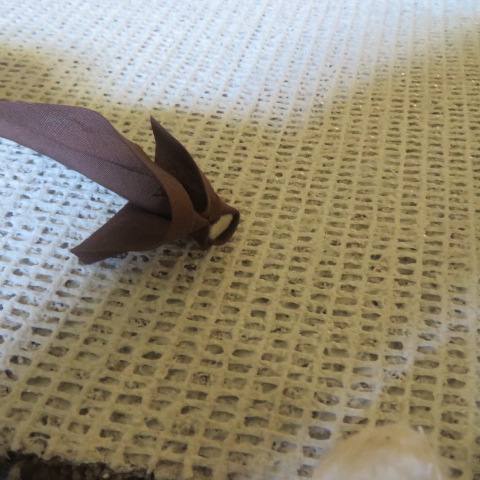
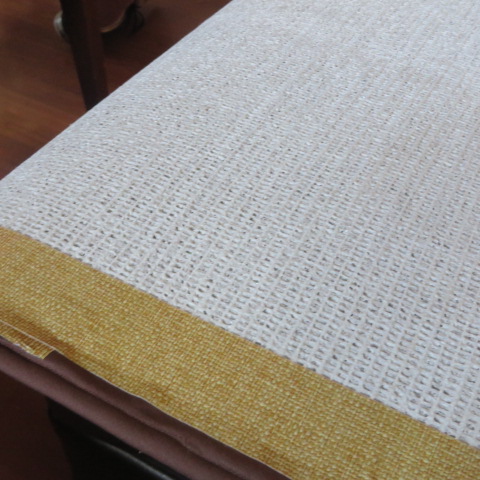
       Continue the taping process all around the rug.  If you come to the end of one strip of piping, add another as follows:
One end should have the extended cord.
The other end will have the empty end.
Trim the corded end to match the depth of the empty space. Tuck the corded end into the empty space.
Once wrapped together, hold in place with a piece of tape. Then, continue taping down the entire length as usual.
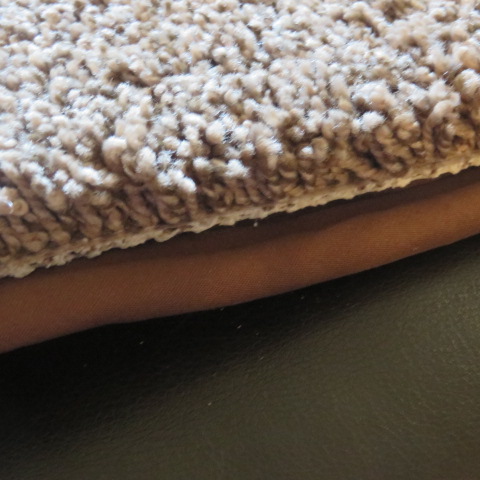
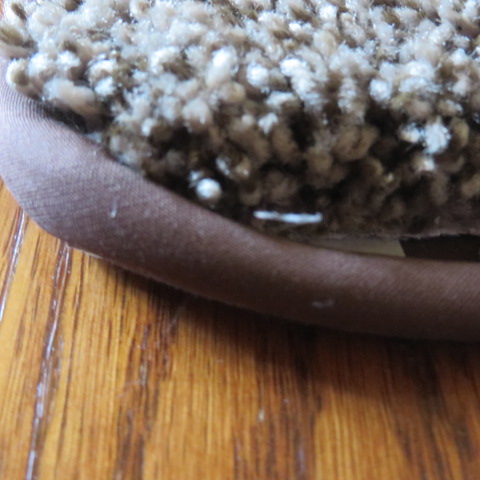
      Once it is all taped, it should look like this:
Be sure to smooth the tape down securely.
The tape is all the way around.
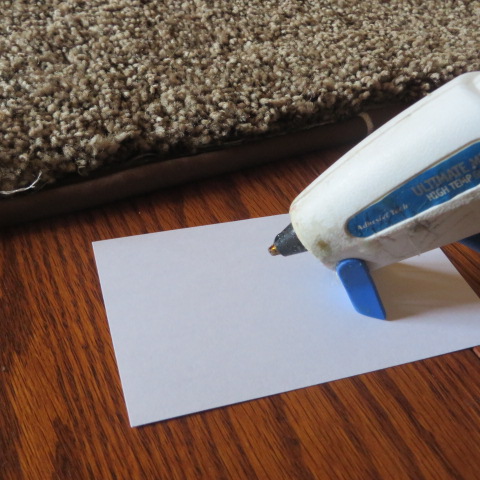
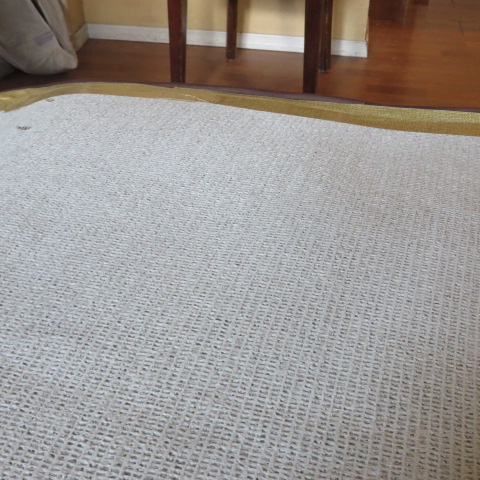
       ​Now it is time to flip the rug over and do the gluing.  I moved it to a table so my glue gun would be easier to use.  
You can see that the raw edge of the rug still shows at this point.
raw edge
Get your glue gun nice and hot and have many glue sticks at the ready!
When the glue is ready, put the nozzle of the glue gun between the piping and the rug and squeeze out a line of glue. Fold up the piping against the rug and glue as you go. So slowly to give the glue time to cool and attach the piping to the rug.
Here is an example of how it looks as you go around a corner.
Continue the process all the way around the rug.
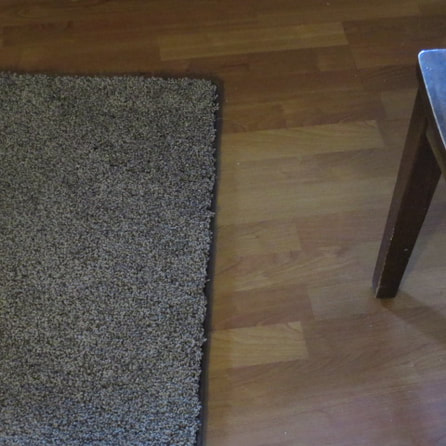
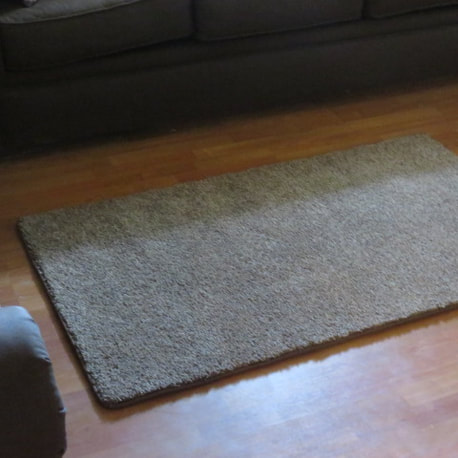
        Finally, when you are finished, you will have a nice rug to use wherever you like.  This one has been keeping my son's feet happy for quite some time now!   If you have any carpet samples or scraps, some nice area rugs could make nice gifts or accents in your home.  Hope you find this method useful! 
DIY Carpet Scrap binding
  *It makes us so happy that this post was featured on the To Grandma's House We Go  linky party! 
DIY Carpet Scrap Binding
23 Comments
Grandmas House DIY link
9/22/2016 08:59:20 am

I've wondered about how to do this! Thank you for the how-to! We just started the To Grandma's House we go link party and I thought you might be interested in sharing there too, thanks :)

Reply
Helen Reynolds
9/22/2016 11:40:31 am

I am on my way! Thanks for the invitation!

Reply
Grandmas House DIY link
9/22/2016 11:57:51 am

Thank you so much for coming and sharing! Pinned!

Rebecca link
9/22/2016 07:43:51 pm

I've wondered how to bind carpet for a long time. We have almost all hardwood floor, and while they look beautiful, they can be very hard on our feet. And buying lots of area rugs can get expensive. Thanks for the tutorial.

Reply
Grandmas House DIY link
9/28/2016 11:40:13 am

Hey there, you were featured today at the To Grandma's house we go link party! :)

Reply
Helen Reynolds
9/28/2016 12:55:19 pm

Wow! Thank you so much! That makes me so happy!

Reply
Grammy Dee | Grammy's Grid link
3/1/2018 12:27:01 am

Great tutorial! Never thought about doing this before. Shared your post on Fb, G+, Pn, and Tw ♥

Reply
Helen link
3/1/2018 10:01:07 am

Thanks Grammy Dee!

Reply
Marci @ Stone Cottage Adventures link
3/1/2018 04:21:06 am

In our old rock farmhouse, the "standard" rug sizes aren't quite right. This is giving me so many ideas on how to create rugs for my home! Thank you! -Marci @ Stone Cottage Adventures

Reply
Helen link
3/1/2018 10:02:24 am

That makes me happy that I shared this! Thanks Marci!

Reply
Marisa Franca @ All Our Way link
3/1/2018 05:22:11 am

What a great tutorial. You can get a remnant and make a nice area rug out of it. Will be needing this in the near future.

Reply
Helen link
3/1/2018 10:04:02 am

Let me know how it goes for you Marisa!

Reply
Nancy Wolff link
3/1/2018 05:49:13 am

What a great tutorial!

Reply
Amy link
3/1/2018 06:22:45 am

Oh wow! My husband and I were just talking about how we could bind our own rug. This will come in handy! TFS!

Reply
Helen link
3/1/2018 09:59:41 am

Great! Good timing. I hope it works out well for you. Let me know!

Reply
Pamela Shank link
3/1/2018 01:39:10 pm

This was so informative & wonderful. I could never do this! I am so untalented in projects like this. You are awesome.

Reply
Teresa link
3/1/2018 07:21:10 pm

Wonderful tutorial! I've wondered how it was done and now feel with your guidance, I could take it on!

Reply
Clearissa Coward link
3/2/2018 08:35:13 am

This was a great tutorial. Thank you for sharing.

Reply
Helen link
3/2/2018 12:25:56 pm

Awesome! Let me know how it goes!

Reply
Tape Data Recovery Services link
11/5/2018 10:59:10 pm

Hi Helen Reynolds,
I was really amazed how you come up for this simple idea for the rug i tried it followed the tips and it worked well i made floral rug.

Reply
Gabrielle M Brown
10/30/2019 02:27:03 pm

How long will it hold

Reply
Dee link
7/6/2020 12:27:50 pm

Thanks so much! My hubby’s presently replacing our 19 yr old carpet with linoleum that looks like hardwoods & I just knew there was a way of saving good pieces for rugs! Any ideas on using the old pad under these rugs I should be aware of?

Reply
Korilyn Martin link
9/14/2021 10:10:06 am

Oh my goodness, I just did this! So glad I did... It saved me so much money and I got to use the rug I had my heart set on. I bought it to install as a stair runner but it was too wide. So instead of returning I gave carpet binding a try! Great tutorial! Yours turned out great!

Reply

Your comment will be posted after it is approved.


Leave a Reply.

    Picture
    Creators of Hot Cocoa Bombs!  (copyrighted)
    Subscribe to Our Email!
    Picture

    Author

    Helen Reynolds: Mother of six children , grandmother to eleven!  I love to cook, craft and create things and I especially love doing that with my family, So, when my lawyer daughter, Lindsey, my artist daughter, Madalynn, and I came up with the idea of Hot Cocoa Bombs, this blog was born.  Then, one more daughter, with her technical and science skills, plus creativity has joined in to round us out!  Read more about us here!
        

    Picture
    Click this link and visit 3WinksDesignShop on Etsy. Find our Hot Cocoa Bomb Idea Book, our For the Love of PIe e-book and more of our creations!


    Save on Wedding Favors @ Beau-coup.com
    Weebly - Websites, eCommerce & Marketing in one place.

    RSS Feed

    Archives

    January 2023
    December 2022
    November 2022
    October 2022
    September 2022
    August 2022
    July 2022
    June 2022
    May 2022
    April 2022
    March 2022
    February 2022
    January 2022
    December 2021
    November 2021
    October 2021
    September 2021
    August 2021
    July 2021
    June 2021
    May 2021
    April 2021
    March 2021
    February 2021
    January 2021
    December 2020
    November 2020
    October 2020
    September 2020
    August 2020
    July 2020
    June 2020
    May 2020
    April 2020
    March 2020
    February 2020
    January 2020
    December 2019
    November 2019
    October 2019
    September 2019
    August 2019
    July 2019
    June 2019
    May 2019
    April 2019
    March 2019
    February 2019
    January 2019
    December 2018
    November 2018
    October 2018
    September 2018
    August 2018
    July 2018
    June 2018
    May 2018
    April 2018
    March 2018
    February 2018
    January 2018
    December 2017
    November 2017
    October 2017
    September 2017
    August 2017
    July 2017
    June 2017
    May 2017
    April 2017
    March 2017
    February 2017
    January 2017
    December 2016
    November 2016
    October 2016
    September 2016
    August 2016
    July 2016
    June 2016
    April 2016
    March 2016
    February 2016
    January 2016
    December 2015
    November 2015
    October 2015
    September 2015
    August 2015
    July 2015
    June 2015
    May 2015
    April 2015
    March 2015
    February 2015
    January 2015
    December 2014
    November 2014

Proudly powered by Weebly
  • Home
  • About Us
    • Contact Us
  • Printables
  • Where I Party
    • Places Featured
  • Contests
    • Writing Challenge
  • From Cover to Reel
    • Show Notes