|
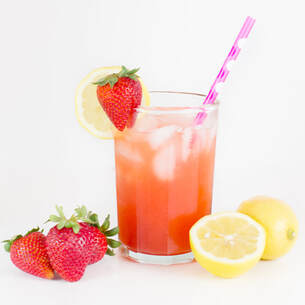
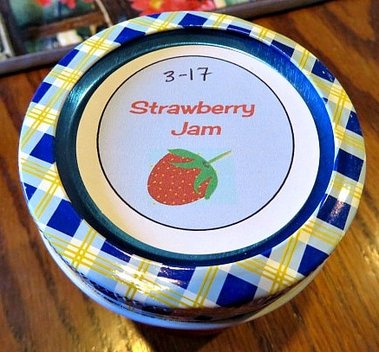
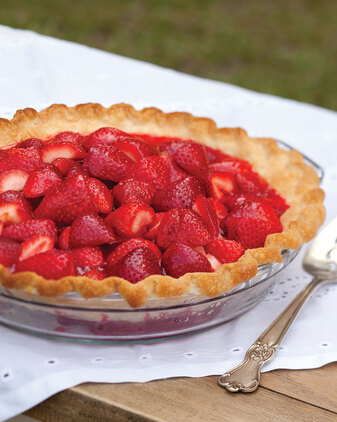
This post contains affiliate links. I will be compensated for purchases made through those links at no additional cost to you. All views expressed are my own. Thank you for your support! 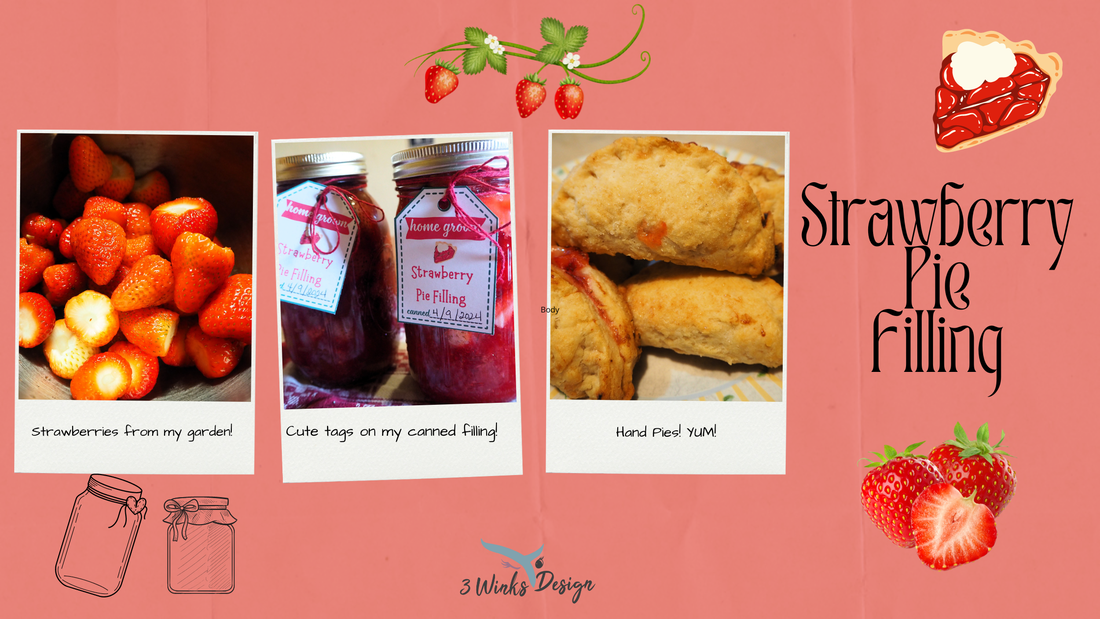 After babying and protecting and watering and cutting back and fertilizing my strawberry patch over the last 3 years, this year it is starting to produce like crazy! I am in heaven over it! 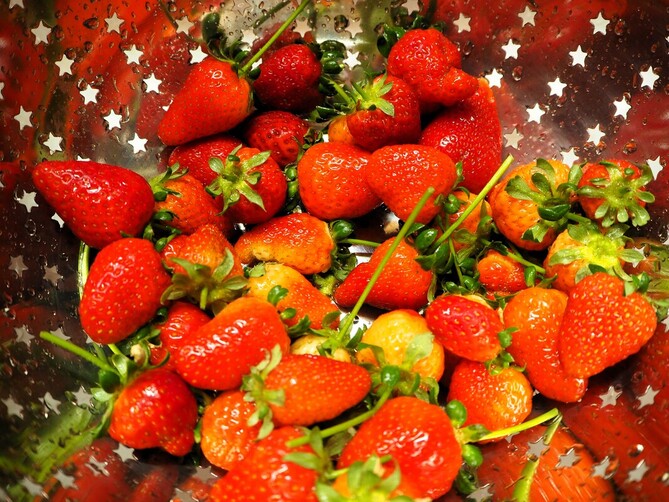 This is a sample of a days harvest! Not everyday, but every few days. I've made us Strawberry Shortcake and used them in smoothies, but now I am wanting to be able to preserve some. I've frozen berries in the past, I do not like the result of simply canning them in simple syrup, and I have plenty of Strawberry Jam in my cupboard. Then, I saw an idea for making Strawberry Pie Filling and I realized that would be the perfect way to preserve some of these beauties! Today I had enough strawberries to measure 8 cups of sliced strawberries. I wondered if that would be enough to give me at least 2 quarts of pie filling. I remembered that I did have some frozen strawberries still in the freezer. My mind started working and I came up with a process that has worked very successfully, tastes so good and is beautiful in the jar! I'm going to share that process with you today.
2 Comments
This post contains affiliate links. I will be compensated for purchases made through those links at no additional cost to you. All views expressed are my own. Thank you for your support! 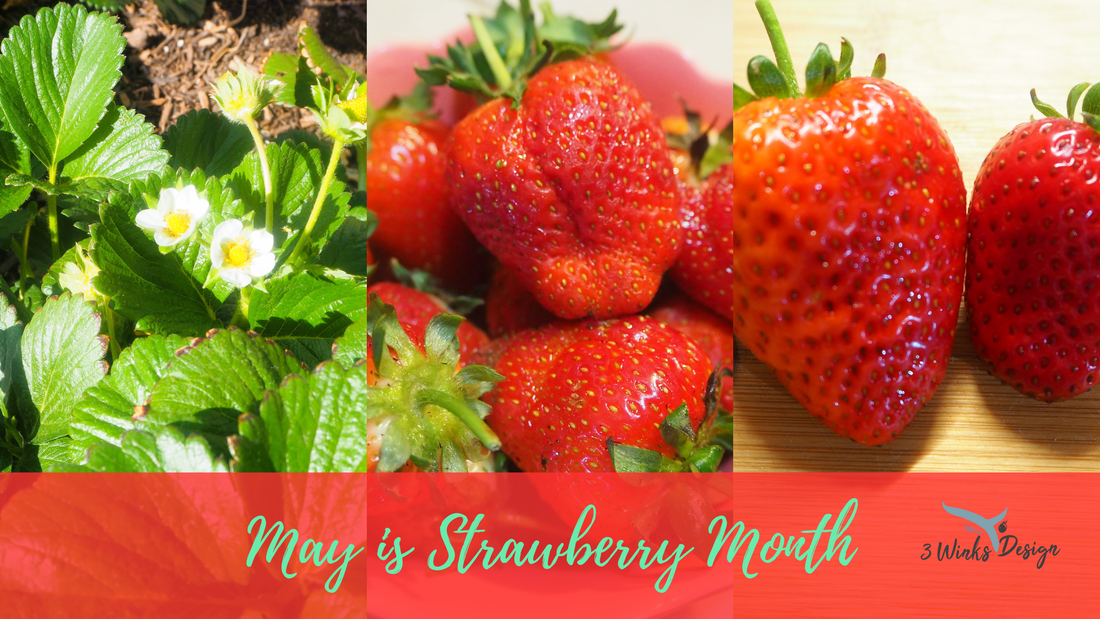 YUP! See all of those strawberries in that graphic above? They are some of the many that have been coming out of my strawberry patch! I am so happy with my strawberries this year. Here is why. Last year I put a few strawberry plants in my garden box. They began to produce a few strawberries, and just when they were ripe enough to pick, Maddy's puppy, Boots, ate them! At first I thought the birds had gotten them, so I covered them with netting to protect them. But, when I found the netting strewn all over my yard, I realized it was the dog. It was pretty funny actually, because he had nipped them off the stems very carefully exactly when they were ripe and very carefully! (He is a very smart dog who loves strawberries.) Needless to say, I didn't end up harvesting many strawberries last year. I decided that I needed a bigger strawberry patch. That way between the birds, the dogs and the bugs, I might still end up with some strawberries for the family to enjoy. Since strawberries reproduce very well on their own, I decided to try an experiment in my garden of wintering my existing plants over and allowing them to shoot out baby plants. I trimmed them back, taking off all of the dead or damaged foliage. I babied the babies. In the winter when we had some freezing weather, I covered them with sheets to keep the frost off of them. I fertilized them. I was determined to have a successful patch, something that has never before happened for me. Hallelujah! My efforts paid off and my patch of strawberries has more than doubled! Then, in the early Spring, the strawberry blossoms began to appear! These aren't just little bitty strawberries either! There have been some really big ones! Here are a couple of my first ones: 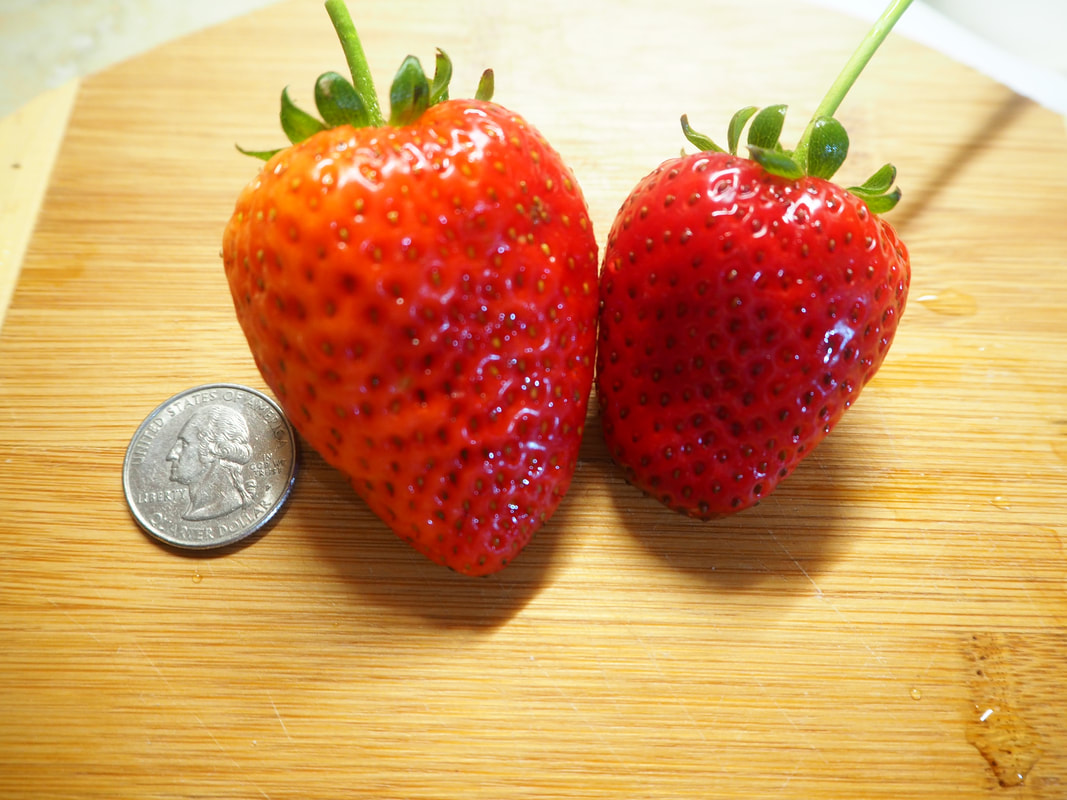 I put the quarter there to give you an idea of the size of the berries. There have been bigger ones since I harvested these! Since this is Strawberry Month, and because I am using my strawberries almost daily, I thought I would share some delicious strawberry recipe ideas with you today. Here is a roundup!
Do you have a favorite suggestion that you can share? Please drop it in the comments! This post contains affiliates and I may be compensated if you buy from our links. Thank you for your support. 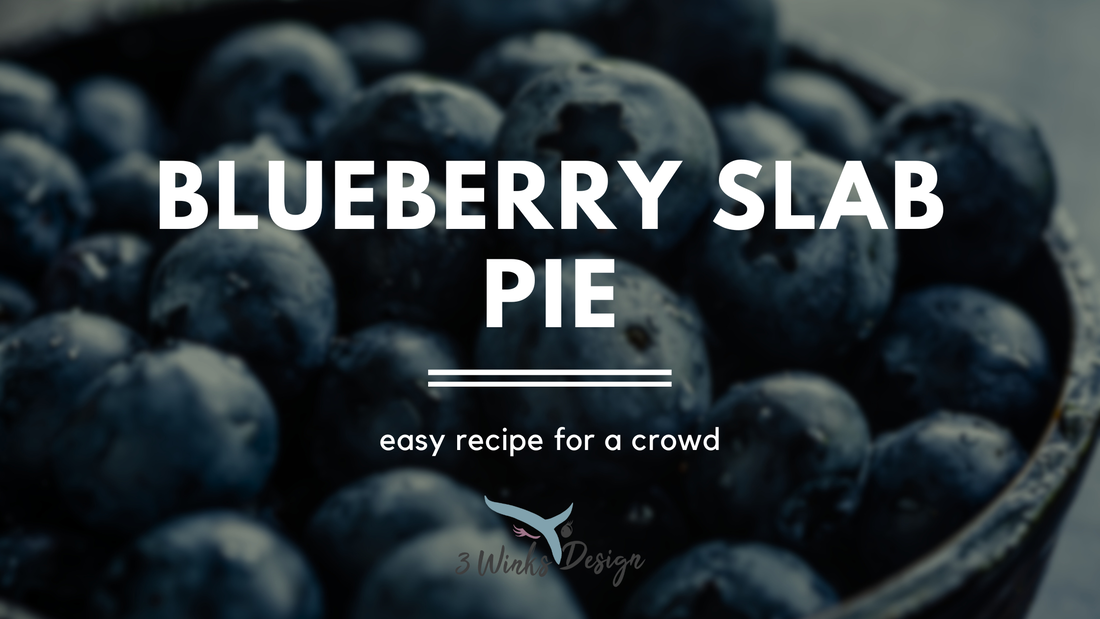 Hey everyone! Can you believe it's already March? This year is already flying by, except it does feel like it's been winter for about a year. We are having another snow storm today! But now that it's March it means that Pi day is coming up!!! We wanted to remind you about our wonderful For the Love of Pie book that you can buy from our Etsy shop to prepare for the festivities of the day! I decided to remind you with this slab pie recipe, which is new! So make this, and buy the pie book for more pie recipes! I made this last weekend while we were in California for Alicia's son's baptism. It was a hit! This recipe is so straightforward and easy, and it will feed a lot of people, so it's perfect for a big party (like you know, a Pi day party?) You'll need a half sheet baking pan to bake your blueberry slab pie. Then, you just use our classic pie crust recipe for the crust, and the blueberry pie filling recipe I shared with you here. Then, top it with the crumble recipe below and bake it at 400 degrees Fahrenheit for 40 minutes. One tip I'd give you is don't try to transport it immediately after it comes out of the oven. That part was stressful for me. I hope you all enjoy March 14, or Pi day, or PIE day with this great blueberry slab pie recipe. Then don't forget to click the link on our sidebar to visit our Etsy shop to buy our Pie recipe book, For the Love of Pie. You can also buy our hot cocoa bomb book because if March 14 turns out to be a cold and snowy pie day, you'll need some hot cocoa bombs to go with your pie! 
This post contains affiliate links. If you make a purchase after clicking them, we will be compensated, but there is no additional cost to you. All opinions expressed are our own. Thank you for your support.
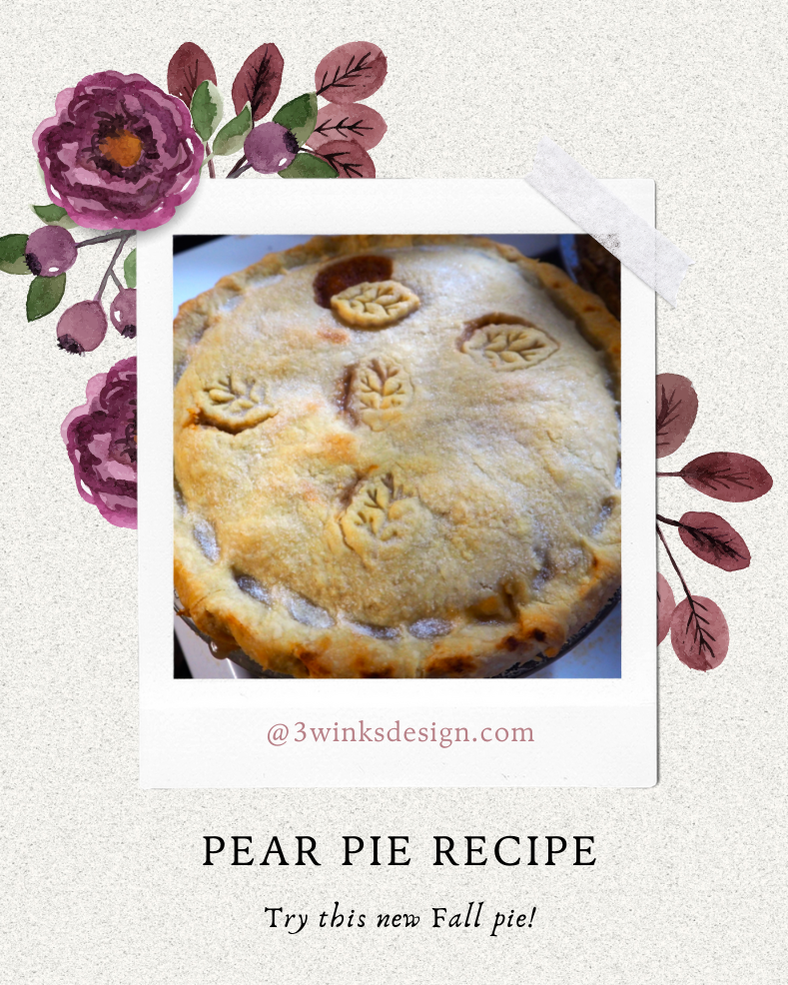
I'm finally getting down to the last of my pears! I don't know how Lindsey is doing on hers, but she is going to share a recipe with you next week. But, here is one last pear recipe from me!
A few days ago, I was watching a cooking show where someone made a pear pie! Since I have had pears coming out of my ears of late, I of course latched onto that idea! I figured it couldn't be that hard, and guess what! It wasn't! You Kind of Treat the Pears Like Apples, Yet Differently
My pears had reached their peak ripeness! They were so juicy and sweet. I had to handle them gently so I wouldn't bruise them. They were not crisp like an apple at all.
I used my vegetable peeler to remove the skin of the pears. Then, I quartered them, removed the cores and sliced them into a bowl. I made the slices sort of thick so that they would hold up in the oven. Next, I tossed the pears with the corn starch, sugar and spices very gently. Then, I put them into the pie crust. Easy as that. I didn't cook the pie filling in advance because the pears were already so soft that I didn't want them to get mushy. They started creating their own juicy sauce right away. That sauce thickened in the pie perfectly in the oven.
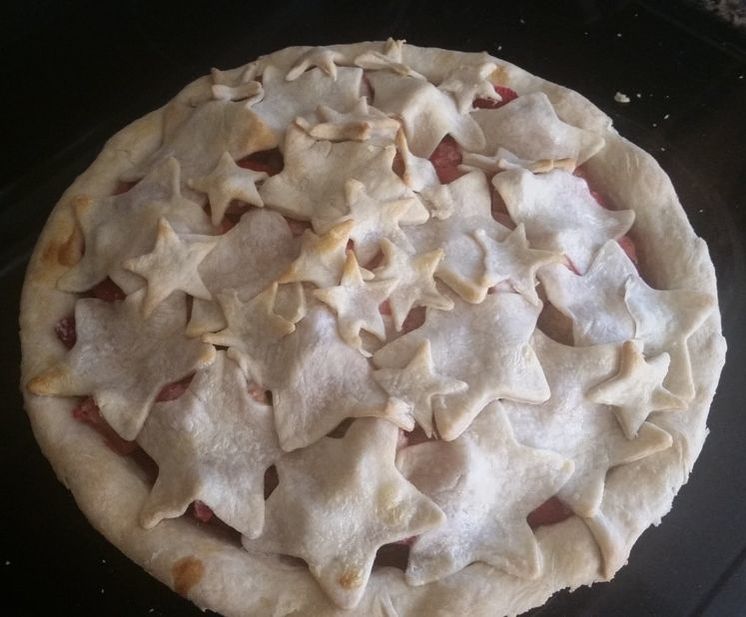
I used my standby pie crust recipe, except I used buttery flavored Crisco. After I rolled out the top crust, I cut some leaf shapes into it before placing it on the pie, instead of cutting in the normal slits.

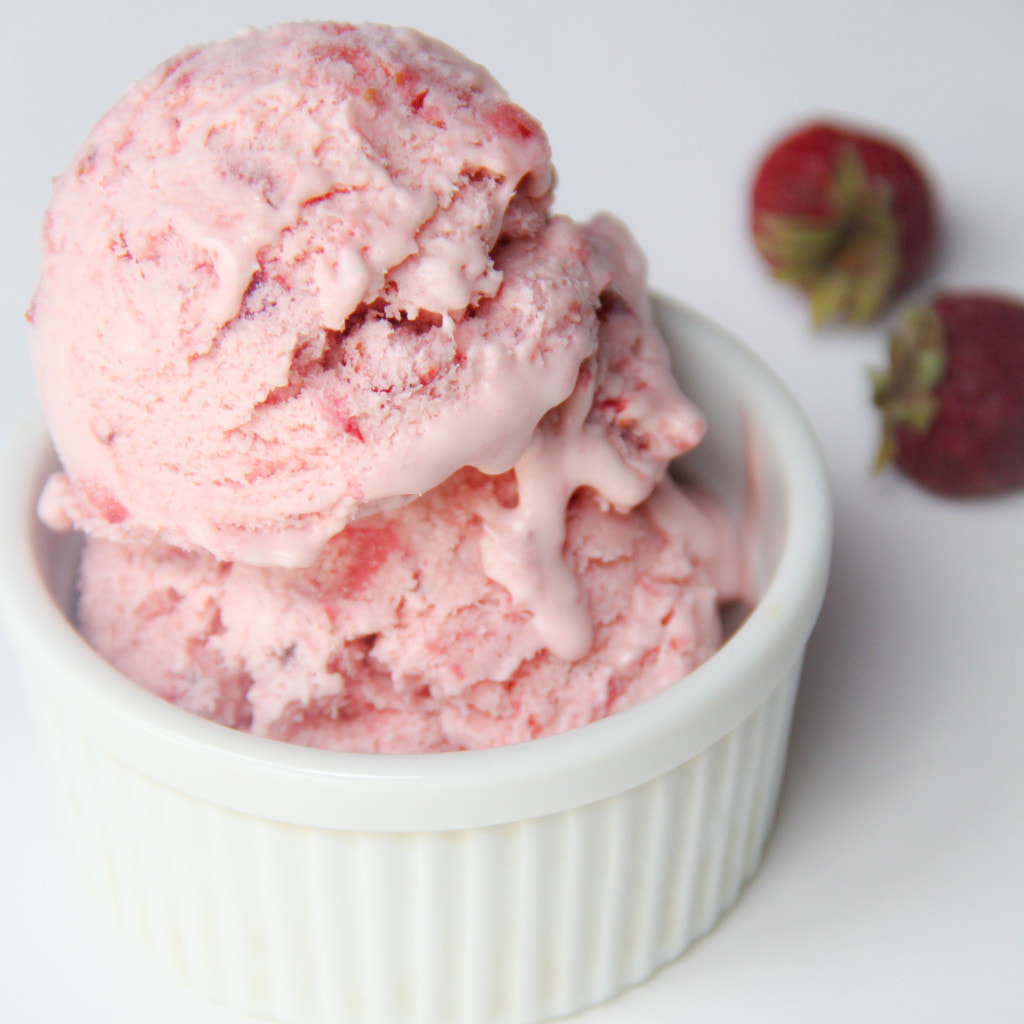
Once the pie is baked, just plop on a scoop of ice cream and enjoy it warm and delicious!
|
Creators of Hot Cocoa Bombs! (copyrighted)

Author
Helen Reynolds: Mother of six children , grandmother to eleven! I love to cook, craft and create things and I especially love doing that with my family, So, when my lawyer daughter, Lindsey, my artist daughter, Madalynn, and I came up with the idea of Hot Cocoa Bombs, this blog was born. Then, one more daughter, with her technical and science skills, plus creativity has joined in to round us out! Read more about us here! 
Click this link and visit 3WinksDesignShop on Etsy. Find our Hot Cocoa Bomb Idea Book, our For the Love of PIe e-book and more of our creations!

Amazon Gift Cards are the Perfect Gift!
    Archives
July 2024
|


 RSS Feed