Well, this is Lindsey and I am back with some pumpkin cinnamon roll happiness! I know I promised I'd blog about this the same weekend that Ioriginally blogged about my quest, but I decided I needed to tweak my experiment a little before I shared it with you lovely people.
Well., I did it! I made the most delicious pumpkin cinnamon rolls! Now I am going to tell you how you can do it too! 
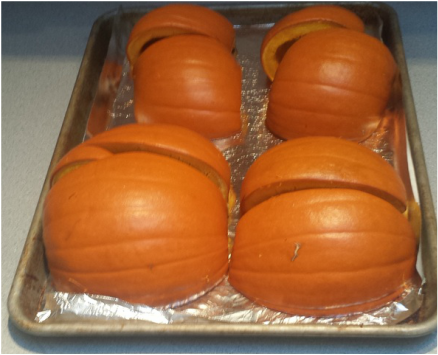
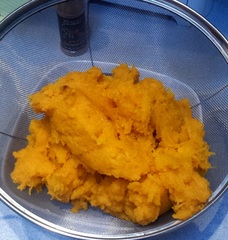
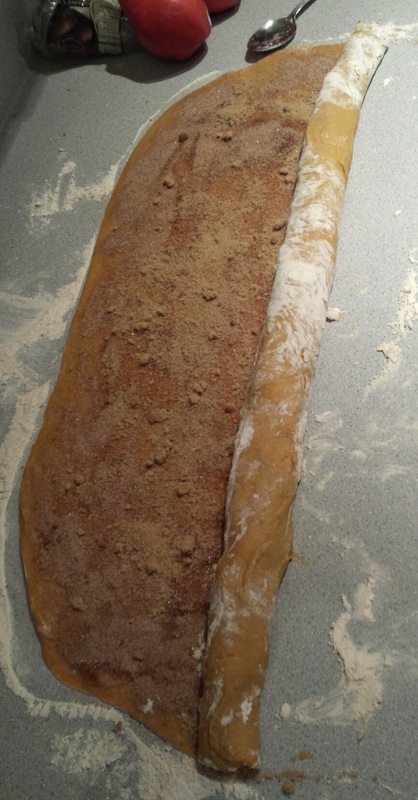
This time around I used Libby's pumpkin puree. It's a favorite of mine. Although, while making these cinnamon rolls I was also baking those pumpkins in the top photo to make my own puree. I like to do that too.
That will be a blog post for another day.
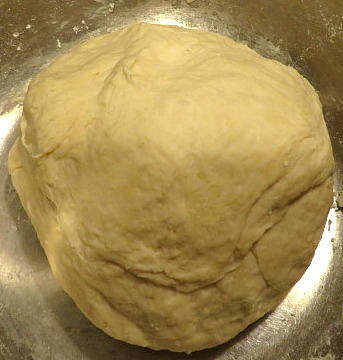
Anyway, THIS time around I want to tell you about these amazing, delicious, pumpkin cinnamon rolls... The first time I made them they were pretty decent, but I still needed to get some of my ratios corrected. I had started off with a much too high volume of water and it took a LOT of flour to get the dough to be workable, which made for a lot of cinnamon rolls, and not enough pumpkin flavor for me. 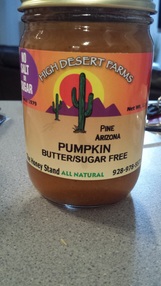
The first time around I also had this delicious pumpkin butter that Husband (who, from here on out I will refer to as PH) and I purchased in Pine, Arizona. It was so good, and an excellent choice. Sadly, I was all out the second time around. The cinnamon rolls were still super delicious without it in the center, but if you have some yummy pumpkin butter in your home, I strongly encourage you to spread it on top of your dough.
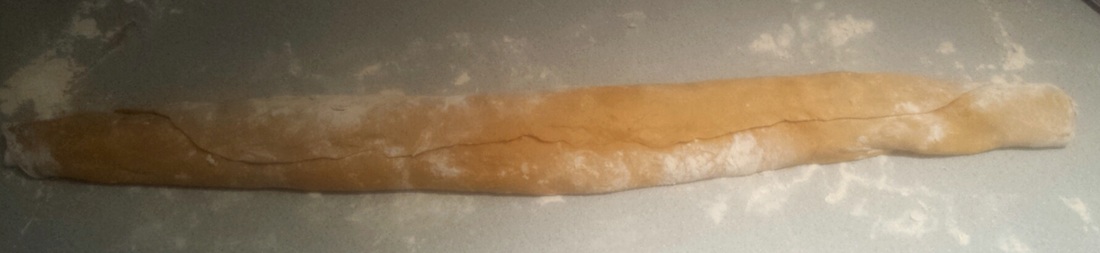
Let's take a gander at a few photos that show a little bit of all the hard work I did, just for you, our wonderful blog readers (also, maybe a little bit for myself and PH)..
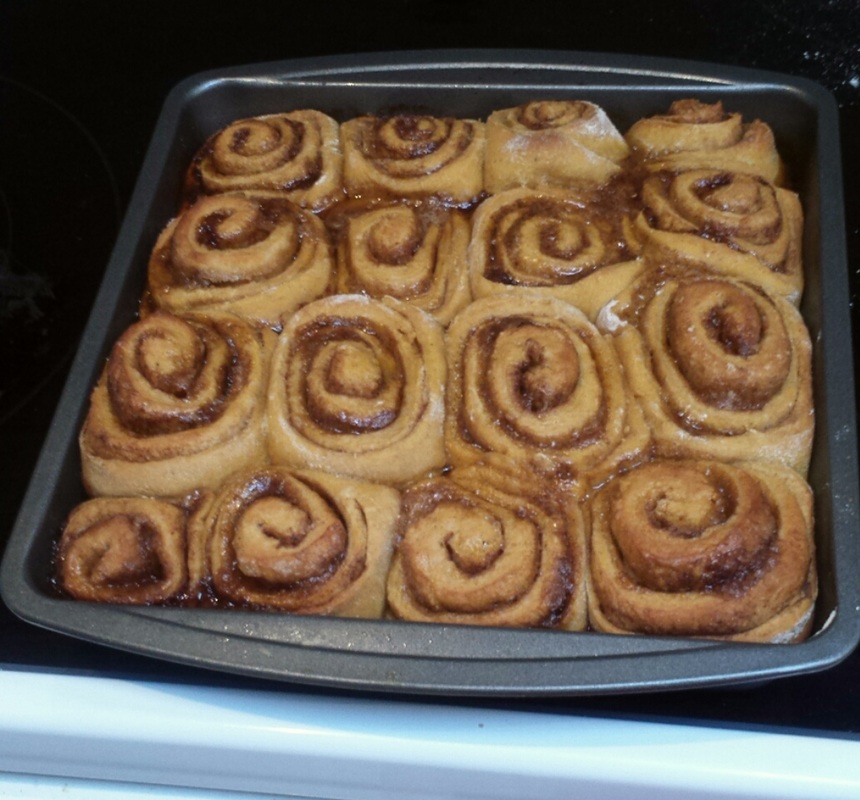
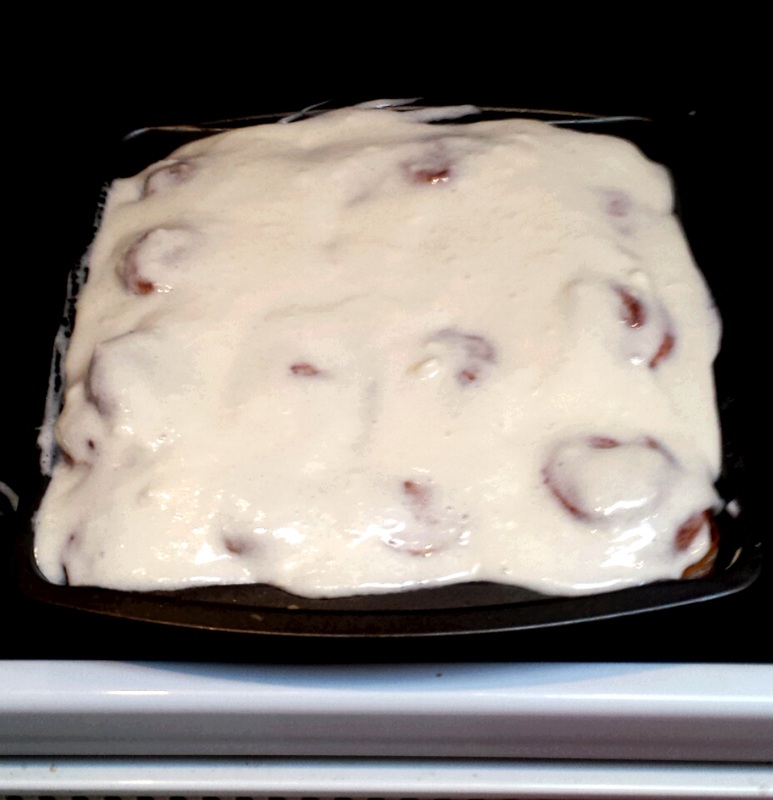
Once I had sliced up the roll of dough I put them in the pan, wrapped them in plastic wrap and stuck them in the refrigerator. Then, I woke up early this morning to preheat the oven to 400 degrees. I pulled the pan out of the refrigerator pulled off the plastic wrap and left them sitting in a warm place for an hour and a half.
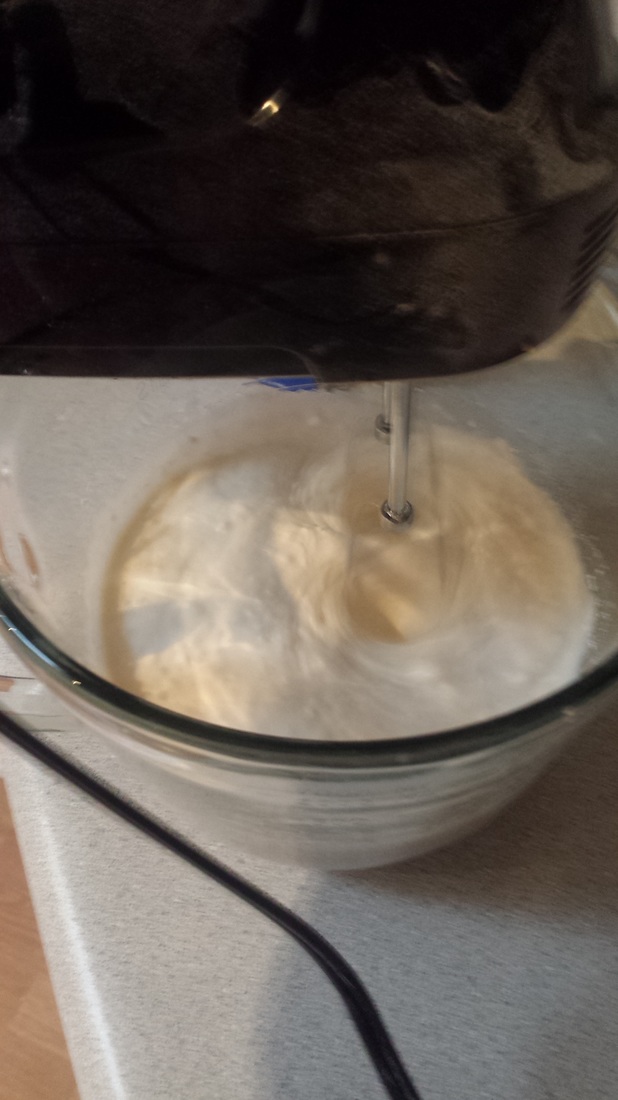
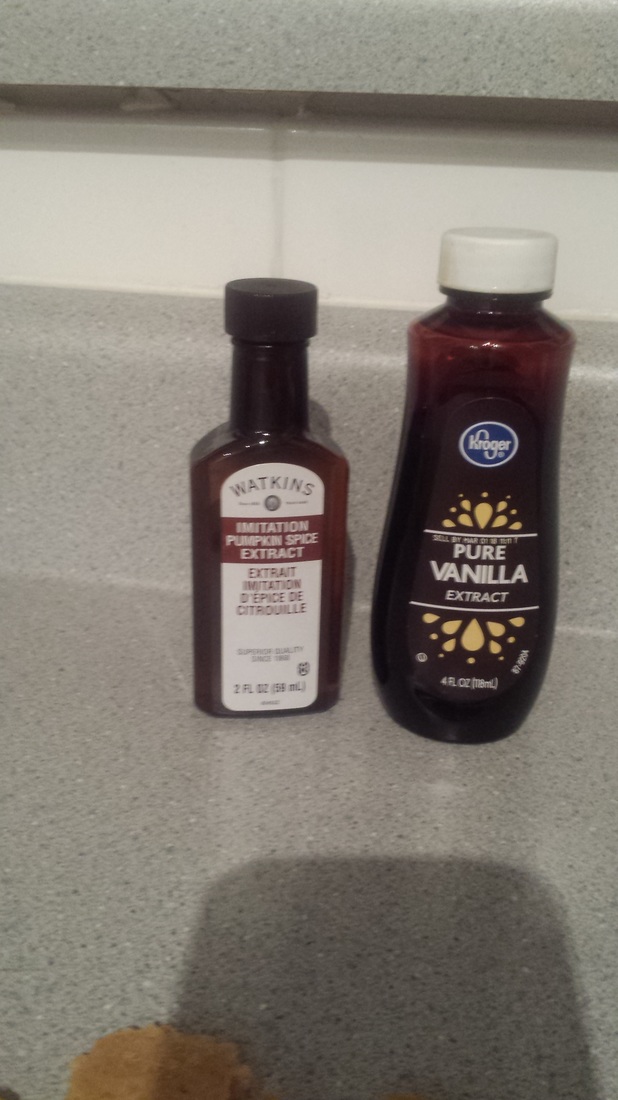
Once I popped them in the oven I got to work on the cream cheese frosting. A few things about the frosting. I'm sure we all have our favorite recipe, it's pretty simple, but the first time I made these cinnamon rolls I thought, "these rolls are pretty good, but this frosting is the best decision I ever made after deciding to marry PH." THAT''S how good it is! The secret is the pumpkin spice extract. Just get it. Just, do it.
Okay, now I am sure you are wanting to to find out all the ingredients so you can make these cinnamon rolls yourself, so... here you go! Also, don't feel bad if you end up eating four in one day. That's perfectly okay. PH and I ate too many, and we do not regret it.
Click the button below to download the recipe!
Also, check out a couple of the offers on Amazon below if you can't find the pumpkin pie extract anywhere. And look at those mini measuring spoons! They measure a dash, a pinch, a smidgen, a tad...So cute!
7 Comments
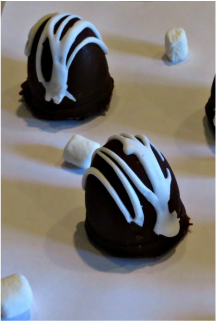
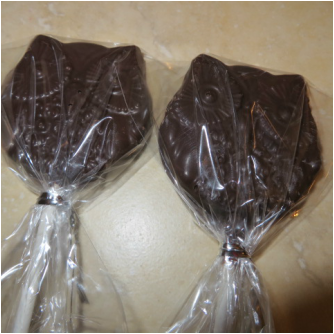
As you know, I have been working hard, making Hot Cocoa Bombs, getting ready for the Ugly Sweater Express, to be held the first Saturday in December. We have come up with new flavors for this year, including cinnamon and peanut butter, and we are introducing Sugar Free Bombs as well. In this post, I showed you the chocolate owl stirring sticks we are going to be offering, too.
I guess I really need a picture of these before I put them in their wrappers.
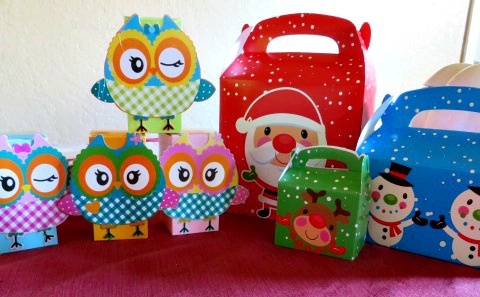
Well, speaking of wrappings and trappings, I want to show you some things I got in the mail from Oriental Trading recently that I am going to use to package my Hot Cocoa Bombs. I like to have boxes ready for people to use for gift giving, or just to carry their Bombs home in. Oriental trading has some great deals on packaging supplies!
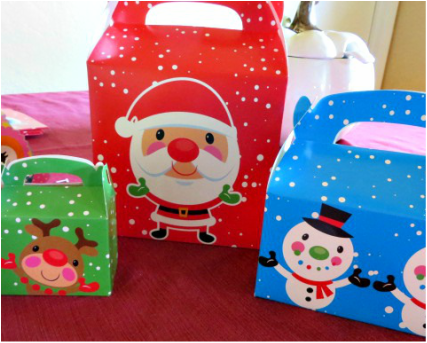
These boxes come in 3 sizes and there are a dozen of them for only $2 .98. The biggest one will probably hod 12 Cocoa Bombs. I am going to call it the party pack. The snowman box will hold about 6. That will be family sized and the little reindeer box will hold 1, maybe two. That will be gift sized, Hot Cocoa Bombs make a great teacher or neighbor gift.
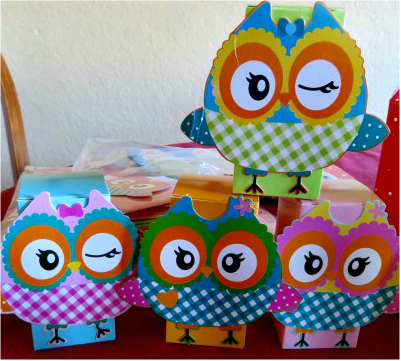
Of course, I couldn't pass up theselittle owl boxes! They will hold just 1 bomb. But there are a lot of owl lovers out there, as I learned after posting this article. So, I think this little box will be a cute way to present a Hot Cocoa Bomb to someone. Look, a couple of them are even winking!
I had also ordered somecupcake sized owl boxes, but they were accidentally left out of my order. I called to tell them, and the people at Oriental Trading were so nice and shipped it out to me right away! They also included a calendar with that shipment that has all kinds of cute craft ideas in it.
Another thing that came in my package was a Christmas catalog! I have a weakness for ornaments, and they offer so many that are so much more reasonable than the ones you find in the stores. This cute nativity ornament would be great for so many people on my list, and they are only 12.99 for a dozen! And, how many people do you know that love angels?Look at these! So cute!
I told you a couple of posts ago that I wouldn't be able to stop now that the subject of Christmas has come up! Don't worry, I am still working on Halloween and Thanksgiving as well. Like Alicia told you here, we can really get the fusion of holidays going on! Lindsey's birthday is next weekend and she is holding her annual Pumpkin Party at our house! So, pumpkins are still something I am working with. We will be sure to post pictures of that event! Not to mention Trunk or Treat on Halloween. There will be a myriad of Thanksgiving dishes after that, including my mom's best ever pie crust recipe! Be sure to fill out our contact form so that you don't miss any of the holiday fun! We are trying to get a newsletter started. I am thinking of doing a Hot Cocoa Bomb give-away to celebrate that event, so be sure to stay tuned, visit our Facebook page, Twitter and Instagram as well Talk to you again on Monday!
Love that winking owl!

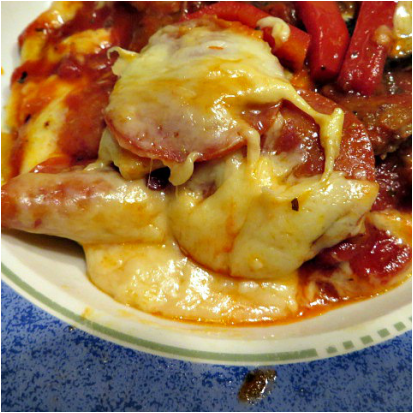
I was looking on Facebook about a week ago when I came across this video for pizza pot pie. It is a dish from a pizza restaurant in Chicago featured on Food Network. They didn't give the actual recipe, but I decided that I could figure it out for myself. It didn't come out quite as pretty as the one on the video, but it sure did taste good! Here is how I did it:
The Pizza Dough
When my middle son was in cub scouts, the boys made cookbooks one year to give as gifts to their mothers. My son included our family pizza dough recipe. I still have that cookbook and always use the recipe from it when I make pizza dough. There are a couple of other good recipes in there that I like as well. I guess I could consolidate into a different book, but I love to remember these cute boys when they were little and you should see some of their handwriting!
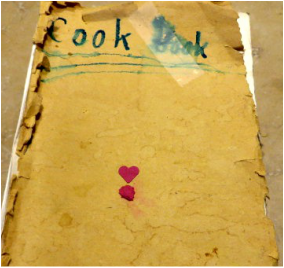
It is getting a little worn out. But, I can't part with it.
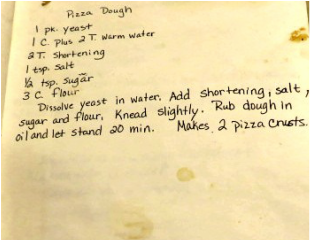
This is actually my handwriting.
Pizza Dough
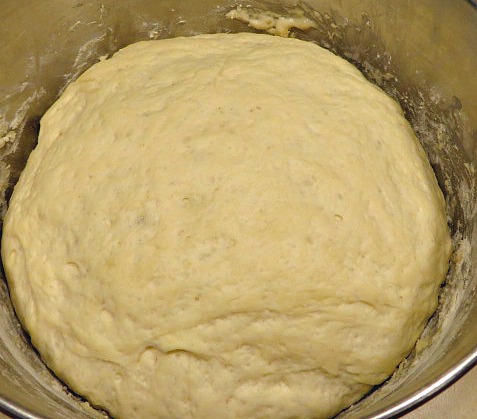
1 package of yeast, or I use 1 1/2 T. 1 c. plus 2 T. warm water 2 T. shortening 1 tsp. salt 1/2 tsp. sugar 3 c. flour Dissolve the yeast in the water. Proof. Add the sugar, salt and shortening. Blend in the flour. Knead slightly. Rub dough in oil and let stand for 20 min. to rise. Makes 2 pizza crusts. (or 1 thicker crust.)
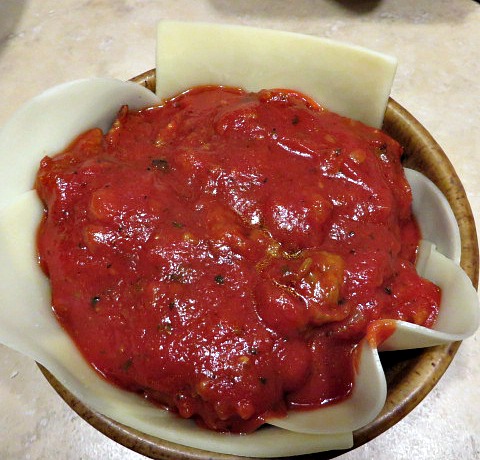
While the dough is rising, make the sauce. The description on Food Network said that the restaurant uses a homemade sausage in the sauce. I used mild Italian sausage from the store. I browned it with onions and garlic in a little olive oil. Then I added two cans of tomato sauce, oregano, basil and a little sugar. It made a nice sauce.
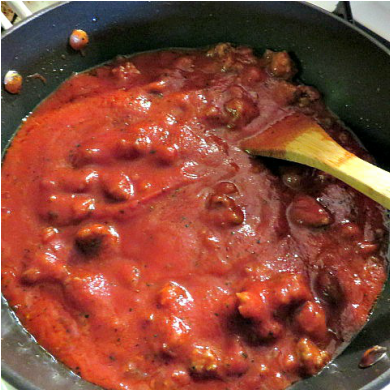
Pizza Sauce
1 lb. mild Italien pork sausage 1/2 small chopped onion 3 cloves garlic, put through a press 1 T. oregano 1 T. basil 2 15 oz cans tomato sauce 1/2 can water 1 tsp. sugar (seasonings are to taste) Brown the sausage in a skillet in 1 T. olive oil with the onions and garlic. When brown, sprinkle the seasonings over the top and stir all together. Add the tomato sauce, water and sugar. Simmer until ready to use.
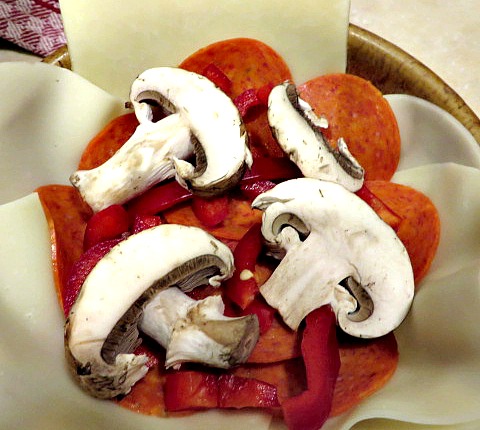
Now you are ready to assemble the pie. Click on the pictures to see the directions.
I set all of my bowls on a round pizza pan. I let them rise a couple of minutes, but I had to be somewhere, so in retrospect, I would have let them rise a little longer if I had enough time. I slid them into a 400 degree oven and baked them for about 20-25 min., until the tops are nicely browned.
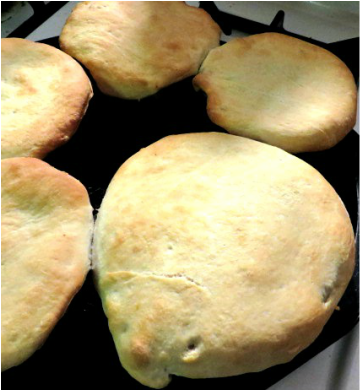
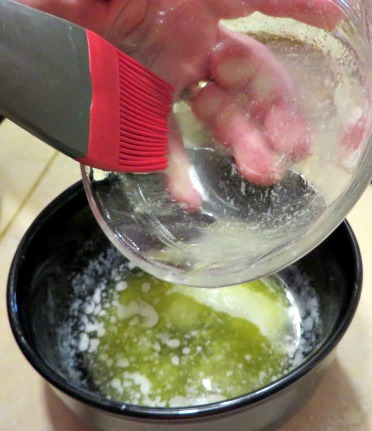
I brushed them with a little more butter when they came out of the oven.
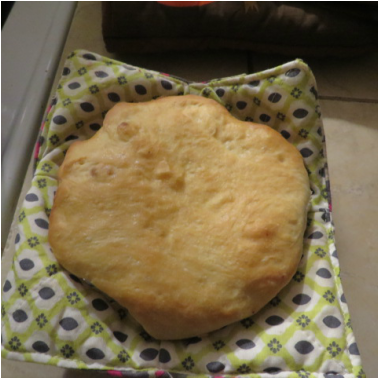
Got one ready to take to a friend.
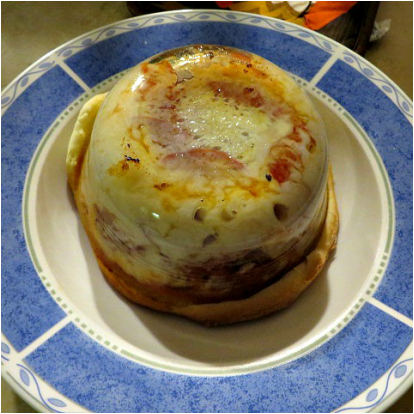
The bowl is flipped over into another bowl and then lifted off.
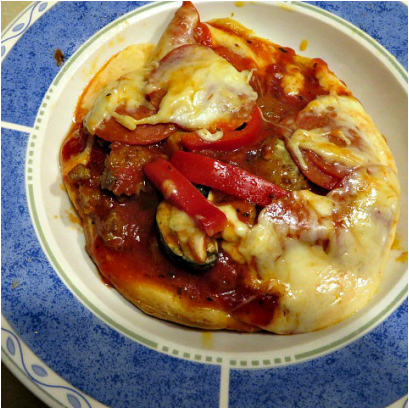
Next time, I will make the crust go down the sides of the bowls farther so it will hold everything in better. But, look how yummy and cheesy!
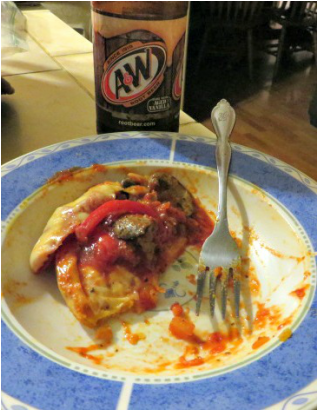
This is pizza! I had to serve it with root beer!
I made 5 good sized pies. I think a custard cup size would have been plenty! So, this recipe will make quite a few of these little beauties. I had dough and sauce left over, so look! I made a regular pizza on the side!

We had food for 2 days! I have to get used to being almost empty nesters.
I hope you give this recipe a try! Let me know if you figure our any tips to make it easier or better. I will probably be tweaking it as I make it more often.
Oh hey, it's me Alicia. I decided to do a post.
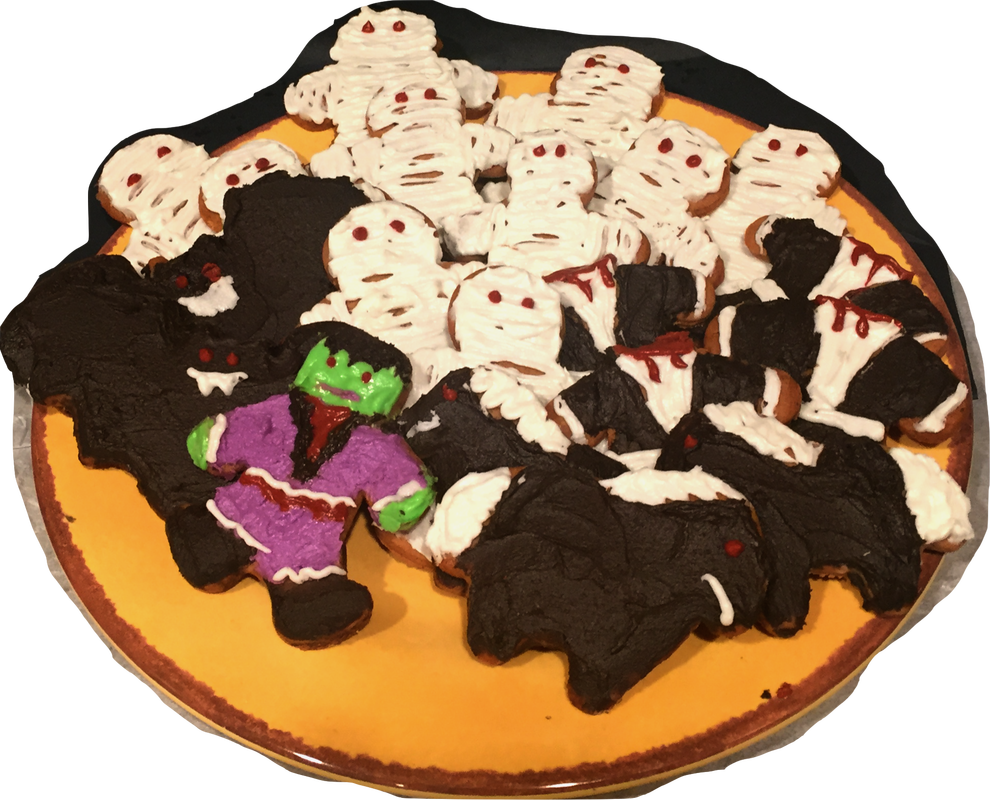
So, as you can tell we love Christmas in my family. But since it has not even been Halloween yet, people are not really keen on the mentioning of Christmas. So, alas, Christmas-lovers like ourselves must hide our love or endure endless scorn. ;) So, if you are like us, and love Christmas I have a treat that will please both types of people in your life. Yesterday I had a craving for gingerbread. I used to hate it when I was little but I love it now. An obstacle I had was I had no molasses, so I decided to look in my Winnie the Pooh Cookbook my Mom got me for Christmas. All the recipes use honey, and I knew that would work well for me, because I have honey. Sorry, I did not take pictures of the process, but this post is more about the decorating than the cookies. So find your favorite gingerbread cookie recipe and mix that up. Make sure to refrigerate your dough for at least an hour. After its chilled, it's time to cut it out. And that's where I had to be creative. I couldn't find my Halloween cookie cutters except a bat. So I made some gingerbread bat cookies. 
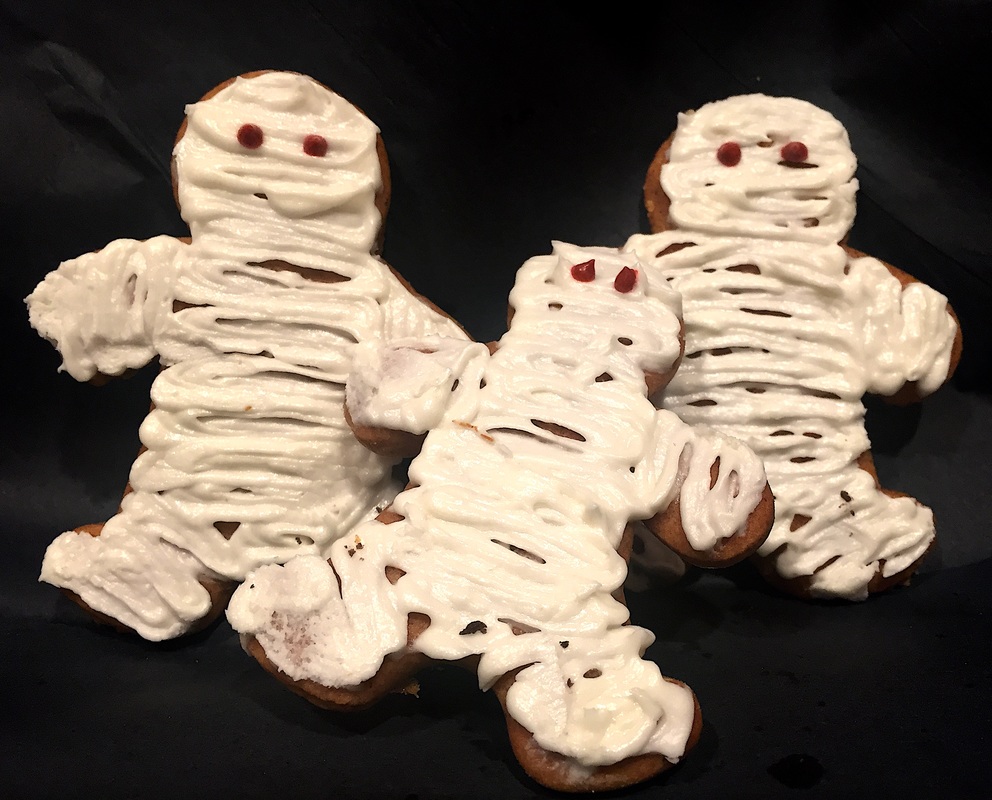
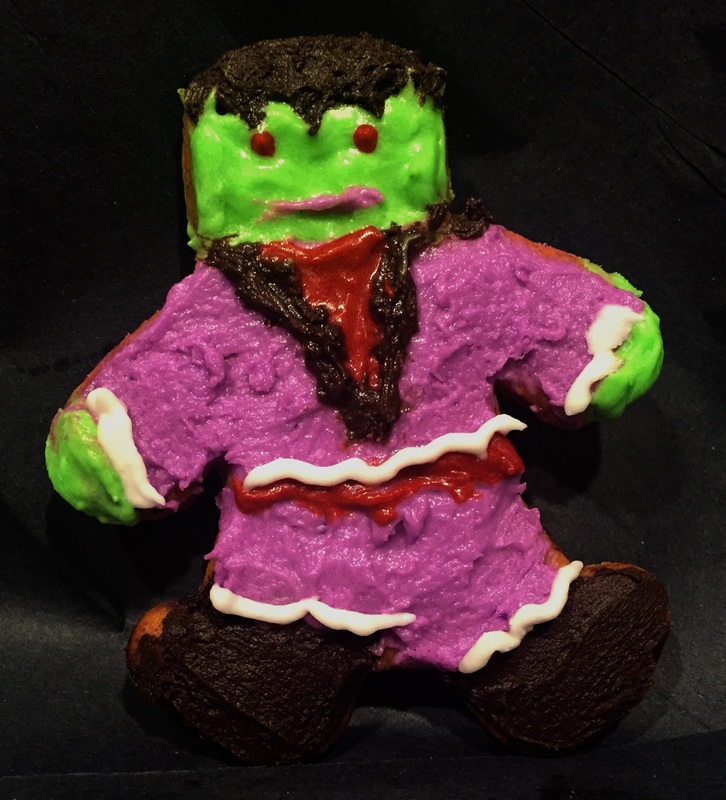
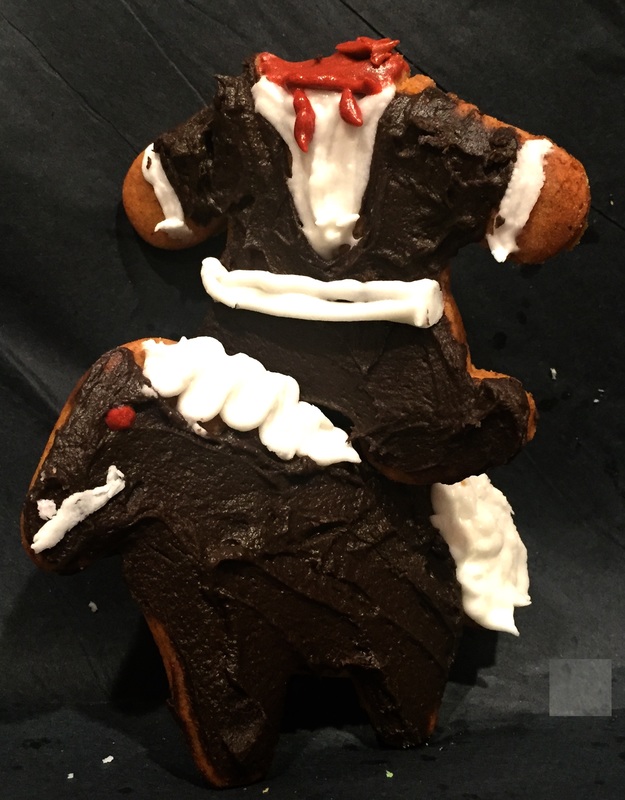
Then I had to get creative. I used my gingerbread man cookie cutter to cut out some men. I decided to make them mummies! They turned out pretty cute. I like how there are gaps in the "wrapping" because I think it makes them look really old and raggedy like a mummy should look.
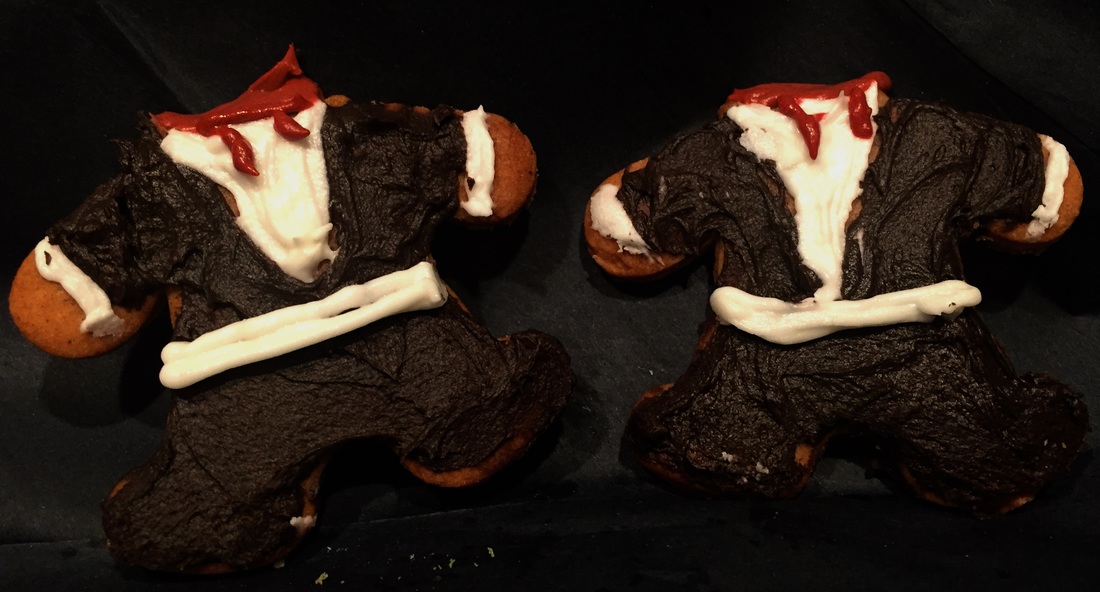
My last idea was to make little Headless Horsemen, the terror of Sleepy Hallow. To do this, I just used the gingerbread man cookie cutter along the edge of my dough, leaving the head part off the dough. After I had already done this, and baked them, I realized I should have cut them out with the heads and then used a knife to cut their heads off and put it on the hand. I could have decorated it like the pumpkin he throws at people. Oh well, you will have to try that and tell me how it goes. I did put red around their necks, is it blood? Or is it just an ascot type thing? You decide...
So you're probably saying to yourself, "Ok but why gingerbread? Why not just regular sugar cookies?"
Fair point, but there's just something about the spiciness of the gingerbread that works really well for the fall and Halloween. This cookie bites you back! (But in a sweet way). And if you think the chocolate and gingerbread is weird...It actually tastes really good together! Especially since it's cream cheese frosting. And the best reason is, it reminds the eater that Christmas is coming soon. ;)
|
Creators of Hot Cocoa Bombs! (copyrighted)

Author
Helen Reynolds: Mother of six children , grandmother to eleven! I love to cook, craft and create things and I especially love doing that with my family, So, when my lawyer daughter, Lindsey, my artist daughter, Madalynn, and I came up with the idea of Hot Cocoa Bombs, this blog was born. Then, one more daughter, with her technical and science skills, plus creativity has joined in to round us out! Read more about us here! 
Click this link and visit 3WinksDesignShop on Etsy. Find our Hot Cocoa Bomb Idea Book, our For the Love of PIe e-book and more of our creations!

Amazon Gift Cards are the Perfect Gift!
    Archives
May 2024
|


 RSS Feed