
When I was growing up, my mom made the best tacos ever! She made dozens of them because that is how many everyone would eat because they were so good. My skinny brother-in-law, Joe, once ate 11 of them! Well, the next day or two later, we would eat all of the left over taco ingredients in this casserole. It is such a delicious thing. I have made it many times for my own family, and I have taken it to potlucks and fed families that needed a meal with this casserole and have always received rave reviews. The way I make it has evolved over the years, but it has that same basic goodness that I remember from when I was a kid.
I made tacos on Sunday, so yesterday I made South of the Border Casserole. This is how it went together: 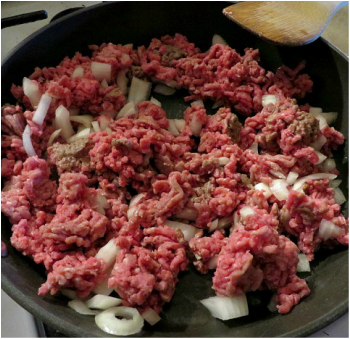
In a skillet, brown a pound of ground beef and I threw in the left over onions from taco night. (or 1 small onion.)
After the ground beef is browned, drain off the fat, then add 2 T. of taco seasoning, 1 tsp. chili powder, 1 tsp. garlic powder, 1 can diced tomatoes, (plus the leftover diced tomatoes from taco night), and half of the tomato can of water. Stir and heat all together. Finally I threw in a half a bunch of cilantro, chopped.
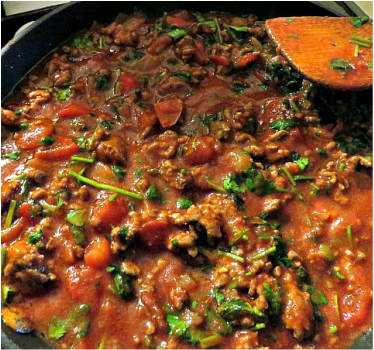
This is the sauce. It is so good!
If you want, you can even throw in a can or corn or some sliced olives. I have done the corn, but I don't like olives, so I leave those out.
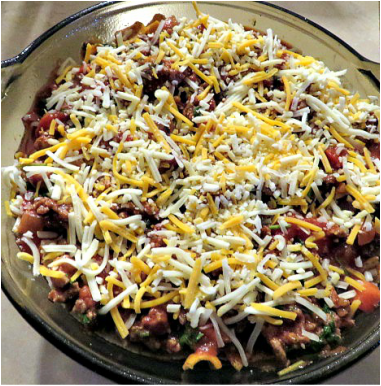
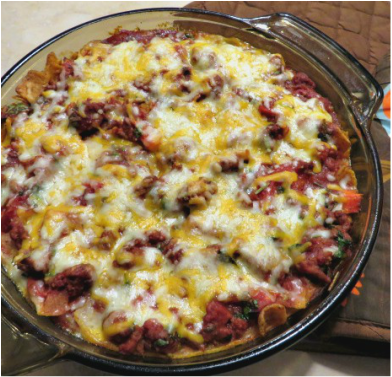
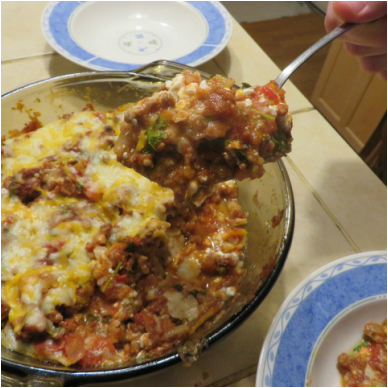
Now, you need to get out your casserole dish and your leftover corn tortillas. I wasn't sure if I had enough tortillas left, so I also pulled out some left over Fritos. *Spray your casserole with non-stick spray. *Put a little sauce in the bottom of the casserole and spread it around. Not too much, just enough to cover. *Tear the tortillas into quarters and lay them over the sauce to cover with one layer. *This is where I like to add a layer of sour cream or cottage cheese. I used cottage cheese this time, like you might do in a lasagna. But, you don't have to put either one if you don't want to or don't have any. *Now, spread a layer of shredded cheese over the cottage cheese. * Repeat the layers as follows: Tortillas (and a sprinkling of Fritos if necessary), sauce, cheese, tortillas, sauce cheese. It will look like this: 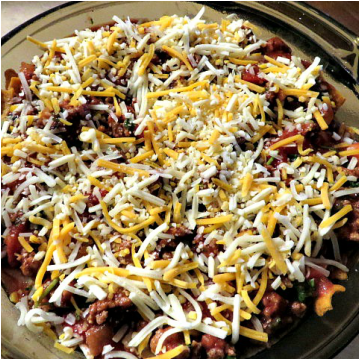
I have had this casserole dish my entire married life. But, when I had all of my kids at home, I made this in a larger dish. Now, I am not cooking for an army, so I have cut back a little. The struggle is real.
Put the casserole into a 350 degree oven and bake it, uncovered, for 30-45 min. It will smell so good! 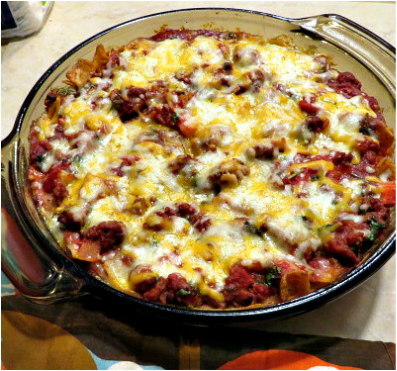
Here it is, hot out of the oven! Trust me, it has that delicious Mexican Food flavor!
I haven't made this in the crock pot, but I am sure it would work well.
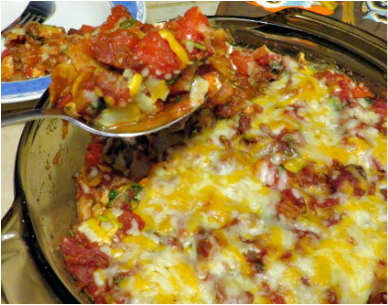
Scoop through all of the layers to serve.
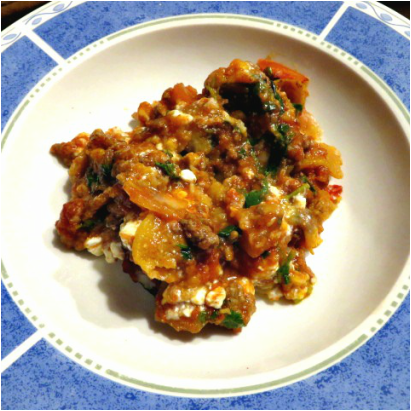
My husband wasn't feeling very well, so he took this small serving. Guess what! He want back for seconds.
This is such an economical, delicious dish. I hope you give it a try!
South of the Border Casserole
Sauce: 1 lb. ground beef 1 small onion, chopped 2 T. taco seasoning 1 tsp. chili powder 1 tsp. garlic 1/2 bunch chopped cilantro 1 can chopped tomatoes (and any extra fresh leftovers you may have). 1/2 tomato can of water Brown the beef with the onions. Drain. Add the seasonings and tomatoes, water and cilantro. Blend all together and simmer while you get your other ingredients ready: About 6 or so left over corn tortillas, quartered 2-3 c. shredded cheese Sour cream or cottage cheese (optional) Spray your casserole with cooking spray. Spread some of the sauce in the bottom of the dish. Place a layer of tortillas on top of the sauce. Add the sour cream or cottage cheese if you are using it. Next, put a layer or the shredded cheese. The next layer is tortillas again, then sauce, then cheese. Repeat until you are out of everything, or the casserole is filled up. Bake at 350 degrees for about 30-45 min.
Just a little reminder: Don't forget to check out Minted's Thanksgiving Store. They are also offering 20% off of their Christmas cards, which are so cute and different from others that you see.Minted is such an awesome company!


6 Comments
It has happened. Once I get started with Christmas ideas, I won't be able to stop now. It is very difficult when you find a great deal on something and you know that it will make an adorable decoration or gift. Then, you just have to make it, even though it isn't even Halloween yet.
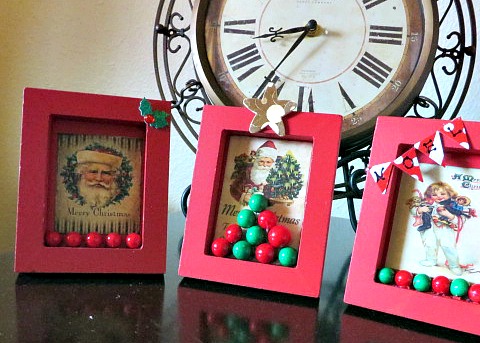
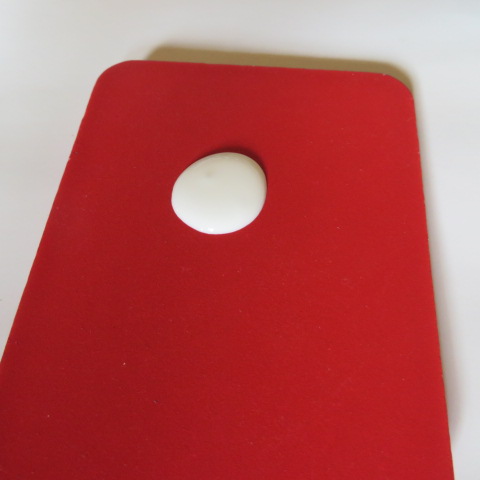
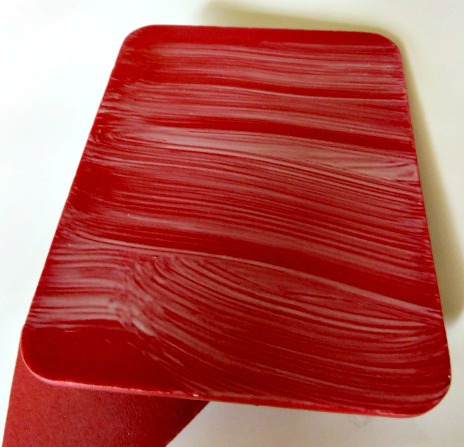
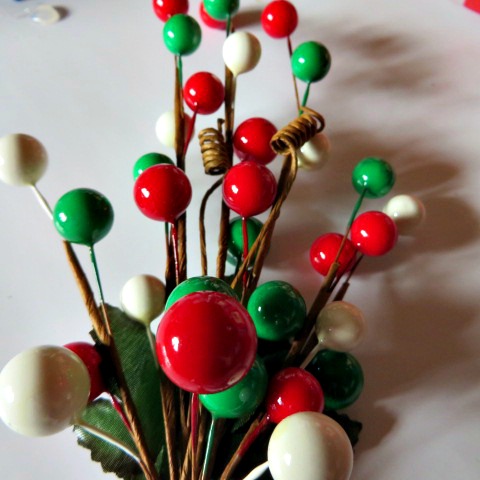
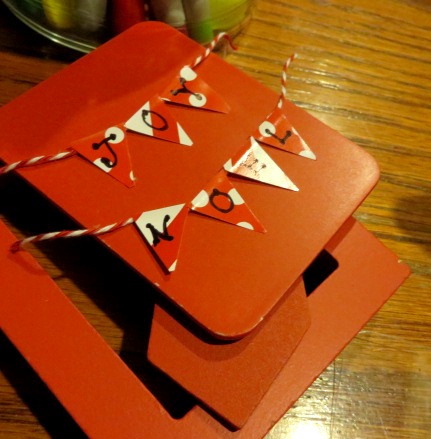
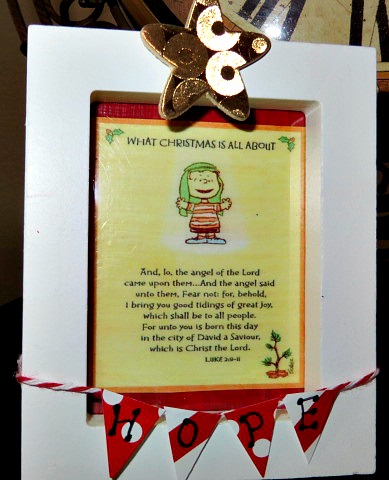
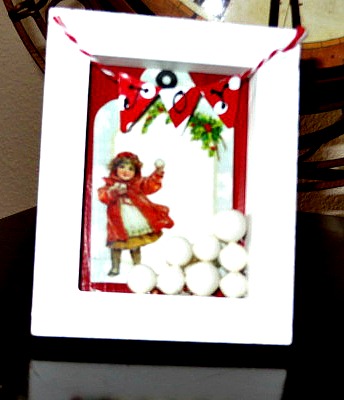
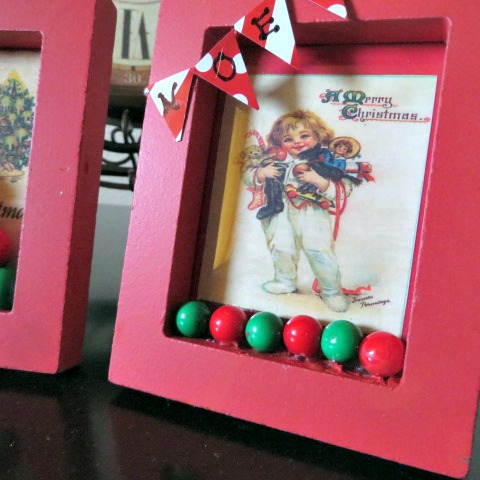
That is what happened to me when I went to Michael's and found these little mini picture frames for 50 cents a piece! I had to get them! Then, I started coming up with ideas. Since they were already red and white, they had to be Christmas. I don't know if you can still find these frames at Michael's because they were on clearance, but here is something similar that would look great! These little frames are such an easy idea and even your kids could make them as little gifts. You know how I love a good frame craft! Especially when it is as inexpensive as these are to make. 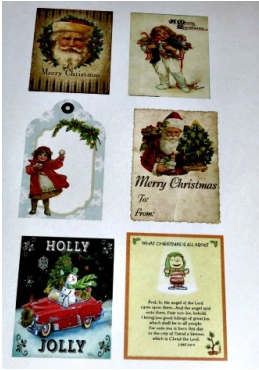
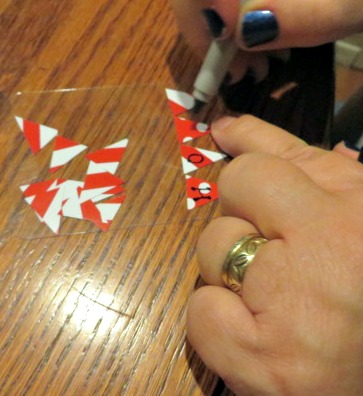
I started with some vintage prints that I copied onto card stock. Since I was going to use Mod Podge, I like to use a heavy paper because I feel like it bubbles less. Here are some good sites to find prints:
www.levisondesign.com/Ruth Levison Design The Linus print is fromMy Christmas A Primitive Place Remodelacholic Tati Scrap As usual, click on the pictures for directions. 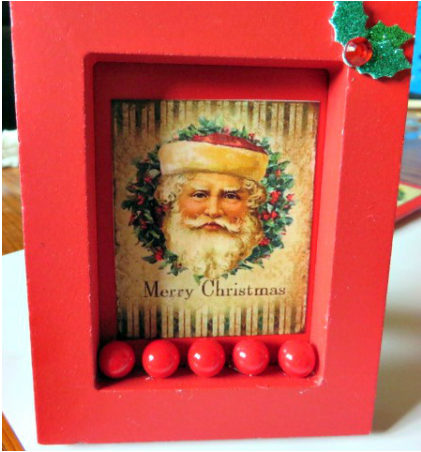
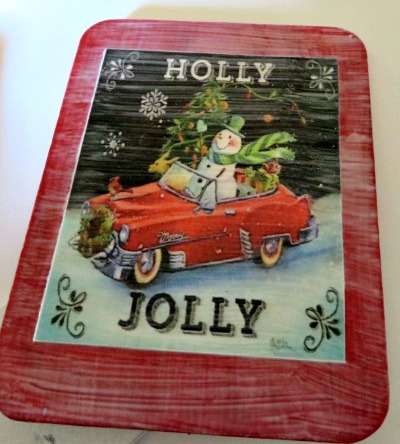
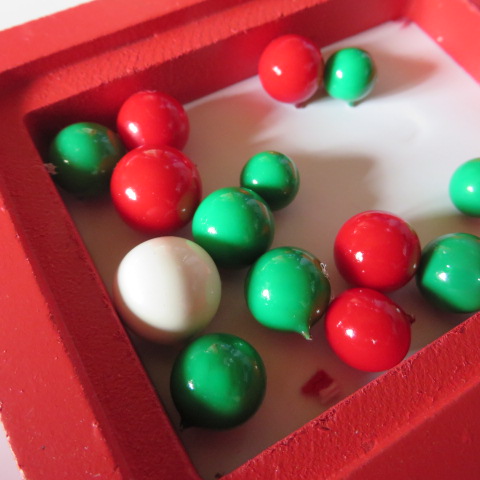
As you can see, I used some 3D stickers, too. Here is the first one all finished!
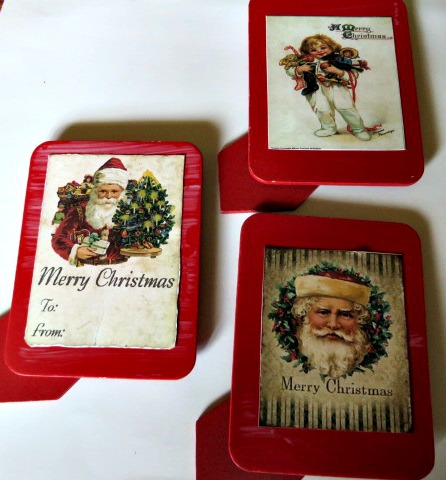
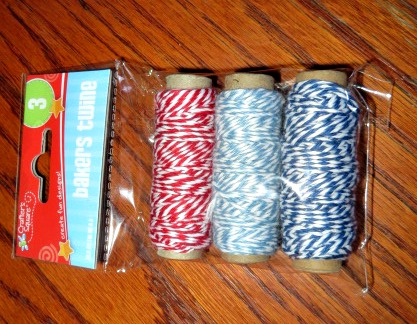
For the baker's twine I used, you can shop here. I had some white frames to use as well. Look how cute! (Click again for descriptions.)
I know that some people think it is terrible to think about Christmas this early. For me, I think of Christmas all year round. And, as soon as October gets here, it is "the holiday season" and all three of the major holidays are free game for me! If you are trying to be organized and you are a crafty person, it is essential to get an early start on your holiday crafts.
Here is one more thing I wanted to let you know. I received an email fromOriental Trading, and for today and tomorrow they have free shipping on any order! If you put in this code during checkout, you get free shipping plus if you spend $59, you get a $10 gift card to use later. Click through my link above and use this code, OTC165561 and you will be helping me out as well. They have tons of great stocking stuffers and craft ideas. If you order today or tomorrow, everything will be here by Oct. 24, so that is plenty of time for Halloween! Have fun shopping!
This post contains affiliate links. I will receive compensation if you make a purchase, but all of the opinions of these products are my own.

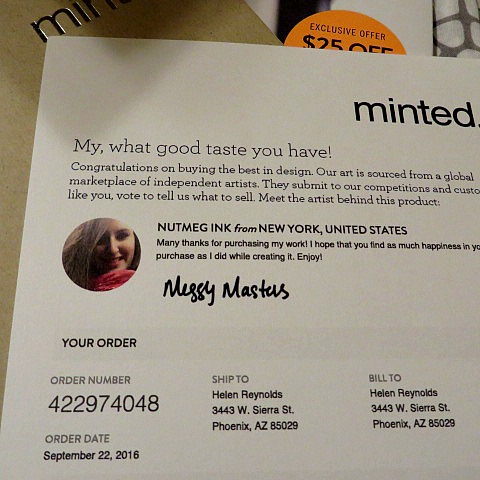
A couple of months ago I was looking at some favorite blog sites and finding new ones when I came acrossMaking Life Blissful. This is a really nice blog that inspires me to be better! Lisa, who writes this blog, was working with a wonderful company called Minted and hosting a $250 give-away. I entered and guess what! I won! I was so excited.
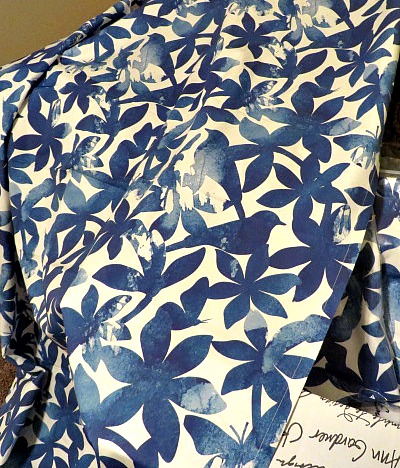
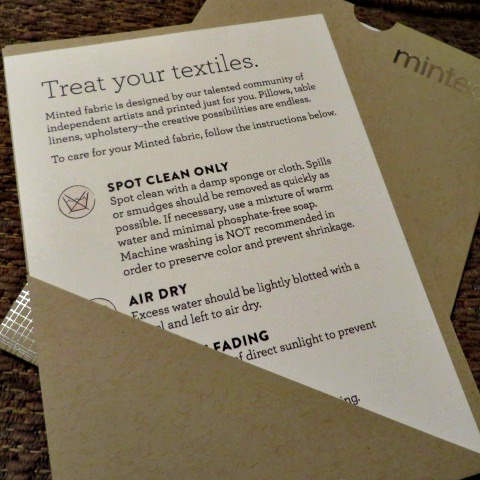
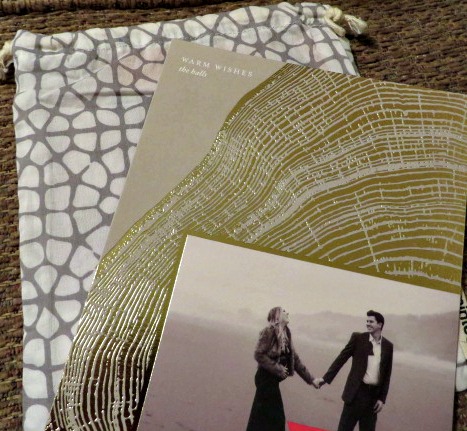
Deciding what to purchase with my winnings was difficult because Minted has so many wonderful and unique products for the home, created by independent artists. It was hard to narrow down what I needed to have in my home. In the end, the thing I fell in love with was their beautiful fabrics which are available by the yard, or also translated into curtain panels. I decided that since we will soon be remodeling our master bedroom, I needed curtain panels for it. So, I measured and ordered, and last week, the box came! 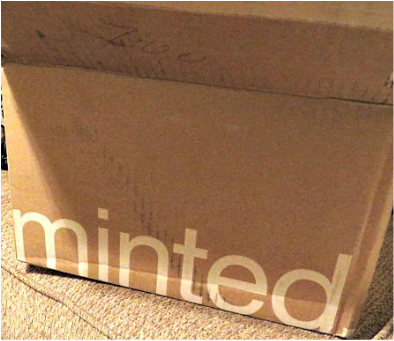
Don't you love getting packages in the mail?
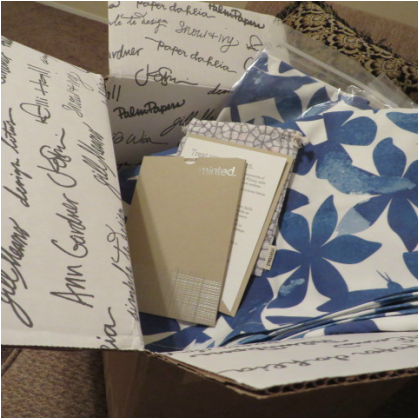
I discovered that Minted packages are really fun to get because they do everything with such flair. When you open the box, first you find all kinds of little unexpected goodies.
And here is the big reveal!
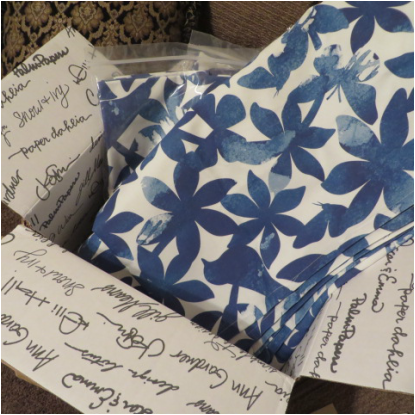
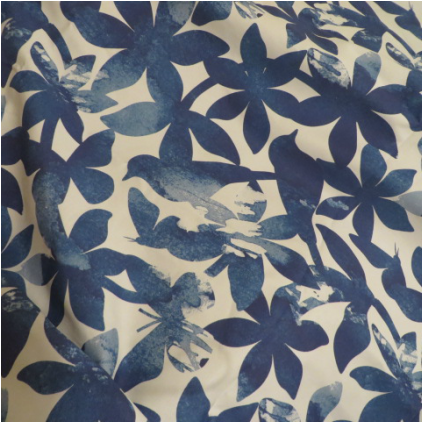
I love this fabric. The color is so fresh and the butterflies and birds surprise you because they are hidden among the flowers. Blue is my favorite color, so my bedroom is going to be a haven for my husband and I.
Now I am so excited to get my room done! The fabric these are made of is so nice, not too flimsy, and will hang nicely. They are going to be a focal point in my room.
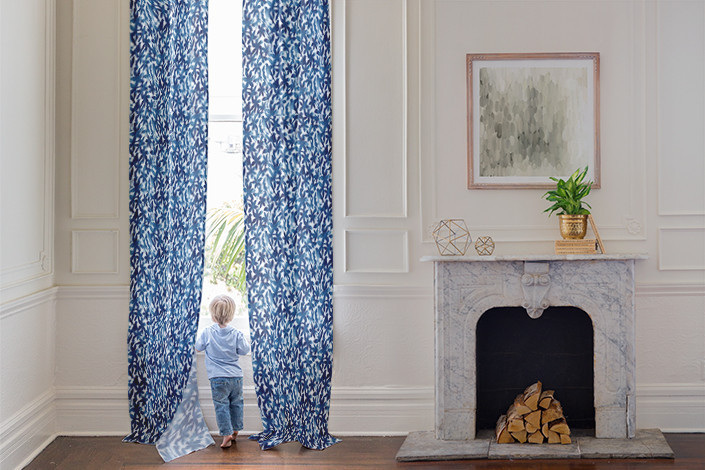
Here is how they look hanging. Of course, my windows aren't this tall.
This time of year is a great time to shop at Minted. They have some awesome Thanksgiving products and specials. It does my heart good to see a company offering Thanksgiving items. So often it seems that everyone celebrates Halloween, gives a slight nod to Thanksgiving and then skips right to Christmas. I love Christmas, but I also love Thanksgiving and the concept of gratitude for our blessings and I hate seeing it brushed aside. People seem to love the eating part without giving a thought to the history and the reasons we have to be thankful. Minted offers a variety of cards, stickers, free online cards, place cards, menus, and autumnal art. ( I love that word "autumnal".) Here is just a small sample of some of their offerings.
Really cute photo and non-photo Thanksgiving Cards! Maybe these would be easier to get to than Christmas Cards, before the rush!
Gorgeous table linens made with their fabulous fabrics, in so many colors to match any decor.
Personalized stickers for all of your baked goods and other creations.
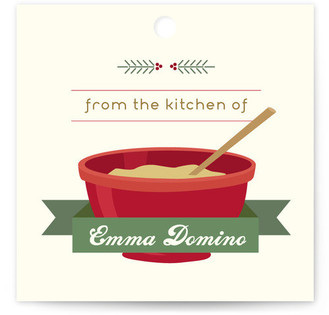
I love this adorable gift tag for Thanksgiving, Christmas, or they have designs to fit any time of year.
And, here is the kicker! How does FREE sound? Minted offers free online invitations that you can send out to everyone you want to have come to your Thanksgiving Dinner, (or any other activity). They have adorable styles! Check them out here.
One last thing that I love about this company is that it is a great way to support young artists. When you look at what Minted has to offer, you will be amazed at the beautiful, unique designs that they carry. I had so much fun looking through all that they had to offer. I hope you will, too.
When my room is finished, I will give you a tour.

When you are feeding a family of 8, casseroles become a mainstay on your weekly menu. My children got so that they did not appreciate casseroles as much as I did, but there were a few that they loved and even requested at times. This Chicken Enchilada Casserole is probably the hands-down winner of the most requested casserole award in our house. I would usually make it in the oven, but when it is too hot to turn on the oven for a casserole, then the crock pot is the answer! This casserole only has to be in the crock pot on high for about an hour, so you don't even have to plan ahead that far, except to defrost the chicken. I made mine in my regular crock pot. But, look at this casserole style crock pot! That would be so great for baking and serving casseroles on the dinner table, no more reaching down deep into the crock. Here is the recipe.
Chicken Enchilada Casserole in the Crock Pot
3 boneless, skinless chicken breasts, cut into bite-sized chunks. 2 T. Taco seasoning Brown in the chicken chunks in 2 T. of vegetable oil, season with the Taco seasoning, and cook until no pink is left in the chicken. 1 can cream of mushroom soup 1 can cream of chicken soup 1 c. sour cream 1/2 bunch of chopped cilantro 1 T. cumin 1 c. water or chicken broth 2 c. shredded cheddar cheese 1/2 or a 15 oz bag of Doritos or Fritos, slightly crushed (I use Nacho Cheese Doritos usually.) Mix the soups, sour cream, cilantro, cumin and water all together in the bottom of the crock pot. (Be sure you sprayed it with cooking spray!) After they are well combined, mix in the cheese. Add the chicken next, pan juices and all. Blend in the chips then smooth the mixture evenly in the bottom of the crock pot. Top with a little more cheese, put on the lid and bake on high for about an hour or so, until everything is bubbly. 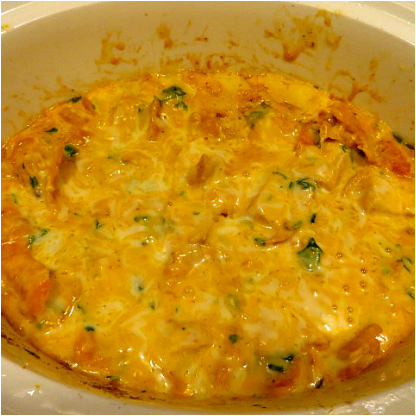
The smell is so inviting, and look at the bubbly, cheesy goodness!
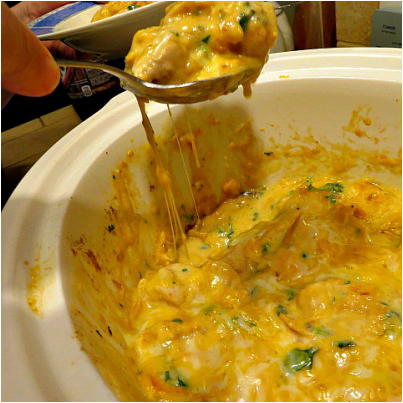
Look at the cheese! This is the last picture I took, because then we just gobbled it down!
You can also make this recipe in the oven during the winter. If you want to make it a larger recipe, just add more soup and another chicken breast. The cooking time will be about the same as this one. You will love it and so will your kids! Make a lot because everyone will want seconds. I like to serve it with extra chips.
|
Creators of Hot Cocoa Bombs! (copyrighted)

Author
Helen Reynolds: Mother of six children , grandmother to eleven! I love to cook, craft and create things and I especially love doing that with my family, So, when my lawyer daughter, Lindsey, my artist daughter, Madalynn, and I came up with the idea of Hot Cocoa Bombs, this blog was born. Then, one more daughter, with her technical and science skills, plus creativity has joined in to round us out! Read more about us here! 
Click this link and visit 3WinksDesignShop on Etsy. Find our Hot Cocoa Bomb Idea Book, our For the Love of PIe e-book and more of our creations!

Amazon Gift Cards are the Perfect Gift!
    Archives
July 2024
|


 RSS Feed