|
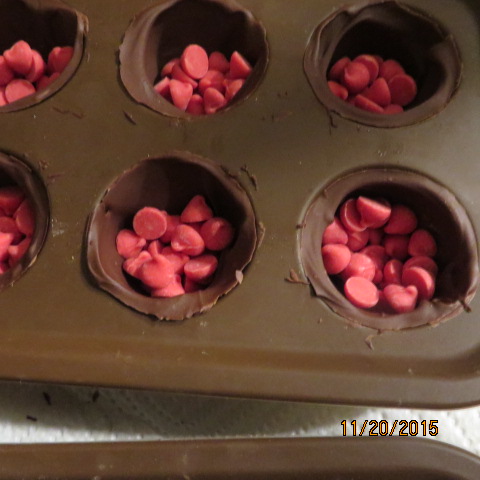
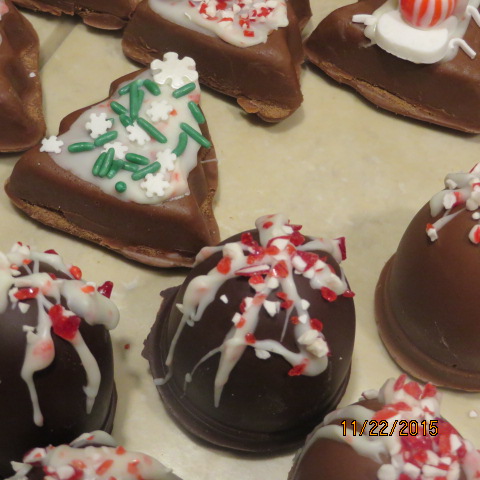
After my last post, I was working on Cocoa Bombs for the Ugly Sweater Boutique when I came across this Christmas tree pan that my Sister-in-Law Geri sent me a few years ago. 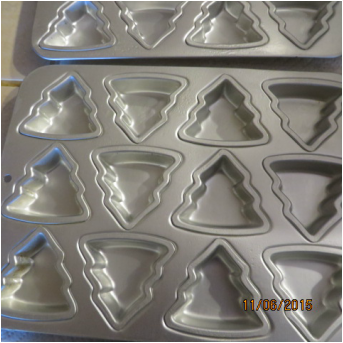 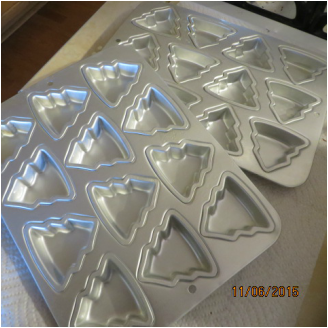 Actually, there are two of them. Anyway, I thought some peppermint cocoa bomb trees might be fun! 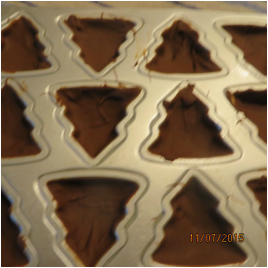 I filled the molds just like I do with my regular bombs. Pull the chocolate up the sides and leave a cavity in the middle.  I used Andes mint chips to fill them with the peppermint flavor and I also added peppermint marshmallows. Next, add the Nesquik, then cover them with chcolate. 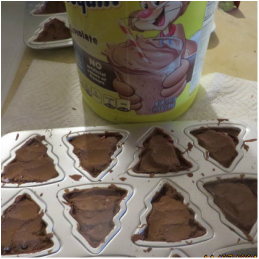 When they are hardened, pop them out of the pan. Oh! I forgot, you must spray the pan liberally with a cooking spray. They were a beast to get out, I am on the lookout for silicone shaped tree molds. 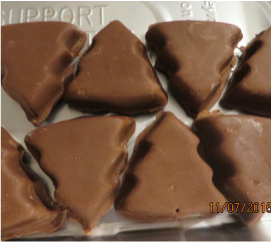 I have also been going crazy trying to find the cherry chips that I use for Cherry Cordial Cocoa Bombs. They were one of the most popular flavors last year, but no one seemed to be carrying the chips this year. But, finally I found them at Albertsons! 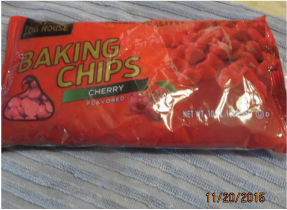 I got right to work making my bombs because the craft show is right around the corner! Here are some photos! . I didn't take a picture, but I wanted to tell you about the candy cane Candy Melts that I found to use to decorate my peppermint bombs! Perfect, right? I will post more pictures as I get all of the bombs bagged and ready for the show.
Also, while browsing the internet, I found these: http://princesspinkygirl.com/diy-peppermint-candy-spoons/ They are pepperment candy spoons dipped in chocolate that would be great to go with Pepperming Cocoa Bombs. But, I can't get the photo to load here. So go and check them out. I want to get that mold and try them! I am off work this week for Thanksgiving! Hopefully I can blog again soon! So much to do....
1 Comment
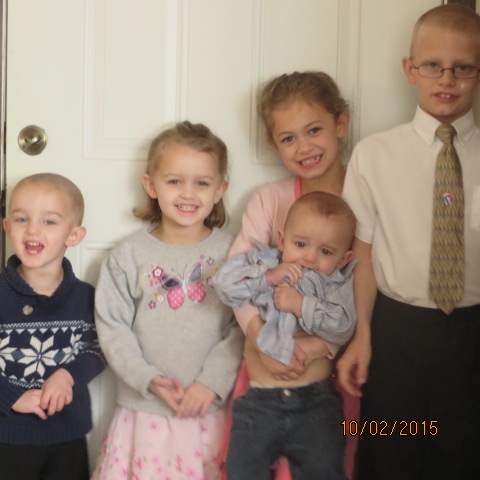
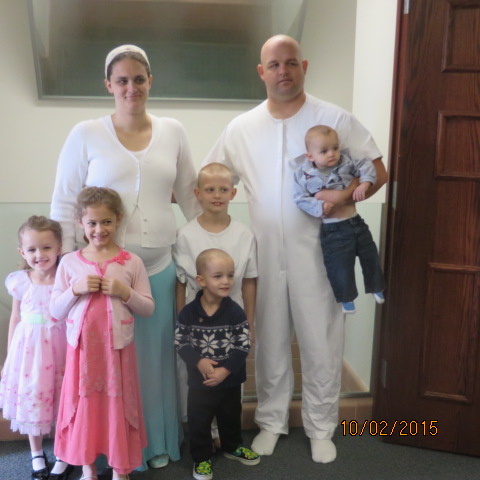
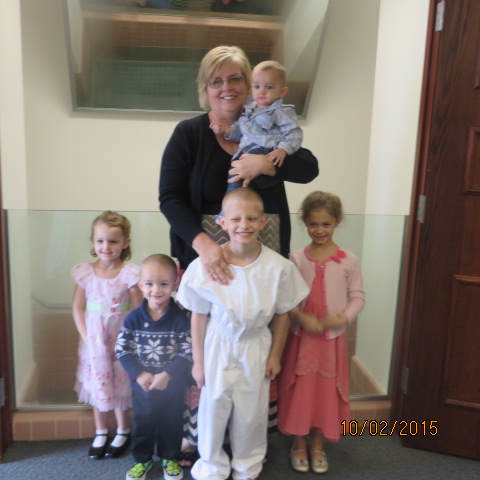
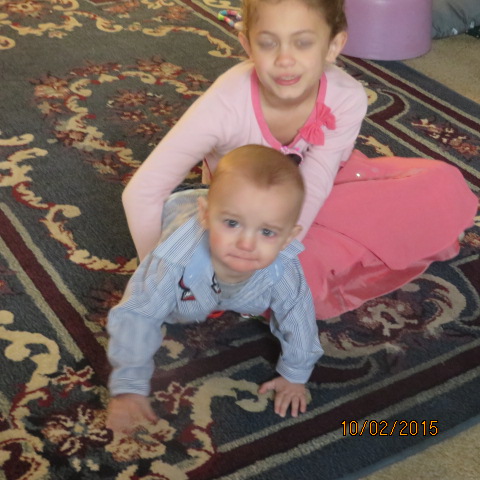
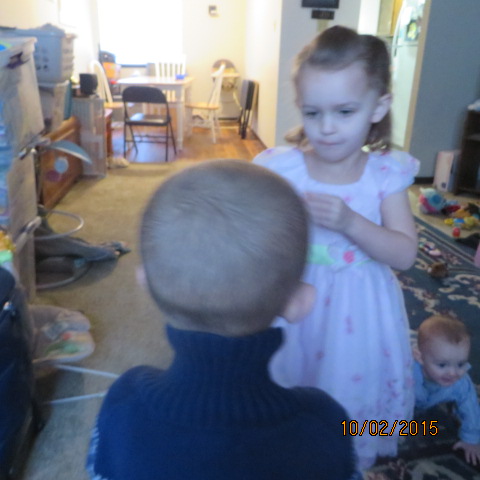
Since we last spoke, so much has happened. First of all, I flew to Kansas to see these guys! As you can see, I was there for Kyle's baptism, which was awesome. The kids have gotten so big since I saw them last! The baby is crawling and Connor is talking up a storm and they were so cute and fun that I had a difficult time coming back to Phoenix. The weather in Topeka is much cooler than it is in Phoenix, so I decided to take them some Hot Cocoa Bombs. I had found some ghost shaped marshmallows and I thought how fun it would be to have ghosts pop up in your mug of cocoa. 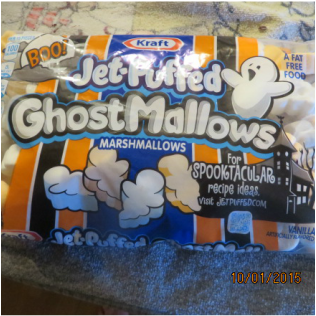 So, I set to work making some salted caramel bombs and some regular chocolate marshmallow bombs. This bag of mallows has white, gray and orange ghosts in it, so I used the orange for the salted caramel and the white and gray for the regular. 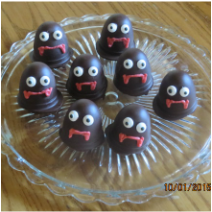 I gave the marshmallow flavored a vampire-like face, because I knew my grandchildren would love that. 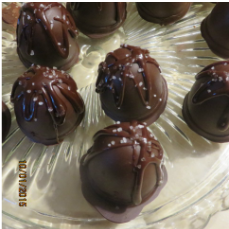 The salted caramel have chocolate squiggles with a little sea salt sprinkled on top. And now, here are a few more cute pictures of my grandchildren :) One last picture! I have been working like crazy and haven't had a lot of time to work on my planned renovations in my house, but I couldn't resist these new pillows! 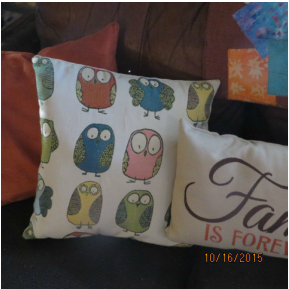 I will soon be making Hot Cocoa Bombs by the hundreds for the Ugly Sweater Craft Show, wish me luck!
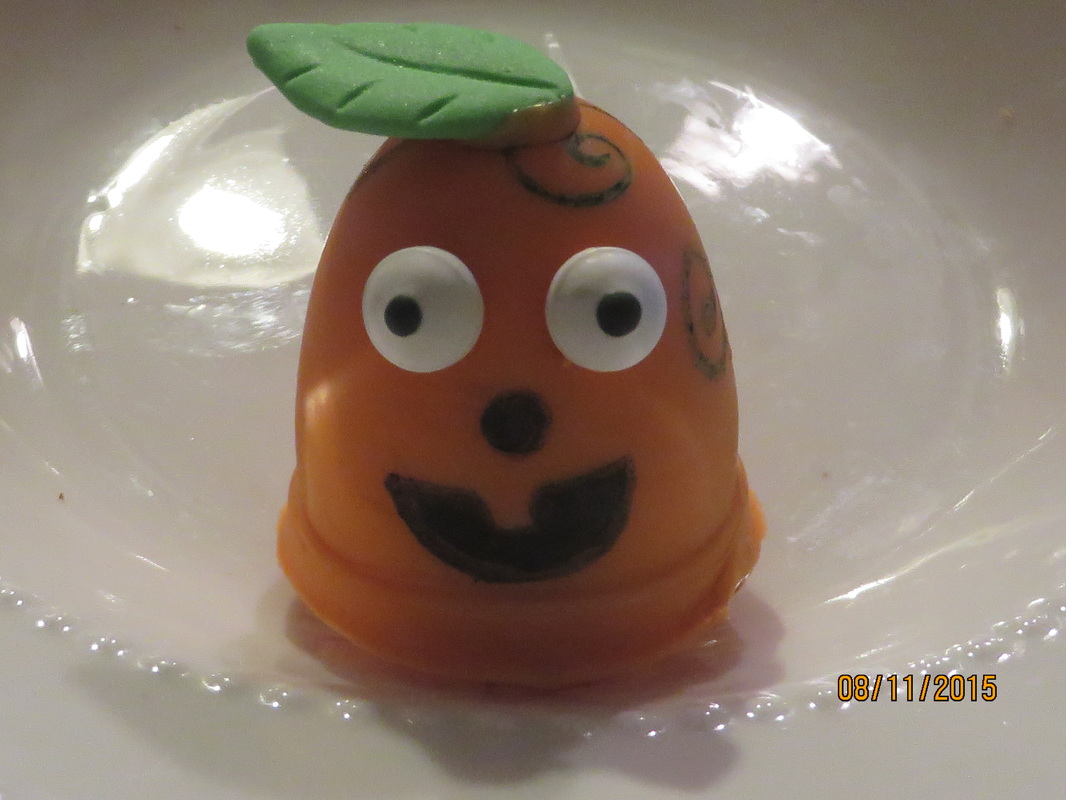
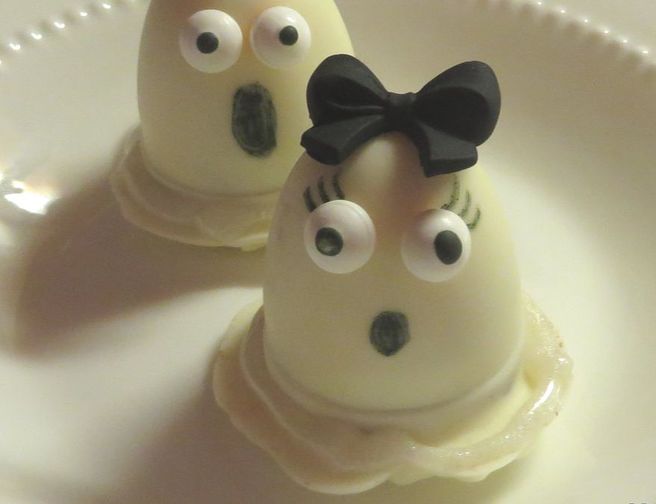 I am home from UT and back to the blazing heat of AZ. Yesterday, it was very hot, but it was also cloudy, windy and rainy. We had a couple of our famous dust storms followed by the rain. I was out driving in it and I was fooled by the weather into thinking it was almost Autumn! Silly me! Looking on Facebook, I saw that many of my friends had felt the same way, so I started thinking ("a dangerous pastime I know" to quote Gaston) school started this week and before we know it, Halloween will be upon us. Perfect time for some Halloween style Hot Cocoa Bombs! I decided that ghosts and pumpkins were in order so I used white chocolate chips for the ghosts and orange Wilton Candy Melts for the pumpkins. 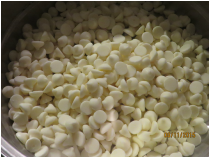 Here are the white cocolate chips in the double boiler. Refer to my first tutorial linked above to learn how to make them if you haven't done it yet. Here is how the white ones looked before they were filled. 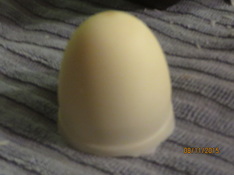 It already looks like a ghost, right? I tried out a new product for decorating this time. 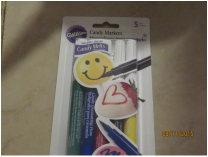 Another Wilton product. They really should thank me for testing these things. These are food coloring markers. I decided to fill the ghosts with the basic chocolate marshmallow flavor of cocoa because that seemed the most ghostlike to me. I wanted to have a puddle of ghost sitting on the plate with the ghost himself emerging up from it. So when I filled the bombs and added the last layer of chocolate, I spread it past the edge a little farther. Like this: 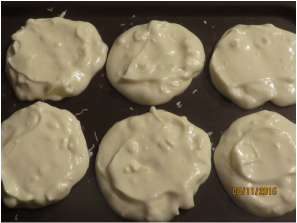 After they harden, the decorating begins. I had some candy eyeballs, also from Wilton and used the markers for the mouths, like this: 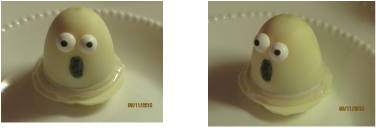 The marker had a bit of a hard time on the chocolate. Then, I decided I needed a female ghost! She is of course much cuter! 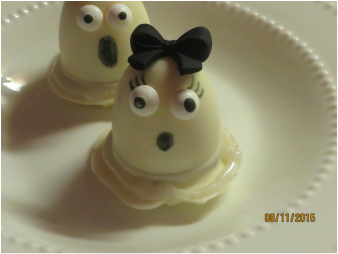 Use a dot of the candy melt to stick on decorations. It dries fast and you don't have to worry about slipping and sliding. Now lets move on to the Jack-O-Lanterns! Those of course had to be pumpkin pie spiced cocoa! Here is how I make the mix. I was making 8 bombs, so I scooped out 12 heaping tsps. of Nestle's Quik into a bowl. 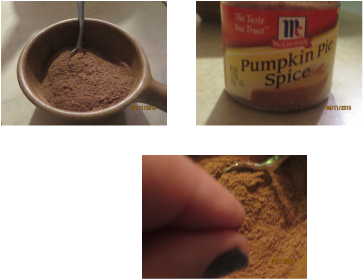 Add about 3 tsps. of Pumpkin Pie Spice and mix it all together. Take a pinch and taste it and see if you get the right mixture of chocolate and spice. It will be delicious. Fill each bomb to the top and add the bottom layer. Harden in the freezer then decorate! Here is how they came out! The third one looks kind of like my husband. Now, wouldn't these be fun on a plate at your next Halloween Party? Just add them to hot milk! 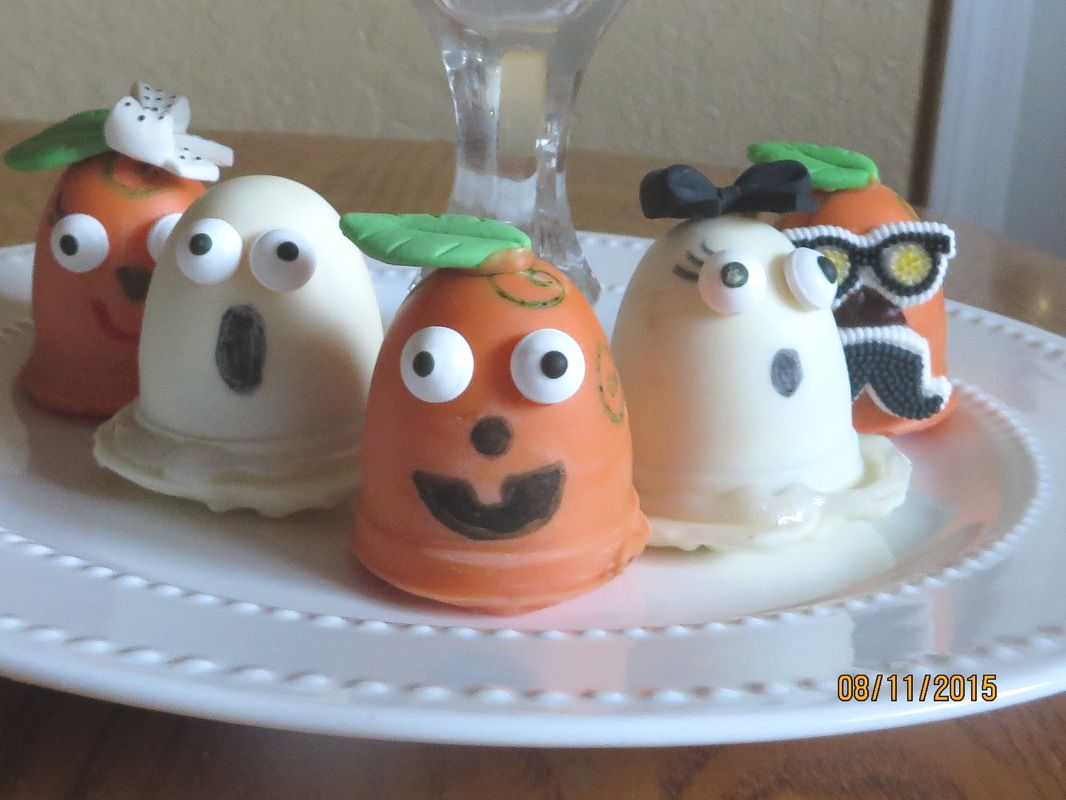 Let me know what you think! I think a green colored bomb could be a witch or Frankenstein! More ideas to come!
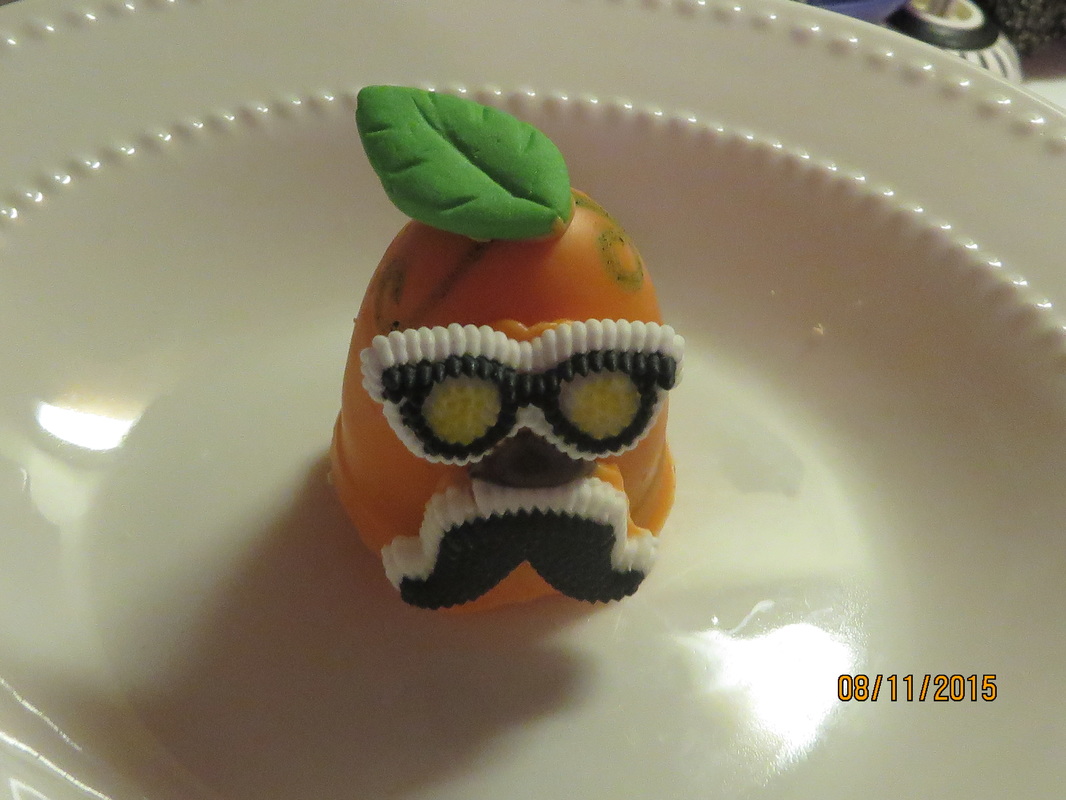
PS-All of the little decorations melt immediately in hot milk.  Here is the Valentine's Day Bomb Blog I promised you! My Valentine, (Glen) and I were at the store together one day, and I am always on the hunt for new Cocoa Bomb ideas. We found these cute decorations from Wilton and I knew I had to use them. Glen thought it would be great to have the mustaches and bows together, and I loved that idea. Look! They came out so cute! 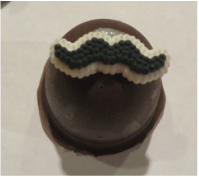 Here is a rose I added by putting it in the mold when I was making the shell. 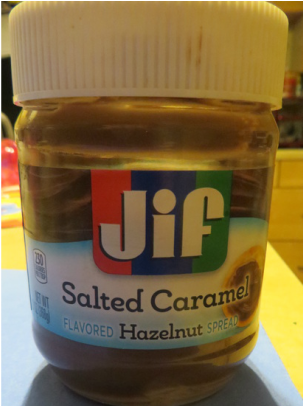 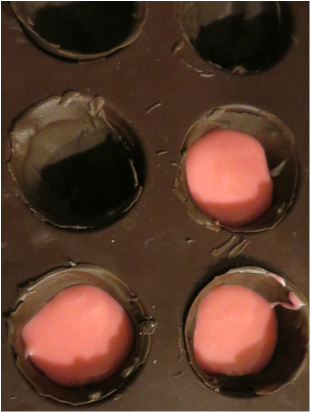 Finally I topped them and decorated them in the normal way and Voila! Super cute to share with your Sweetie or your entire family. (There is a bow that is black and my husband had that bomb. It made his tongue black, so beware! Ha Ha!) If you missed the basic bomb tutorial, be sure to check it out! 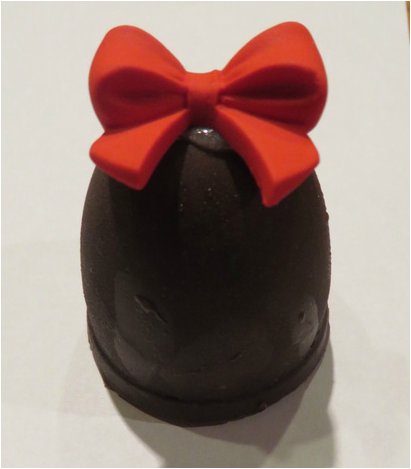 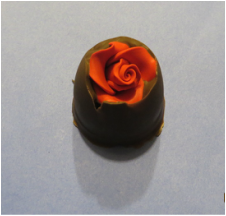 For the rest of the bombs, I wanted to make Cherry Cordial because that sounds like Valentine's Day to me. I have made Cherry Cordial Bombs a few different ways. The best and easiest way was to use Log House Cherry Chips, sometimes carried by Walmart or Bashas. Those tasted just like a cherry cordial candy, and I must order more of these chips on line. But, in the meantime, I was out of the chips and I needed to find another way to make the flavor that I wanted. I have tried the Hershey Kisses that are filled with cherry cordial filling and I have tried the Nestle Delightfulls also filled with cherry filling. These didn't work out so well in the bombs because the chocolate overpowered the cherry flavor and didn't give me the results that I wanted. So, here is what I did and it has worked out great! The first thing that you have to know is that you can not use liquid in Cocoa Bombs because they will leak eventually and that is messy and unappetizing. So, I used powdered sugar and maraschino cherry juice to make a paste and filled the bombs with that delicious concoction. The rose looked kind of silly perched on top of a bomb, I kind of like it this way. But, it did take up a lot of the space for filling, so I made this one salted caramel by adding Jif salted caramel cream that you can buy in the store. Here it is:
|
Creators of Hot Cocoa Bombs! (copyrighted)

Author
Helen Reynolds: Mother of six children , grandmother to eleven! I love to cook, craft and create things and I especially love doing that with my family, So, when my lawyer daughter, Lindsey, my artist daughter, Madalynn, and I came up with the idea of Hot Cocoa Bombs, this blog was born. Then, one more daughter, with her technical and science skills, plus creativity has joined in to round us out! Read more about us here! 
Click this link and visit 3WinksDesignShop on Etsy. Find our Hot Cocoa Bomb Idea Book, our For the Love of PIe e-book and more of our creations!

Amazon Gift Cards are the Perfect Gift!
    Archives
May 2024
|


 RSS Feed