|
**This post contains affiliate links and I will be compensated if you make a purchase after clicking on my links. But, all opinions expressed are my own.
Lindsey and I were talking about Thanksgiving plans for this year and it got me to thinking about a special project to show my family and friends how thankful I am for them. I decided it would be nice to do a little gift on each place setting this year. I thought about hand lettering something at first, but that would take a lot of time with questionable results. Then, I remembered the set of stamps that I purchased from the Target One Spot a couple of years ago. I hadn't used it yet, but now I knew I had the perfect project to use them for.
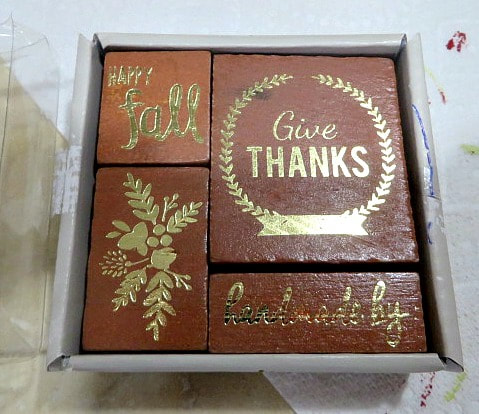
If you can't find these stamps at Target this year, there are of course a lot of others that you can find and use. For example...
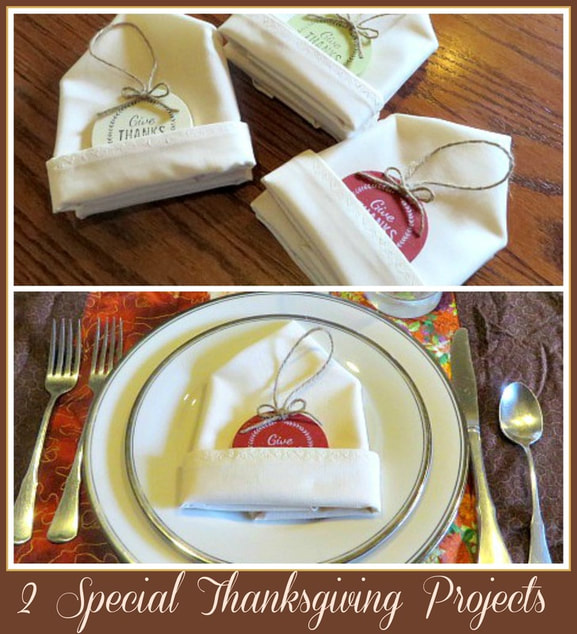
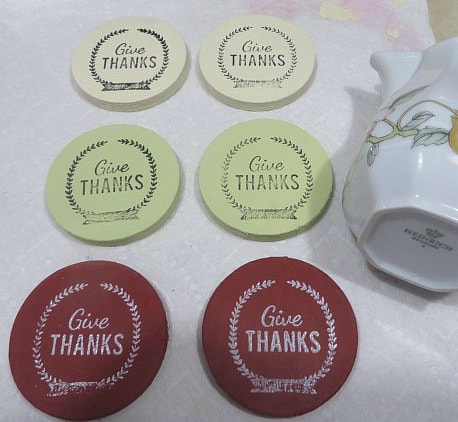
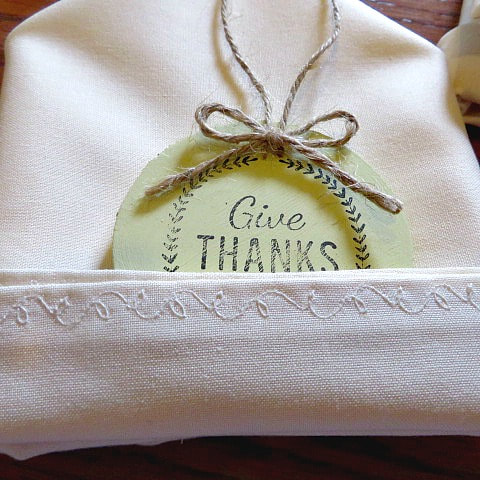
I had some little wooden circles left over from our Christmas in July projects. I chose 3 colors of acrylic paint that I felt would coordinate with my dishes and tablecloths and painted the circles. Then, I used a black stamp pad to stamp the design on the light colored circles and white on the dark colored circles. I love how they came out. Even the spots where the ink is a little missing add to the rustic look.
I decided to use jute as the hanger on these little ornaments. I cut about a 6" length of jute and glued the ends with a glue gun to the front of the ornament. Then, I tied a bow with another length of jute and glued that over the ends. This way, there are no unfinished ends on the front or the back.
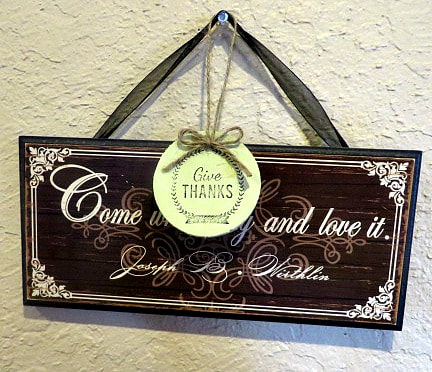
This is an example of a way you can use the ornaments around the house to add a little extra gratitude touch for this Thanksgiving season!
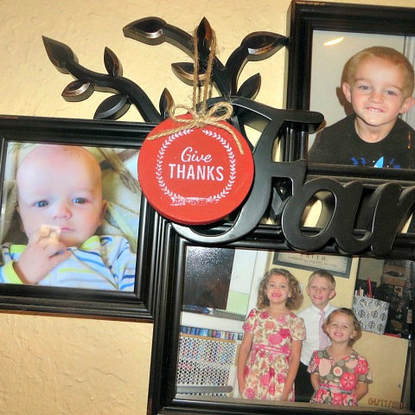
You could also hang them on plants, cupboard door knobs, a little tree for a centerpiece, the possibilities are endless.
Now, on Thanksgiving, I want to slip them in a napkin on each place setting. I want to use cream colored napkins, but I didn't have any. I could only find white! So, I purchased some fabric and made my own.
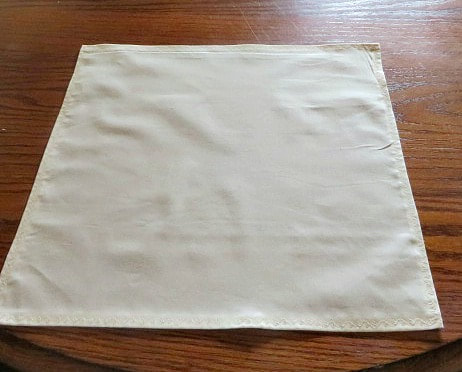
Out of a yard and a half of fabric, I was able to get 6 napkins that are 16 inches square.
A couple of years ago I had to purchase a new sewing machine. I got a Singer Brilliance (that is a refurb version) and I have loved using the special decorative stitches that it has programmed into it. Here is the newest version, called Sew Mate. These are nice machines at a reasonable price.
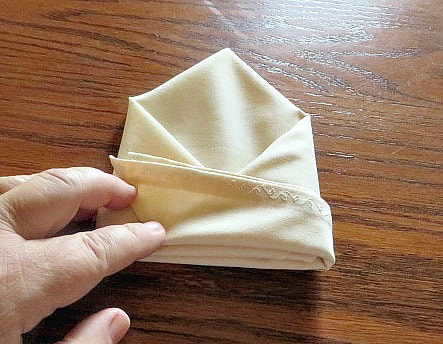
These napkins were simple to sew. I just folded over the edges twice and used a decorative stitch to make them special.
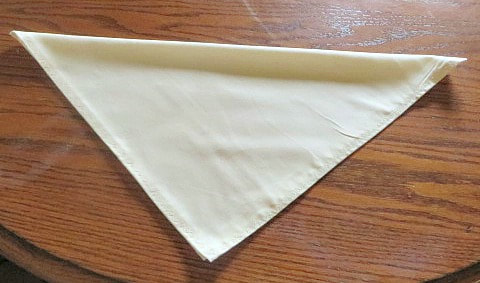
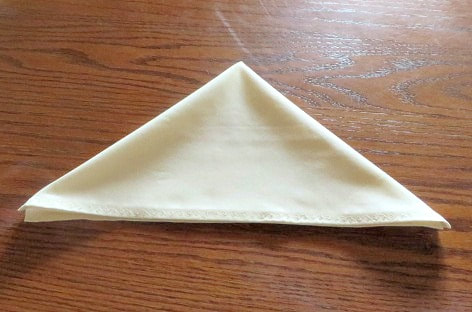
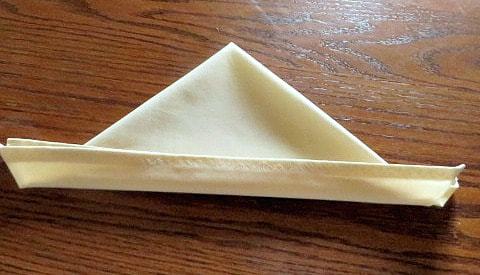
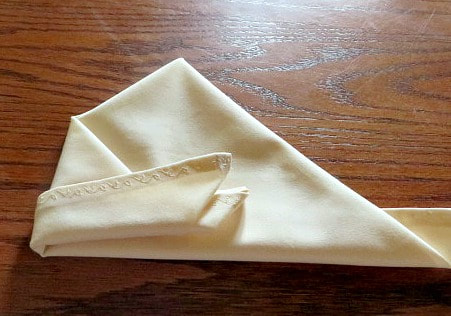
Once the napkins are sewn and pressed, you are ready to fold them! Here is a gallery of pictures to show you how to do it.
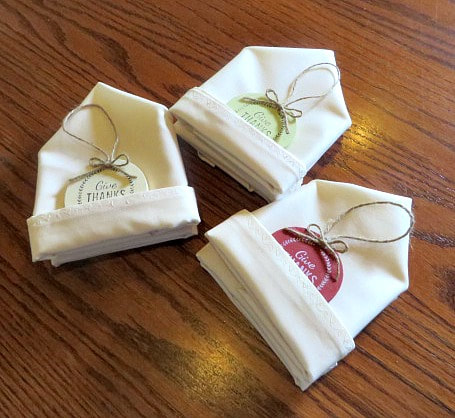
Here they are, all ready for Thanksgiving!
If you know me at all, you know that I love dishes! So, I am using two different dishes to try out a place setting to use these special projects on. Which one do you like best?
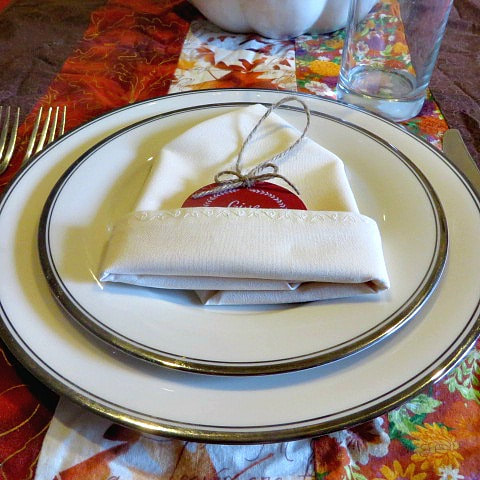
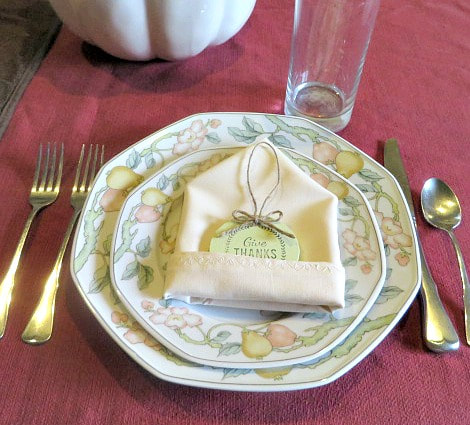
If you don't want to wash napkins later, you could always use nicer paper napkins. But, I am so happy with how these came out. Here is a close-up of the decorative stitching.
Ugh! I just love these projects so much! They are simple and sweet! I hope you love them, too!
Look what I found!
19 Comments
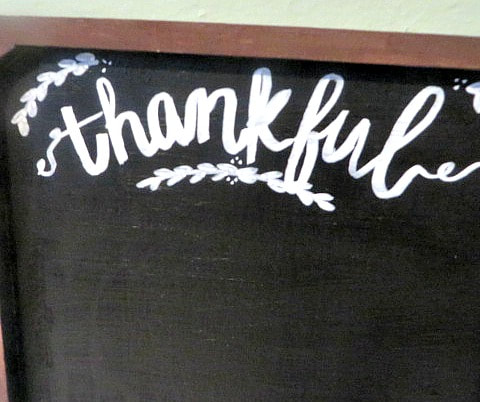
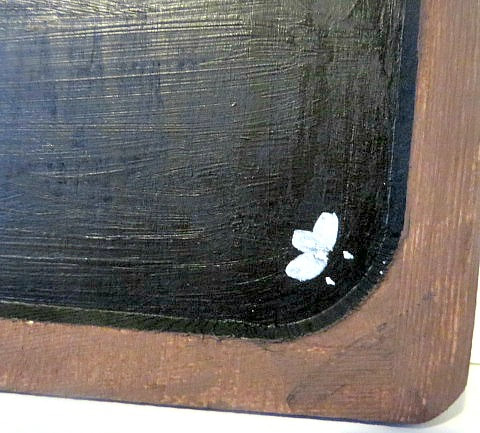
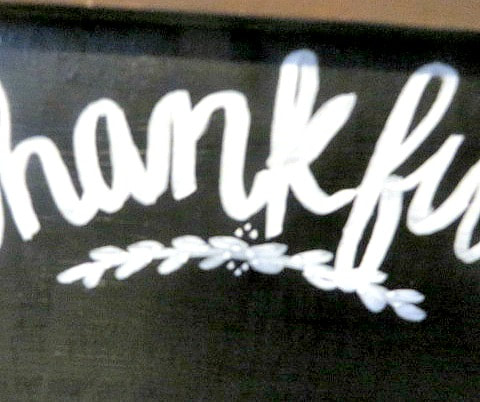
This post contains affiliate links. I will be compensated for purchased made through those links at no additional cost to you. All views expressed are my own. Thank you for your support! 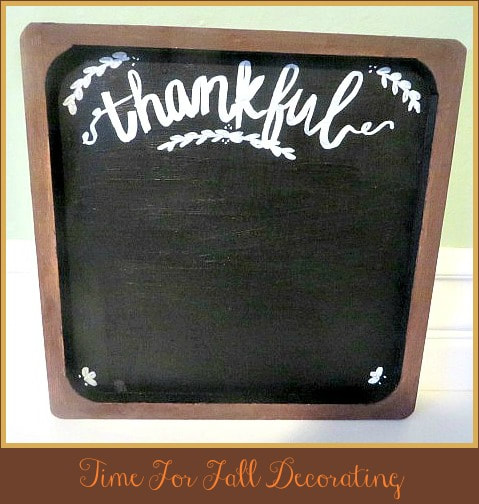 With Labor Day Weekend upon us, it is the perfect time to break out the Fall decorations and perhaps add a few new items to the mix. I love getting into the chest where my Fall items are stored and finding things I didn't remember that I owned! But, I also love going into the stores and seeing new ideas and getting inspiration there. Maddy and I went on a little Fall shopping spree and we came back with some great stuff that is pretty inexpensive! First of all, look at the adorable Thankful Chalk board that Maddy decorated. We found the plaque at Michael's for about $2.50. Maddy had a great idea to turn it into a chalkboard that family members can write things that they are thankful for everyday or every week throughout the season, whatever your pleasure. Of course, I already owned the chalkboard paint. I painted the base coat and did a thin wash of brown acrylic paint around the frame. Then I was nervous about writing "thankful," so I made Maddy do it! Ha ha! Look how cute it came out! She always thinks of the cute details like the little leaves and dots. She did it all with one chalk marker! Free hand! I would have written thankful and left it at that! Here are a few close-ups: Michael's had a lot of their Fall decor on sale for 40% off or more. This weekend would be a great time to check it out before it is all gone! Another great place we found to shop was at Dollar Tree! We found so many things to craft with and decorate with that we can't wait to show you some of our creations in up coming posts! In the meantime, here are some of the things you are going to love! (But I'm not going to tell you all of our secrets yet! Use your imagination and see what you come up with!)
My goodness you guys! There is so much fun stuff that I can't even list it all! You have to click the links and see for yourself! Just remember, at Dollar Tree, you have to shop fast because everything goes fast! Especially if you want stuff for Halloween! Decorating for the seasons and holidays is so much fun to do with kids because they get so excited. I was glad that my daughter and my granddaughter have been here to help at my house! (Even though my granddaughter is not quite 2, she sure gets excited about the stuff!) So, have a FUN Labor Day weekend and get in the Fall mood! If you are still have high heat and humidity like we are, it may even help you feel a little cooler! Click on our Halloween category to see past ideas! Also our Fall category has great ideas and recipes! PS: How do you like our new look? Let us know in the comments!
This post contains affiliate links. I will be compensated for any purchases made through those links at no additional cost to you. Thank you for your support!

First let me apologize for not putting up last week's Friday Fave post! Last week was Lindsey's baby shower and I just couldn't get to the computer to put up the post! But, her shower was a lot of fun and she was truly "showered" with some great gifts. I will post about that later But, today we are in true Thanksgiving mode. Earlier this week I posted about my best tips for a less-stress Thanksgiving. I called it Thanksgiving Prep 101, and even though there is even less time now, you can still pull out a super meal if you follow those tips.
One of the obvious things I suggested that you to do to get ready is to plan your menu. It is always important to include family favorites and make sure that there is something each person loves on your Thanksgiving menu. It is great to make a list and to plan your shopping list so that nothing is forgotten. Obviously there will be the turkey, but what about the rest of the dishes? That is exactly what we are talking about on this edition of Friday Faves:
What is your favorite Thanksgiving dish? (Besides Turkey!)
If you are really not sure how to cook all of the dishes you need to cook for this Thanksgiving, you can always turn to Panna and watch their teaching videos so that you can make an amazing Thanksgiving dinner. I have shown you some of the things that I have learned from them on posts here and here. It is so enlightening to cook along with a famous chef! They have classes to cover all of your favorite foods!

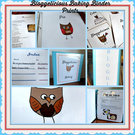
Remember, once you print off your recipes from your favorite bloggers, keep them in a binder to keep them all organized for a later date. You can use our printables from our shop to make your Bloggelicious Binder to keep all of your baking recipes in one place. Not only is it practical, but it is so cute, too. An organized binder like this one would make a great gift for the holidays! Also, up in the collage, I included our free printable from last Thanksgiving. "Eat Your Pie!" It is still available and would be a lot of fun to put up on the dessert table! The picture is a short cut to the PDF file! Just click on it to print. 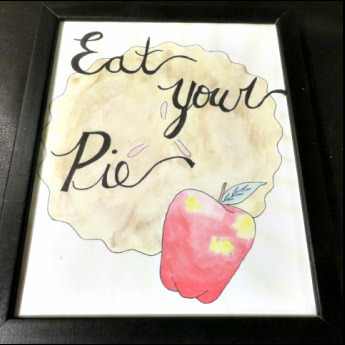
Those are some of our favorite Thanksgiving dishes. What are yours? Let us know in the comments! We would love to hear from you!


This post contains affiliate links. I will be compensated for any purchases made through those links at no additional cost to you. Thank you for your support!
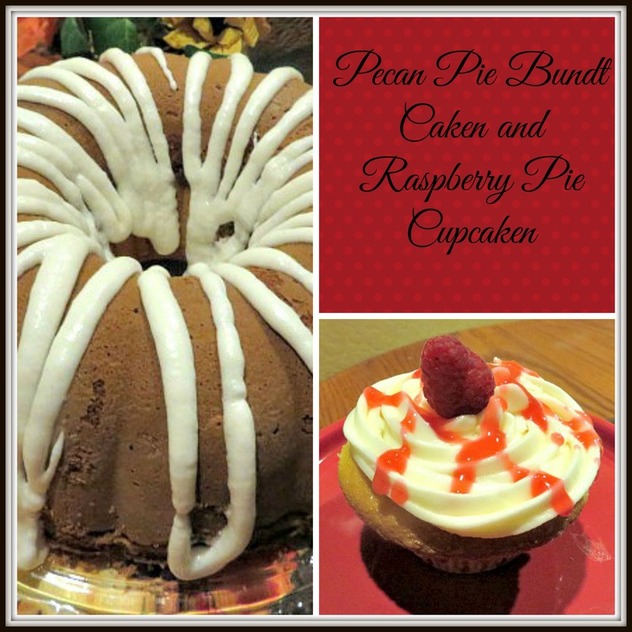
Sometimes it is fun to do something a little different for the holidays just to mix things up a bit while still serving the old favorites. Last December, I introduced you to the Piecupcaken on this post, it is the cupcake version of the Piecaken. Since today is National Bundt Cake Day, I thought that a bundt cake version of the piecaken would be delicious! Since I wanted the flavors to be perfect for Thanksgiving, what could be better than a spice cake with pecan pie? The perfect thing is that in honor of National Bundt Cake Day, Amazon is having a sale on many bundt cake pans! This is the perfect time to order one! Here are a couple of my favorites, you can click the photos to go see them on Amazon.
As I contemplated this Pecan Pie Bundtcaken, I was at the grocery store and raspberries were on sale. I thought, wouldn't a Raspberry Pie Cupcaken be pretty for Christmas? So, guess what, today I am going to show you how I did both! Let's start with the Pecan Bundtcaken.
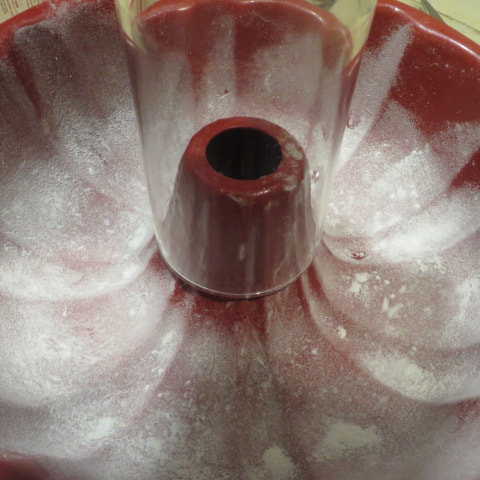
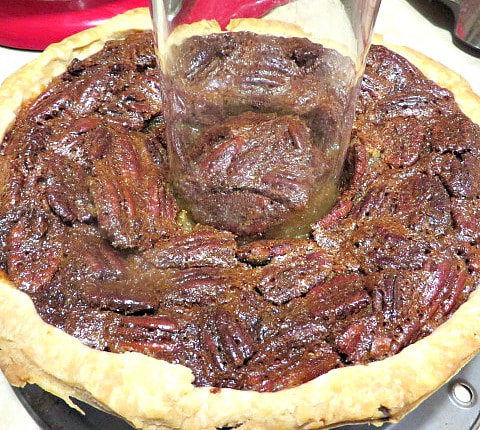
I started by making an 9" pecan pie. I would suggest measuring the dimensions of your pie dish compared to the dimensions of your bundt pan to make sure that the pie will fit inside the cake. And, when you crimp the crust, do it small and towards the inside of the pie rim. A heavy rim of crust is not what you want in your pie bundt caken. Here is my recipe for pecan pie that I used. Click on the photos below to see how I put the Pecan Pie Bundt Caken together!
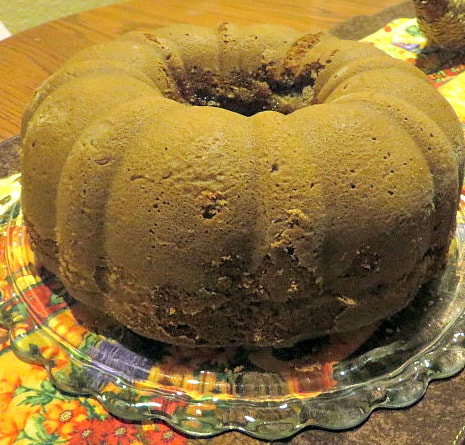
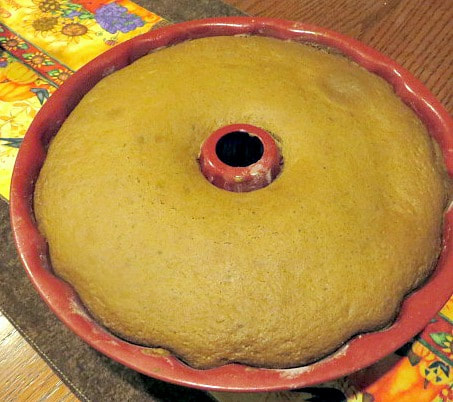
It flipped out of the pan so nicely! You can't even tell that there is a pecan pie in there!
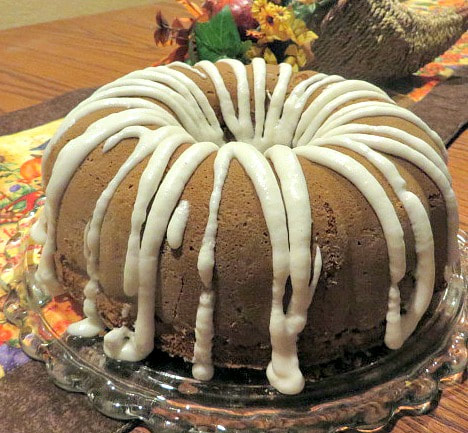
Since there is already so much going on in this dessert, I decided to only give it a drizzle of frosting. I made a regular buttercream frosting and added a tsp of pumpkin pie spice to it. It is so good! I made it a little thinner so that I could drizzle it over the cake.
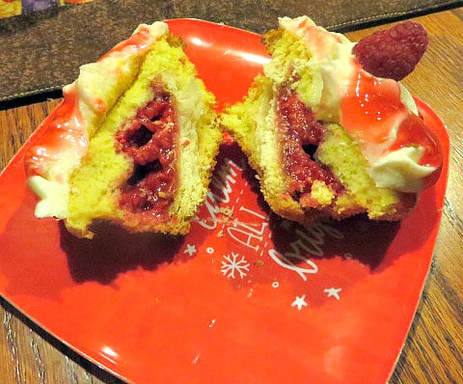
When you go to serve the cake, look at the surprise inside! 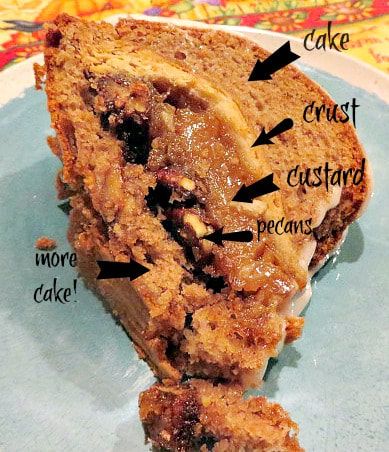
What a delicious surprise on your Thanksgiving dessert table!
Now, let's move on to the Raspberry Piecupcaken. First, you have to make the raspberry tarts. I still had pie crust left after making the pecan pie, so I just used that to make about 14 tart shells. I formed them in small muffin tins so that they would fit inside of a cupcake.

To make the piecupcakens, I used a lemon cake mix this time. Then, just like I did for the bundt cake, I ladled a little batter in the bottom of a regular sized cupcake tin (lined with a paper cup) and then placed the tart on that. Finally I covered the tart with the more batter. These were pretty full and came out pretty large! I baked them for the longest amount of time specified on the cupcake mix. Bake them until they are golden brown and spring bake when touched.
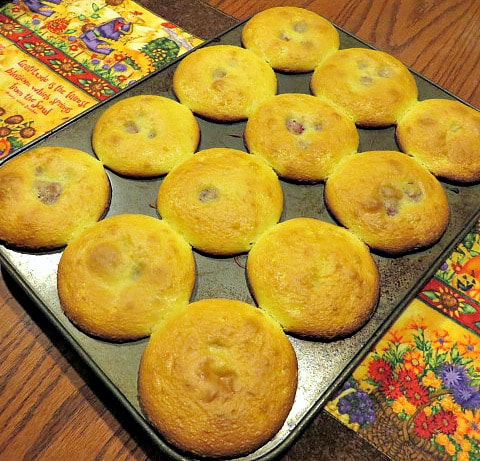
I let them cool in the pan and used a knife to slip them out of the pans when they were cool. They came out pretty easily.
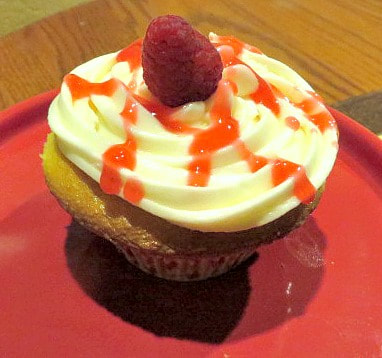
I frosted them with a plain vanilla buttercream and drizzled them with left over raspberry jelly and topped with another fresh raspberry.
These would be good not only for Christmas, but how about Valentine's Day or even Halloween!
These recipes are a little more time consuming than just an ordinary cake or pie, but this time of year is when it is fun to do something a little bit extra! Don't forget the bundt pan sale on Amazon! One of the extra fancy ones would make a nice gift for the foodies on your list! If you would just like to make a bundt cake to celebrate National Bundt Cake Day, here are a couple of other recipes:
|
Creators of Hot Cocoa Bombs! (copyrighted)

Author
Helen Reynolds: Mother of six children , grandmother to eleven! I love to cook, craft and create things and I especially love doing that with my family, So, when my lawyer daughter, Lindsey, my artist daughter, Madalynn, and I came up with the idea of Hot Cocoa Bombs, this blog was born. Then, one more daughter, with her technical and science skills, plus creativity has joined in to round us out! Read more about us here! 
Click this link and visit 3WinksDesignShop on Etsy. Find our Hot Cocoa Bomb Idea Book, our For the Love of PIe e-book and more of our creations!

Amazon Gift Cards are the Perfect Gift!
    Archives
May 2024
|


 RSS Feed