
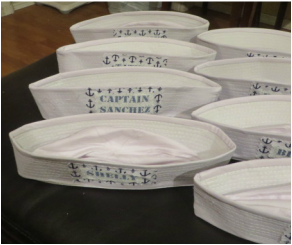
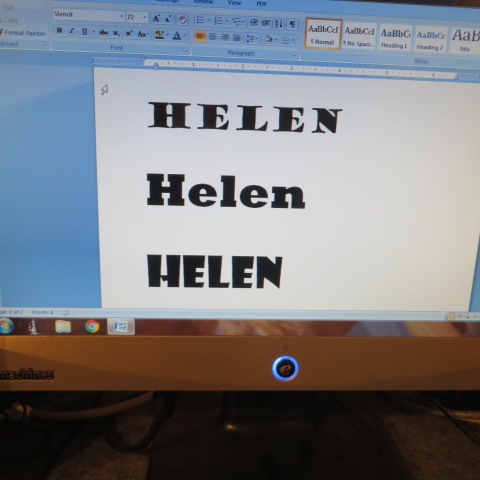
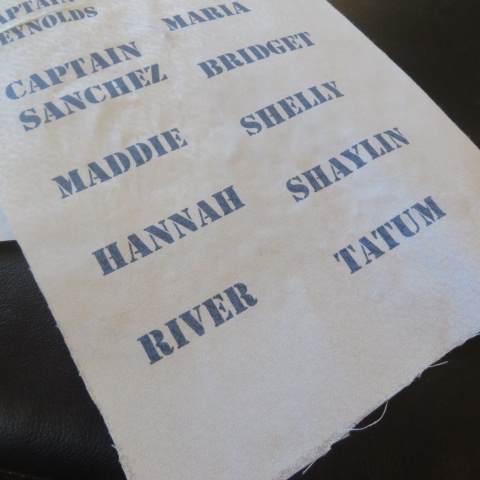
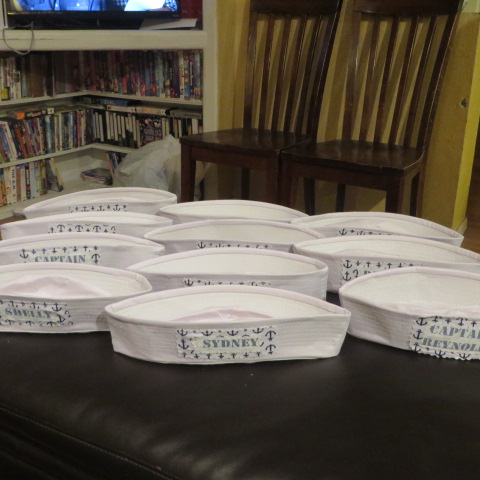
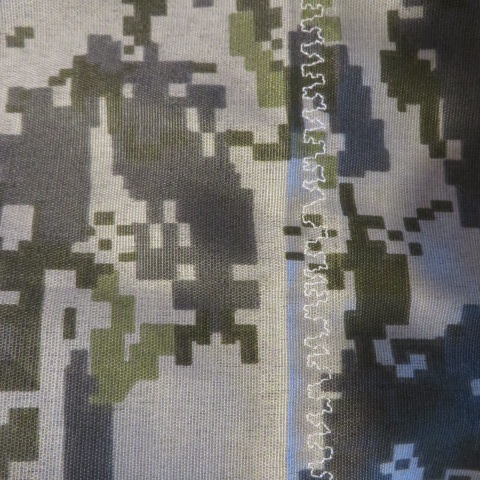
Did you know that you can print in your regular printer on fabric? I used this technique to put names on our sailor hats for Girl's Camp! It was great not to have to worry about paint drying or markers bleeding and I could use a cool stencil font (in this case) that reminded me of the military theme.
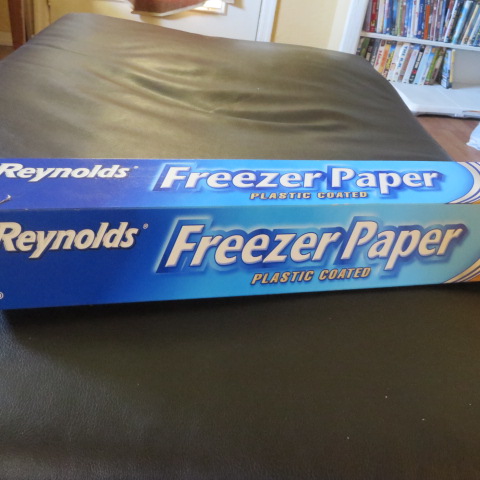
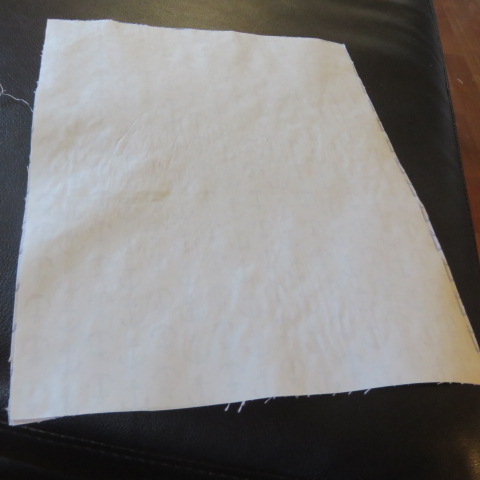
It all starts with picking out the right fabric to print on. White or cream works best. Then, use a piece of computer paper as a pattern to cut out a piece of freezer paper that will fit into the computer. Iron it onto the back of your fabric and cut the fabric around the edge of the freezer paper. I used Reynolds freezer paper of course. (Unfortunately, we are not related to the owners of this company.) Quilters have used freezer paper for years for piecing and working with fabrics. Be sure to iron it on the fabric shiny side down. Click the pictures below see what to do.
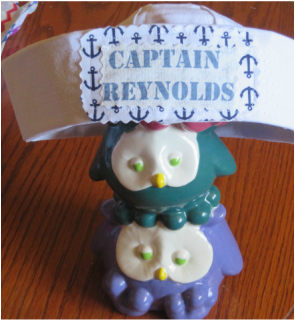
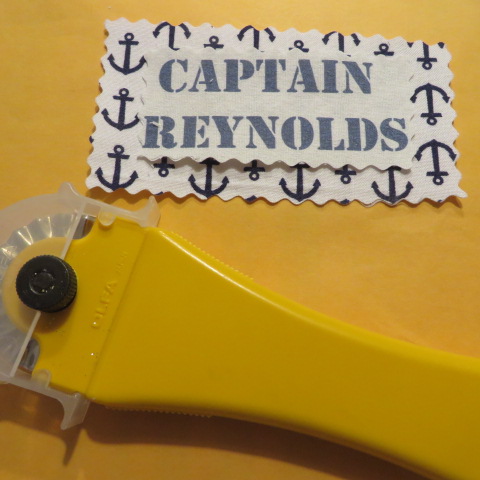
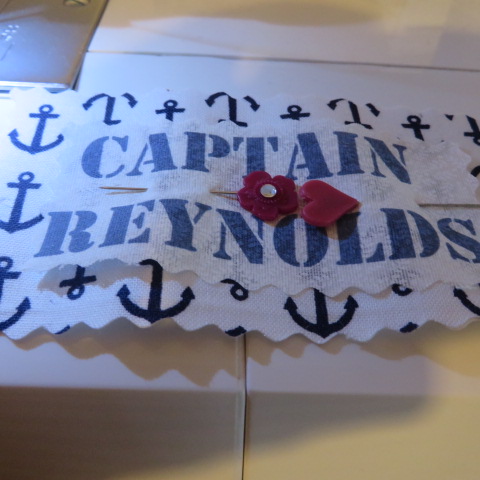
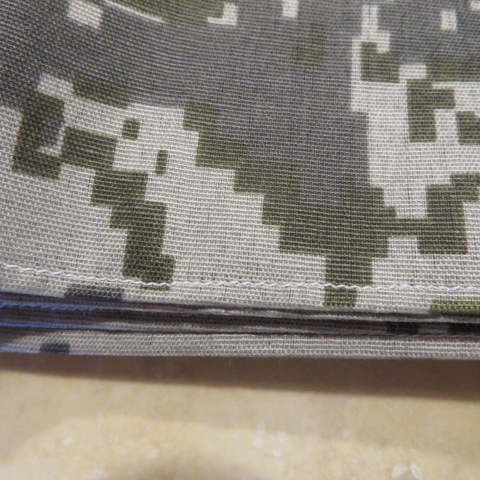
After the words are printed you can cut them out and use them in your project. I have used this technique to make fabric bookmarks in the past. I can think of a few other options that I may use in the future. This time I finished the sailor hats. I cut the names out with my pinking rotary cutter. I stitched them onto the background fabric and attached them to the hats. I guess I could have glued them, but the stitching looks so good and was easy to do, even stitching through the stiff brim. I ordered the hats from Oriental Trading.
I am sure that you can think of a million ways that printing on fabric can be used creatively! Tell me some of your ideas! I would love to try them, (after camp and the wedding!)
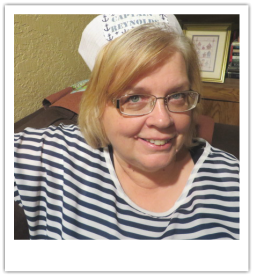
Oh, alright, here I am wearing it.
2 Comments
In the midst of getting ready for camp, more camp and my daughter's wedding, and home improvements, I am still doing my calling as the Primary Chorister at church. I am always on the lookout for fun ideas to get my kids singing. Here are a couple that have worked great! Sing or Dare: I found this idea here http://singingtimeinfortworth.blogspot.com/2009/06/sing-or-dare.html Basically, the kids can choose to pick a song and sing it normally or take a dare. While the creator of this idea had some fun dares for the kids to do, I wanted to make sure that they were still singing and practicing the songs. I came up with some singing dares such as "wear a mustache while singing" or "Everyone sing in an opera voice". That one was so funny to hear the entire Primary singing Popcorn Popping in an opera voice. Parents told me afterwards that their kids loved it and talked about it later. To me, that is success! If you can think of more singing dares for a future date, please let me know! 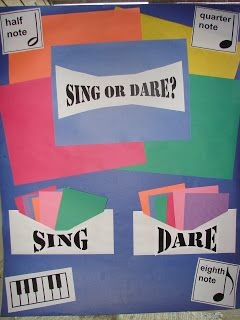 Blowing through Straws and Betsy Bubble: I found this idea on Pinterest, but now I can't find the link. Sorry, I don't like to not give credit for ideas. If anyone finds the link, please put it in the comments and I will be sure to give credit! I did change it up a bit for Fourth of July week. I found these straws that are extra large for milkshakes in the grocery store.  I used 3 colors of straws. In one color I rolled up papers with names of songs to sing. In another color I rolled up papers that told how to sing the songs and in the last color I gave the kids the opportunity to work the balloon on Betsy Bubble (similar to mine , but mine is a girl). 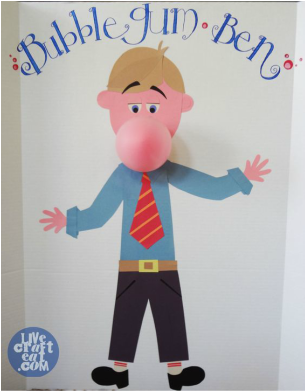 I will post a picture of mine at a later date. My daughter drew it for me and it turned out so cute, but it is at the church right now, so I can't photograph her. Anyway, the kids love her and always want a turn using the pump behind her to inflate the bubble. To make the activity more festive, I attached curly ribbon to the papers and told the kids that this was as close as we were going to get to fireworks in Primary. I would have 3 children come up, each had to choose a different color straw, then I would count to 3 and they would blow out their papers. After that, they would retrieve them and find out who had what. It was fun! And, the beauty is that it was super simple! 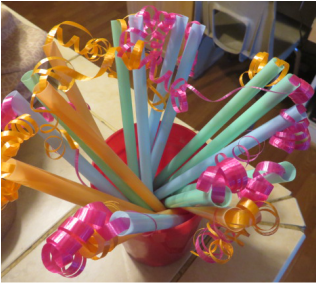 The last tip that I would give that I have learned so far is that if I am energetic and having fun, the kids are, too. And, when I express my love for the gospel and the scriptures, the children feel it and listen when I teach by the Spirit as we learn these beautiful songs. I was afraid that "Praise to the Man" was going to be too difficult for them. It has a lot of big words! But, I took the time to explain what everything meant and now when that song is chosen I love hearing some of the children say, "I love this song!" and they sing it with gusto and all of their hearts. I love this calling!
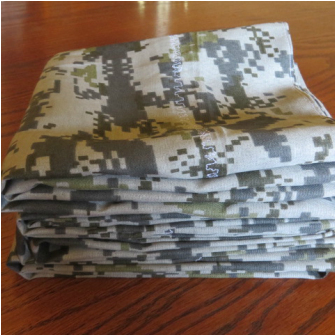
The last push to get ready for camp next week is going strong. I have a few girls who I am directly in charge of that I wanted to do something special for. I decided to make them pillowcases for their bunks at camp! Pillowcases are super easy to make and can add a lot of punch to a bedroom's decor and theme. So, here are some instructions for making them if you have never made a pillowcase before. When you just can't find the right sheets to go with a bedroom theme, making your own pillowcases along with some plain colored (and less expensive) sheets could be just the trick.
To begin, I used a pillowcase that I already had as my pattern. I laid it out with the bottom on the fold of the fabric. You may want to refold your fabric from vertical to horizontal to get the print in the direction you want it to lay on your pillow. Allow about 5/8" seam allowance on each side of the case. At the top where the opening is, you will want a deep pillowcase hem, so cut it about 5" longer than your pattern case.
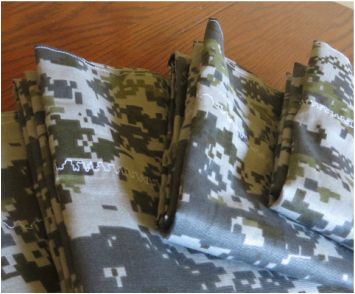
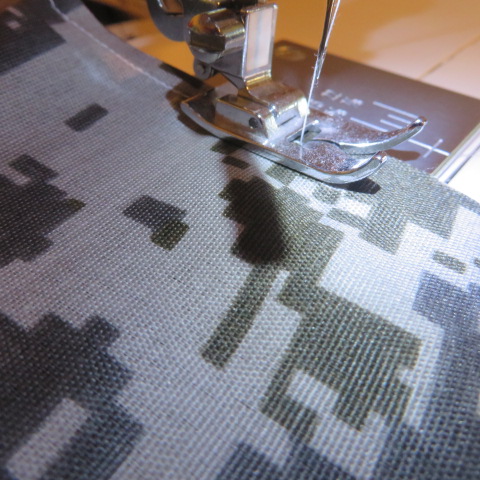
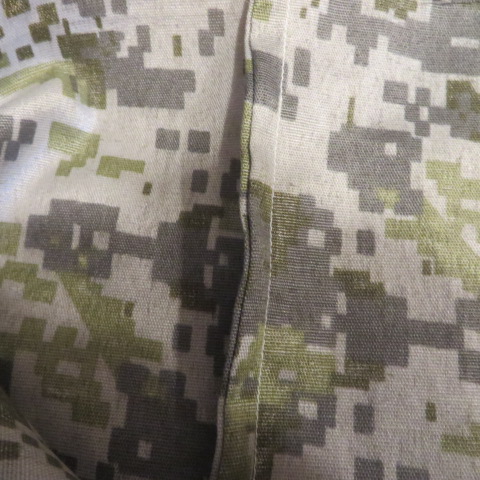
Because a pillowcase will have pillows slid in and out of it many times, potentially causing fraying, I wanted to make the inside seams very well protected from fraying. I do not own a serger, so I gave my cases french seams like this:
Now you are ready to finish the top edge of the pillow case. Since I was making a bunch of these for camp, I didn't use my iron. (Don't tell my mother!) But, just a warning, for nice crisp edges and points, it is important to use an iron whenever you do a sewing project. In this case, I just did a lot of finger pressing.
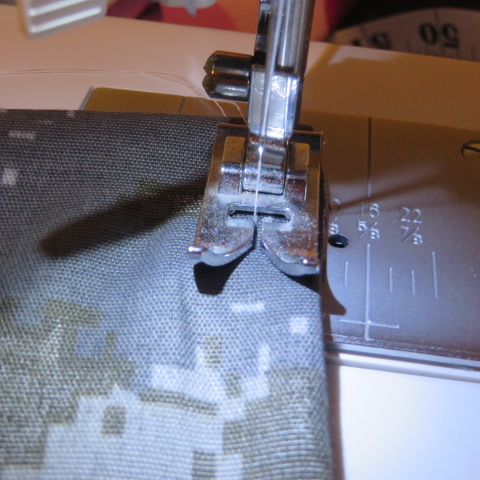
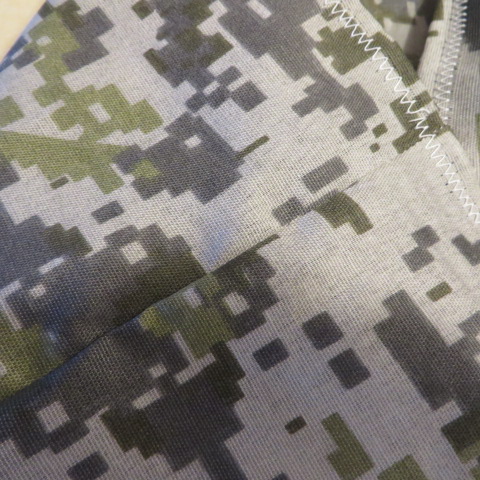
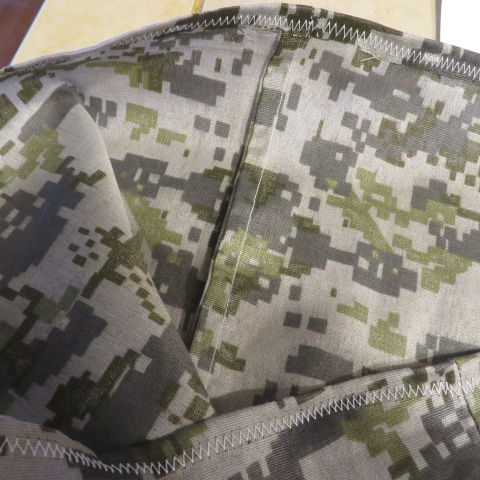
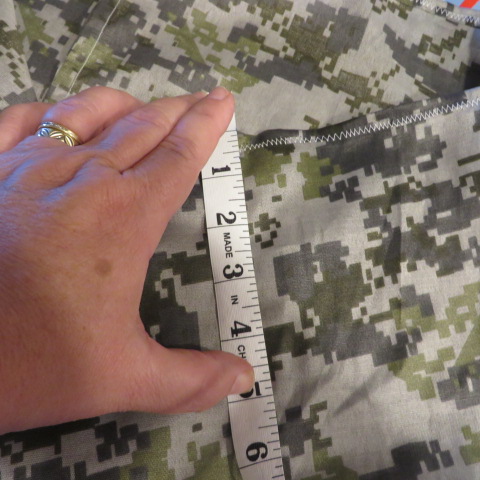
I started by turning down 1/4" of the top edge of the fabric and zig-zagged a small hem, once again, to get rid of the fraying. Then I measured a 4" hem and pinned it in place all around the top, like this: (Remember to click on the pictures for directions!)
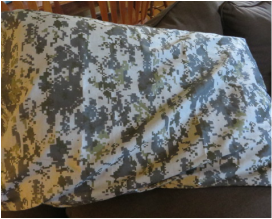
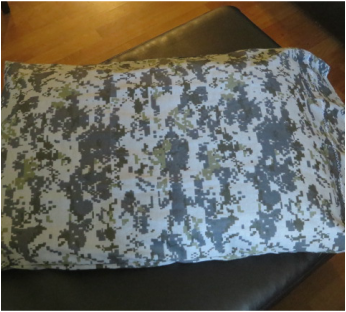
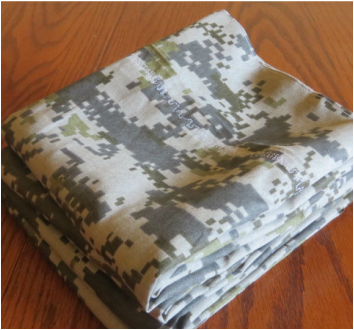
Now, here is the finished look! I hope the girls like them! These would make great gifts for nieces, nephews and grandkids, too. Let me know if you give it a try! I hope my directions were easy enough to follow. Ask me if you have any questions.
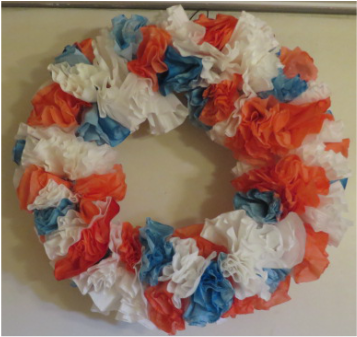
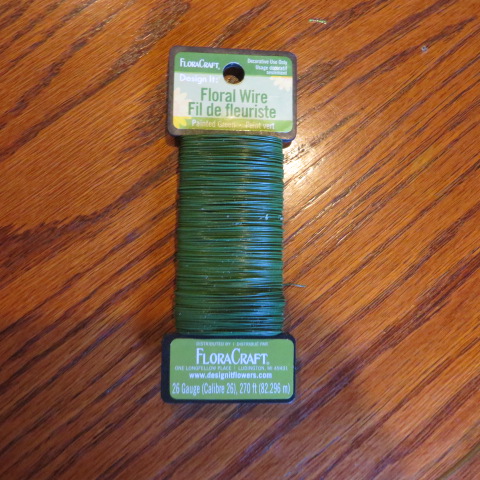
I am excited to wish you a Happy Fourth of July and show you this patriotic wreath I made, not only for the Fourth, but to decorate our cabin when I go to Girl's Camp next week! I talked about Girl's Camp in another post a couple of weeks ago.We have a BOOT CAMP theme, but I have also found out that the cabin I will be in is representing the Navy! I am so excited about that because so many symbols from the Navy lend themselves to spiritual thoughts (anchors, ships wheels, life preservers...) And also, the colors don't have to be camouflage, so red, white and blue will work great! This little patriotic wreath will be a great addition to our nautical cabin decorations! Here are the supplies you need:
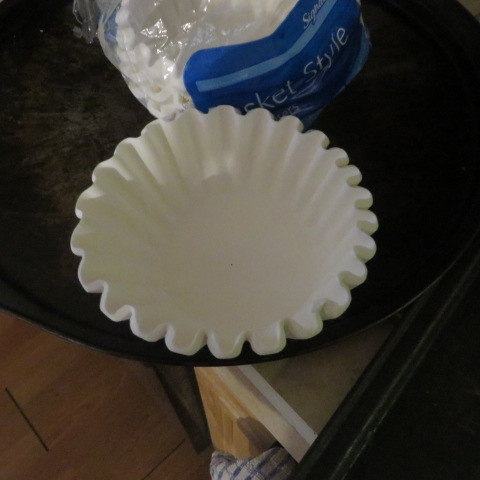
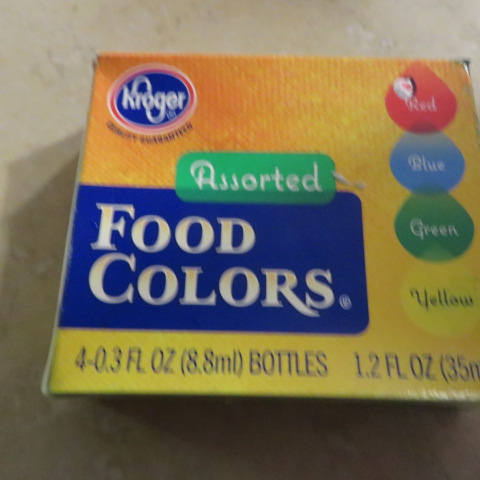
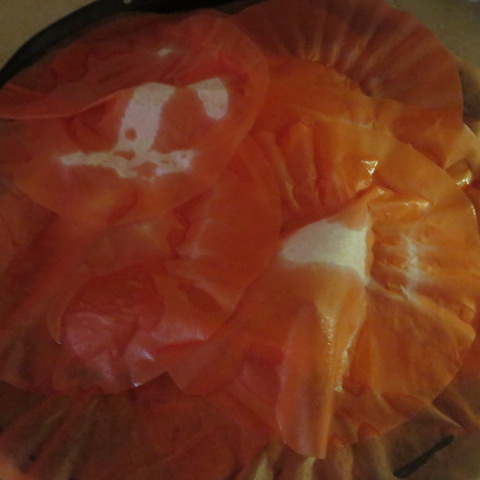
I had used the coffee filters for a craft project with my kids at school. I had nearly a full package left and I used all of it for this project. I used the food coloring mixed in water to dye the filters the color I wanted. Here is the process:
Because I live in Phoenix, AZ, just placed the entire tray of each color outside for about 1/2 an hour until they were pretty dry. (Hint: When the filters start blowing around the yard, you know that they are dry. Ha Ha)
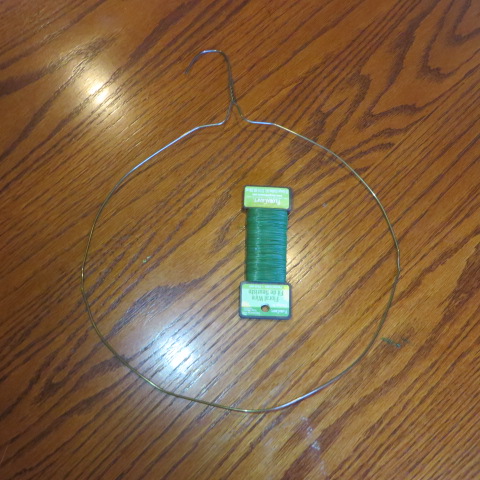
Next, using two filters together, You gather them up from the center into kind of a flower and start wiring them onto the hanger by wrapping:
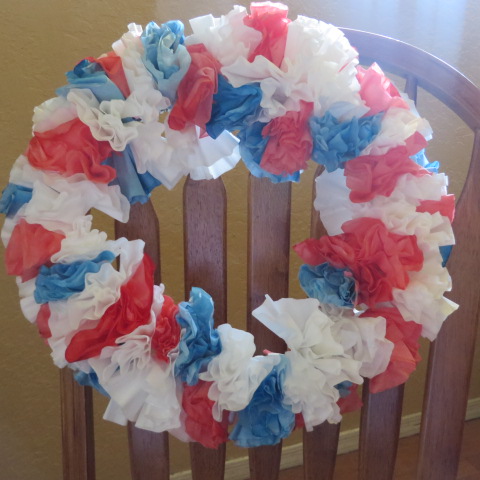
I wired on a few more filters to fill it out, and here is the end result!
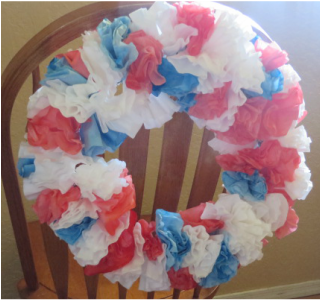
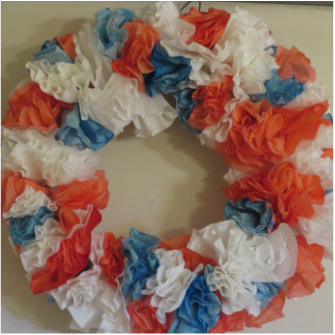
This is a simple, yet fun craft that can really be done in any color scheme. I have seen some beautiful examples of this that have been tea dyed. I am sure this patriotic wreath will add some pizzazz to our cabin at camp!
Have a wonderful Fourth everyone. Remember why we celebrate! Let Freedom Ring! |
Creators of Hot Cocoa Bombs! (copyrighted)

Author
Helen Reynolds: Mother of six children , grandmother to eleven! I love to cook, craft and create things and I especially love doing that with my family, So, when my lawyer daughter, Lindsey, my artist daughter, Madalynn, and I came up with the idea of Hot Cocoa Bombs, this blog was born. Then, one more daughter, with her technical and science skills, plus creativity has joined in to round us out! Read more about us here! 
Click this link and visit 3WinksDesignShop on Etsy. Find our Hot Cocoa Bomb Idea Book, our For the Love of PIe e-book and more of our creations!

Amazon Gift Cards are the Perfect Gift!
    Archives
April 2024
|


 RSS Feed