3 Winks Design
  • Home
  • About Us
    • Contact Us
  • Printables
  • Where I Party
    • Places Featured
  • Contests
    • Writing Challenge
  • From Cover to Reel
    • Show Notes

The Case For Pillowcases!

7/5/2016

1 Comment

 
Picture
Picture
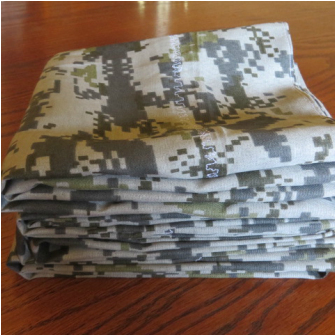
          The last push to get ready for camp next week is going strong.  I have a few girls who I am directly in charge of that I wanted to do something special for. I decided to make them pillowcases for their bunks at camp! Pillowcases are super easy to make and can add a lot of punch to a bedroom's decor and theme.  So, here are some instructions for making them if you have never made a pillowcase before.  When you just can't find the right sheets to go with a bedroom theme, making your own pillowcases along with some plain colored (and less expensive) sheets could be just the trick.
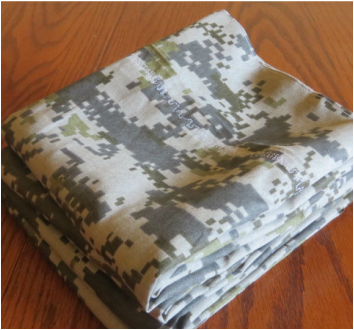
     I found this camouflage fabric at a fabric warehouse near us called SAS.  They have so many things at reasonable prices, especially if you have to make a large quantity of something.
Picture
        To begin, I used a pillowcase that I already had as my pattern.  I laid it out with the bottom on the fold of the fabric.  You may want to refold your fabric from vertical to horizontal to get the print in the direction you want it to lay on your pillow.  Allow about 5/8" seam allowance on each side of the case.  At the top where the opening is, you will want a deep pillowcase hem, so cut it about 5" longer than your pattern case.
      Because a pillowcase will have pillows slid in and out of it many times, potentially causing fraying, I wanted to make the inside seams very well protected from fraying.  I do not own a serger, so I gave my cases french seams like this:
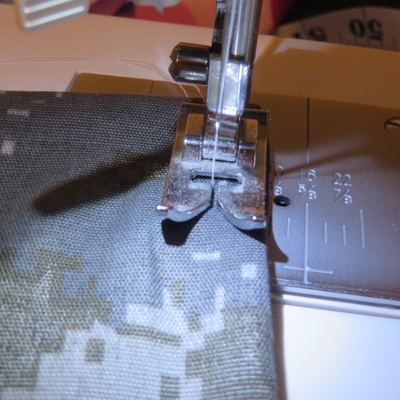
With wrong sides of the fabric together, sew the side seams about 1/8" wide.
Then, turn the case inside out and sew the side seam again about 1/4" wide. I always use my sewing machine foot as a guide. You can also feel through the fabric where the edge of the first part of the seam is so that you make sure you are sewing just wider than it. You want to catch the first seam inside of this second seam.
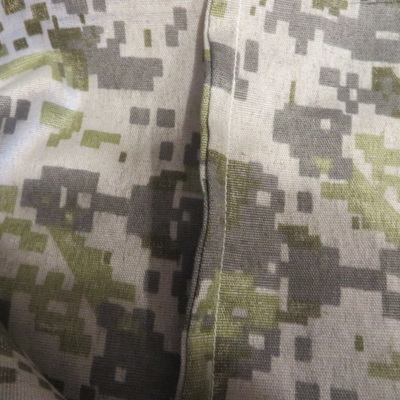
On the inside, your finished seam will look like this. See! No frayed edges!
On the outside, you have a nice clean seam as well.
      Now you are ready to finish the top edge of the pillow case.  Since I was making a bunch of these for camp, I didn't use my iron. (Don't tell my mother!) But, just a warning, for nice crisp edges and points, it is important to use an iron whenever you do a sewing project.  In this case, I just did a lot of finger pressing.
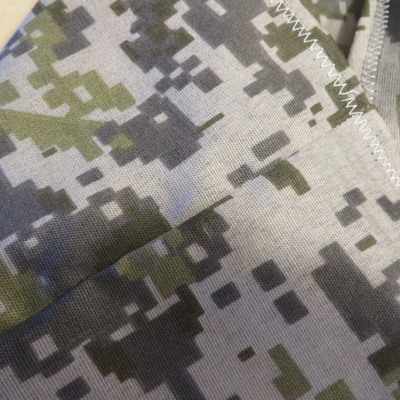
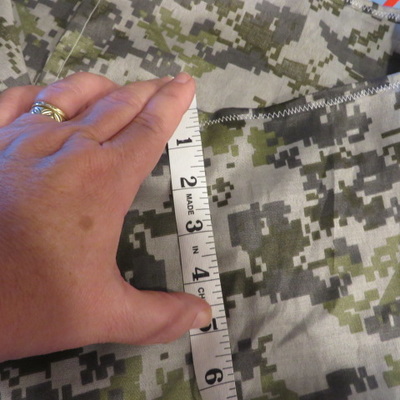
      I started by turning down 1/4" of the top edge of the fabric and zig-zagged a small hem, once again, to get rid of the fraying.  Then I measured a 4" hem and pinned it in place all around the top, like this:
(Remember to click on the pictures for directions!)
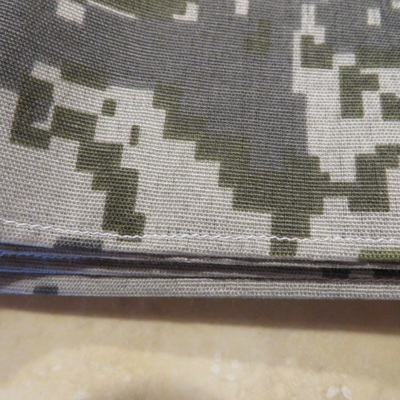
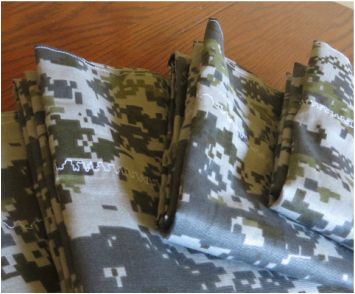
Here is the 1/4" zig-zagged finished edge.
4" is a pretty standard depth for a pillowcase hem. Just fold it in and pin it all around.
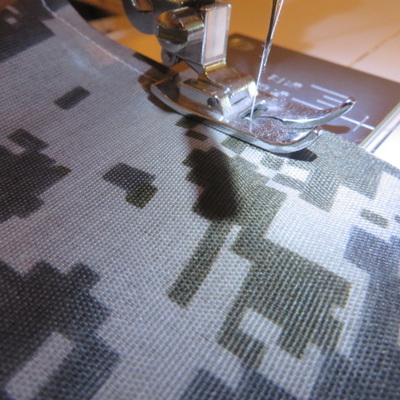
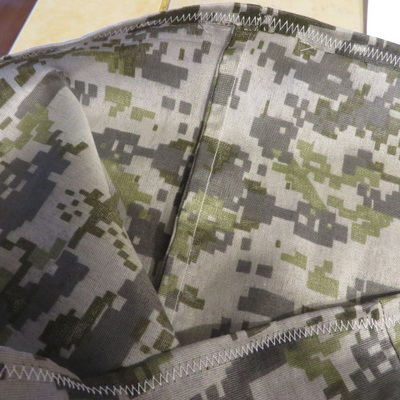
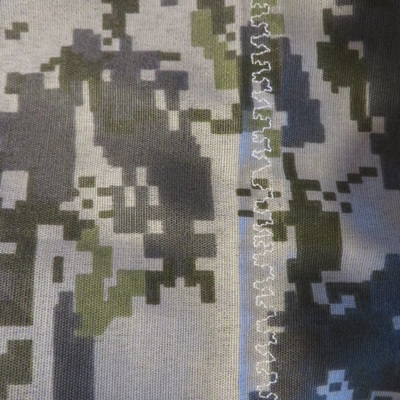
After it is pinned, sew around on the bottom edge of the hem. I chose a decorative stitch that seemed to mimic the camouflage pattern. You can use a straight stitch or any style you would like. Just try to keep it straight and catch in the entire bottom of the hem.
Then, along the top edge of the pillowcase, I top stitched along the very edge to help it have a clean finished look that shouldn't lose its shape after many washings.
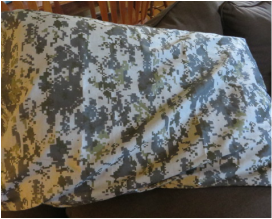
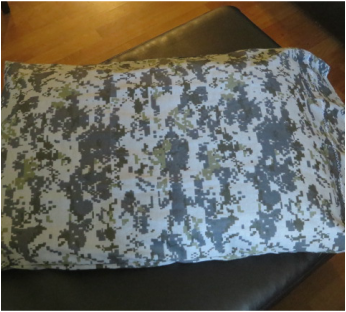
     Now, here is the finished look! I hope the girls like them! These would make great gifts for nieces, nephews and grandkids, too.  Let me know if you give it a try! I hope my directions were easy enough to follow.  Ask me if you have any questions.
Picture
Picture
Picture
1 Comment
Ruth
7/5/2016 12:45:31 pm

very cool!

Reply

Your comment will be posted after it is approved.


Leave a Reply.

    Picture
    Creators of Hot Cocoa Bombs!  (copyrighted)
    Subscribe to Our Email!
    Picture

    Author

    Helen Reynolds: Mother of six children , grandmother to eleven!  I love to cook, craft and create things and I especially love doing that with my family, So, when my lawyer daughter, Lindsey, my artist daughter, Madalynn, and I came up with the idea of Hot Cocoa Bombs, this blog was born.  Then, one more daughter, with her technical and science skills, plus creativity has joined in to round us out!  Read more about us here!
        

    Picture
    Click this link and visit 3WinksDesignShop on Etsy. Find our Hot Cocoa Bomb Idea Book, our For the Love of PIe e-book and more of our creations!
    gluten free gifts
    Shop Party Favors @ Beau-coup.com


    Weebly - Websites, eCommerce & Marketing in one place.

    RSS Feed

    Archives

    March 2023
    February 2023
    January 2023
    December 2022
    November 2022
    October 2022
    September 2022
    August 2022
    July 2022
    June 2022
    May 2022
    April 2022
    March 2022
    February 2022
    January 2022
    December 2021
    November 2021
    October 2021
    September 2021
    August 2021
    July 2021
    June 2021
    May 2021
    April 2021
    March 2021
    February 2021
    January 2021
    December 2020
    November 2020
    October 2020
    September 2020
    August 2020
    July 2020
    June 2020
    May 2020
    April 2020
    March 2020
    February 2020
    January 2020
    December 2019
    November 2019
    October 2019
    September 2019
    August 2019
    July 2019
    June 2019
    May 2019
    April 2019
    March 2019
    February 2019
    January 2019
    December 2018
    November 2018
    October 2018
    September 2018
    August 2018
    July 2018
    June 2018
    May 2018
    April 2018
    March 2018
    February 2018
    January 2018
    December 2017
    November 2017
    October 2017
    September 2017
    August 2017
    July 2017
    June 2017
    May 2017
    April 2017
    March 2017
    February 2017
    January 2017
    December 2016
    November 2016
    October 2016
    September 2016
    August 2016
    July 2016
    June 2016
    April 2016
    March 2016
    February 2016
    January 2016
    December 2015
    November 2015
    October 2015
    September 2015
    August 2015
    July 2015
    June 2015
    May 2015
    April 2015
    March 2015
    February 2015
    January 2015
    December 2014
    November 2014

Proudly powered by Weebly
  • Home
  • About Us
    • Contact Us
  • Printables
  • Where I Party
    • Places Featured
  • Contests
    • Writing Challenge
  • From Cover to Reel
    • Show Notes