|
I was compensated for this post. This post also contains affiliate links and I will be compensated if you make a purchase after clicking on my links 
One of our favorite affiliate partners is Dollar Tree! Who doesn't love to go to Dollar Tree and find cute little things for decorating, baby showers and weddings, all for just a dollar? Well, now that the holidays are upon us,Dollar Tree has you everything you need to make special, personalized Christmas ornaments. I was looking at their online site and in the toy section and I was inspired to make some ornaments and/or package tie-ons for my family's Christmas packages this year! We decided it would be great to make a video showing just how I made them. They are easy and super cute. Here are a few photos of what I started with. Clicking the pictures will take you to the link. Remember, if you want to buy in bulk, you can have your order shipped for free to the store nearest you. 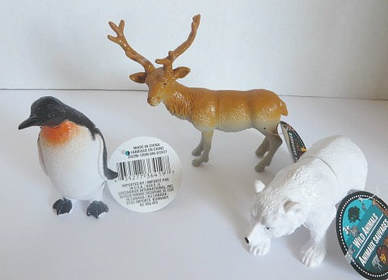
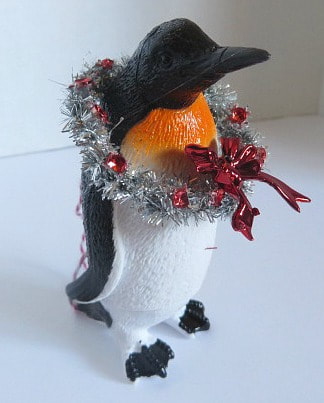
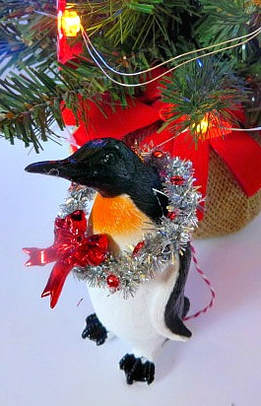
They have some really cool, largish arctic animals. I chose the reindeer, polar bear and penguin. You can buy them one at a time in the store or a case of 36 online.
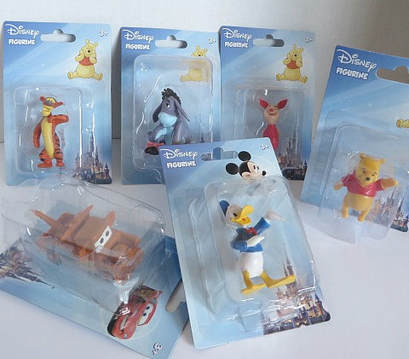
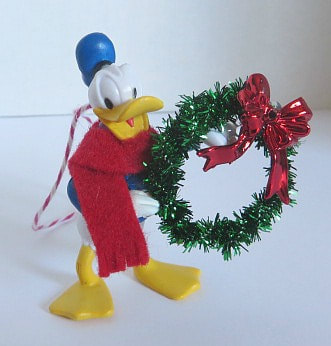
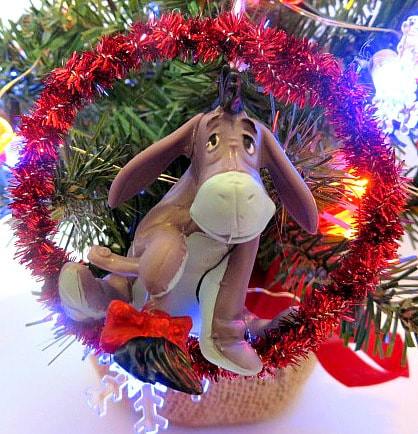
Dollar Tree also has these fun Disney figurines! You can get these individually in the store or a case of 24 online.
Now, here is the video showing you what I did with them. I hope you enjoy it and please like our YouTube Channel when you get the chance!
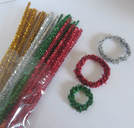
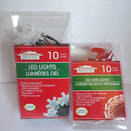
Here is a list of other products, besides the figurines, that I purchased from Dollar Tree to make these ornaments:
Of course, I also used a glue gun, a little paint, and other supplies I have in my stash. For example, I had little wooden snowflakes already, but if you don't have any, Dollar Tree does have some little cute, stick on snowflakes or Christmas stickers that you could substitute that would work great! Just look around the store or online site and you are bound to find just what you need to personalize your ornaments.
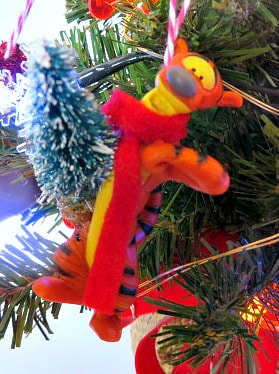
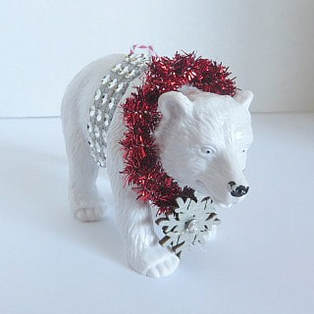
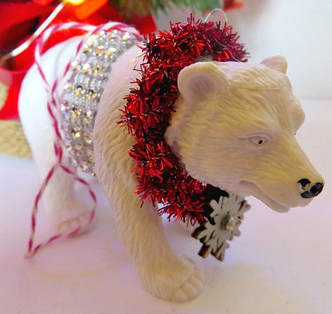
Here is kind of a funny personal story. I told my son that I was teaming up with Dollar Tree and making Ornaments out of toys. He looked at me with skepticism, but when I pulled out the Polar Bear ornament and showed it to him, his eyes got wide and he said, "Oh wow! I want that one!" Then I pulled out the reindeer and he said, "Wait, I want that one, or Spencer does (my grandson)." Soon, he had decided which ornaments should be for himself, his wife and son. I call that a stamp of approval! I have to say that the polar bear is my personal favorite! I'll end with a few more photos of the finished products. I hope that you enjoy them and head over to Dollar Tree and give them a try yourself. Or, if you have a lot of ornaments to make, order online! These would be great at a Christmas Craft sale! Have Fun!
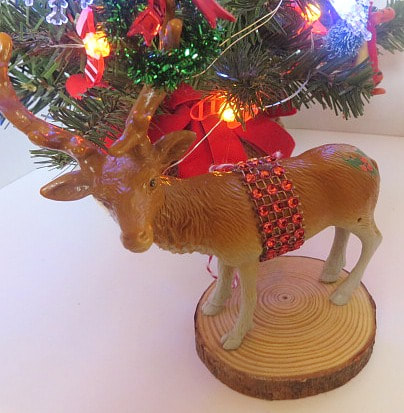
You will notice that I used paint to help decorate some of these ornaments. On the reindeer, I painted holly on the rump!

16 Comments
This post contains affiliate links and we will be compensated for purchases made through our links. Thank you for your support!
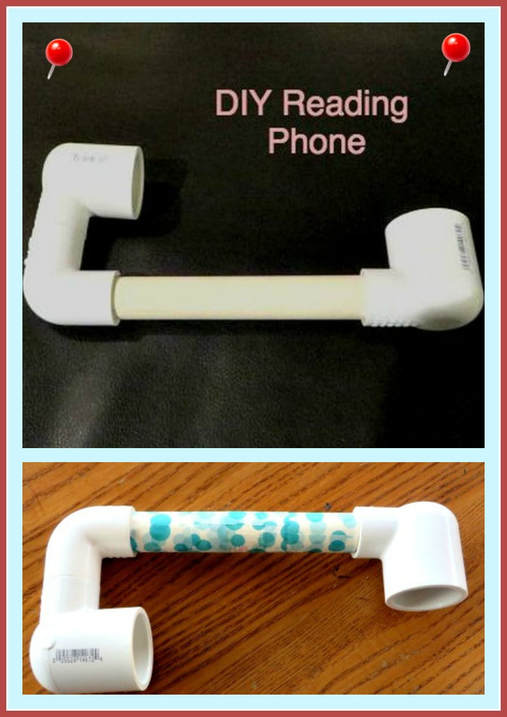
Have you ever known a child who just didn't enjoy reading and perhaps struggled a little with it. Maybe getting them to practice was difficult, yet you knew that if they would practice, their reading would improve. I gave you this DIY last year, but I feel it is a timely subject at this time in the school year. If you didn't get a chance to see it last year, I hope it is of benefit to you now. Now that school has been in for a little over a month, perhaps you are looking for a way to keep the fun in reading after the newness has worn off. Here is a reading phone that you can make that will help make reading fun for emerging readers. I have seen them used in classrooms, and you can even purchase them ready made, (and here) but they are simple and inexpensive to make and I will also list some tips about how to use them.
Supplies Needed And Reading Phone Assembly:
To make the reading phone, you will need the following supplies from your building supply store:
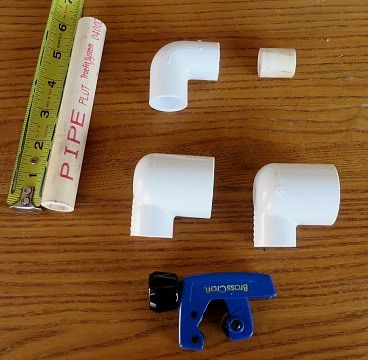
1/2" pvc pipe cut 5 3/4" long
1/2" pvc pipe cut 1" long 1-1/2" elbow 2-1" x 1/2" elbows (check your local home store) a pipe cutter to cut the lengths a tape measure Decorative duct tape or washi tape.
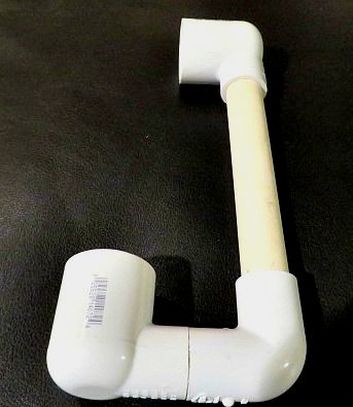
Here are the pieces arranged the way they go together:

We just shoved them together without any glue. They fit nice and tight. I had my husband pull this one apart so that we could photograph it, it was a difficult task because they fit so snugly. I guess if you want to glue them, you can, but if they come apart, you can just stick them back together.
Now, of course, you have to beautify your phone. I used colorful duct tape and/or washi tape on ours. You can get all kinds of colorful duct tape from Dollar Tree. They also have this colorful tape that I just found!

Here is a little slide show showing how our reading phones turned out.
How to Use the Reading Phone and Encourage Reading:
You really can hear your own voice well when you speak into these phones. Your kids will love that and will be able to read to themselves without feeling distracted by what else is going on around them. If you have a classroom of kids, the reading phone helps each child be able to focus on what they are reading instead of hearing everyone else. Here are more tips for using reading phones and encouraging reading:
*Use reading phones to improve fluency in your reader. Set a timer for 1 minute and have them read into the phone when you say "Go!" See how far they can get in that 1 minute. Have them read the same passage again and see if they can improve their score. Fluency helps with comprehension. So, it is important to improve fluency in young readers. Kids will love "racing" against the timer (not against each other) and seeing themselves improve. *Use the phone to read to each other. If you have two children, they can pretend they are having a conversation on the phone, but are actually reading. If you only have one child, you can get in on the act and model fluent reading. You can trade one page at a time, or one paragraph or even a sentence. This is also a good way for your child to learn to define what a sentence or a paragraph is. *Encourage your child to read in a silly voice. They will love hearing themselves read like a robot or a monster. As I said before, you can really hear your own voice well through the reading phone, so it will be very funny for them. *If your child also is working on their speech, these phones can help them hear how they are pronouncing words and then make corrections. *Most of my grandchildren live far away from me. I enjoy talking to them on Google Hangout. I am going to ask them to hold this phone to their ears and read to me over the internet. I think that they will like that since I am giving them these phones, they will be able to show me how they can use them! *Remember to let your kids read what they enjoy! The main idea is to get them reading! Also, read to them. Nothing encourages a love of reading more than being able to spend one on one time snuggling with Mom or Dad and reading and talking together about what you read. Make reading a pleasant experience for them and let them see you reading and enjoying it. *Take them to the library! Kids love an outing and libraries are so much fun. They can take their phones with them and read quietly but still hear themselves.
I hope these tips are helpful to you! I love helping kids gain a love of reading! If you think of more uses for these little phones, let me know! (Clonking each other on the head with them doesn't count!)
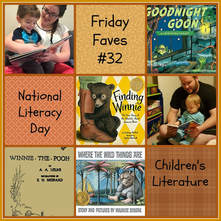
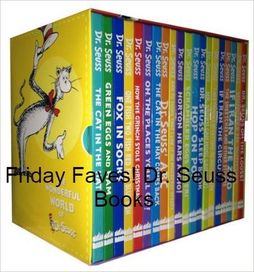
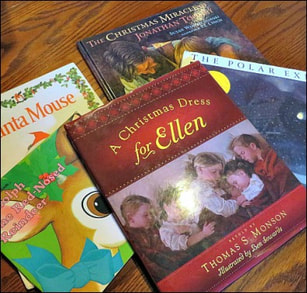
Here are some other posts about reading and books that we love that may help you to encourage a love of reading in your kids!

I was compensated for this post. This post also contains affiliate links and I will be compensated if you make a purchase after clicking on my links.
Hey, Alicia here with another party post. I kind of took a hiatus with the party posts because we have moved to a much smaller place that has made it a bit more difficult to party. Fortunately, we have settled in and I can get back to partying all the time (or until the baby comes).
Halloween is coming up faster than we may realize. So, for this month we decided to help you get a head start on your Halloween party plans by suggesting the 5 Things You Need for a Halloween Party!
Costumes
Scary, sweet or quirky costumes are a must! Be sure to include this on your invitations so your guests are not unsure of what you expect. I personally love the creative costumes people come up with. You could encourage people to dress up by including a costume contest with a prize.
It might be nice to have some easy things like animal ears/tails, vampire teeth, makeup, etc available for guests who couldn’t come up with a costume or show up costumeless. Dollar Tree has lots of costume accessories that make it easy to keep your costume stash stocked up!
If you’re still struggling to come up with a costume idea stay tuned later this month and season because we’ve got some fun costume ideas in the works!

Treats
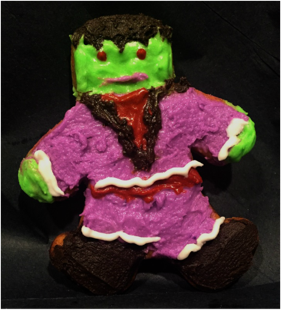
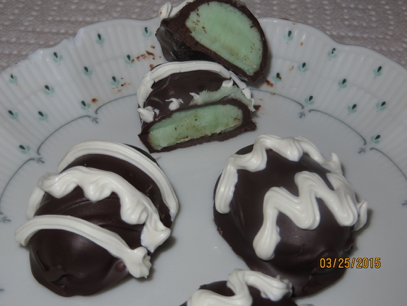
What would Halloween be without binging on your favorite sweet snacks? Besides the obvious choice of your favorite store bought candies (I love Reese’s Cups), some homemade treats can also make your party special. Check out our Halloween Brownie Bombs, Halloween Gingerbread Men, and Dipped Chocolates. The Dipped Chocolates are from an Easter tutorial, but can be decorated for Halloween in a similar manner as the Brownie Bombs!
Drinks
As the weather will be cooler by Halloween (at least in the Northern Hemisphere) it’s the perfect time to make some Hot Coco Bombs and have them available for your guests to enjoy. Find the link to the booklet here. It won’t be available for free for very much longer so grab it before it’s gone!
Some other drinks to include:
Have cute little signs by your drinks so your guests can know they aren’t just drinking plain punch.
My mom has also got some more yummy drinks in the works, so be sure to come back if these spooky drinks don’t tickle your fancy.
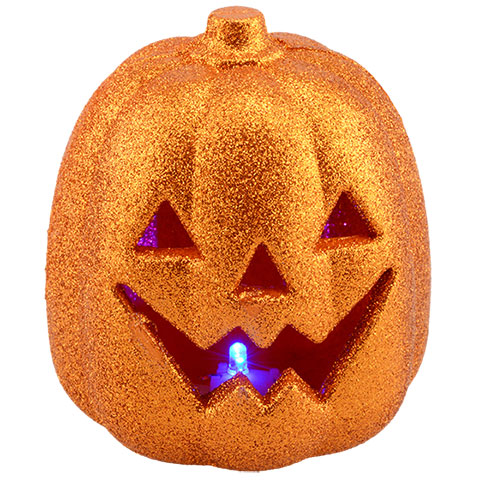
Decorations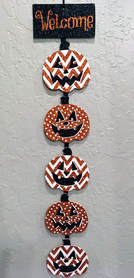
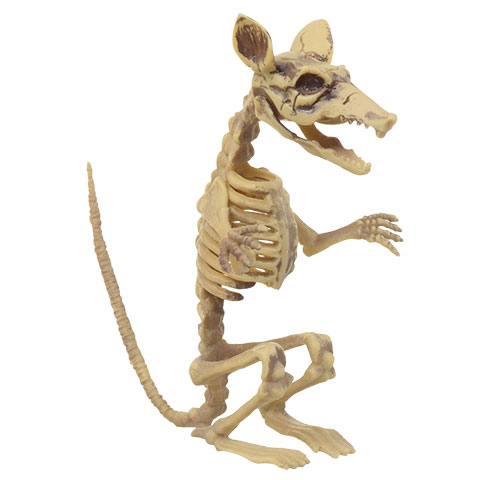
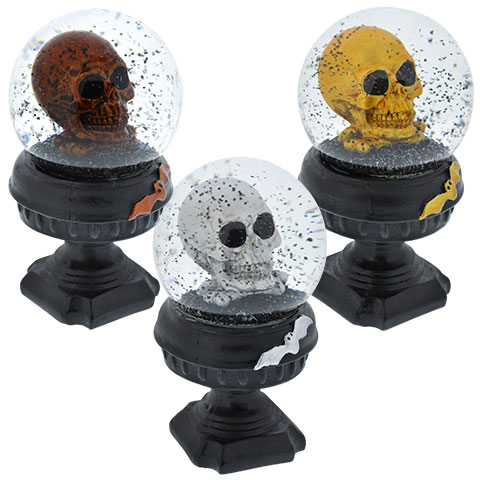
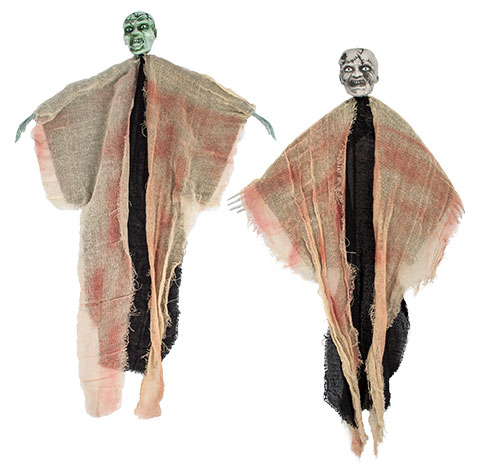
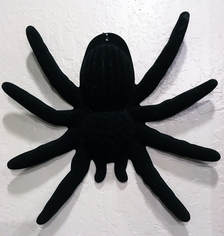
Whether you are doing a spooky party or a fun Halloween party (perhaps a kids party) decorations are a must. Dollar Tree has decorations for both types of parties. My mom recently bought this cute hanging pumpkin sign to decorate her home for Halloween. I, on the other hand, bought some spider webs and a giant spider to decorate my home. They also had skeletons, bats, witches and more to decorate with. In both cute and scary varieties. It’s a great place to stock up on decorations without breaking the bank.
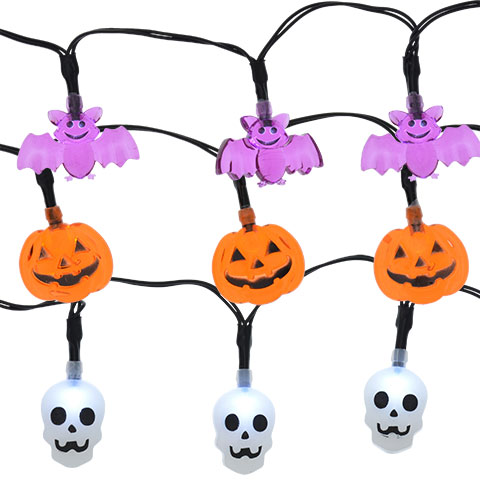
An assortment of the spooky decorations available at Dollar Tree!

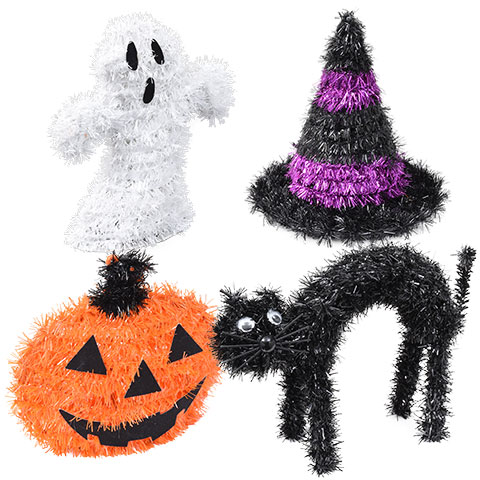
Inside her chalkboard pumpkins would work great for either a spooky or friendly Halloween party. Paint little chalkboard pumpkins to be the signs for your treats and beverages!
An assortment of cute Halloween Party Decorations from Dollar Tree!
Music
Maybe it’s because my husband is a sound guy, but I feel music is so important to set the tone of a party. It’s great to have something playing in the background. We belong to Amazon Prime and it makes it super easy to get the perfect party music. When you belong to Amazon Prime you get access to Prime Music which comes with premade playlists at no extra cost to you. Some great Halloween playlists I’ve found on Prime music are Kids Halloween party music, Halloween Party Music, & Halloween Dance Party. They also have playlists that have Haunted House sounds and Creepy Horror Music Scores.
Surely whatever kind of music you are looking for to set the mood of your party, you can find it on Amazon.
Some classic songs I think are perfect for a party are:
So, there you go! The 5 things that you must consider when planning a Halloween Party! Dollar Tree is the perfect resource to stay in your budget, plus DIY always adds to the fun! So have fun with it and get planning YOUR epic party! Don’t forget to let us know how it goes!
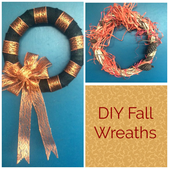
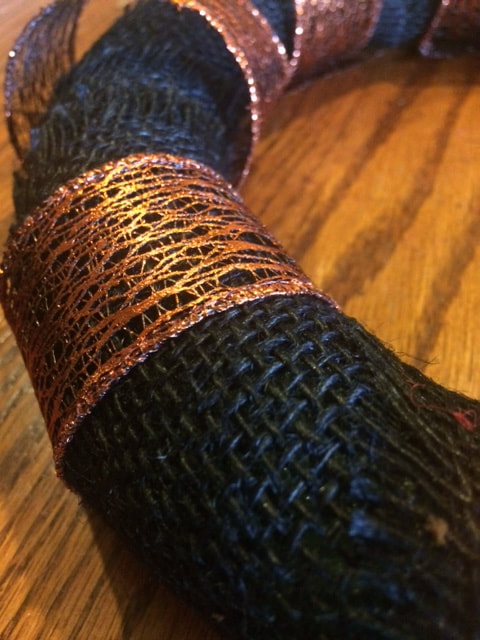
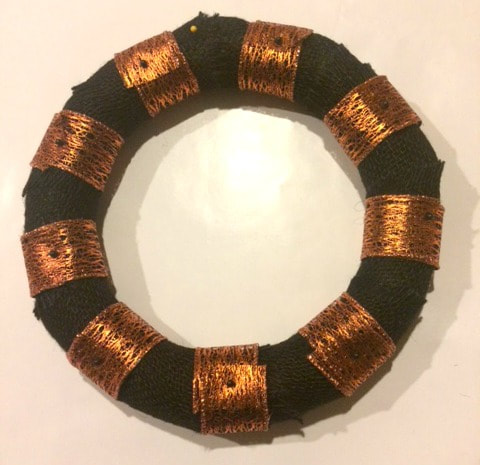
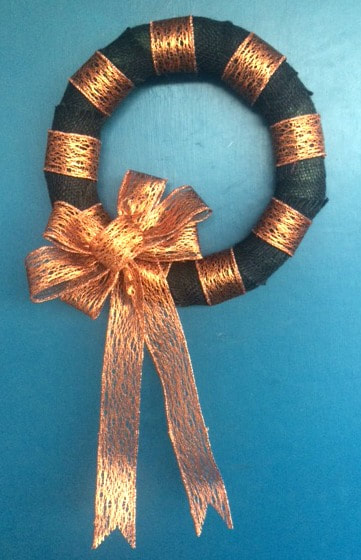
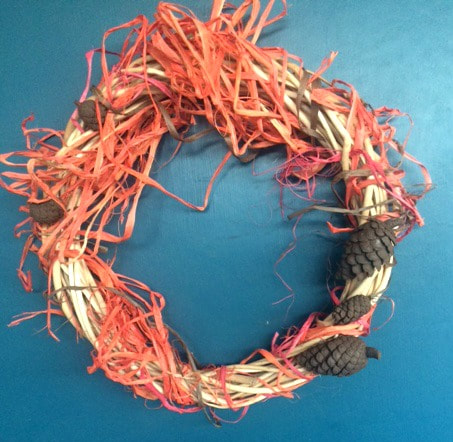
This post contains affiliate links and we will be compensated for any purchases you make.  I told you I would be back with some more fall decor and here I am! Personally, I find decorating the outside of my house for each season and holiday to be more difficult than the inside. There's just a lot less space to work with and resources can be limited. You really need to be able to find ways to utilize vertical space. That's why wreaths are perfect! They take up virtually no space and just hang up right on your door, while still adding an adequate amount of festivity to your front porch. That's why today I am going to share two fun options for you to diy! 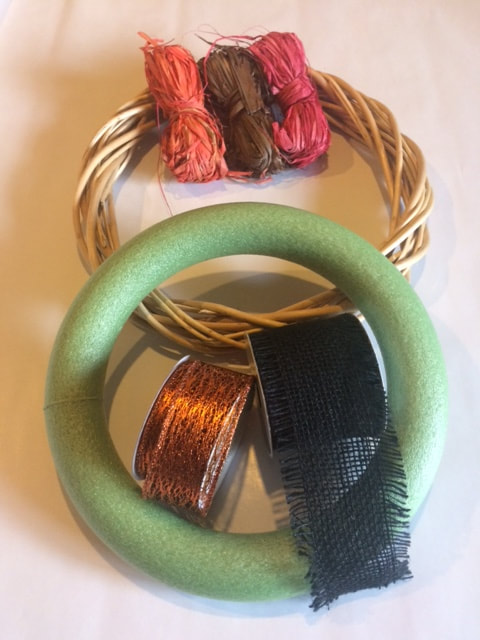 For both of the wreaths, I used wreath bases I purchased at Dollar Tree. For one of the wreaths you will need some fall colored raffia, which can also be found at Dollar Tree, as well as some Halloween or fall colored ribbon. You will also need some pine cones. I just picked mine up right off the ground and painted them brown with acrylic paint.  The first wreath is just a generally fall inspired wreath. I used the wooden wreath base and loosely wrapped orange raffia around the whole thing, adding a couple strands of pink and brown for variety and depth. The ends are just tucked up underneath pieces of wood. 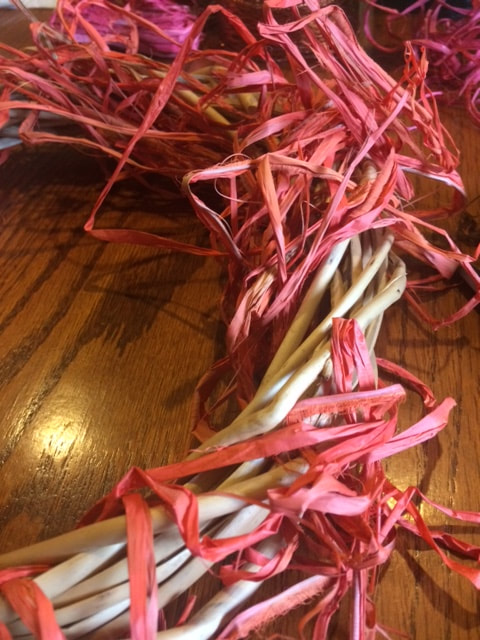 Once the raffia was arranged in a way I liked, I used hot glue to attach the pine cones. I placed them in a way to even out the heaviness of the raffia. Raffia can be a little messy to work wit, but it is well worth it for the beautifully natural and rustic appearance it gives. This wreath will be perfect to keep up all fall long!  I made the second wreath very Halloween-centric, but if you'd like to keep it up the whole season it will look just as cute with general autumn colored ribbon. I began by wrapping black burlap ribbon around the foam wreath. For this project I decided to just use pins to hold the ribbon in place. This made it easier to adjust things to my liking as I went. So I pinned the black ribbon in place and then cut the orange ribbon into 9 strips. Spacing them out evenly, I wrapped the orange ribbon around the wreath in rings, pinning them in place. While the wreath is very cute just with the plain stripe look, I thought a nice bow would really complete the look. I made one out of the orange ribbon and used a pipe cleaner to attach it to the wreath. It's amazing what a difference a single bow can make! This wreath makes an excellent addition to any Halloween inspired porch. Making these fun little wreaths has definitely given me inspiration for some outdoor decorations, so keep your eyes peeled for some more diy fall fun! If you make any of our fall or Halloween crafts, be sure to post a picture and tag us on social media. Let us know in the comments which wreath is your favorite!
|
Creators of Hot Cocoa Bombs! (copyrighted)

Author
Helen Reynolds: Mother of six children , grandmother to eleven! I love to cook, craft and create things and I especially love doing that with my family, So, when my lawyer daughter, Lindsey, my artist daughter, Madalynn, and I came up with the idea of Hot Cocoa Bombs, this blog was born. Then, one more daughter, with her technical and science skills, plus creativity has joined in to round us out! Read more about us here! 
Click this link and visit 3WinksDesignShop on Etsy. Find our Hot Cocoa Bomb Idea Book, our For the Love of PIe e-book and more of our creations!

Amazon Gift Cards are the Perfect Gift!
    Archives
May 2024
|


 RSS Feed