|
This post contains affiliate links. If you make a purchase after clicking them, we will be compensated, but there is no additional cost to you. All opinions expressed are our own. Thank you for your support.  In September, my husband and I were able to get away from it all and spend some time with old friends at a time share in Park City, UT. It was so much fun! I hadn't spent a lot of time in Park City, except to go snow mobiling with a friend in 1978! Other than that, we had always driven past it and said, "There's Park City! I went snow mobiling there once!" Trust me, the place had changed since the 70s. We spent some time on main street, we rode on the Heber Creeper (a train), and ate at some really good restaurants. We spent a lot of time finding places to park because Park City does not live up to its name in that department. Mostly we played games and talked and caught up with our friends. 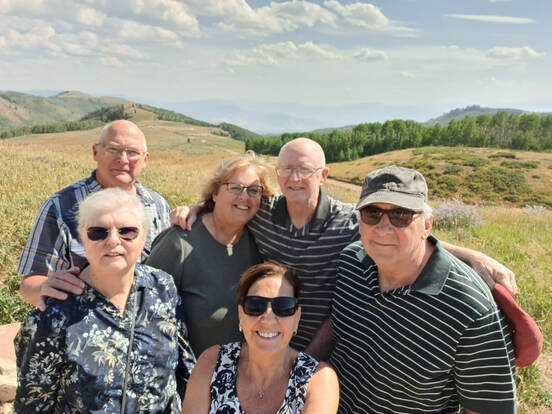 My friend Kathy, on the left, is quite the seamstress, quilter and other handcrafter! When we entered the time share condo, (my husband and I were the last ones to arrive), she had placed in our room some beautiful handsewn baskets, bags and pouches as little gifts! I was so touched and appreciative! All of the items are perfect for traveling, and I particularly loved the long, sort of boat shaped basket that ties up with ribbon, or unties to lay flat for packing. It was a perfect spot to hold my glasses at night and I have continued to use it for that on my bedside table at home. It is also the perfect size to hold a pen and some post-it notes! I am not above using it for my glasses and a pen and note paper all at once!
2 Comments
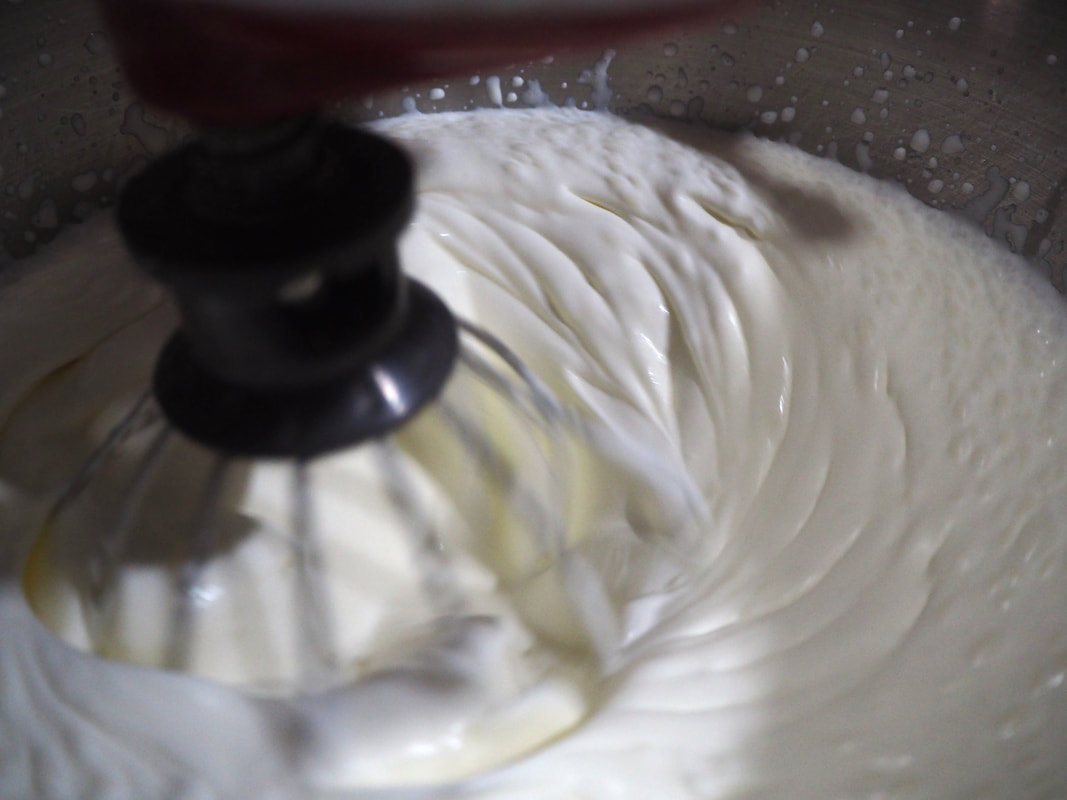
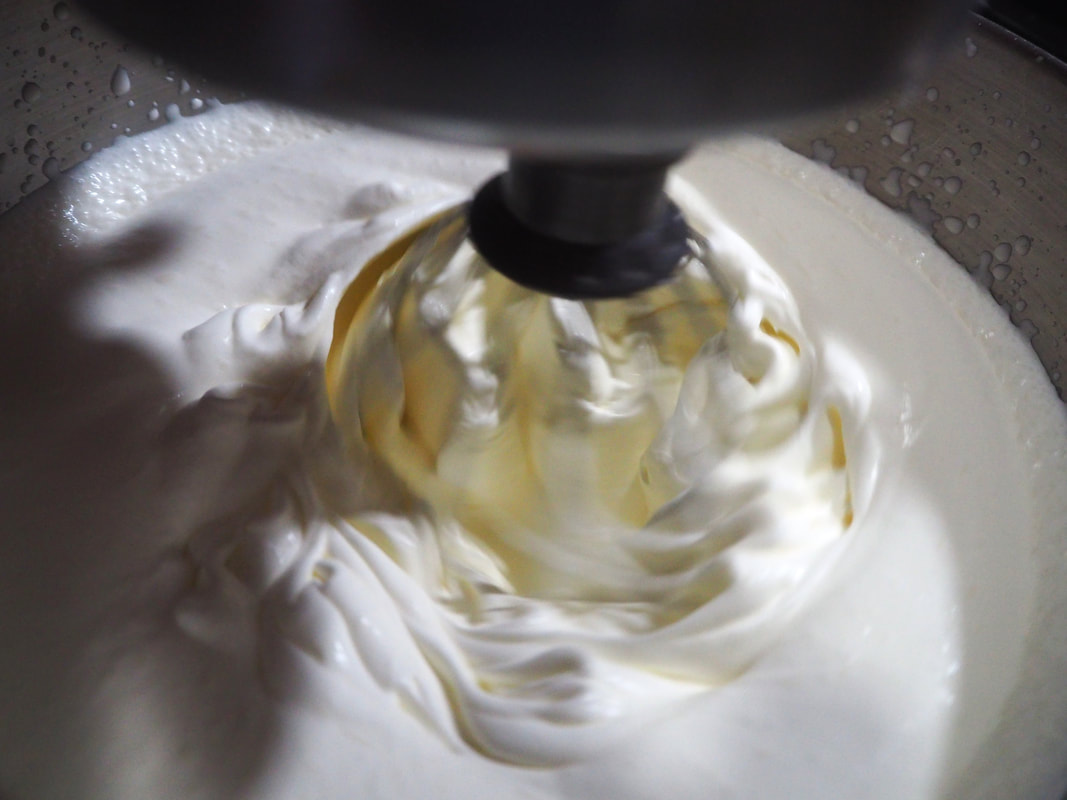
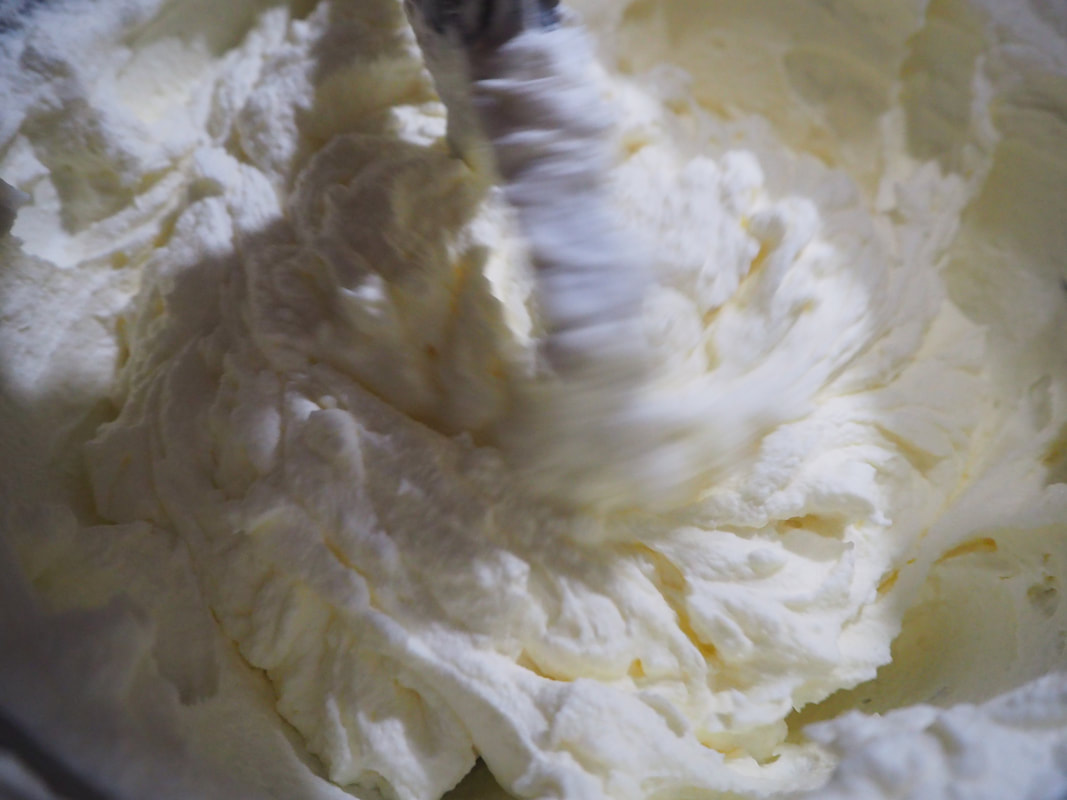
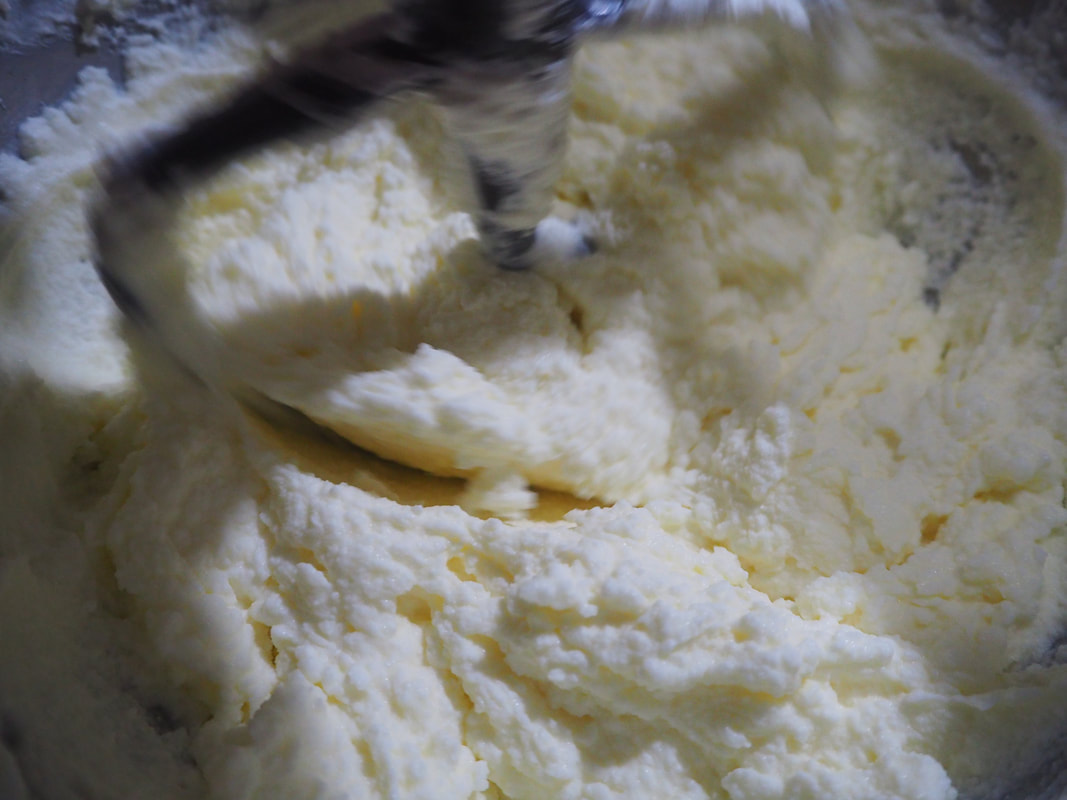
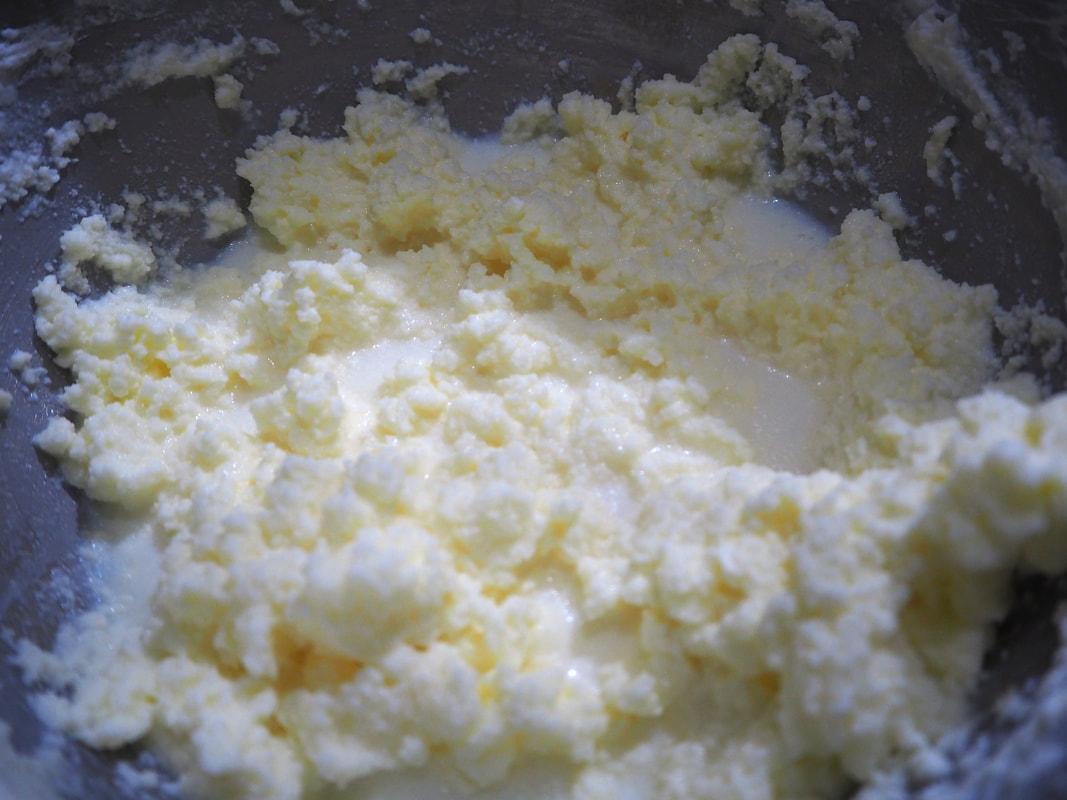
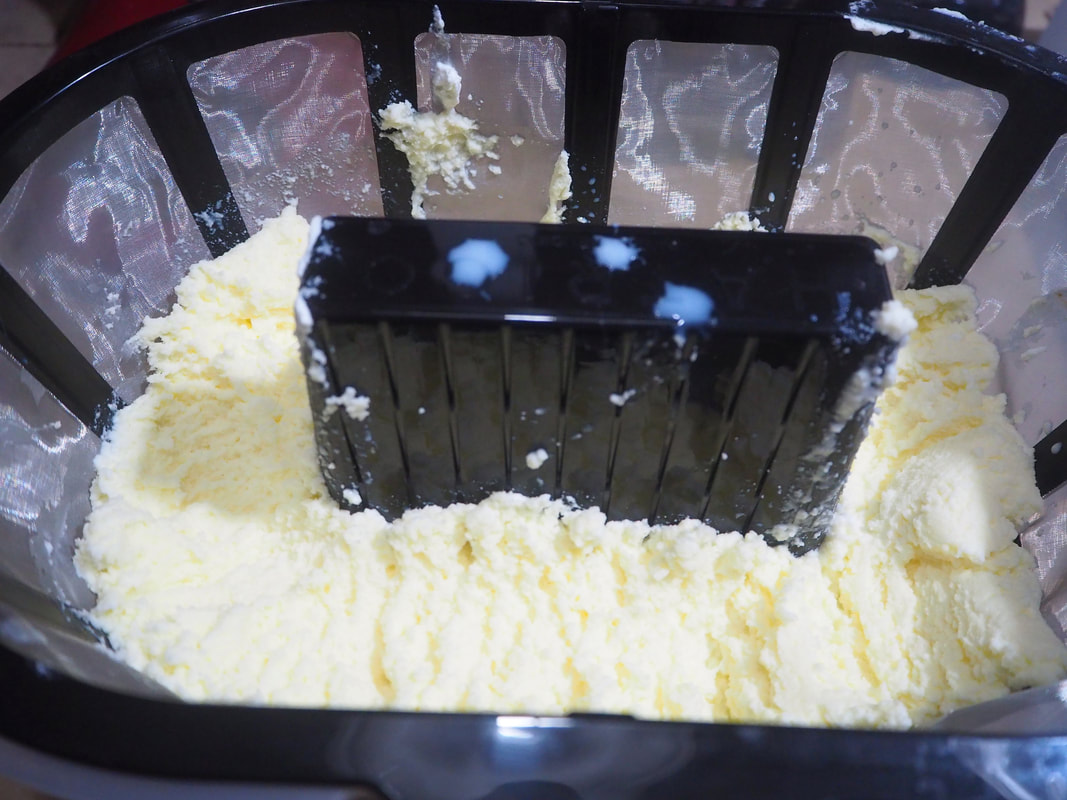
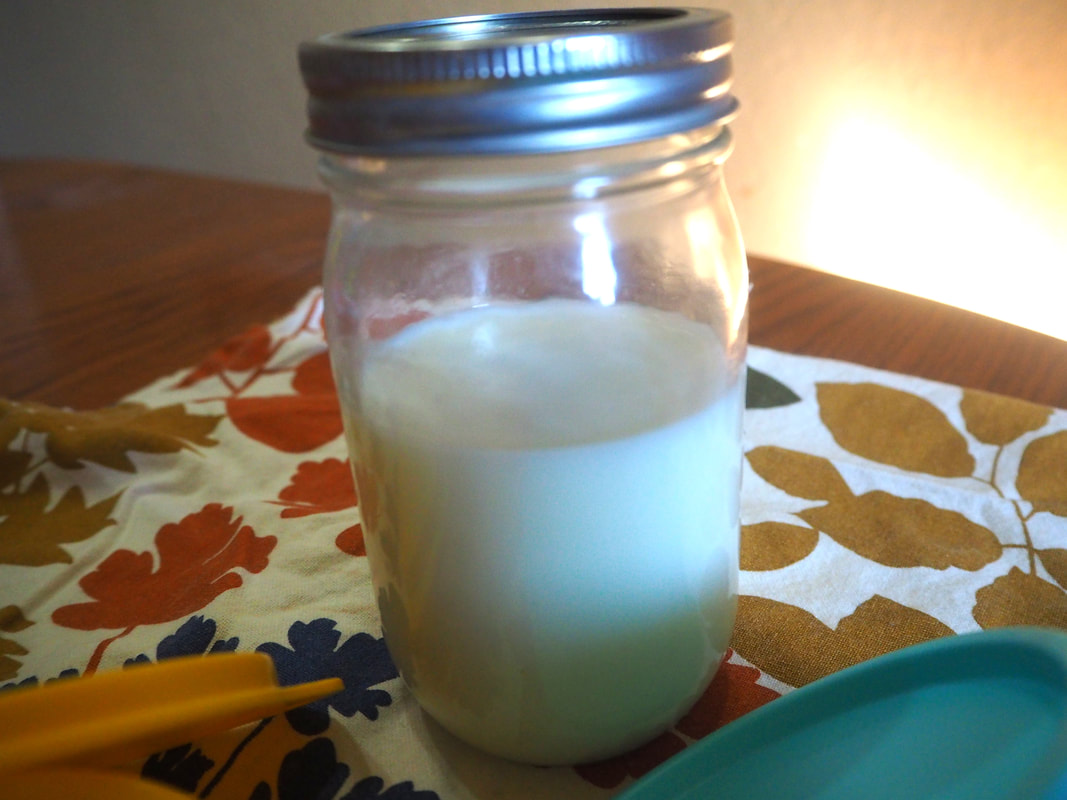
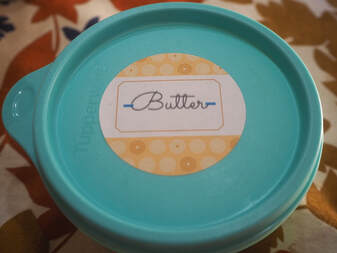
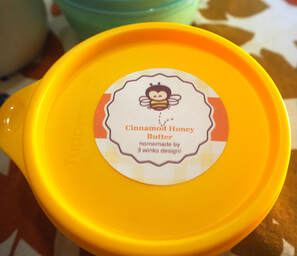
This post contains affiliate links. If you make a purchase after clicking them, we will be compensated, but there is no additional cost to you. All opinions expressed are our own. Thank you for your support.  Okay, first I have to tell you that I forgot to take some really good pics of these cupcakes before taking them to the baby shower that we threw for my extra daughter Charly. These were the practice ones. Do you see the liners in the back that are blue with polka dots? Those are the ones I used. 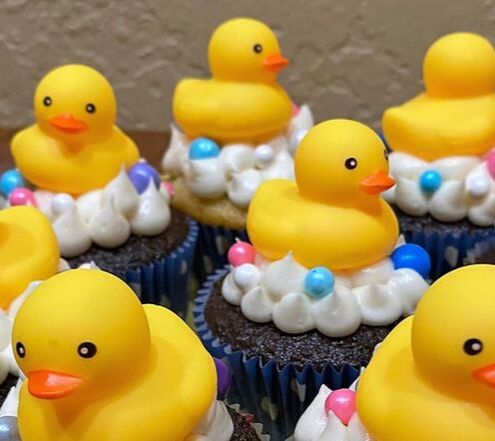 Charly and her husband are not finding out the gender of their baby until she gives birth, so we wanted a very neutral theme for her shower. Charly loved the Rubber Duck idea, so I looked on Pinterest of course and found this idea from Sweets & Treats. I hadn't heard of their company before this, but I fell in love with theirs large variety of sprinkle mixes and their cupcake liners keep such bright color after baking in them! I definitely recommend checking them out. They have some great items on their sale page as well! You know I love sprinkles and I can definitely use some new ones when Hot Cocoa Bomb Season begins! To decorate the cupcakes, I simply used a large circle piping tip to dot on frosting to look like bubbles. I enhanced the bubble look with large and small round candy sprinkles. Finally, I popped these rubber duckies on top! They were the perfect size for the top of the cupcakes. These rubber ducky cupcakes were definitely a hit and a centerpiece at the party. I love when treats are easy to make and pack a big punch!  This post contains affiliate links. If you make a purchase after clicking them, we will be compensated, but there is no additional cost to you. All opinions expressed are our own. Thank you for your support. 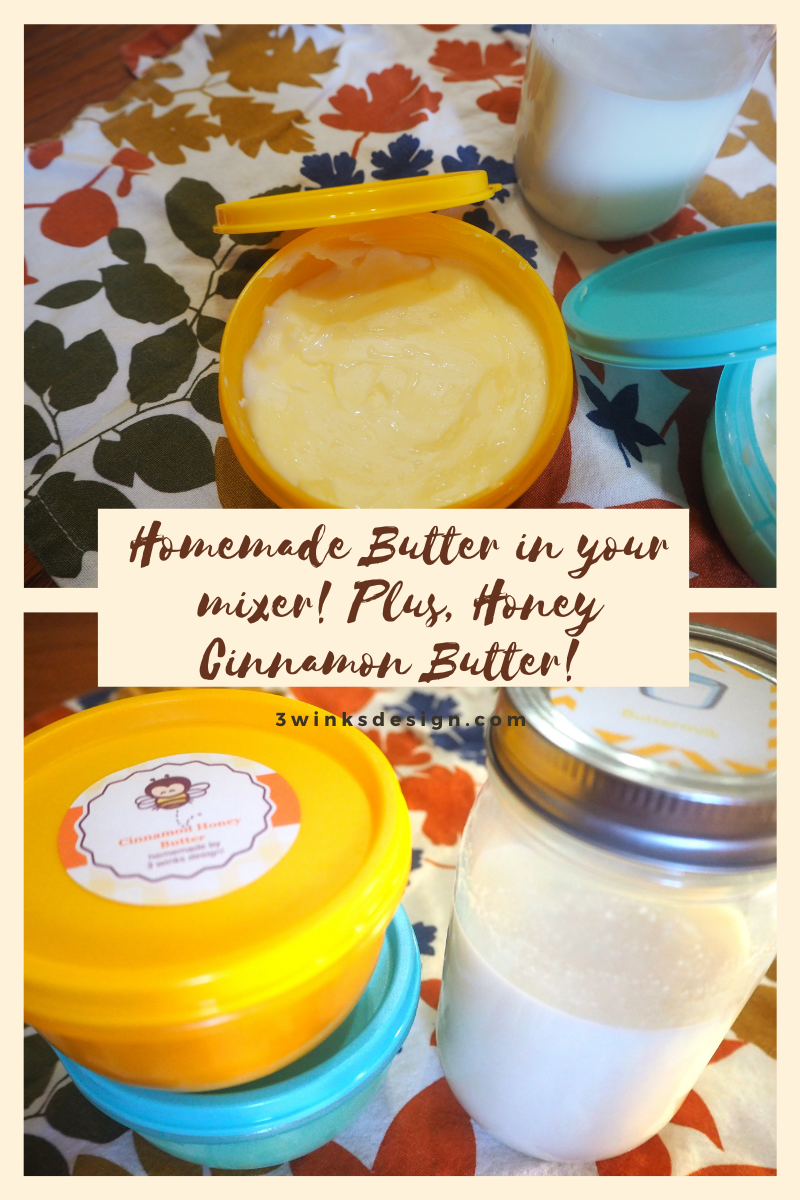 I grew up living out in the country. It was so great. I wish my kids could have had that lifestyle in some ways. For one thing, I knew where my food came from. We gardened and raised chickens and sheep. We sold corn 12 ears for a $1.00 on the side of the road. We sold eggs for 50 cents per dozen. Our family didn't have cows, but our neighbors did and we were often the recipients of delicious fresh milk. My mom would skim off the cream and we would pass the container around shaking it to make butter, just like the pioneers. That was some delicious butter. Lately, I've seen some ideas for making flavored butters as gifts to enjoy with various crackers and breads. Most of those recipes used butter purchased in the store, softened with herbs, etc. added to it. That seems nice. But, to me, if you are going to "make" a homemade gift, then it should really be homemade! Butter is super easy to make and you don't have to shake the cream forever to turn it into butter! I mean, that can be a lot of fun as a family activity to teach your kids how butter used to be churned. But, with modern technology, like a stand mixer, making butter happens much more quickly! Here are the steps to make your own butter: I then decided to make one of my little bowls of butter into a flavored butter. I knew that Honey Cinnamon would go fast around here. But, you can flavor your butter in a savory way as well. To make the Honey Cinnamon Butter, I put the butter back into a larger bowl to mix in the ingredients and continued to squeeze out buttermilk (without adding it to the jar of course) as I mixed it. Here is the recipe: I'm not going to pretend that this butter is less expensive than store bought butter because it is much more expensive to make. But, it does tasted so good and fresh! Also, as a gift, it is just a little extra effort that will be appreciated. Or, if you just happen to have a chance to get some fresh cream from a friend with a cow, then making your own butter will be very cost effective! Plus, these kinds of projects are so good to do with kids so that they can learn where their food actually comes from. 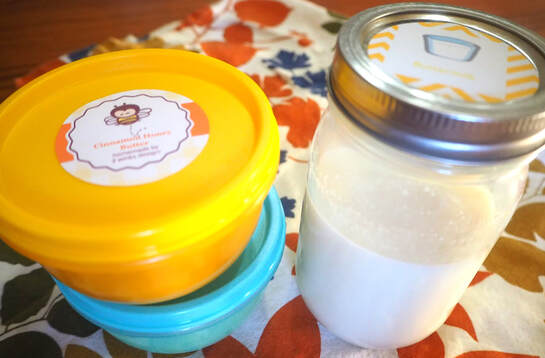 After packaging the butter and making the Honey Cinnamon Butter, I got onto Avery.com and used some of their cute stock ideas and customized and printed some labels for everything. This will be especially important to do when making flavored butter gifts.
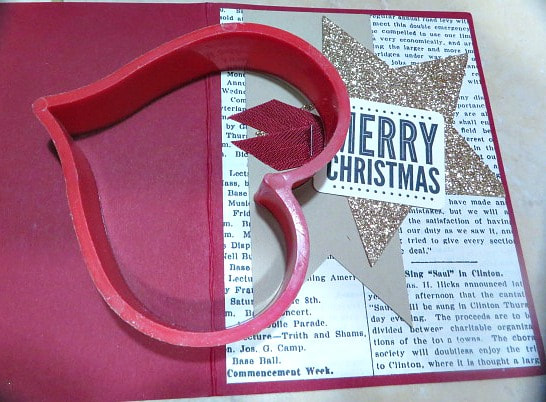
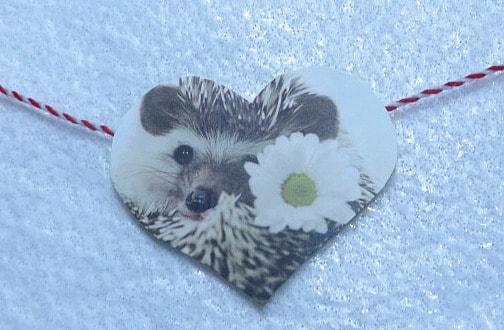
Have you made butter with your kids? They will get a kick out of it! Here is the link to the Lit'l Bowls by Tupperware. I also found them on Amazon. (See Below) This post contains affiliate links. If you make a purchase after clicking them, we will be compensated, but there is no additional cost to you. All opinions expressed are our own. Thank you for your support 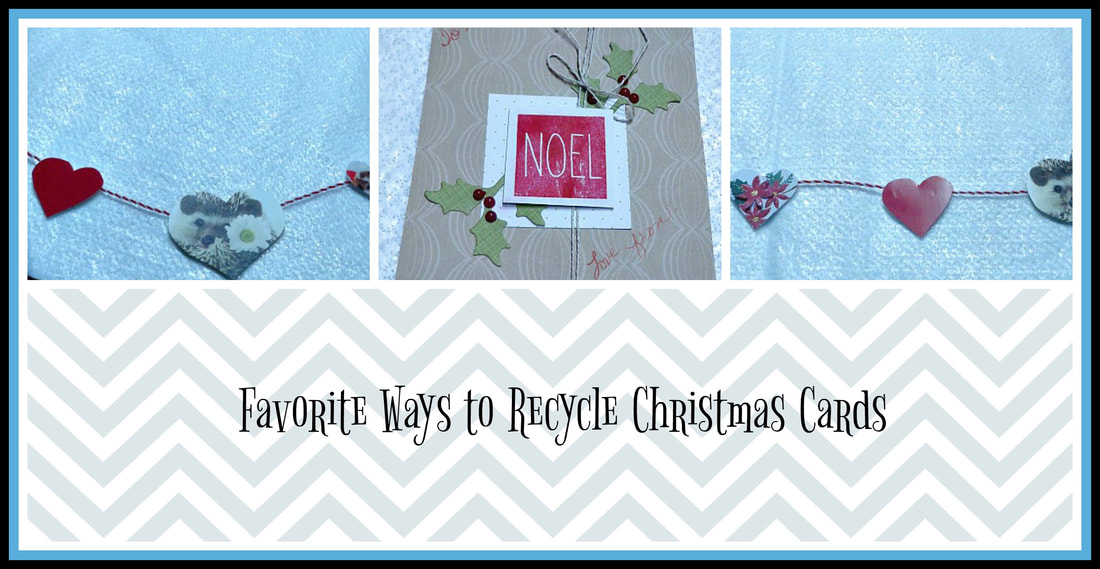 I don't know if you are like me, but after I get all of the trappings of Christmas taken down and put away, I still have a pile of Christmas cards to deal with. Many of them are so beautiful, I hate to throw them away, and in the spirit of living a little greener, I like to try to recycle them. So, today, we will share some of our favorite ways! If you have any ideas to add, please let us know, we are always looking for new ideas! Friday Faves #87-Favorite Ways to Recycle Christmas Cards! 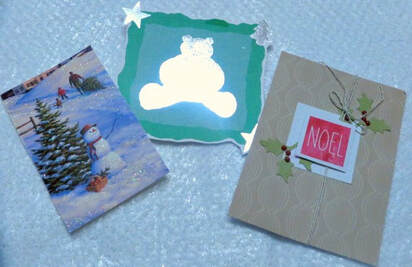 1. For years, one of my favorite things to do with the Christmas Cards we receive is to make gift tags for next year. It is fun to cut out the cute motifs and the handmade cards are especially cute to use on packages. Just remember to put them in a place where you will find them next Christmas! 2. Of course, if we receive photo cards of family and loved ones, I like to put them in a photo album. It is fun to see how the families have grown year after year. 3. One year, on Everyday Reading, I found this really cute banner idea. Janssen used the photo cards she received to make a Valentine Banner. It was so cute. Unfortunately, I couldn't bring myself to cut the photo cards, but there were a lot of really cute cards that I used instead. I used a thicker version of baker's twine to make the banner. I used two different sizes of heart cookie cutters to cut out the shapes. 4. A really awesome gift for young kids next Christmas, or a way to add to the Spirit of Christmas around the house, would be a book using the pictures from the cards. One year I made a Christmas ABC Book using Christmas Cards. It can be tricky coming up with a picture for every letter, but my friend had a poem that she shared with me to help me out. Unfortunately for this post, I gave that book away. But I got to thinking that it would be really cool to use the song "C is for the Christ Child" by Jim Reeves as the text for the book. If you have enough Christmas cards, you can make more than one! I put together a free printable of ideas for making this book. 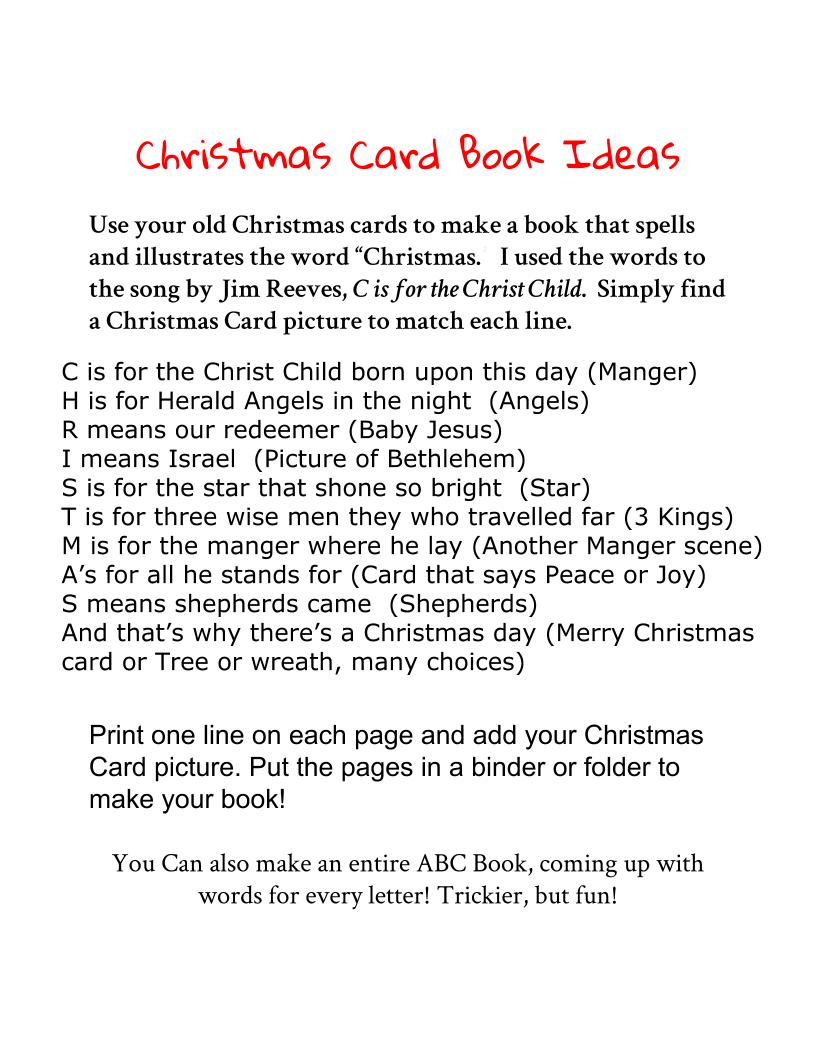 Here is the PDF file to make printing easier: So, hopefully you can find a way to recycle those Christmas cards and get the last vestiges of Christmas put away. And, won't it be great knowing that you have a gift for the little ones, gift tags to use when wrapping and something to decorate with for Valentine's Day! Now that is thinking ahead! |
Creators of Hot Cocoa Bombs! (copyrighted)

Author
Helen Reynolds: Mother of six children , grandmother to eleven! I love to cook, craft and create things and I especially love doing that with my family, So, when my lawyer daughter, Lindsey, my artist daughter, Madalynn, and I came up with the idea of Hot Cocoa Bombs, this blog was born. Then, one more daughter, with her technical and science skills, plus creativity has joined in to round us out! Read more about us here! 
Click this link and visit 3WinksDesignShop on Etsy. Find our Hot Cocoa Bomb Idea Book, our For the Love of PIe e-book and more of our creations!

Amazon Gift Cards are the Perfect Gift!
    Archives
April 2024
|


 RSS Feed